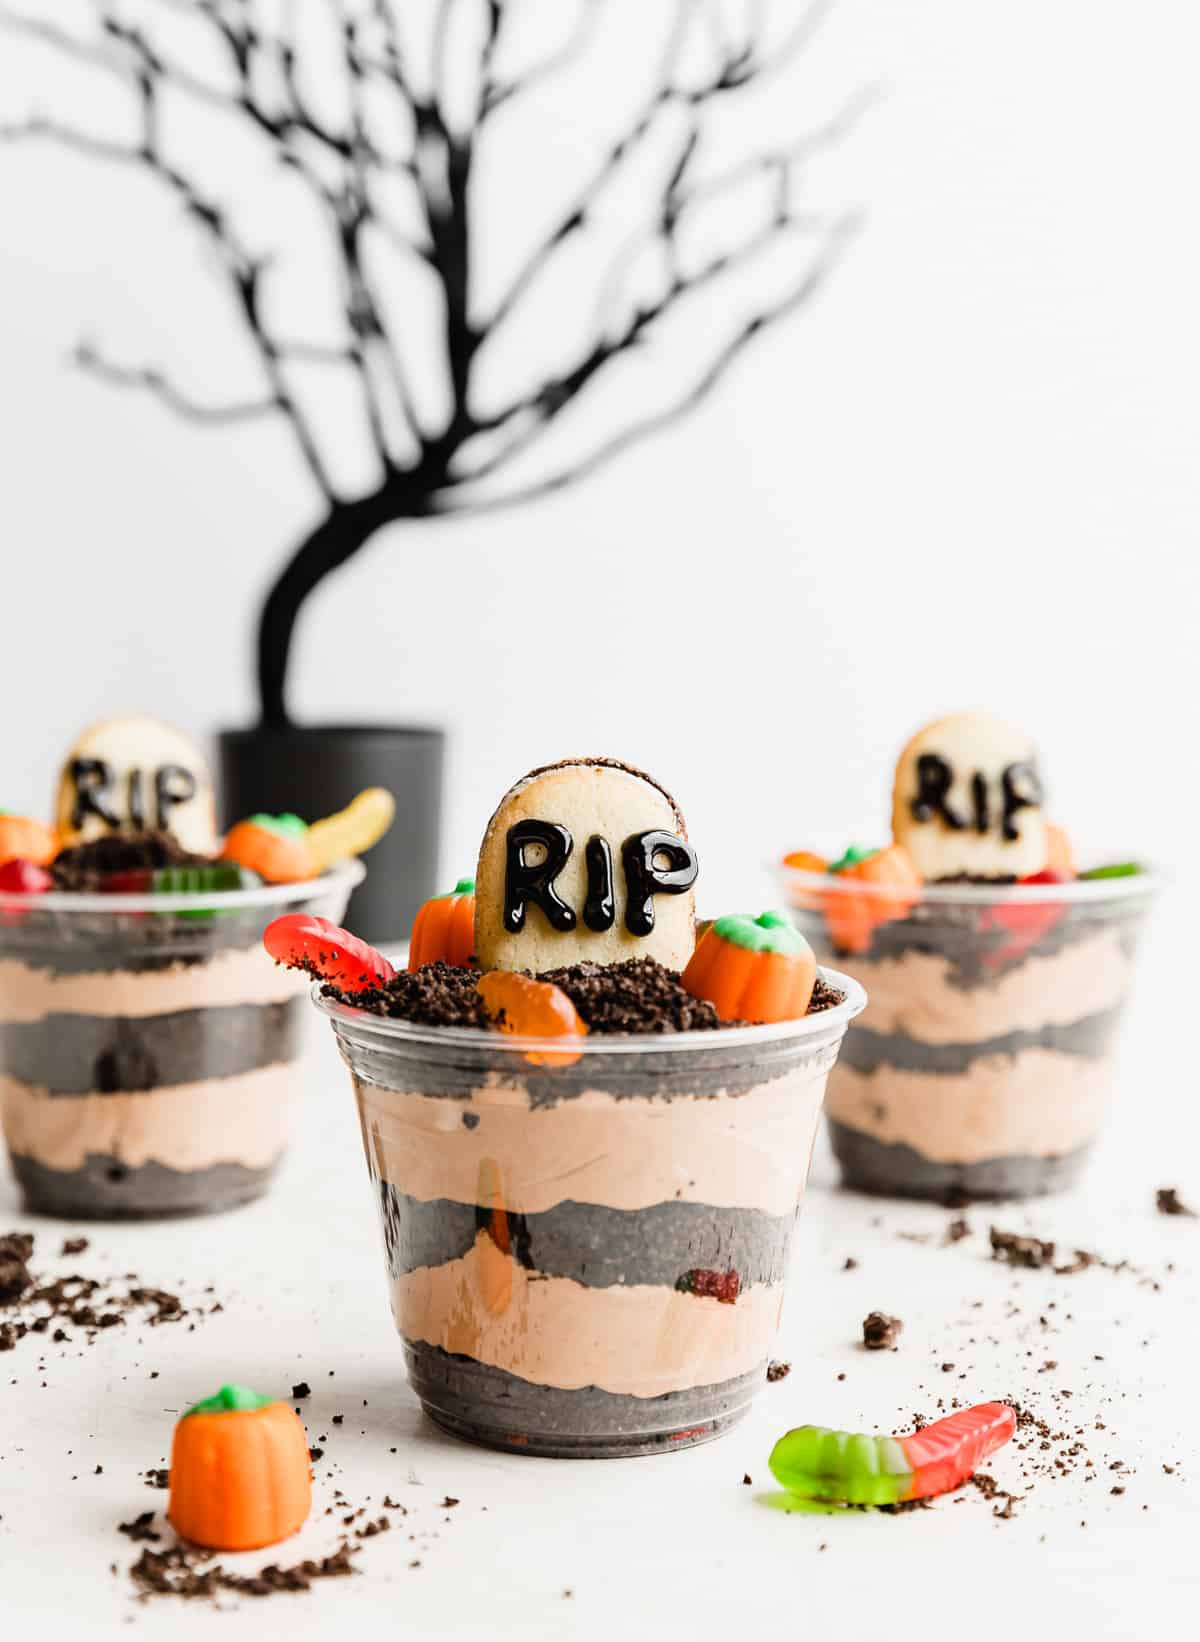
Halloween Dirt Cups

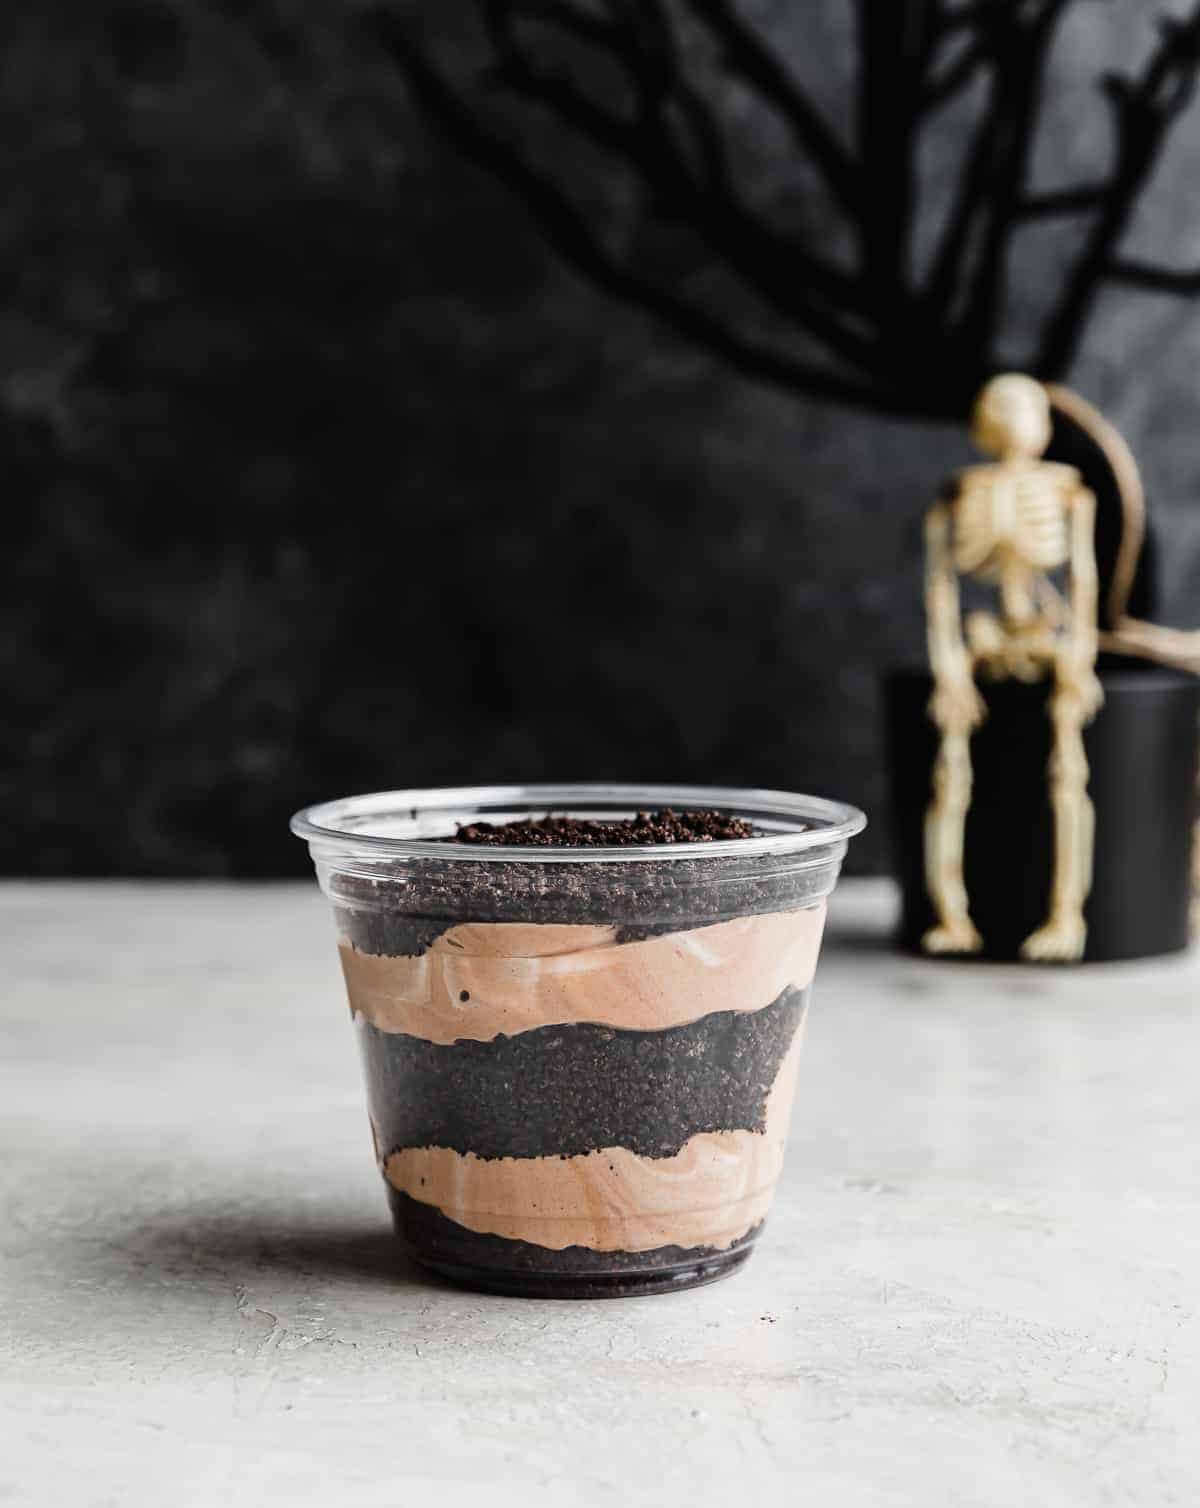
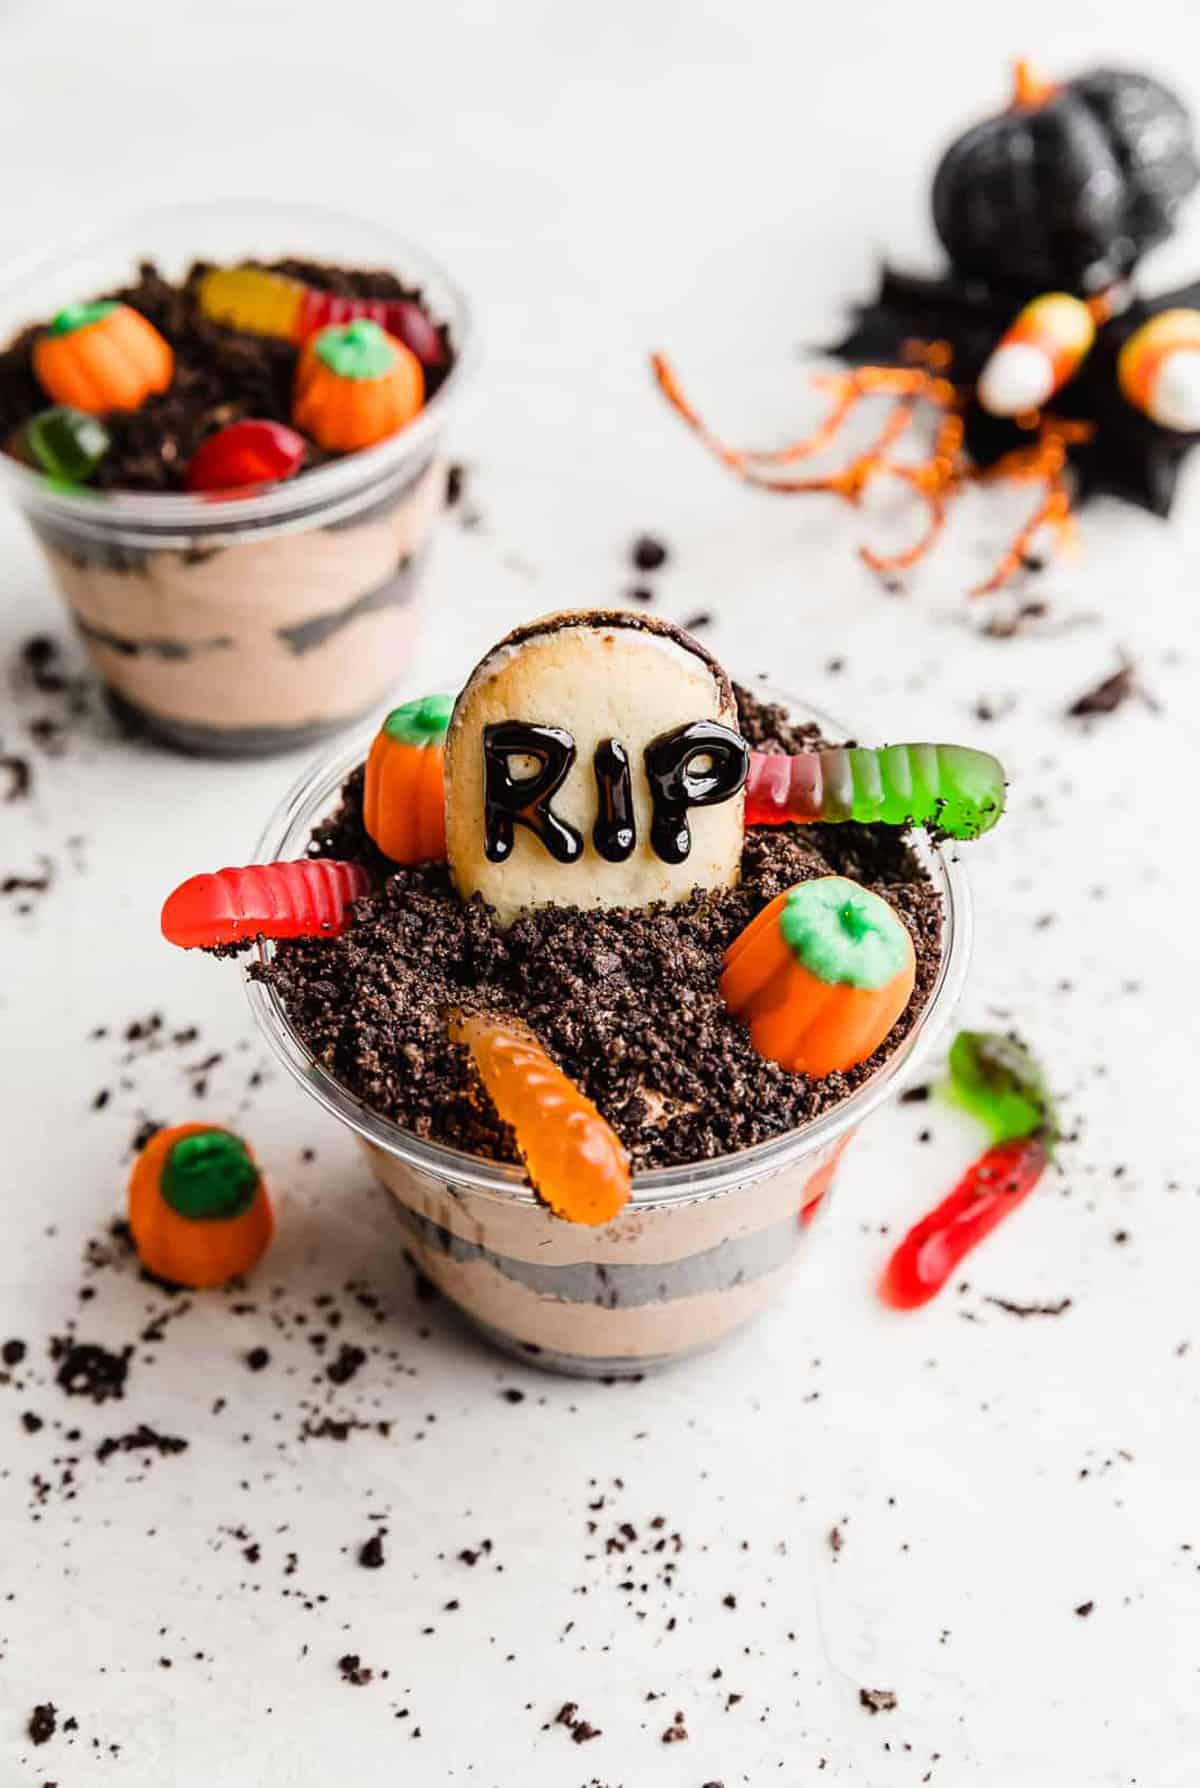
Halloween Dirt Cups are fun treats made with alternating layers of Oreo crumbs and a chocolate pudding mousse, then are topped with gummy worms, pumping candies and RIP gravestones made from Milano cookies. These graveyard dirt cups are easy to make — and the kiddos love them!
For more Halloween recipes try our Pumpkin Juice, Black Velvet Cupcakes, and Halloween Oreo Balls. Looking for a cookie version of these dirt cake cups? Try my Crumbl Dirt Cake Cookies!
Why This Recipe Works
- Easy Halloween treat. This spooky Halloween dirt cups recipe is an easy dessert to make, which makes it perfect for any occasion. No need to slave away for hours over a hot stove with this super simple no cook recipe.
- Make the elements ahead of time. The graveyard pudding cups are a great no bake dessert, so you can make the chocolate pudding mousse and crush the Oreo cookies several hours or a day in advance of any themed party.
- Portable Halloween dessert. Halloween dirt cups are great to take to Halloween parties since they are in cups! You can also store the mousse in an airtight container and the Oreo crumbs and toppings in ziplock bags for easy transport. Just assemble at the party location!
- Halloween recipe to make with your kids. Making these Halloween dirt cups is almost more fun than they are to eat making them a perfect family-craft idea if you want to get the kiddos involved. You can set it up so that the cups of layered pudding are set and chilled and then everyone can pick and choose to make their own graveyards unique before eating them!
Ingredient Notes
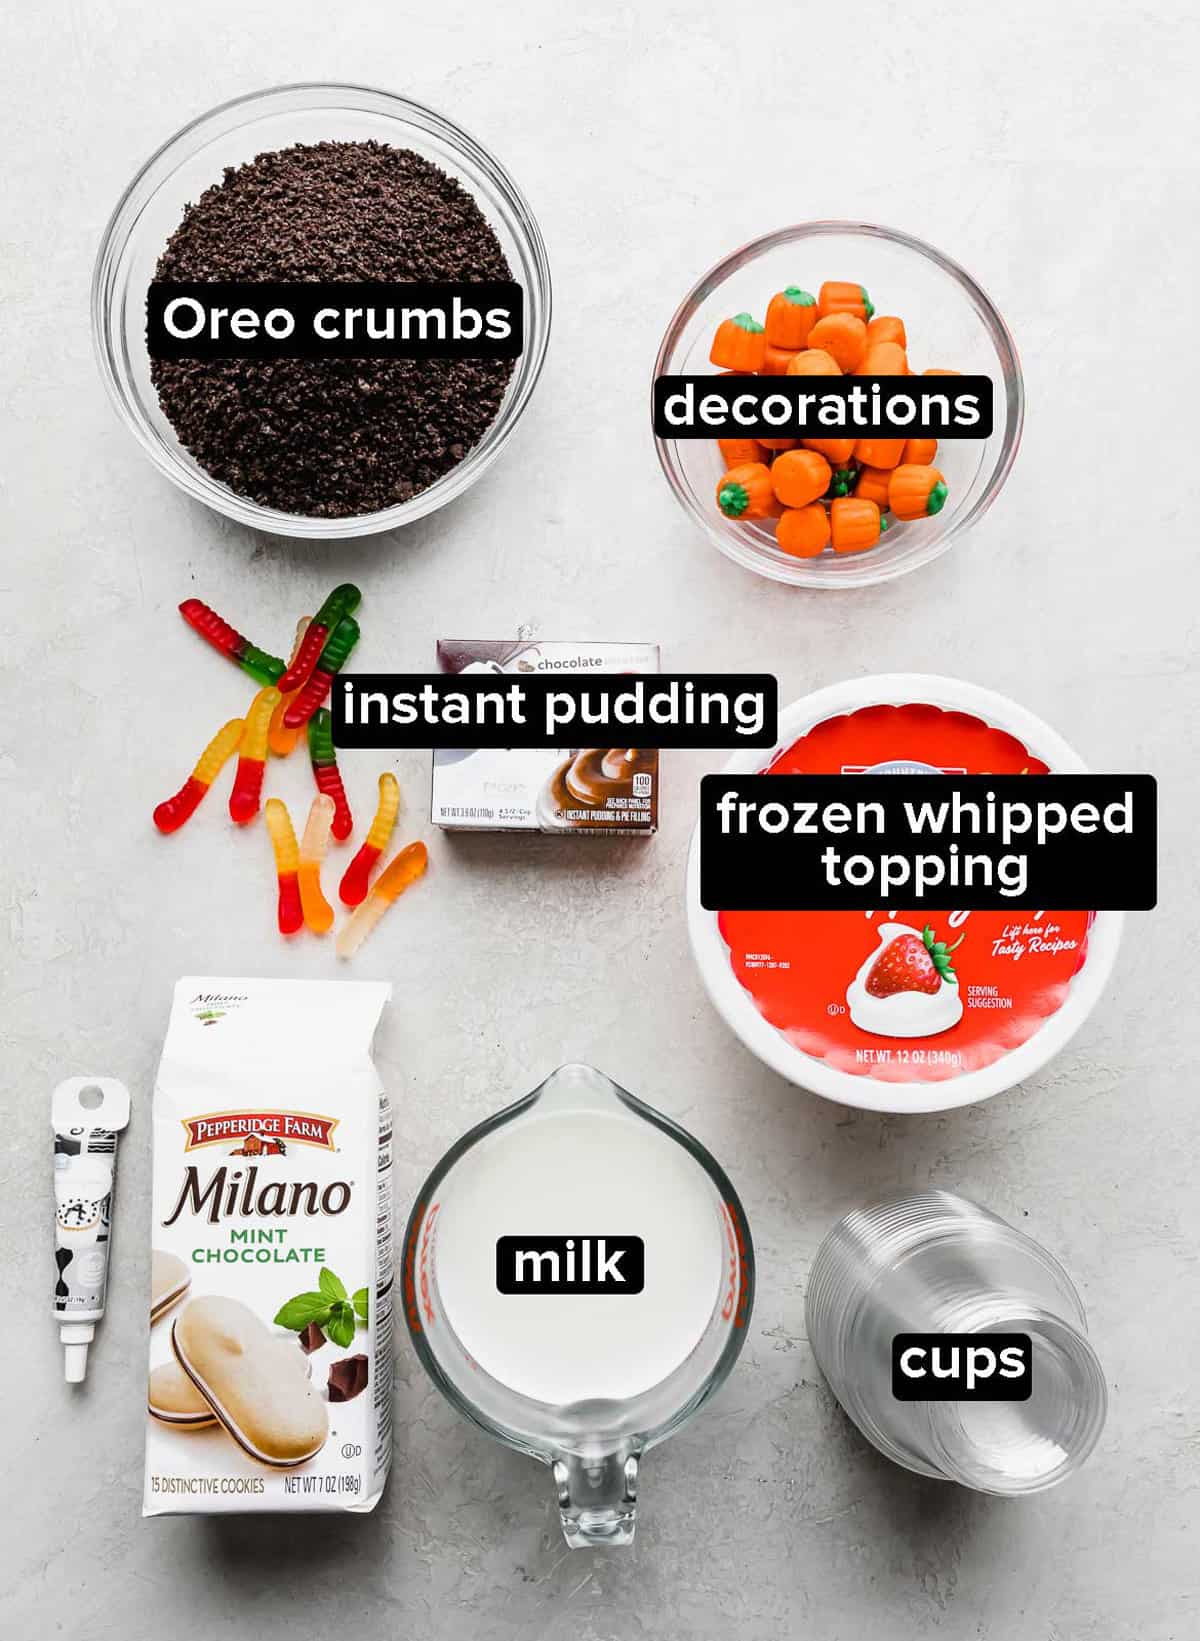
- Instant Chocolate Pudding Mix: Use instant pudding for a fast set up time. You’ll want to use chocolate-flavored because that’s close to a dirt color. It will be mixed with whipped topping for a thicker mousse-like consistency.
- Frozen Whipped Topping: One container of Cool Whip will work great for this! You’ll want it thawed by the time you make these Oreo dirt cups.
- Oreo Crumbs: Crumbling up a package of Oreos will give you enough fine crumbs to layer between the pudding in your cups and make it look like layers of dirt. You’ll use the whole Oreo, so keep the Oreo cream filling in when you crush them!
- Decorations: You can use any Halloween themed candy like gummy worms or pumpkins for decorating your graveyards. I like to use Milano cookies and make them look like little RIP headstones.
Step-by-Step Instructions
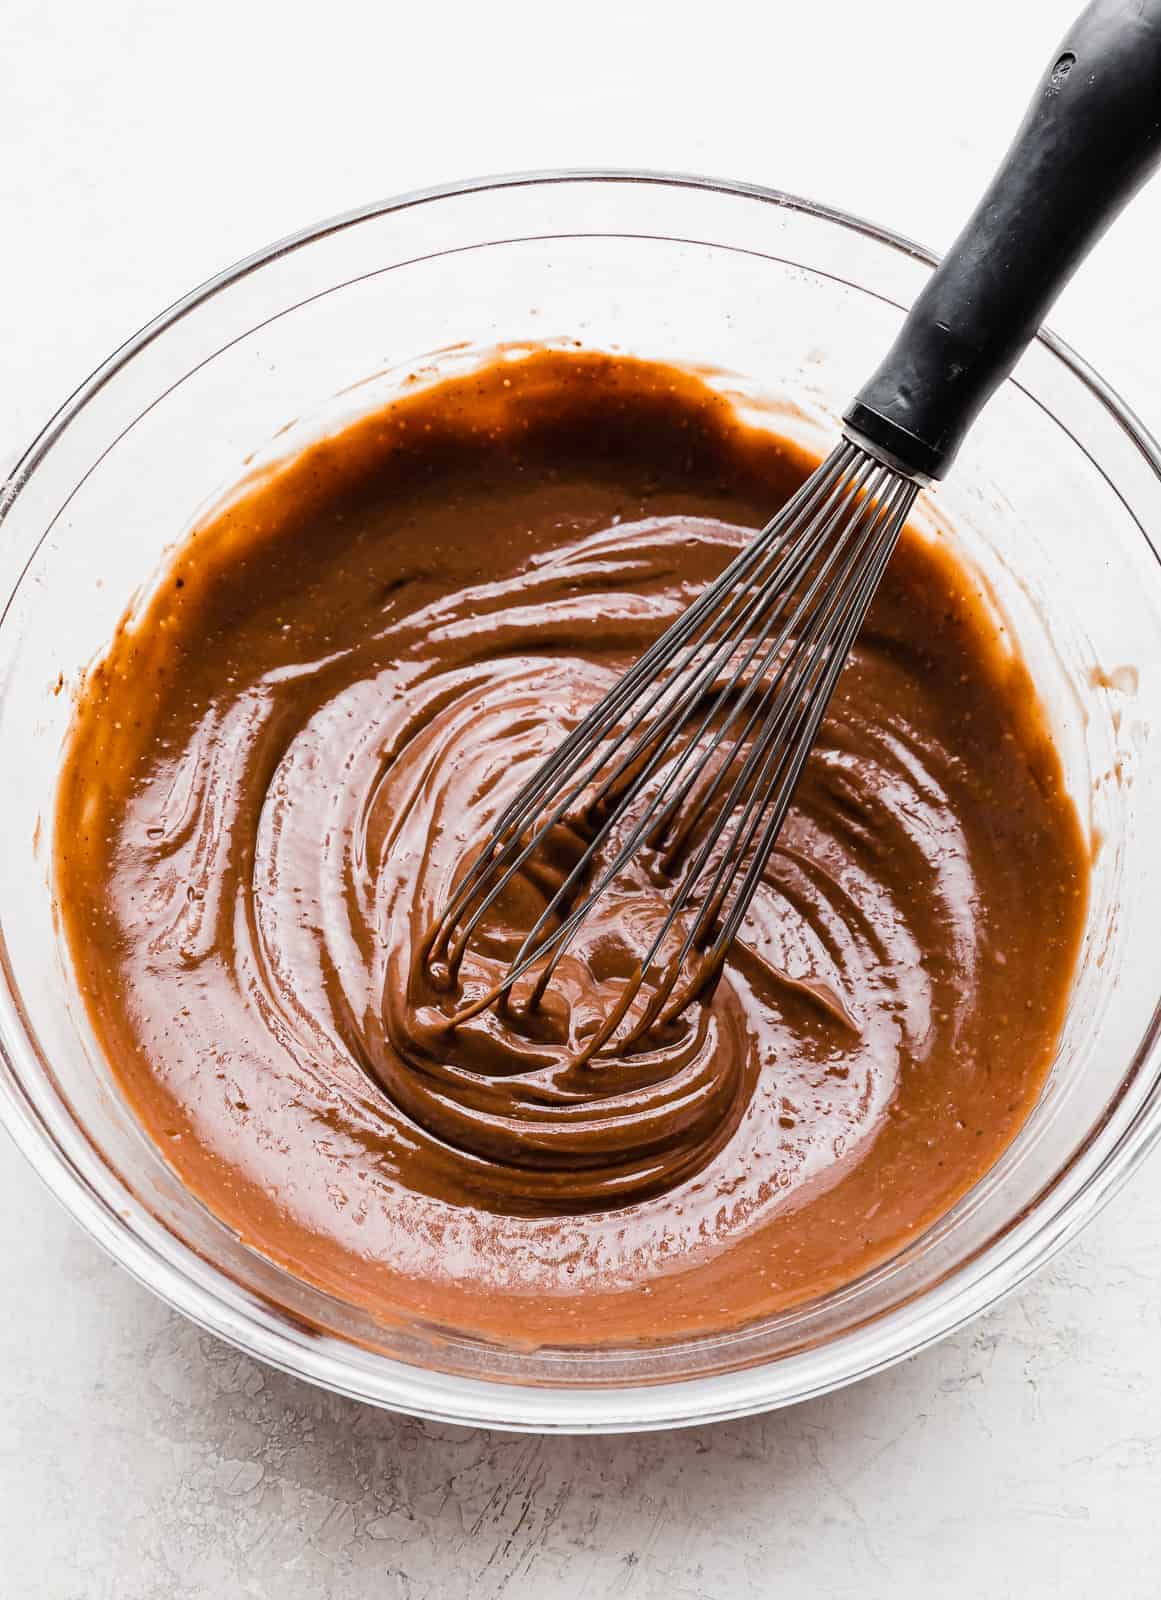
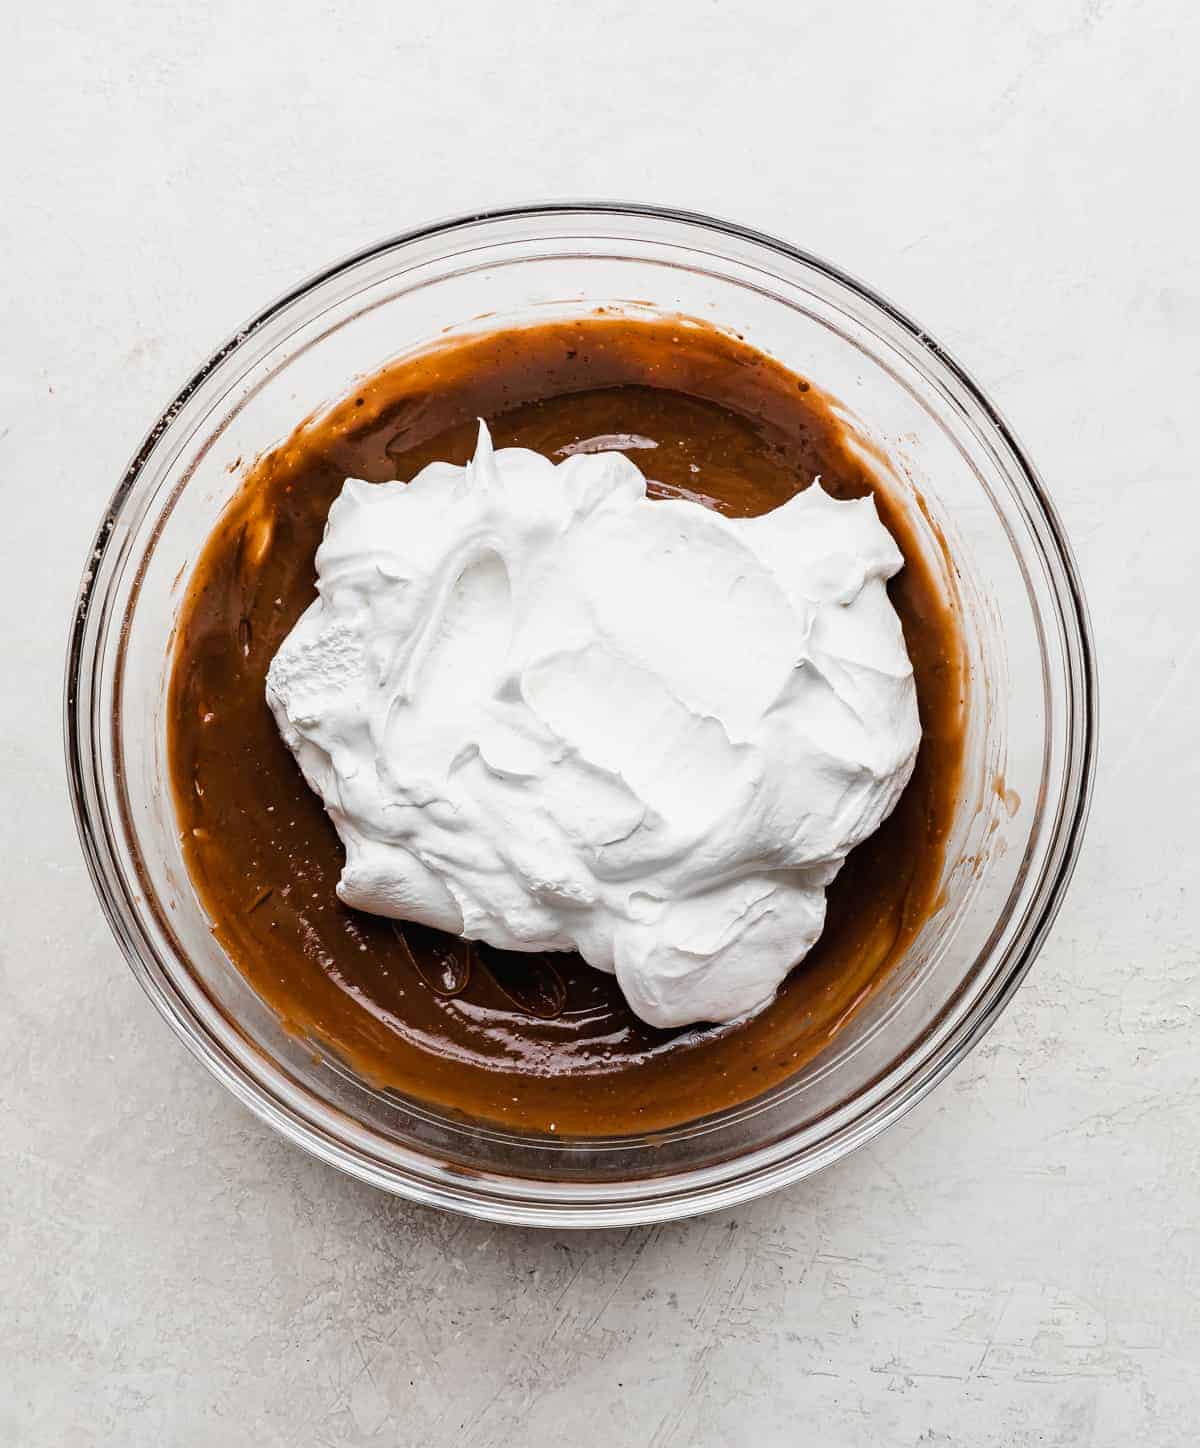
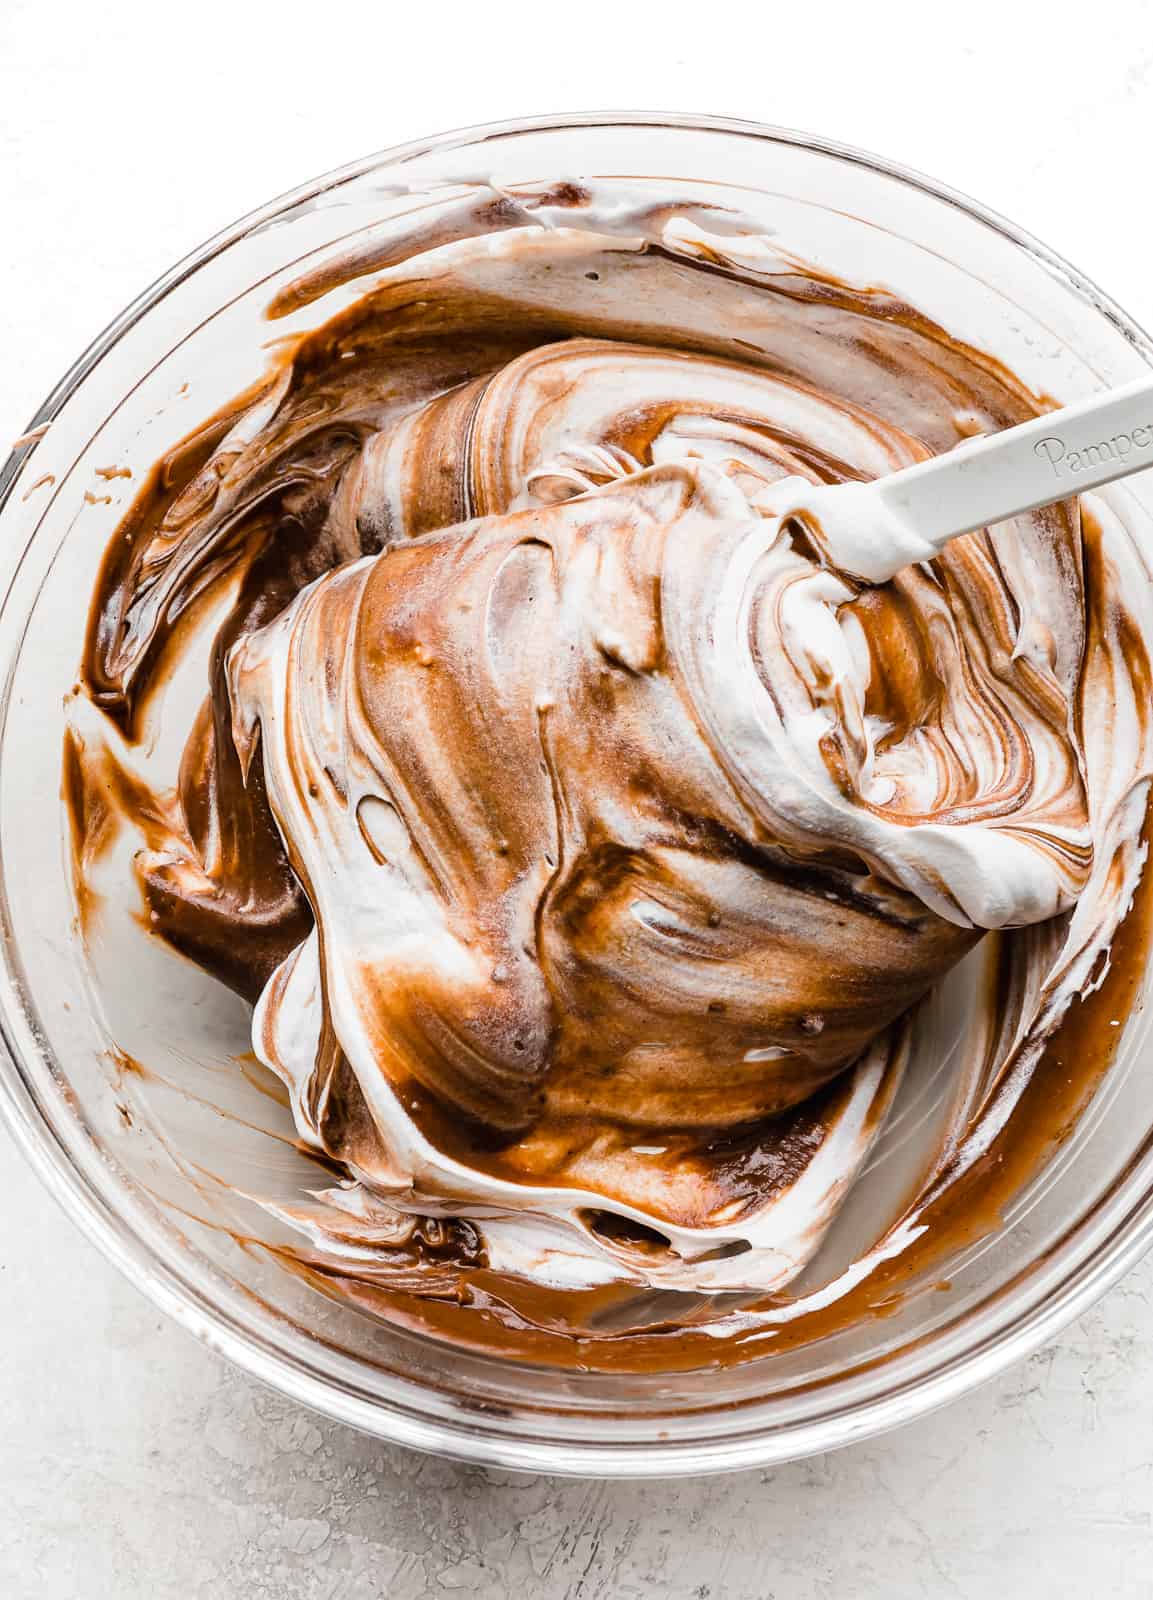
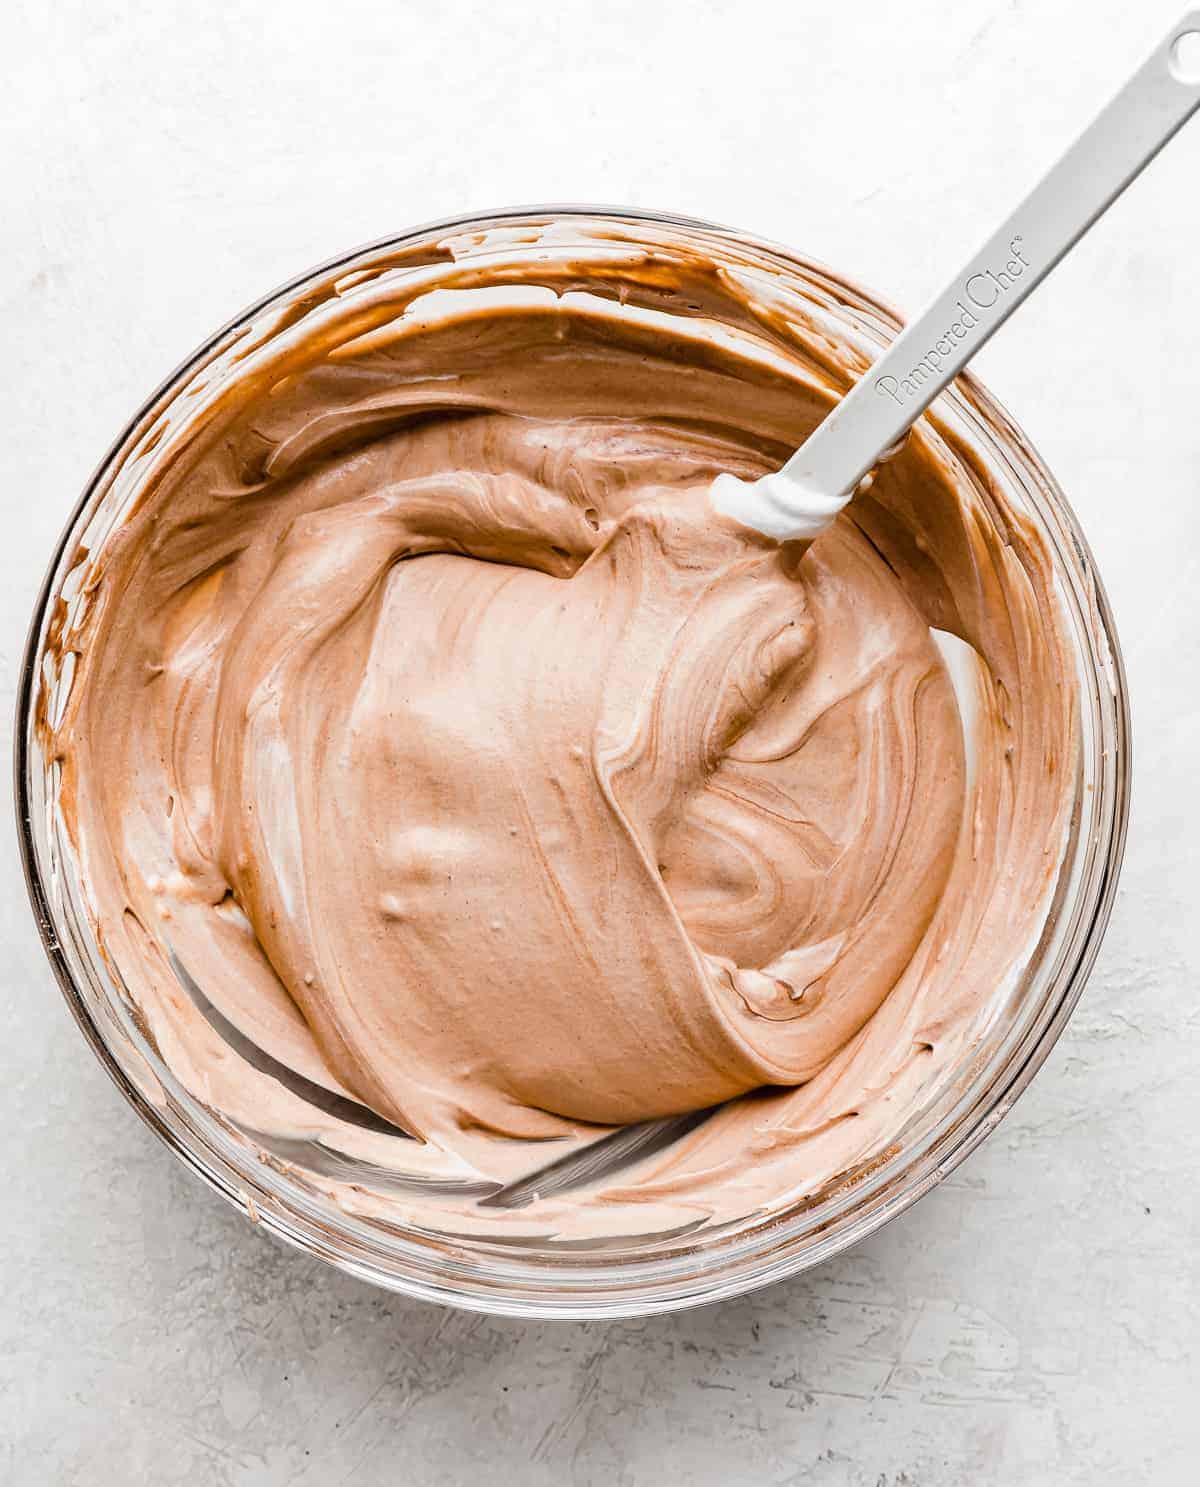
- Make the chocolate pudding mousse. Whisk together the milk and the pudding mix in a large mixing bowl for 2 minutes and allow to sit for 5 minutes. Fold in the thawed whipped topping until combined.
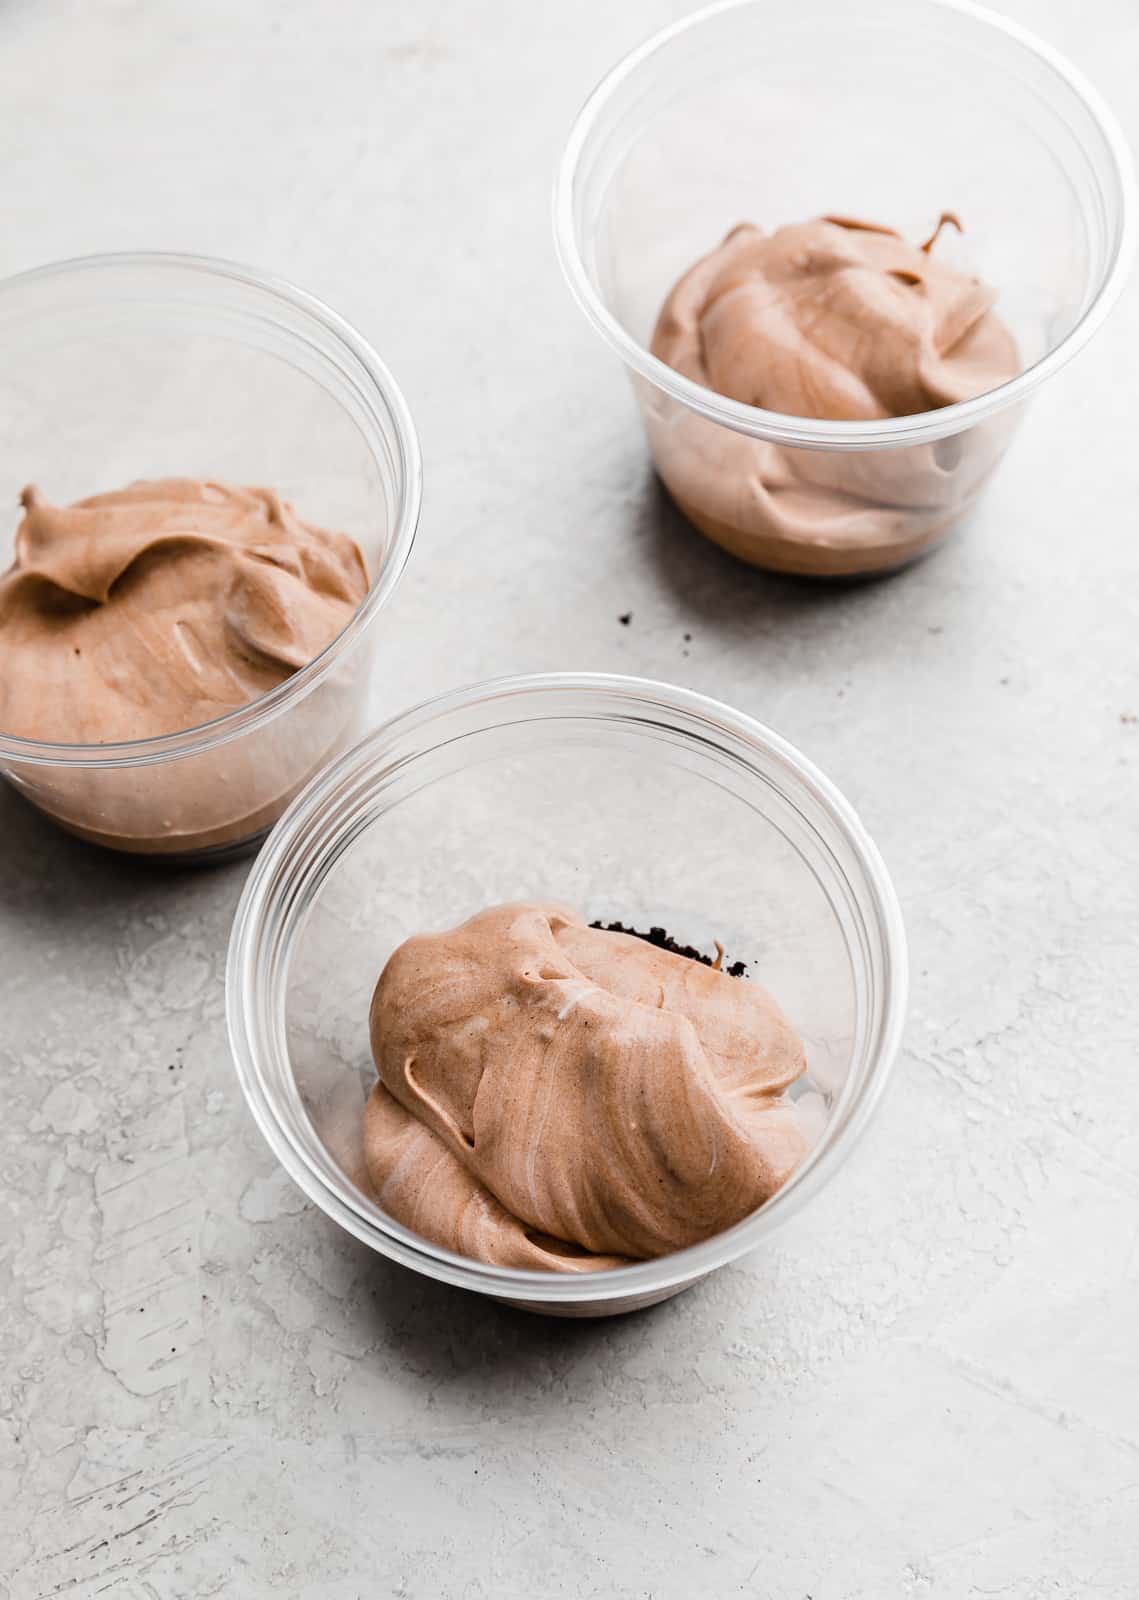
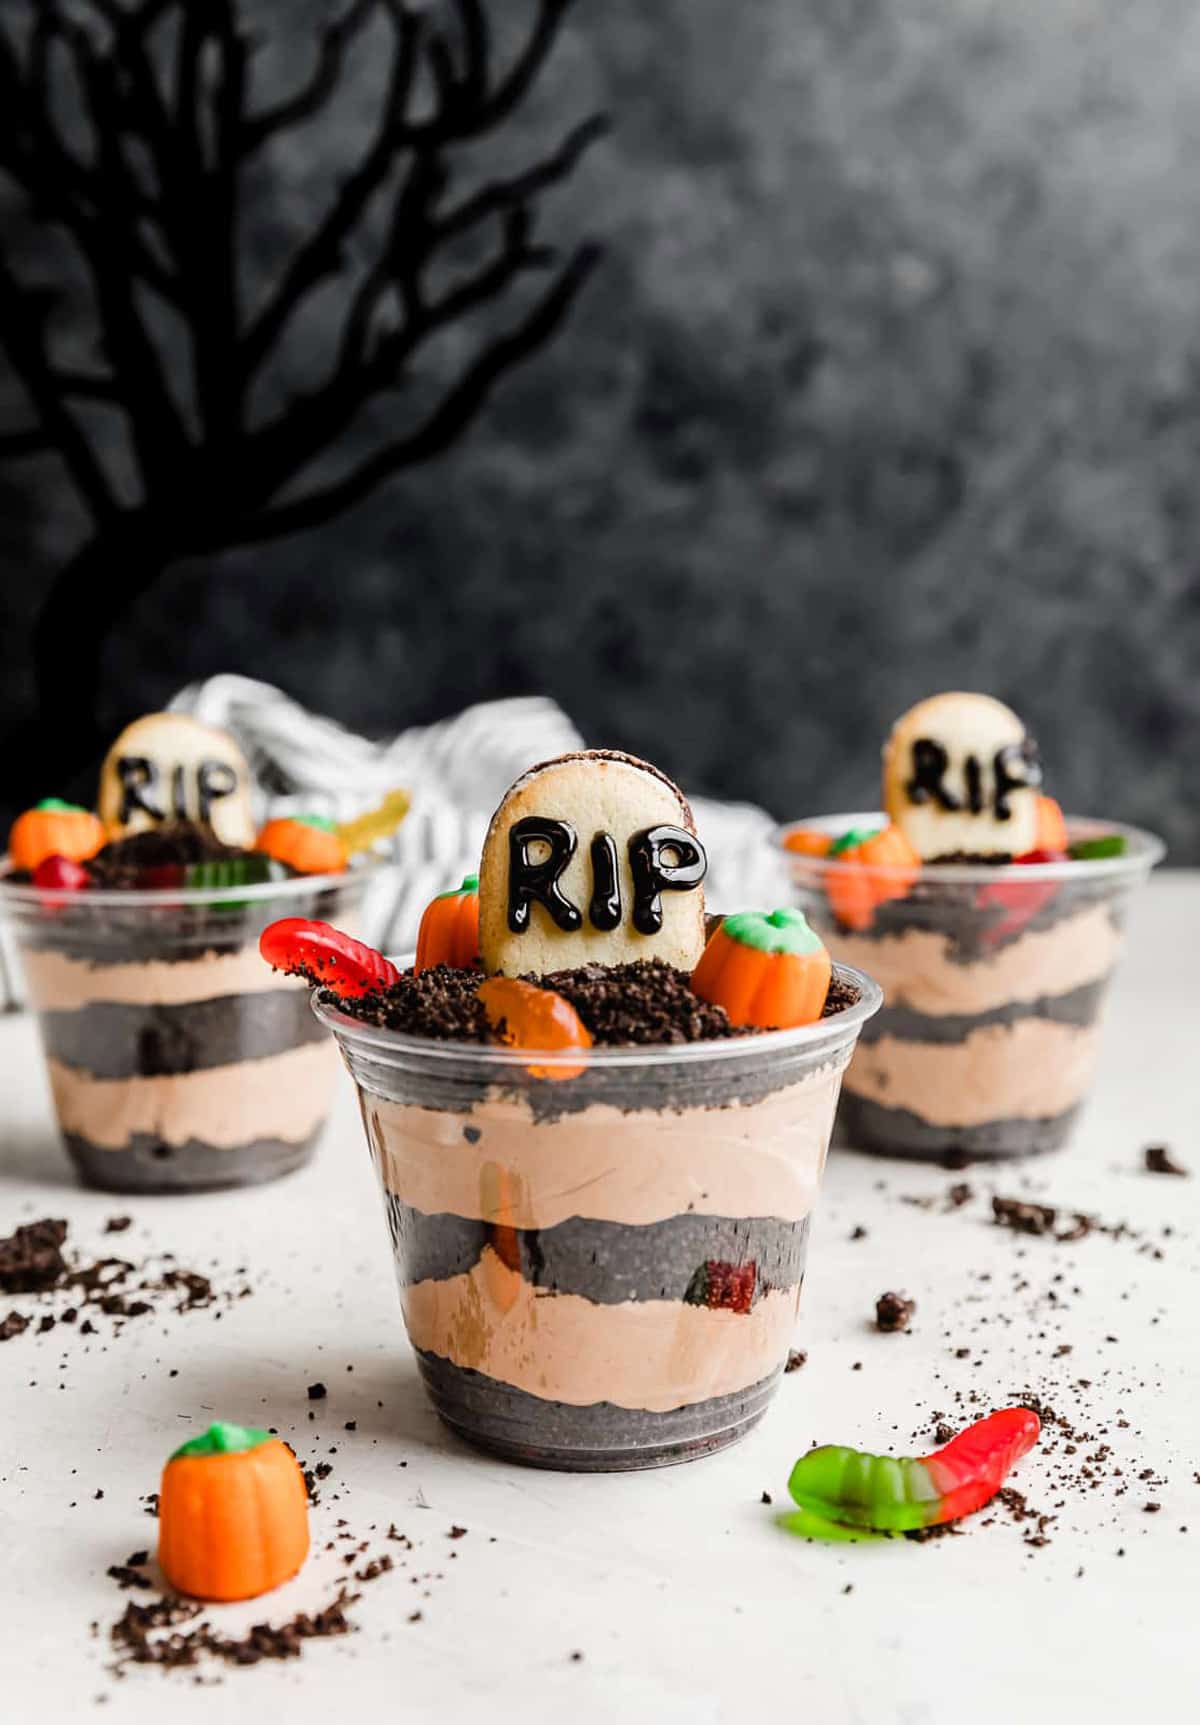
- Layer the Halloween dirt cups. In the bottom of each cup or jar, place 1-2 tablespoons of crushed Oreos. Layer the pudding mixture on top. Repeat until the cup is almost full, finishing with the Oreo cookie crumbs.
- Chill. Place the graveyard cups in the fridge for 1 hour.
- Decorate! Have your kids grab a graveyard and decorate the top of the dirt cup with gummy worms, tombstone cookies, candy pumpkins, candy bones, or other spooky treats that you may have. Serve cold and enjoy!
Recipe Tips
To make your Oreo cookies into a fine crumb needed for your dirt, you’ll want to pulse them for about a minute or so in your food processor.
If you don’t have a food processor, you can place the Oreo cookies in a ziplock bag and crush using a rolling pin.
You can make this dessert more diet-friendly by opting for sugar free pudding or swapping out the Oreos for gluten free chocolate cookies instead. You can also consider healthier candy additions to your cups as well.
Be sure to use instant pudding mix! If you use a cook and serve option, you won’t get the thickened texture.
I used simple black icing from the store to pipe on the letters R.I.P. onto the Milano sandwich cookies so they look like cookie tombstones!
You’ll definitely want to use clear plastic cups or jars so you can see the layers!
Make Ahead, Storing, and Freezing
Halloween dirt pudding cups aren’t the best to make ahead of time because the cookie crumbs will go soft after some time next to the pudding. But they are easy to put together, so you can definitely prep the rest of the elements ahead of time and just assemble them prior to serving!
These fun Halloween dirt cups can last in the fridge for up to 2 days once fully prepared and layered. You don’t want to wait too long to enjoy them though as the cookies will become soft and mushy thanks to the moisture in your chocolate mousse layer.
I don’t recommend freezing these as the mousse will just separate when frozen and thawed.
Recipe FAQs
It’s a layered dessert (much like a parfait) where you have layers of pudding and crushed Oreo cookie crumbs. The cookie crumbs look like dirt, which makes these the perfect Halloween graveyard dirt cups. No actual dirt is used.
Absolutely! You can easily swap out a thing here or there and make these dessert parfaits for any occasion. For example, adding a little green-colored coconut on top along with some candy eggs and a bunny peep instantly makes this an easter dessert.
Yes, not everyone is a fan of chocolate so I understand this question quite well. You can use any flavored pudding desired including vanilla if you want to reduce the chocolate flavor in every cup. You can even use golden Oreos but the color will look more like sand, so you’d end up with a sandy graveyard (which still sounds kind of fun!) You can also mix in food coloring to get a dirt color without the chocolate flavor.
More Halloween Treats
Halloween Dirt Cups
Ingredients
- 3.9 oz instant chocolate pudding mix
- 2 cups cold milk
- 8 oz frozen whipped topping - thawed
- 24 Oreo cookies - crushed into crumbs (keep filling in). Will come out to be about2 1/2 cups worth of crumbs.
Candy for Decorating
- gummy worms
- pumpkin candy corns
- Mint Melanos - for tombstones
- Black frosting - for writing on tombstones
Instructions
- In a large bowl whisk the instant pudding and cold milk for 2 minutes. Let pudding sit for 5 minutes. Fold in the thawed frozen whipped topping.
- In the bottom of plastic cups, or jars, place 1-2 tablespoons of the oreo crumb mixture. Layer the chocolate pudding, then add another layer of oreo crumbs, pudding, then finish with Oreo crumbs.
- Refrigerate for 1 hour.
- Decorate the tops of the dirt cups with gummy worms, tombstones, and any other festive treats. Serve cold.
 Welcome to this delicious corner of the internet! Here I share the recipes my family loves.


One Comment on “Halloween Dirt Cups”
Easy to make and fun for the kids! I made 2 batches, one chocolate and one vanilla….Idk how to share my pic on this page