Focaccia Bread
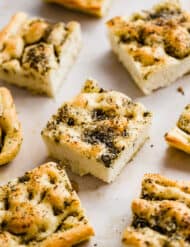
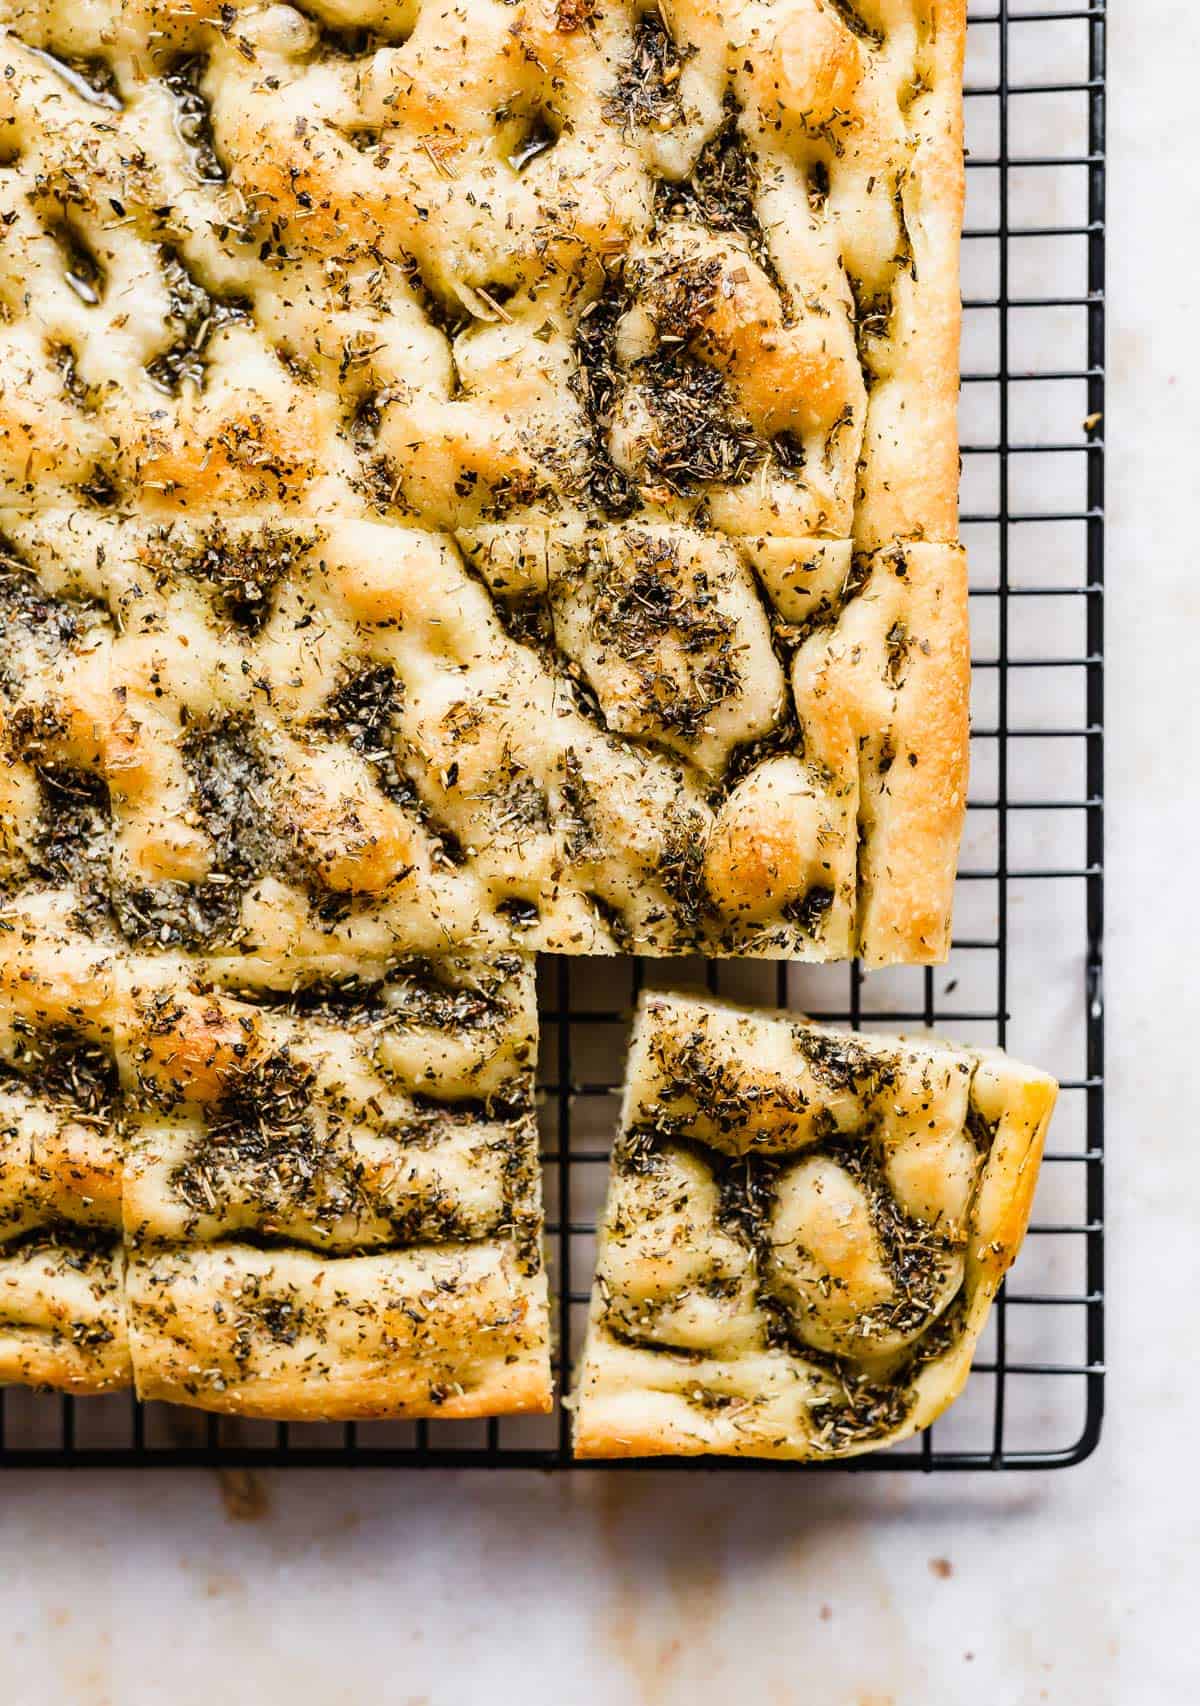
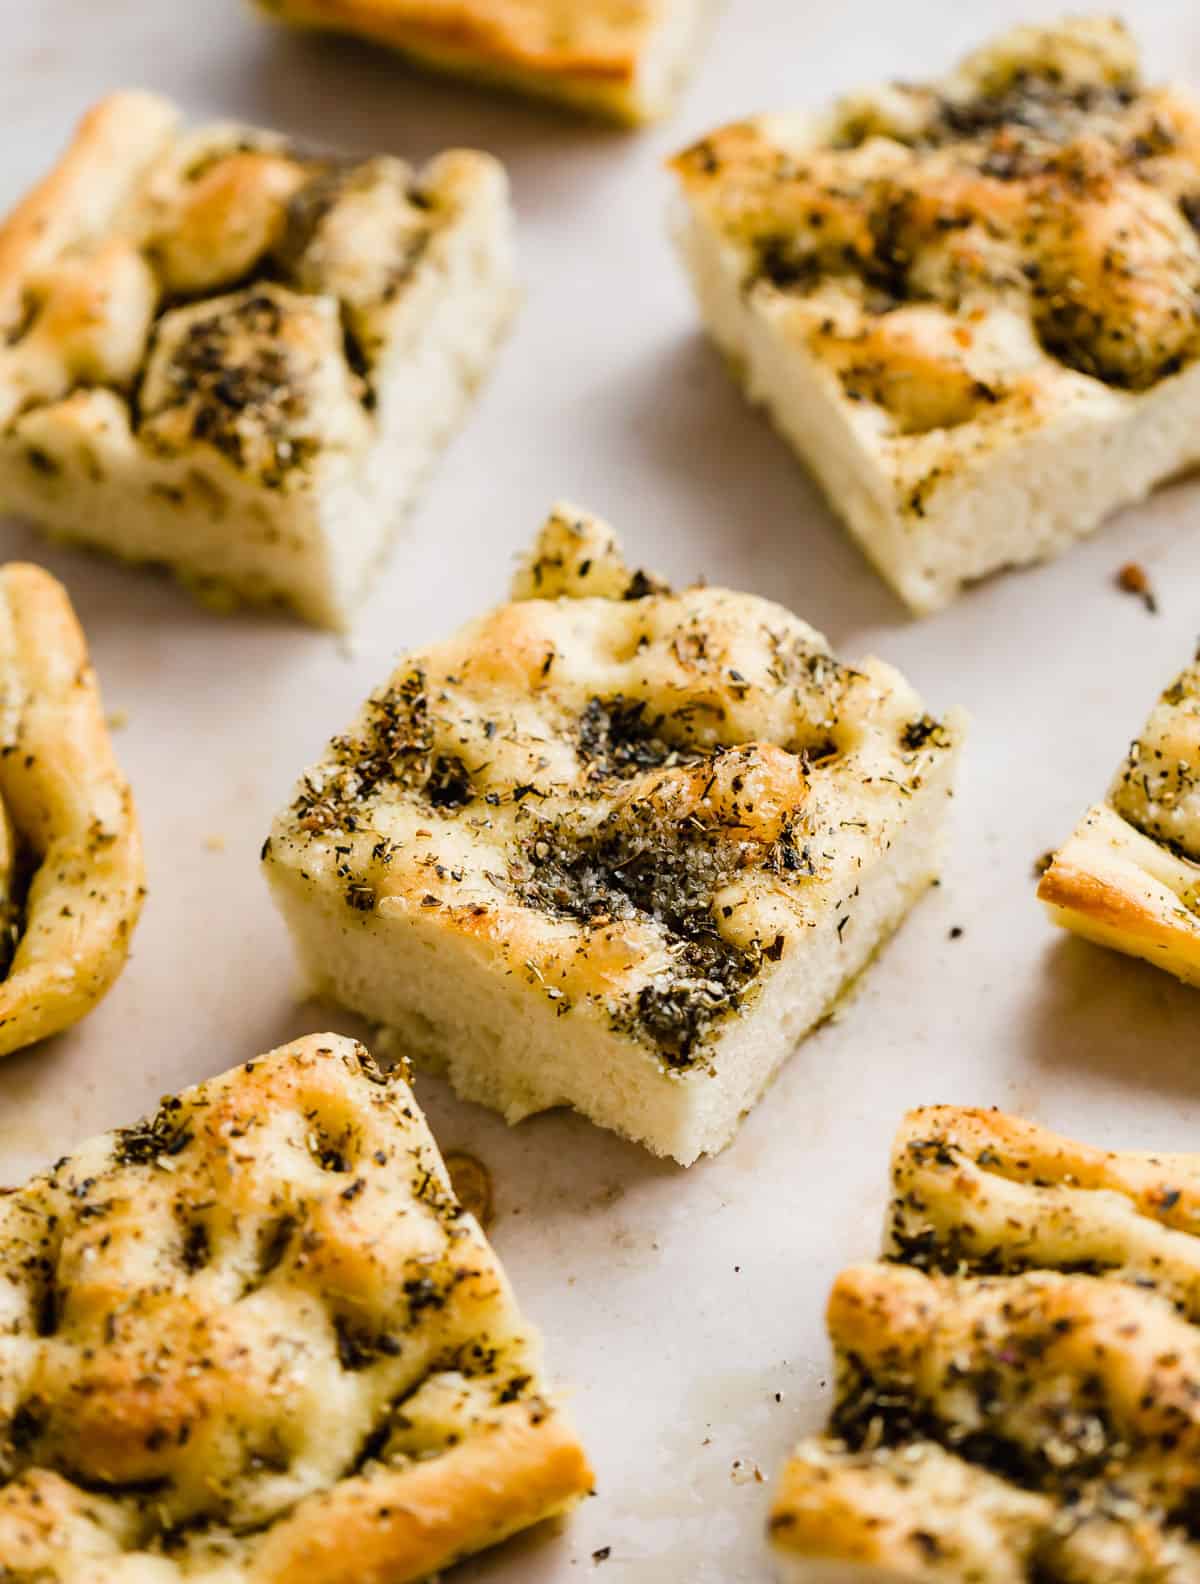
This Focaccia Bread is light, fluffy and seasoned to perfection! The bread is baked with a delicious herb olive oil and has a soft interior and slightly crisp exterior. It’s the perfect side dish for your favorite pasta recipes!
Serve alongside some Turkey Spinach Meatballs and Spaghetti, Cast Iron Lasagna, or Homemade Ravioli. Or turn it into Focaccia Pizza!
Why This Recipe Works
- Bathed in an herbed olive oil. Focaccia bread is baked in olive oil, which is how you get a super moist and airy crumb texture. This recipe takes this to the next level with an herbed olive oil that we warm on the stove to help enhance the flavor.
- Light and airy crumb. This is the best focaccia recipe because it produces a beautifully light and airy crumb! Thanks to the careful proofing process, as well as the olive oil content, the texture is perfect!
- Add your favorite toppings. This recipe can easily adapt to include your favorite toppings! Add some mushrooms, tomatoes, olives, cheese, etc, on top prior to baking for a delicious way to add variety!
Ingredient Notes
- Olive Oil: Make sure you use an olive oil that you like because we’ll use a total of 2 cups of olive oil in this recipe. 1 3/4 cup for the herbed oil, 6 tablespoons in the dough, and 1/4 cup in the pan under the dough.
- Dried Herbs de Provence: This is an herb blend that consists of thyme, basil, rosemary, tarragon, summer savory (similar to thyme), marjoram, oregano, and bay leaf. You can buy this seasoning blend in one jar at the store or you can make it at home with the herbs you have.
- Garlic: This recipe calls for 6 garlic cloves, but don’t worry, the bread doesn’t come off as super garlicy.
- Bread Flour: Bread flour is highly recommended over all purpose flour because it will make for a heartier and sturdier bread dough, which will make it easier to work with.
- Instant Yeast: Since we are using instant yeast, we don’t need to activate it (we don’t need to let it sit until it becomes foamy.)
- Water: Lukewarm water is fine since we aren’t needing to activate the yeast.
Step-by-Step Instructions
- Make the herb oil. In a small saucepan, add the olive oil and salt. Stir over medium-low heat until it reaches 100-110°F. Add the dried herbs, pepper, and garlic and stir to combine. Remove from heat and let the mixture steep (develop flavor) while you make the focaccia dough.
- Make the focaccia dough. Add the bread flour, salt, and yeast to the bowl of a stand mixer and whisk to combine. Next add the olive oil (this is the 6 tablespoons olive oil, not the herb oil) and water. Mix with the paddle attachment until the ingredients form into a sticky ball. Change to the dough hook and mix on medium speed for 5 minutes or until a tacky ball forms. The dough should clear the bottom and sides of the bowl. If yours doesn’t clear the sides of the bowl, add a tablespoon of flour at a time until it does. If by chance the dough sticks to the bottom of the bowl a little bit, that’s OK. We just don’t want an overly sticky or overly dry dough.
- Stretch and fold. Transfer the dough to a floured work surface. Pat the dough into a rectangle. Grab both ends and stretch the dough until it’s twice it’s size. Fold it letter style, over itself to return the dough back to a rectangular shape. Spritz the top of the dough with olive oil or nonstick cooking spray. Cover the dough with plastic wrap and let rest for 15 minutes.
- Stretch and fold two more times. Stretch and fold the dough again. Spritz the dough with nonstick cooking spray or olive oil, cover with plastic wrap and let rest for 15 more minutes. One last time, stretch and fold the dough. Spritz the dough with nonstick cooking spray or olive oil, cover with plastic wrap and let rest for 30 more minutes. The dough should rise slightly during this time (but won’t double in size).
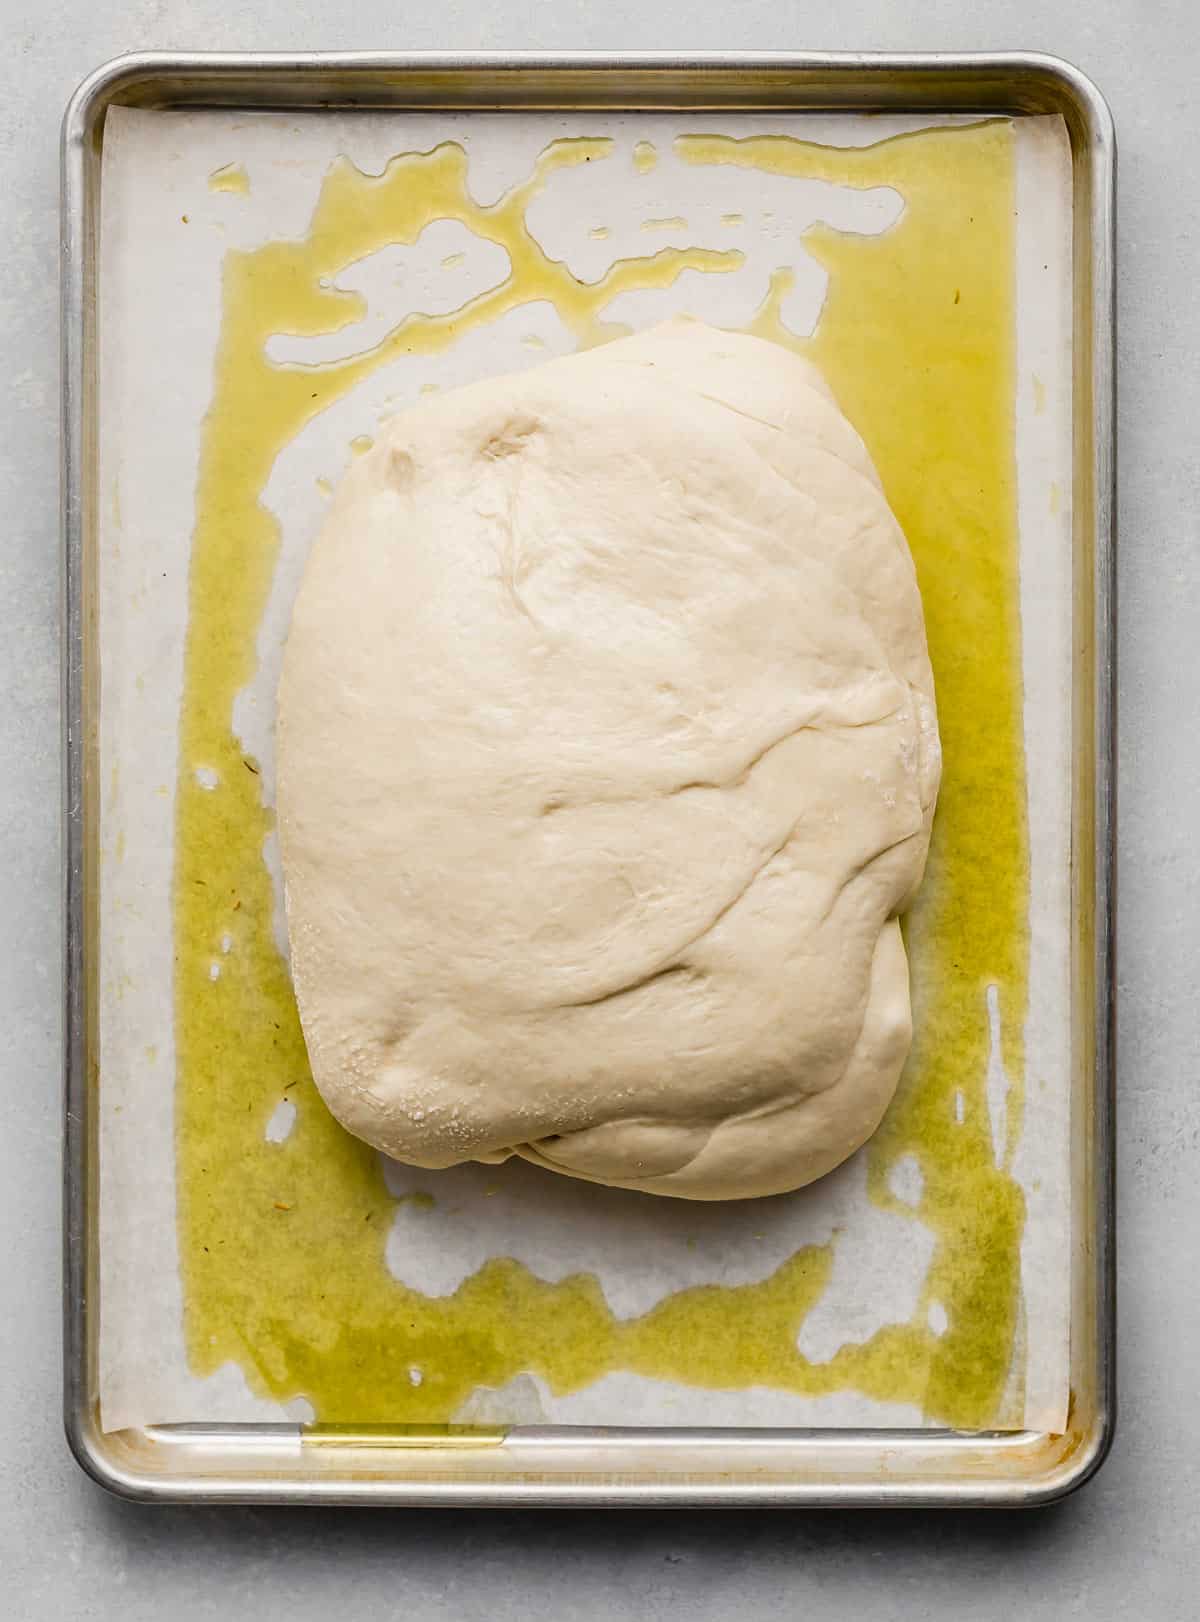
- Prepare the baking sheet. Line a baking sheet with parchment paper and cover with the 1/4 cup plain olive oil. Transfer the dough to the baking sheet and cover with half of the herb oil.

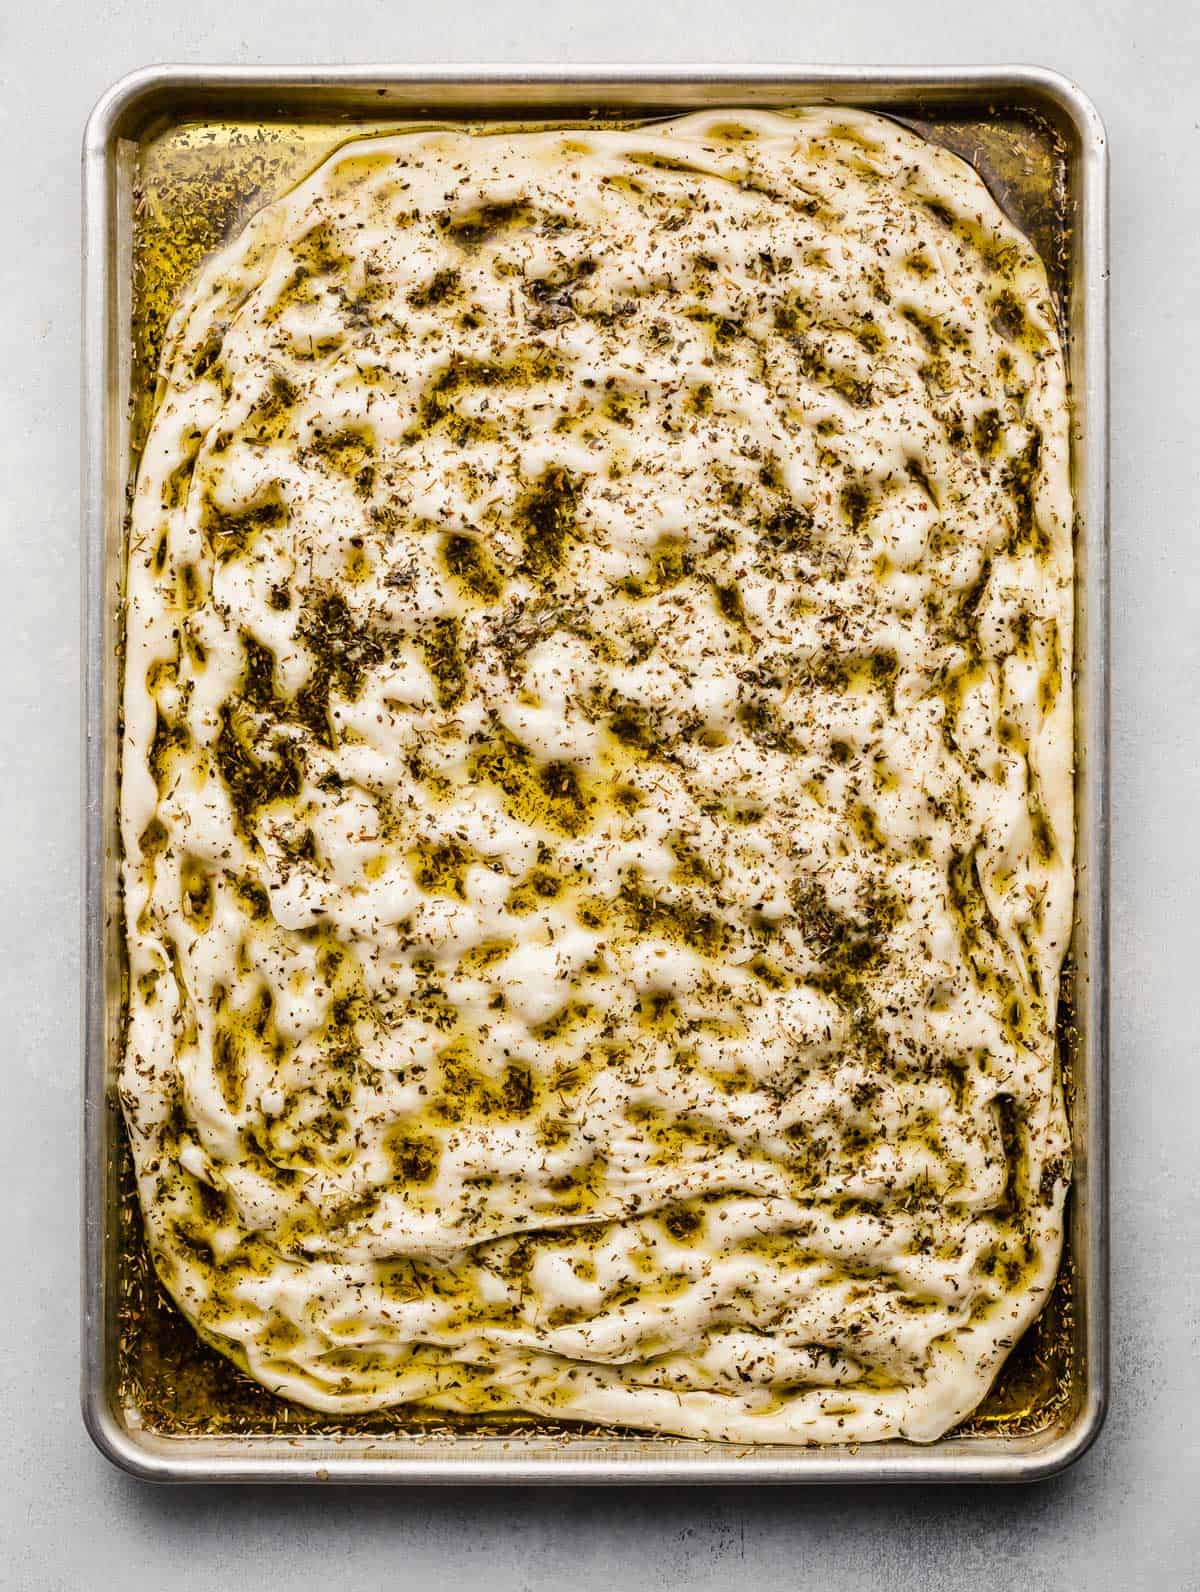
- Dimple the dough. Using your fingertips, dimple the dough, gently inching it to fill a majority of the pan. The dough doesn’t have to fit into the corners at this time. Add more herb oil as needed to the top of the dough. You want the entire surface coated in oil.
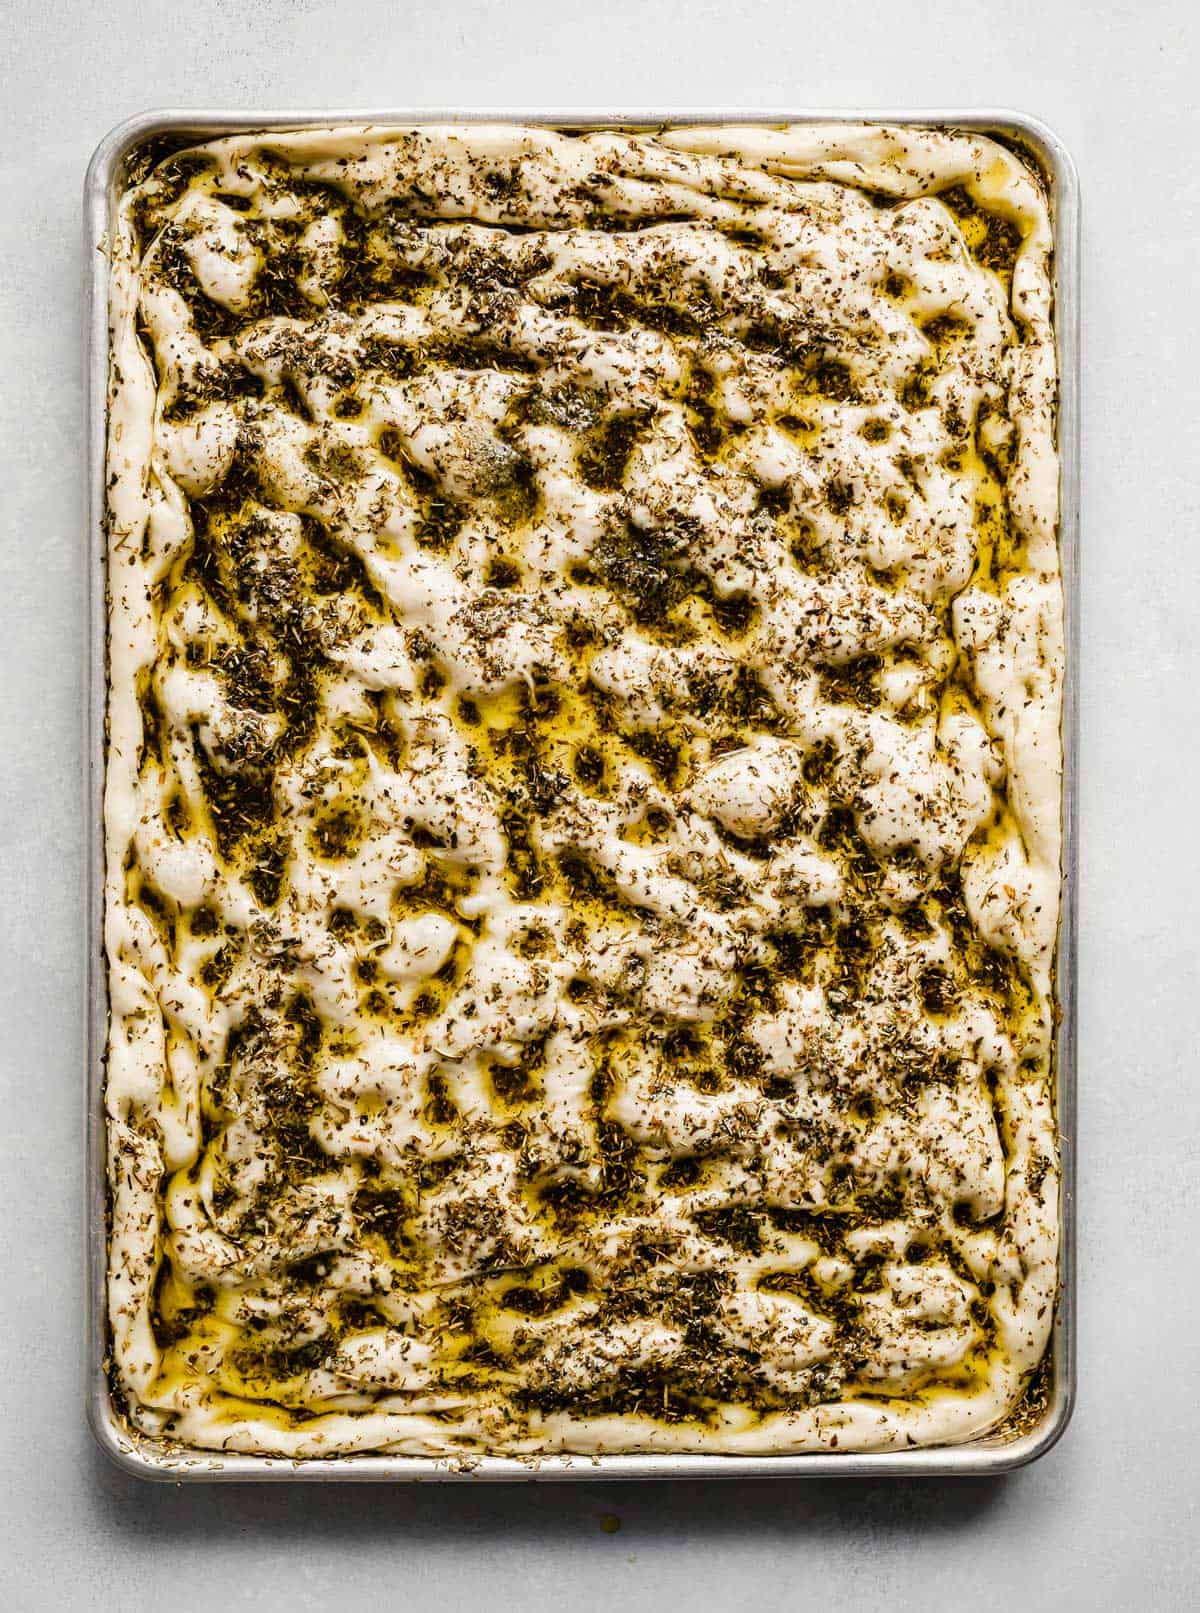
- Cover and chill. Cover the pan and refrigerate for 2 hours or overnight. Remove from the fridge and drizzle the remaining herb oil over the dough and dimple again. The dough should go to the sides and corners of the pan. Loosely cover with the plastic wrap and let sit at room temperature for 1 hour or until doubled in size. The dough should be about 1 inch thick.
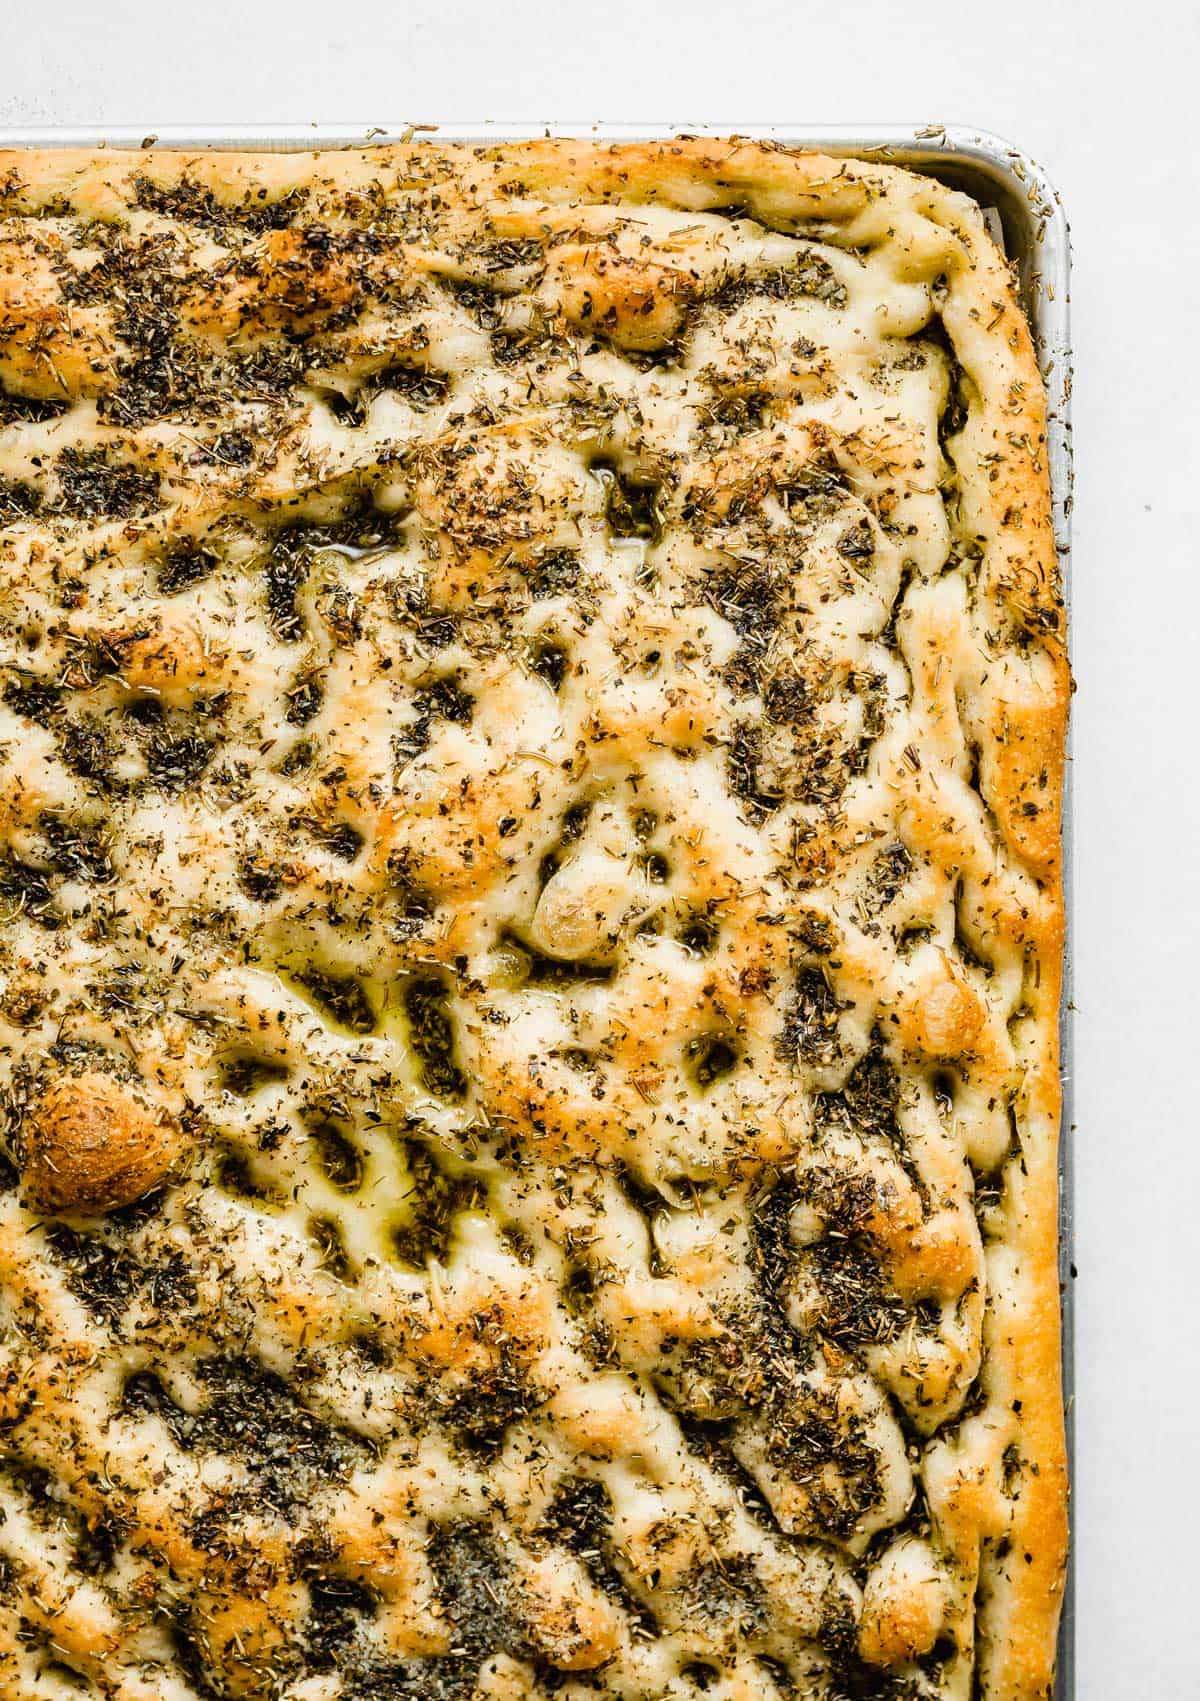
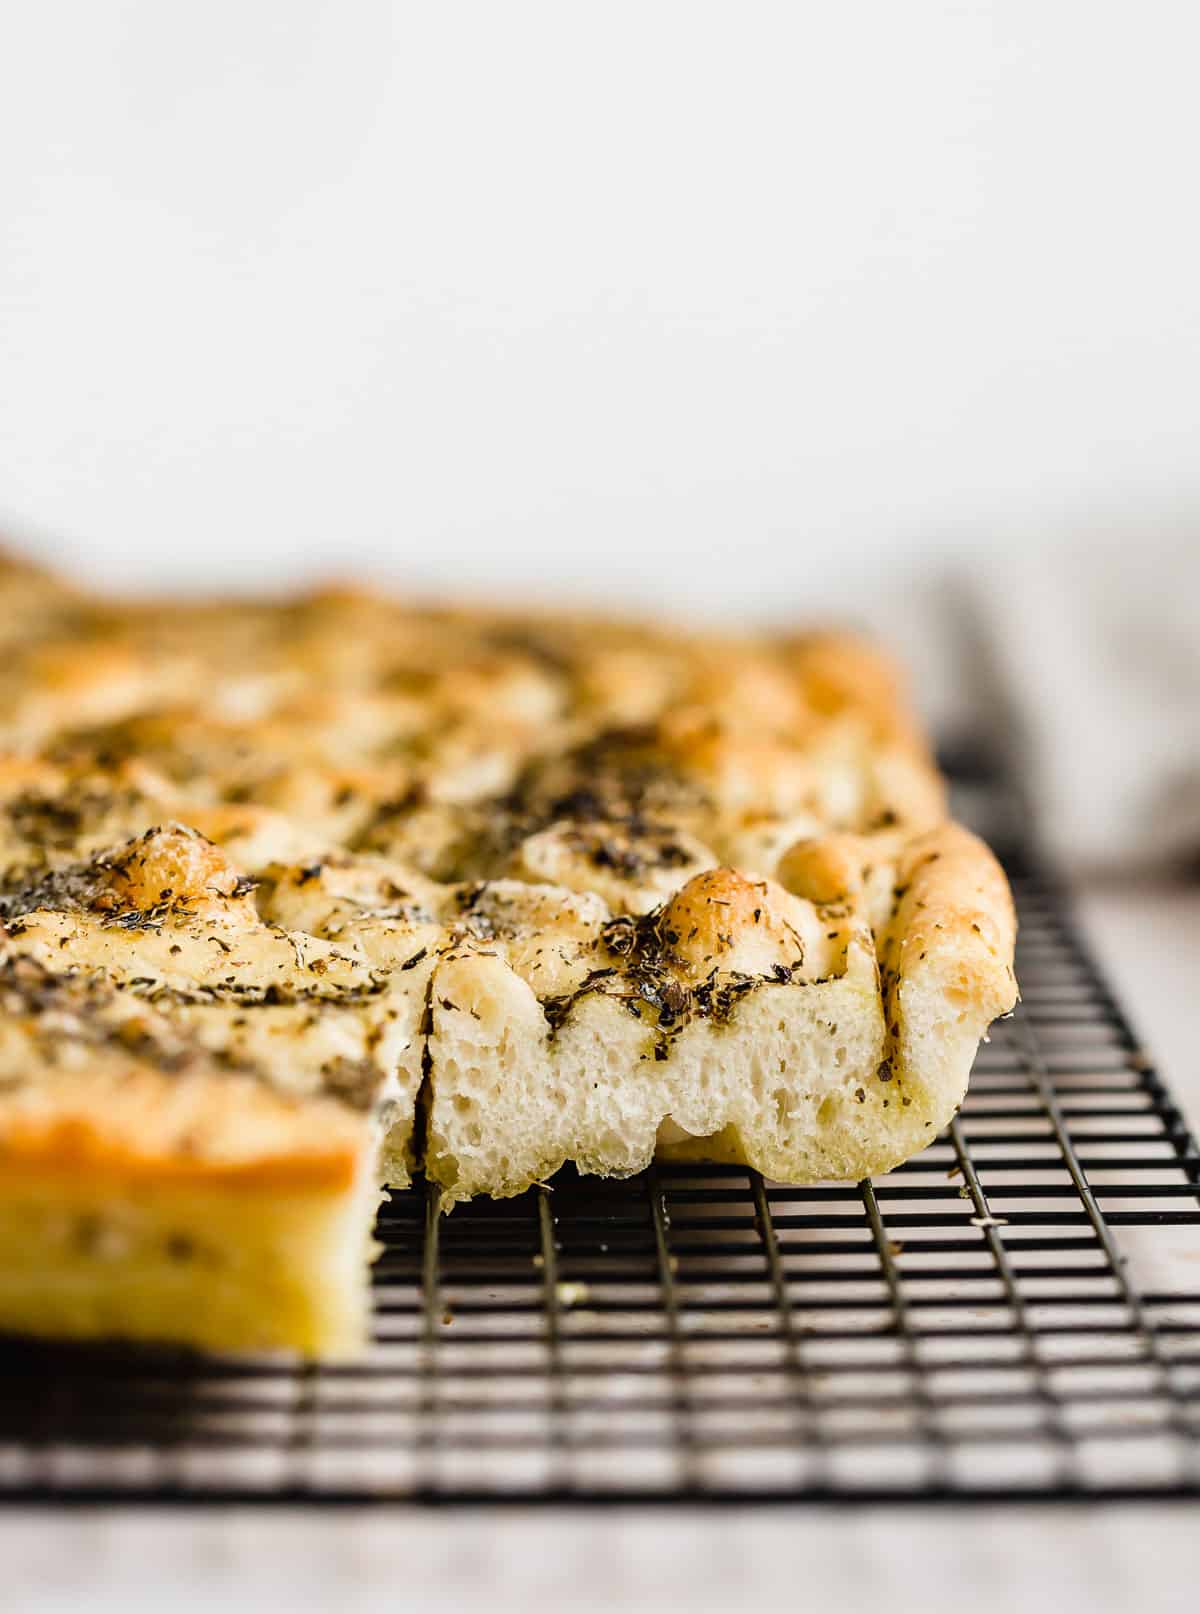
- Bake. Preheat the oven to 500°F. When ready to bake, remove the plastic wrap, place the dough in the oven and immediately turn the oven to 450°F. Bake for 10 minutes. Then, rotate the pan 180° and bake an additional 5-8 minutes or until the top is lightly golden brown. Remove from the oven and transfer the bread to a cooling wrack. Let cool for 15 minutes before slicing and serving.
Recipe Tips
If you want to chill the dough overnight, remove it from the fridge 3 hours before baking so that it can come to room temperature and proof to double its size.
I don’t recommend using a rolling pin. The whole technique of this focaccia recipe is the stretching, pulling, folding and dimpling!
One important factor to getting the best focaccia bread is having a HOT oven. Using an oven thermometer can help get the oven at the precise temperature.
There might be olive oil that spills over in your oven while the bread is baking, so be prepared! If you have an extra large baking sheet (larger than the regular half baking sheet size) line it with aluminum foil and place it on the baking rack directly underneath the focaccia while its baking. This baking sheet will catch any drips (if any).
Place whole cherry tomatoes or grape tomatoes on top of the focaccia before putting it in the oven for a cherry tomato focaccia. You can also add additional ingredients on top for variety such as sliced olives, onions, mushrooms, chopped sun-dried tomatoes, shredded parmesan, etc.
You’ll know the bread is done when the top is lightly golden brown, and the internal temperature of the bread reads 200°F, or above on an instant read thermometer.
Want to repurpose some of your leftovers? Cut the bread into small pieces and toast them for some focaccia croutons for salads! Use the herbed olive oil as a dip for breads!
Cut in strips instead of squares to use as breadsticks!
Make Ahead, Storing, and Freezing
If you want to make this focaccia bread recipe ahead of time, I suggest doing the proofing overnight option after dimpling the dough instead of chilling for just 2 hours. Then you can remove the pan from the fridge, let it sit at room temperature for 3 hours before baking, proof it again until doubled in size, then bake.
Store leftover focaccia in an airtight container or ziplock bag at room temperature. Focaccia doesn’t keep very long; it is much better fresh. But to help stretch out any leftovers, cut the bread in individual squares and wrap each square in 1 layer of plastic wrap and then 1 layer of aluminum foil. Then store in a Ziplock bag. Doing this will help the bread stay good for 2-3 days at room temperature.
To freeze, cut in squares, flash freeze on the pan, then wrap in plastic wrap. Place in a Ziplock bag and freezer for up to 1 month.
FAQs
Focaccia is an Italian flat bread recipe that’s baked with oils, herbs, and other toppings. It is a great side to serve with salads, pasta dishes, or other main courses. Because it is pretty thick, it can be sliced in half and used for making sandwiches.
The top will be lightly golden brown, and the internal temperature of the bread should read 200°F or above on an instant read thermometer.
The difference is the oil content in focaccia which makes the bread have lots of air pockets when baked. It bakes into a light, fluffy and airy texture, which is unlike regular bread.
More Bread Recipes
- Flaky Brioche Recipe
- Bisquick Cornbread
- Dinner Rolls Recipe
- Rosemary Garlic and Parmesan Dinner Rolls
- Easy Recipe for Naan Bread
Did you make this recipe? I’d love to hear about it! Click here to leave a rating and review, or scroll below the recipe card and do so there.
Stay up-to-date by following us on Instagram, Facebook, and Pinterest.
Focaccia Bread
Ingredients
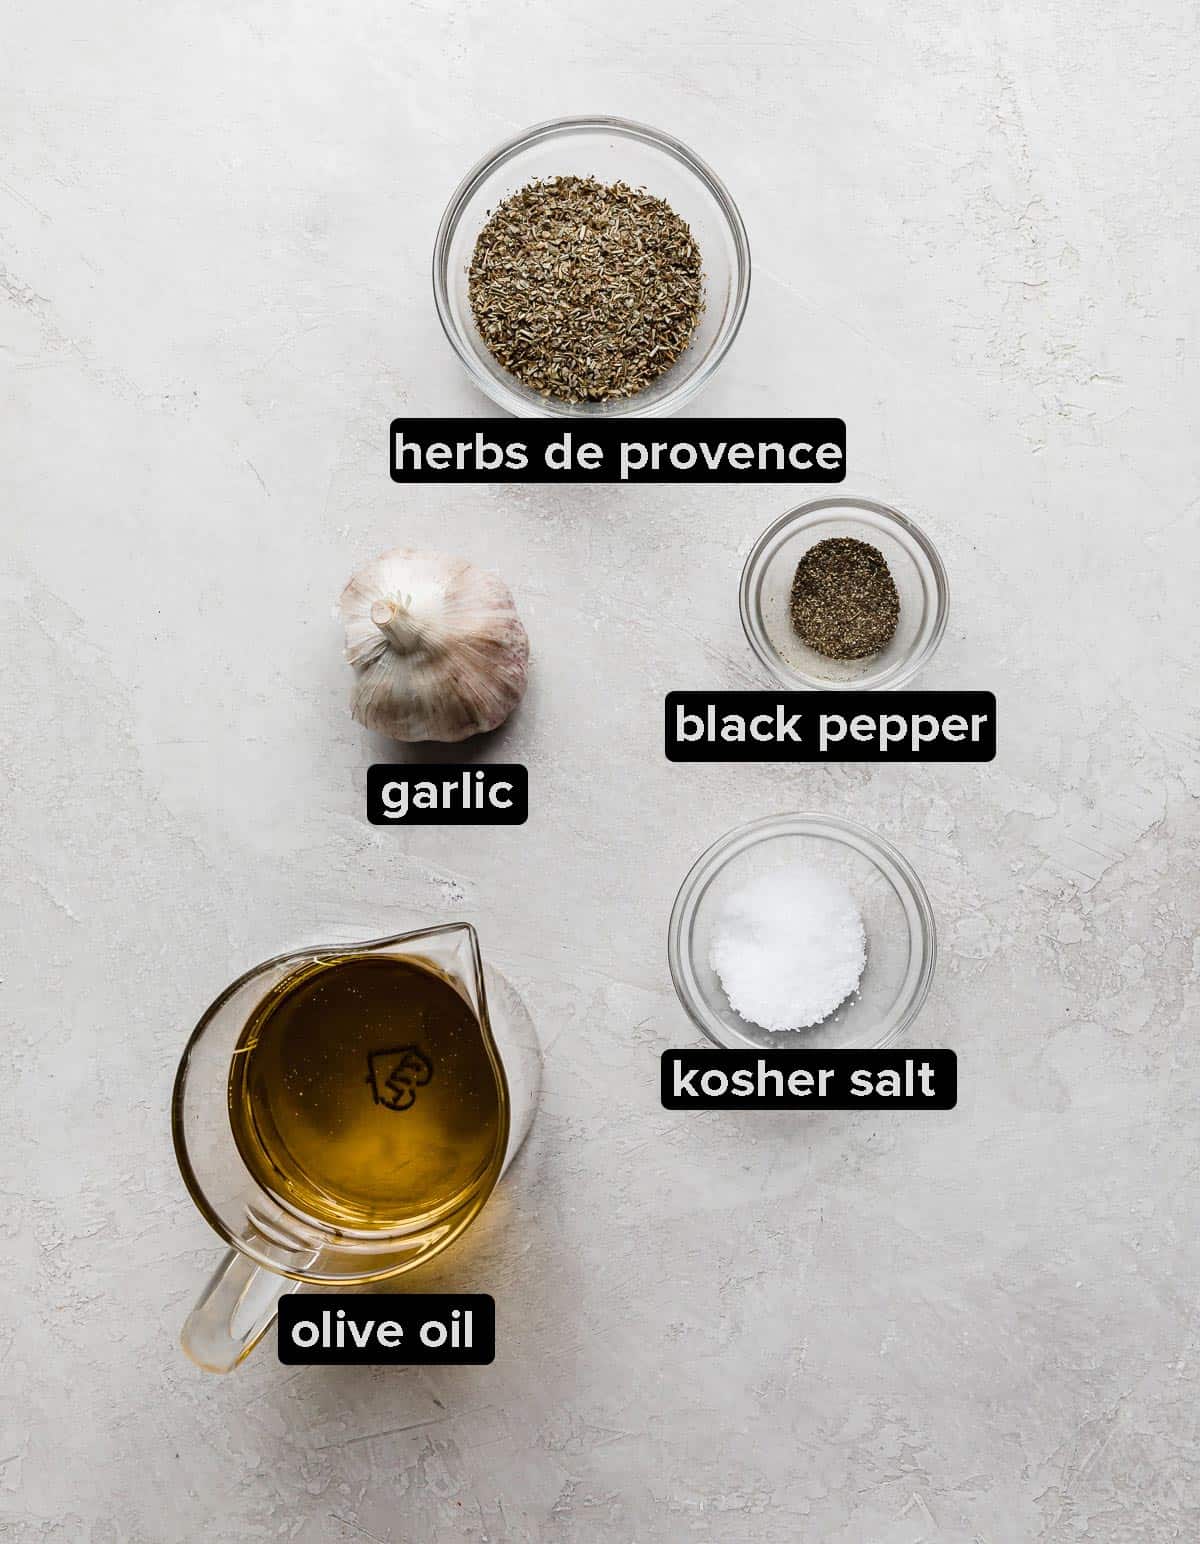
Herb Oil
- 1 3/4 cups olive oil
- 1/4 cup dried herbs de provence
- 2 1/2 teaspoons kosher salt
- 1 teaspoon fresh ground pepper
- 6 garlic cloves - minced
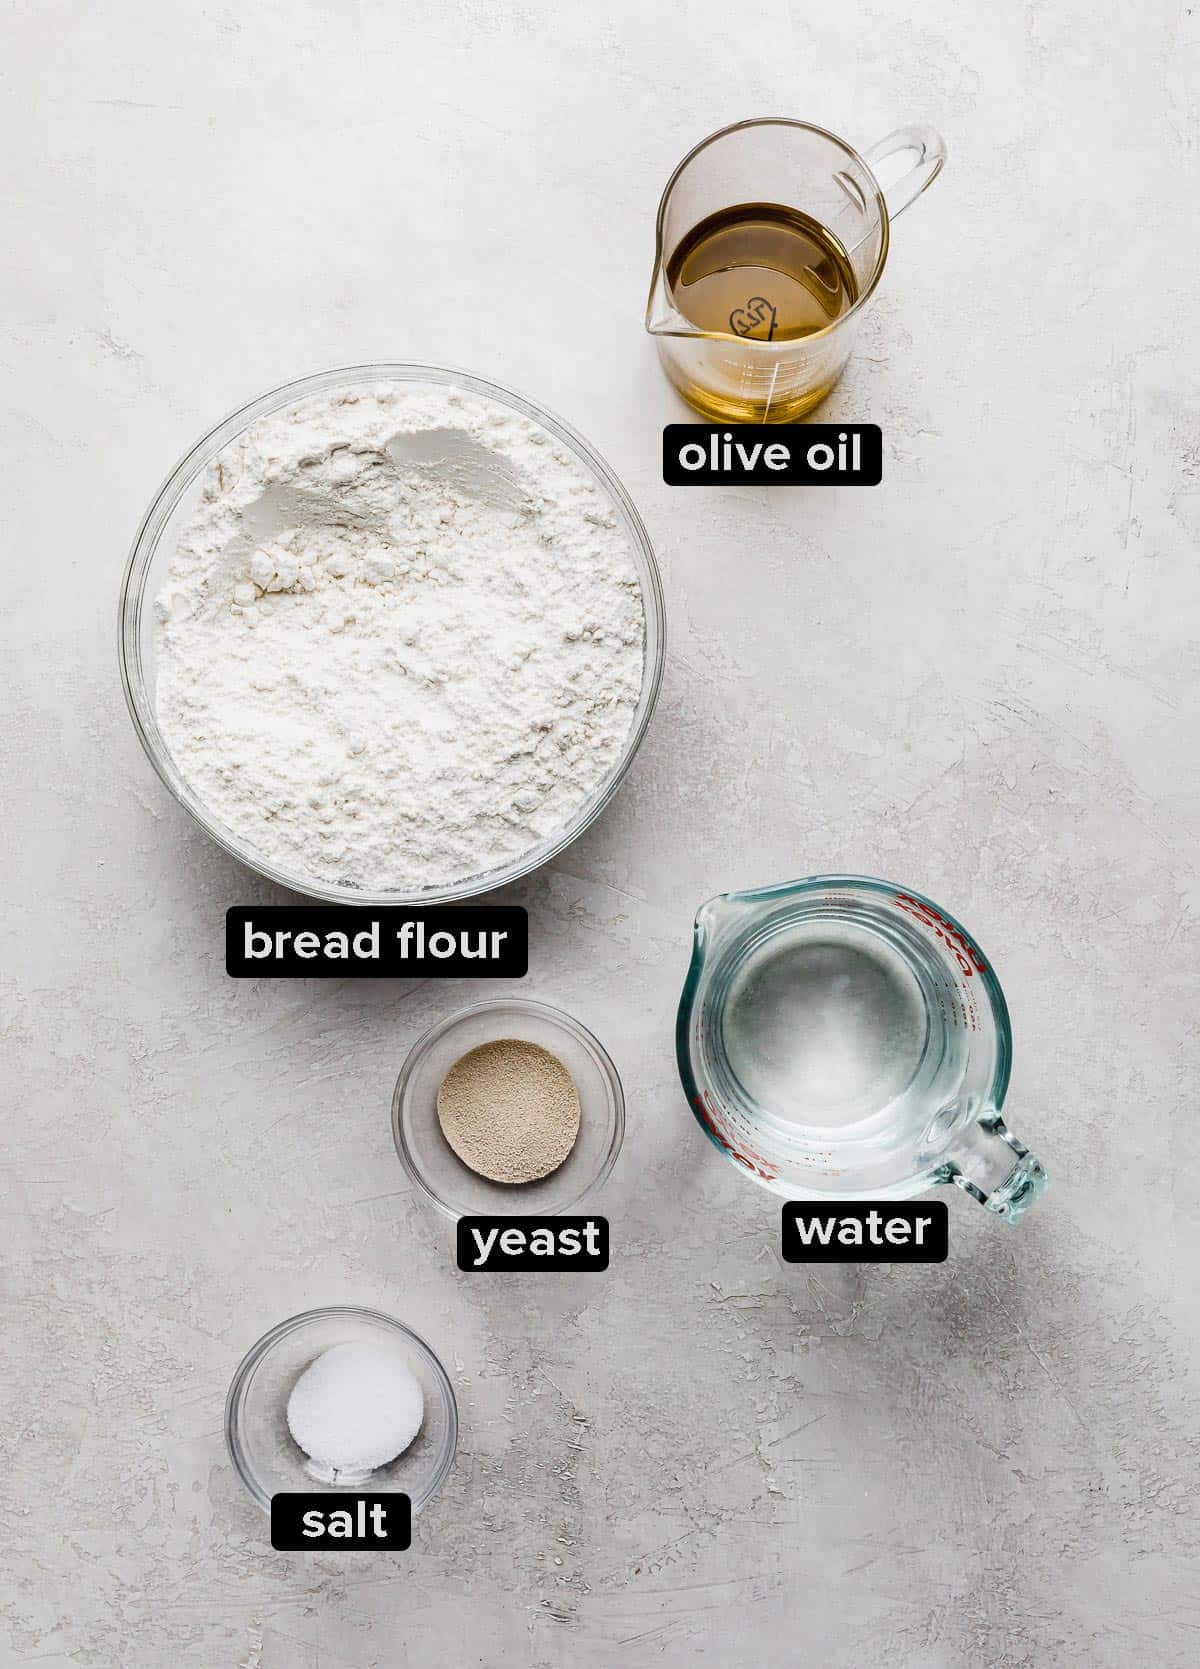
Dough
- 5 cups bread flour - see note #1
- 2 teaspoons salt
- 2 teaspoons instant yeast
- 6 tablespoons olive oil
- 2 cups lukewarm water
- 1/4 cup olive oil - for spreading on the baking sheet
Equipment
Instructions
Herb Oil
- In a small sauce pan add the olive oil and salt. Stir over medium-low heat until it reaches 100-110°F. Add the dried herbs, pepper, and garlic and stir to combine. Remove from heat and let the mixture steep while you make the focaccia dough.
Dough
- In the bowl of a stand mixer add the bread flour, salt, and yeast. Whisk to combine. Next add the olive oil and water. Mix with the paddle attachment until the ingredients form into a sticky ball. Change to the dough hook and mix on medium speed for 5 minutes, or as long as it takes to form a tacky ball. The dough should clear the bottom and sides of the bowl. If yours doesn’t clear the sides of the bowl, add a tablespoon of flour at a time until the dough does so. IF by chance the dough sticks to the bottom of the bowl a little bit, that’s ok. We just don’t want a dry dough. (My dough always cleans the sides and bottom of the bowl).
- Transfer the dough to a floured work surface. Pat the dough into a rectangle. Grab both ends and stretch the dough until it’s twice it’s size. Fold it letter style, over itself to return the dough back to a rectangular shape. Spritz the top of the dough with olive oil or nonstick cooking spray. Cover the dough with plastic wrap and let rest for 15 minutes.
- Stretch and fold the dough again. Spritz the dough with nonstick cooking spray or olive oil, cover with plastic wrap and let rest for 15 more minutes.
- One last time, stretch and fold the dough again. Spritz the dough with nonstick cooking spray or olive oil, cover with plastic wrap and let rest for 30 more minutes. The dough should rise slightly during this time (but won’t double in size).
- Line a baking sheet with parchment paper and spread the ¼ cup of olive oil over the parchment (use your hands or a pastry brush), making sure the olive oil covers the entire surface.
- Transfer the dough to the baking sheet. Spoon half of the herb oil over the dough.
- Using your fingertips, dimple the dough, gently inching it to the a majority of the pan. The dough doesn’t have to fit into the corners at this time. Add more herb oil as needed to the top of the dough. You want the entire surface coated in oil.
- Cover the pan with plastic wrap and place in the refrigerator for 2 hours (or overnight if you wish) see note #2.
- Remove from the fridge. Drizzle remaining herb oil over the dough and dimple again. The dough should go to the sides and corners of the pan. Loosely cover with the plastic wrap and let sit at room temperature for 1 hour or until doubled in size.
- See note #3. About 30 minutes into the proofing, preheat the oven to 500°F.
- When ready to bake, remove the plastic wrap, place the dough in the oven and immediately turn the oven to 450°F. Bake for 10 minutes. Then, rotate the pan 180° and bake an additional 5-8 minutes or until the top is lightly golden brown.
- Remove from the oven and transfer the bread to a cooling wrack. Let cool for 15 minutes before slicing and servings.
Notes
- If making this at high altitude, start with 4 cups and work your way up… you don’t want the dough to be dry.
- If you want to chill the dough overnight, remove it from the fridge 3 hours before baking so that it can come to room temperature and proof to double it’s size.
- There might be olive oil that spills over in your oven while the bread is baking, so be prepared! If you have an extra large baking sheet (larger than the regular half baking sheet size) line it with aluminum foil and place it on the baking rack directly underneath the focaccia while its baking. This baking sheet will catch any drips (if any). OR you can line the bottom of the oven with foil to catch any spills.
This recipe was originally published on Sept. 21, 2020. It was republished on Feb. 23, 2022, to include additional information and photos.
 Welcome to this delicious corner of the internet! Here I share the recipes my family loves.


9 Comments on “Focaccia Bread”
Whitney. Thank you so much for this recipe. I have to tell you that I’ve always had a terrible time making bread and normally I wouldn’t attempt. I was our hosting our monthly bunco night for February. I made lasagna and a Caesar salad. I wanted a focaccia bread to go with it. I came across your recipe and decided to attempt. I even backed it up with a focaccia bread from Sams. I made it the night before and put it in the refrigerator before proofing. I was also skeptical of my oven because it is a convection oven and I wasn’t sure about it. Anyway I took it out of the refrigerator 3 hours before and it rose perfect. I baked it at 450 for exactly 10 minutes and it was beautiful. Needless to say my dinner party was a smash and the bread was loved. Thanks.
Hi! Can you make the dough in a bread maker? I do t have a standing mixer so thought this would be the next best thing? Should I not use break maker yeast (I don’t know if there’s a big difference)? Thanks!
You could always just mix it by hand. I haven’t worked with a bread maker before so I don’t know how it will work/what you’d have to do to make this recipe be appropriate for a bread machine.
I followed the recipe precisely and was rewarded with a beautiful bread!
My husband could not get enough of this bread. He kept saying how amazing it was. My standing as a bread maker went up tremendously in his eyes !
And the herb oil is amazing as well. We will be using it as a dipping sauce for bread.
Overall this is a great recipe !!
Thanks Kris! Glad you all enjoyed it. What a great idea to use the herb oil for a dipping sauce. YUM!
I’ve been looking for a good homemade focaccia recipe. I loved eating focaccia in Italy, and I’ve been wanting to make some at home. I love adding cherry tomatoes on top, it’s something I saw in Italy a lot. So this recipe + cherry tomatoes = YUM.
Hi Whitney!
I haven’t made the Focaccia yet but I love your stories. I’m glad you didn’t actually burn the house down, I hope, but I would love to hear about the drama. I’m shocked that there are such grumps that they “just want the recipe” , live a little people, it’s the humanity that is so important, not just the recipe. Whitney works hard on all of this, and I think we mean something to her. She certainly means a lot to me.
Thanks Anne! You’re so nice. Reading your comment made my day, thank you!! It’s nice to hear that you like to read what I have to say and not just get the recipe 🙂
The story isn’t as dramatic as I made it sound (I ended up deleting the “almost burned down the house portion in the blog post because I thought that would scare people away from making the recipe 😂)!
We actually live in a really old house and the kitchen ovens are only a few feet away from the fire alarm/smoke detector. While I was making this focaccia some of the oil from the pan spilled into the oven and started majorly smoking out the kitchen! The alarm was constantly going off and my husband and sons were standing on chairs (right next to the smoke detector) waving large cutting boards in the air trying to whisk the smoke away from the alarm! 😂 It was a sight I’ll never forget! But I was determined to finish baking the bread. After learning my lesson… I included in the recipe notes to place foil on the bottom of the oven or on a baking sheet on a rack right underneath the bread *just incase* this happens to anyone else. Which it shouldn’t. 😁