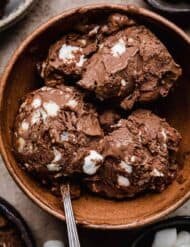
Rocky Road Ice Cream Recipe

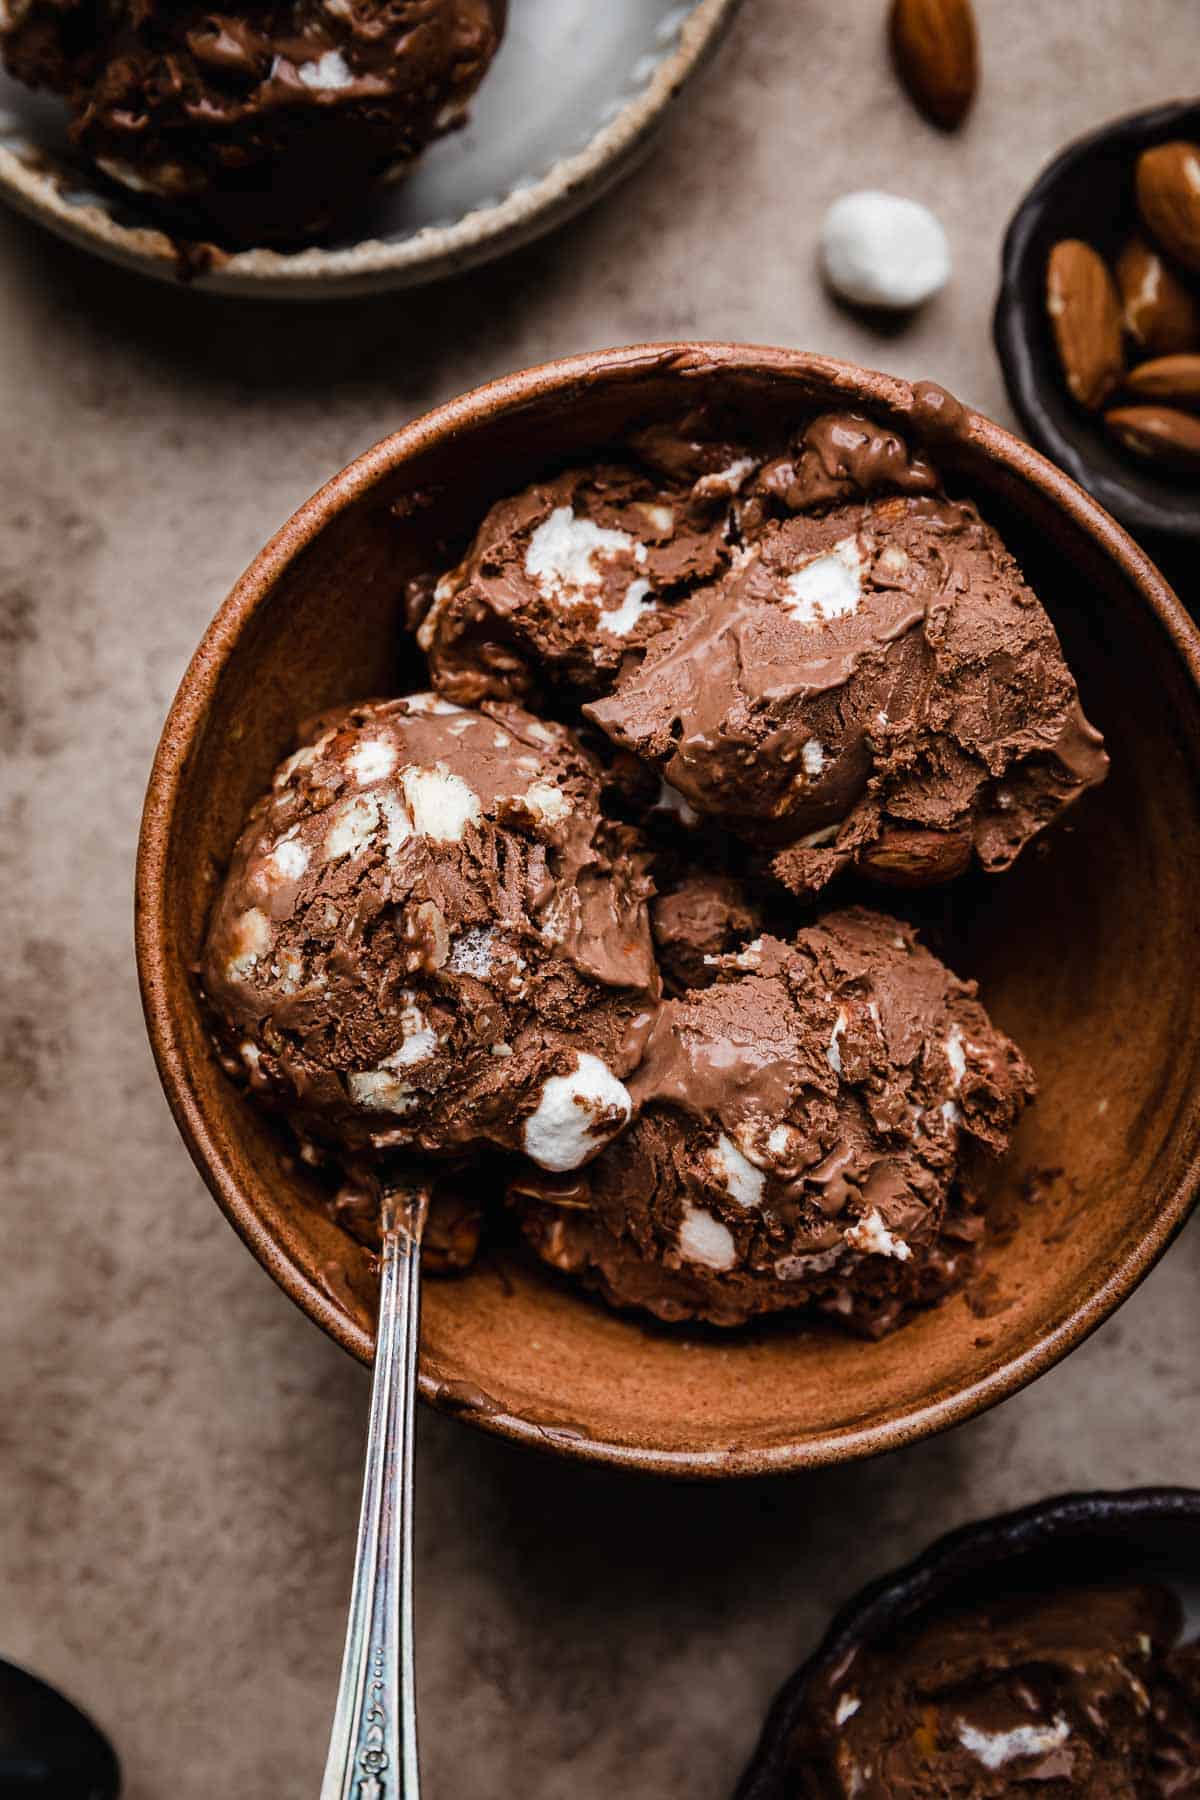
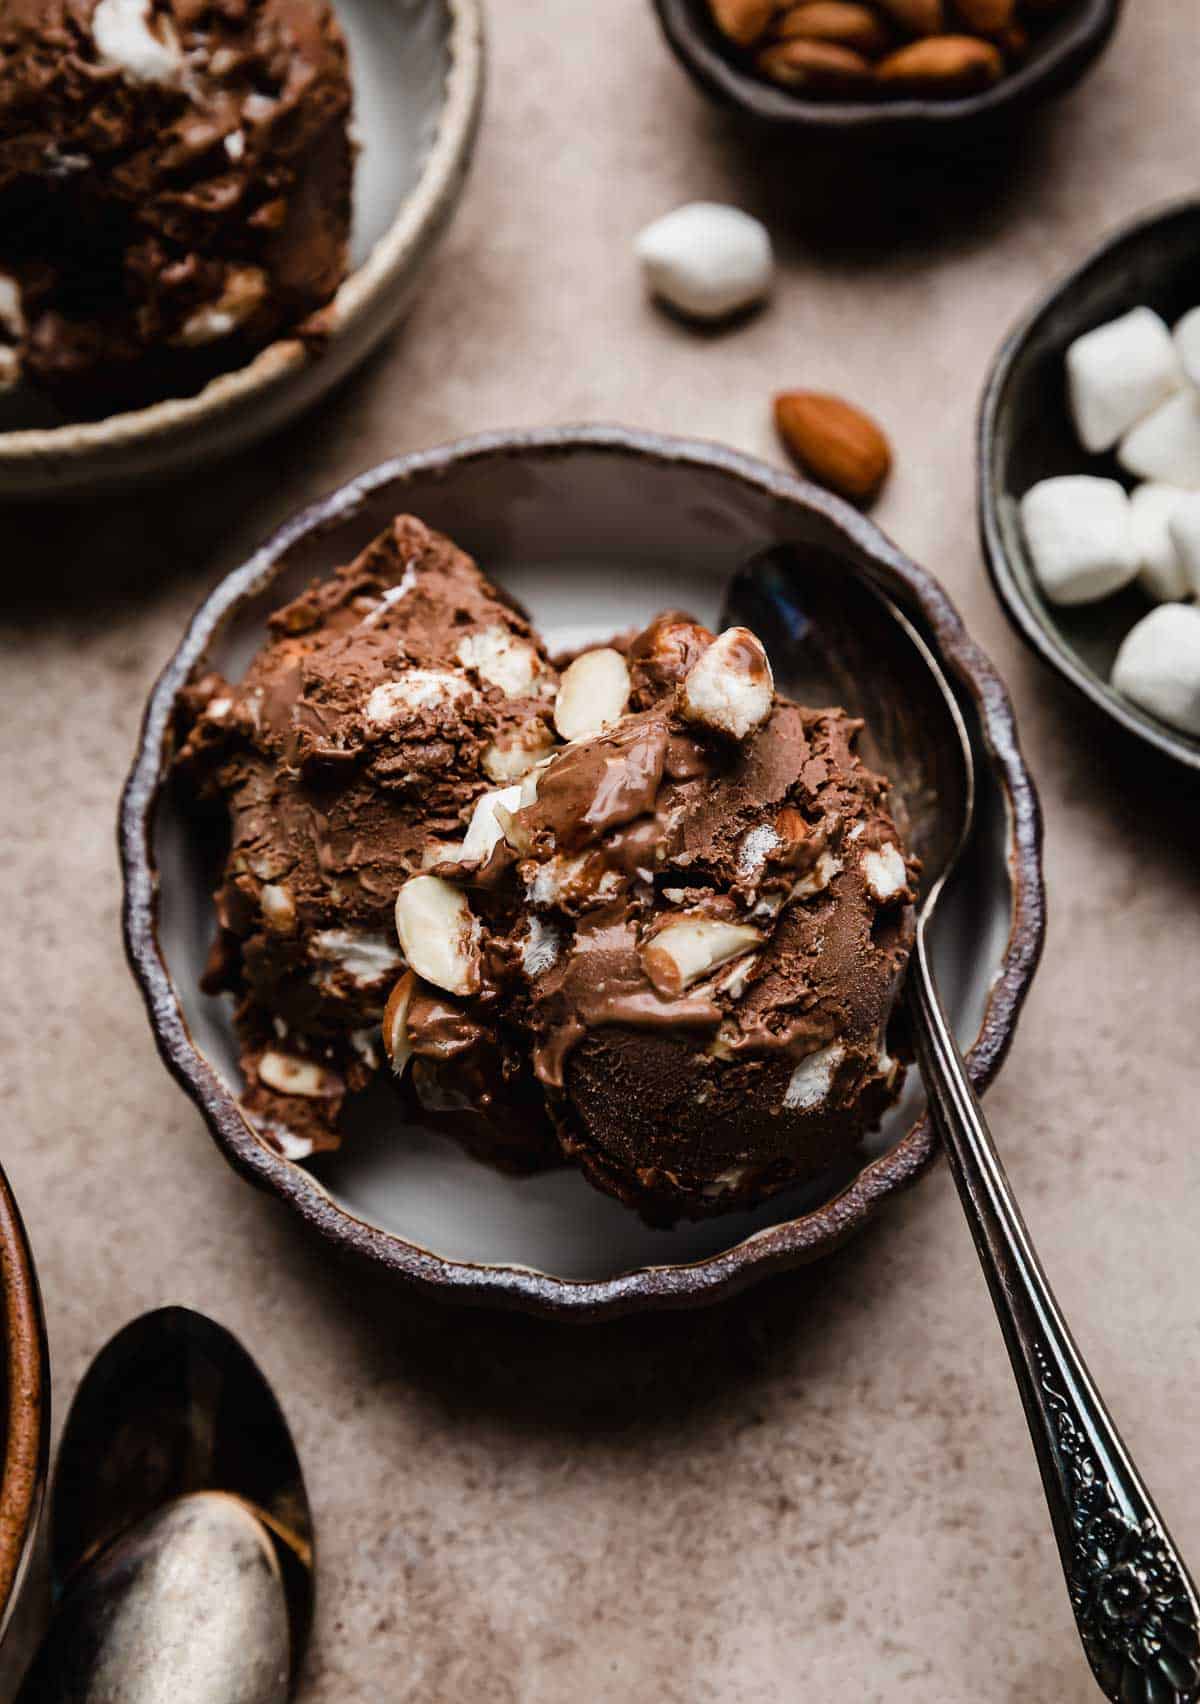
Take your tastebuds on a delicious adventure with this homemade rocky road ice cream recipe! Chewy marshmallows and crunchy almonds are mixed with rich chocolate base for a chunky ice cream that’s full of delightful textures and flavors.
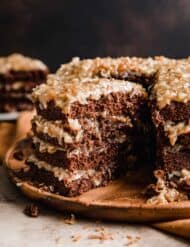
This recipe uses my favorite Dark Chocolate Ice Cream as the base. For more chocolate ice cream variations, make sure to try my German Chocolate Ice Cream and Cosmic Brownie Ice Cream.
Why This Recipe Works
- Best rocky road ice cream. When you buy rocky road ice cream from the store, sometimes you get a good amount of inclusions, and sometimes you get a carton of ice cream with barely any nuts or marshmallows. In this recipe for rocky road ice cream, we’re adding the perfect amount of marshmallows and nuts to the chocolate ice cream base to ensure every bite of the final product is rocky road perfection.
- Simple ingredients. One of the benefits of making your own ice cream is that there are fewer ingredients and additives than in store-bought ice cream. The custard base is a fairly simple mixture of eggs, cream, and sugar, and the only additions after the ice cream is churned are crunchy nuts and gooey marshmallows.
- Ready to eat. Normally, freshly churned ice cream needs to be popped in the freezer to firm up before it can be enjoyed. This smooth chocolate ice cream churns super thick, so you can enjoy it right away!
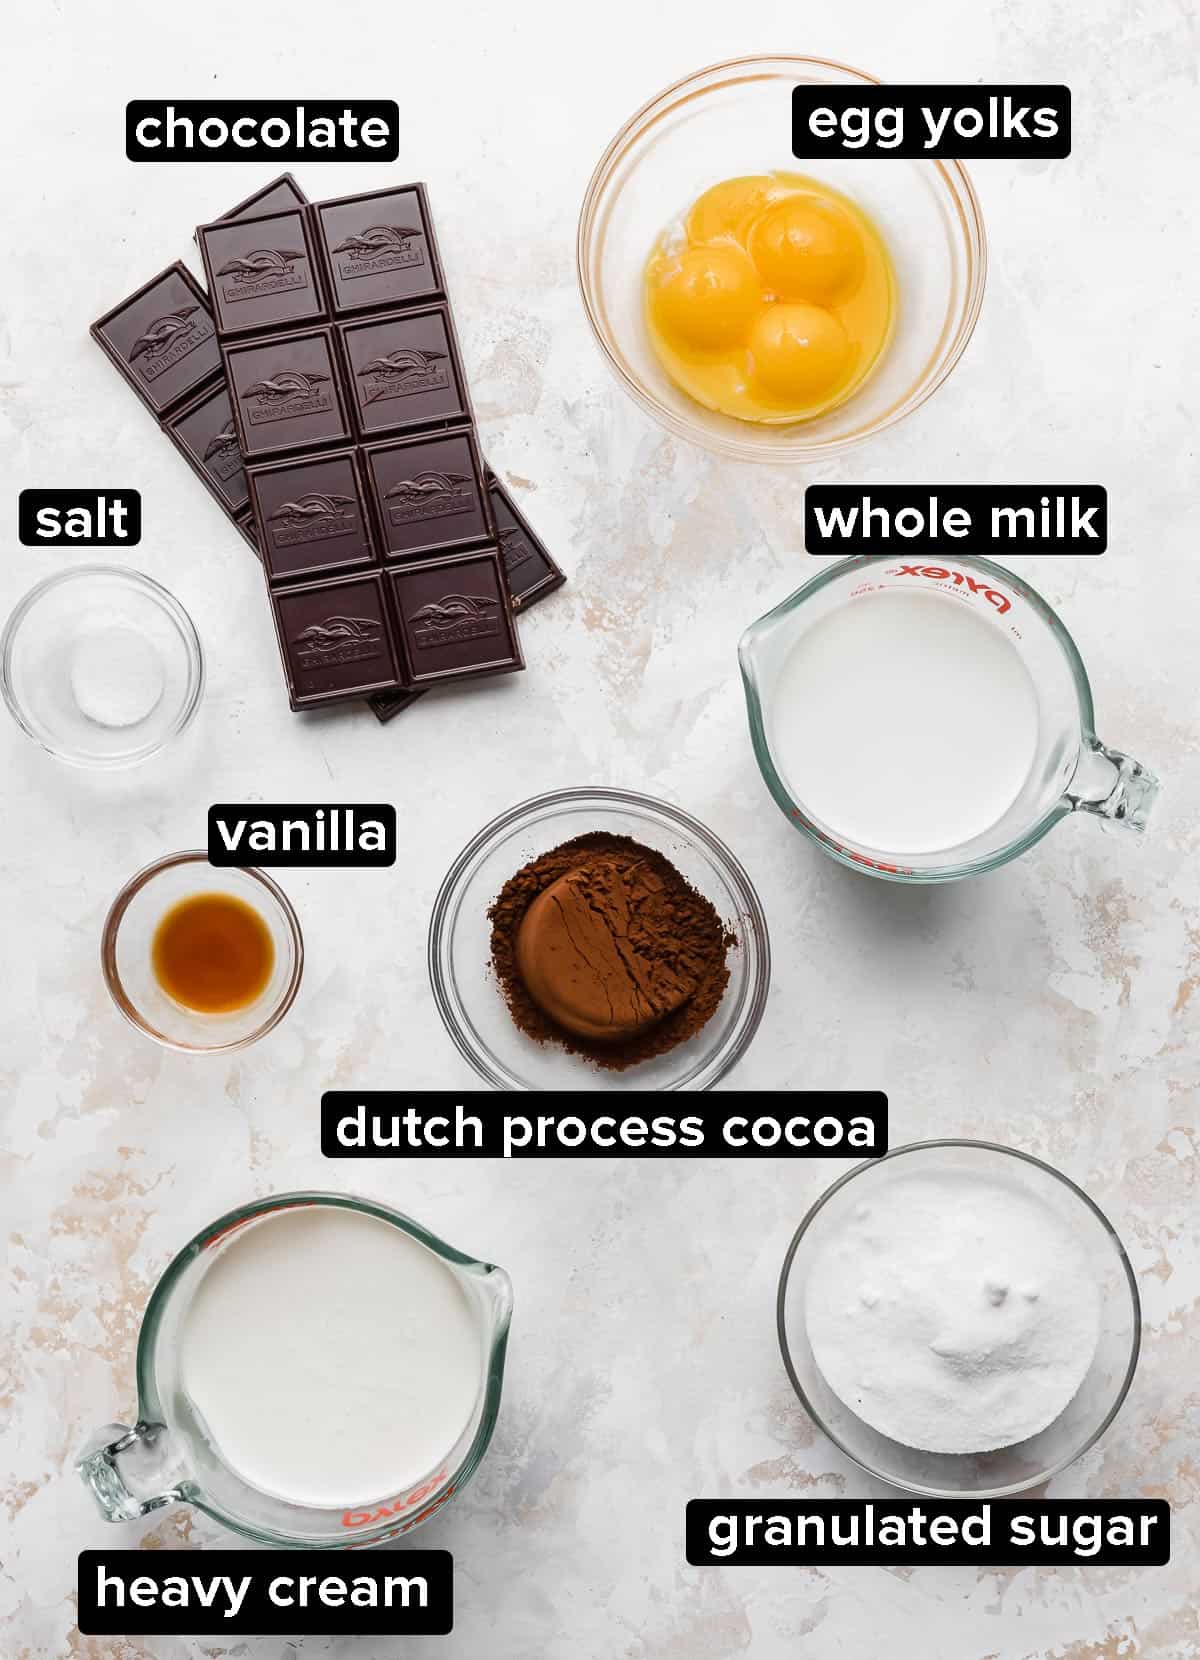
- Granulated sugar: Sugar serves dual purposes in ice cream. Obviously it adds sweetness, but it also prevents it from getting icy, so you get a soft, smooth scoop.
- Dutch process cocoa powder: Using cocoa powder gives our ice cream chocolate flavor. I prefer to use Dutch process cocoa over unsweetened cocoa powder because it’s less acidic and has a deeper, richer chocolatey flavor.
- Whole milk and heavy whipping cream: Full-fat dairy is the other key to smooth and creamy ice cream.
- Bittersweet chocolate: To add even more rich chocolate flavor, I like to chop and melt a solid bar of bittersweet or semisweet chocolate to add to the creamy chocolate ice cream base.
- Vanilla extract: I love the way vanilla complements and even enhances the flavor of the chocolate.
- Egg yolks: For the base of this rocky road ice cream recipe, we’re going to make a thick custard. Eggs serve to thicken the creamy chocolate base, and they also add to the fat content that will help this ice cream have a velvety texture.
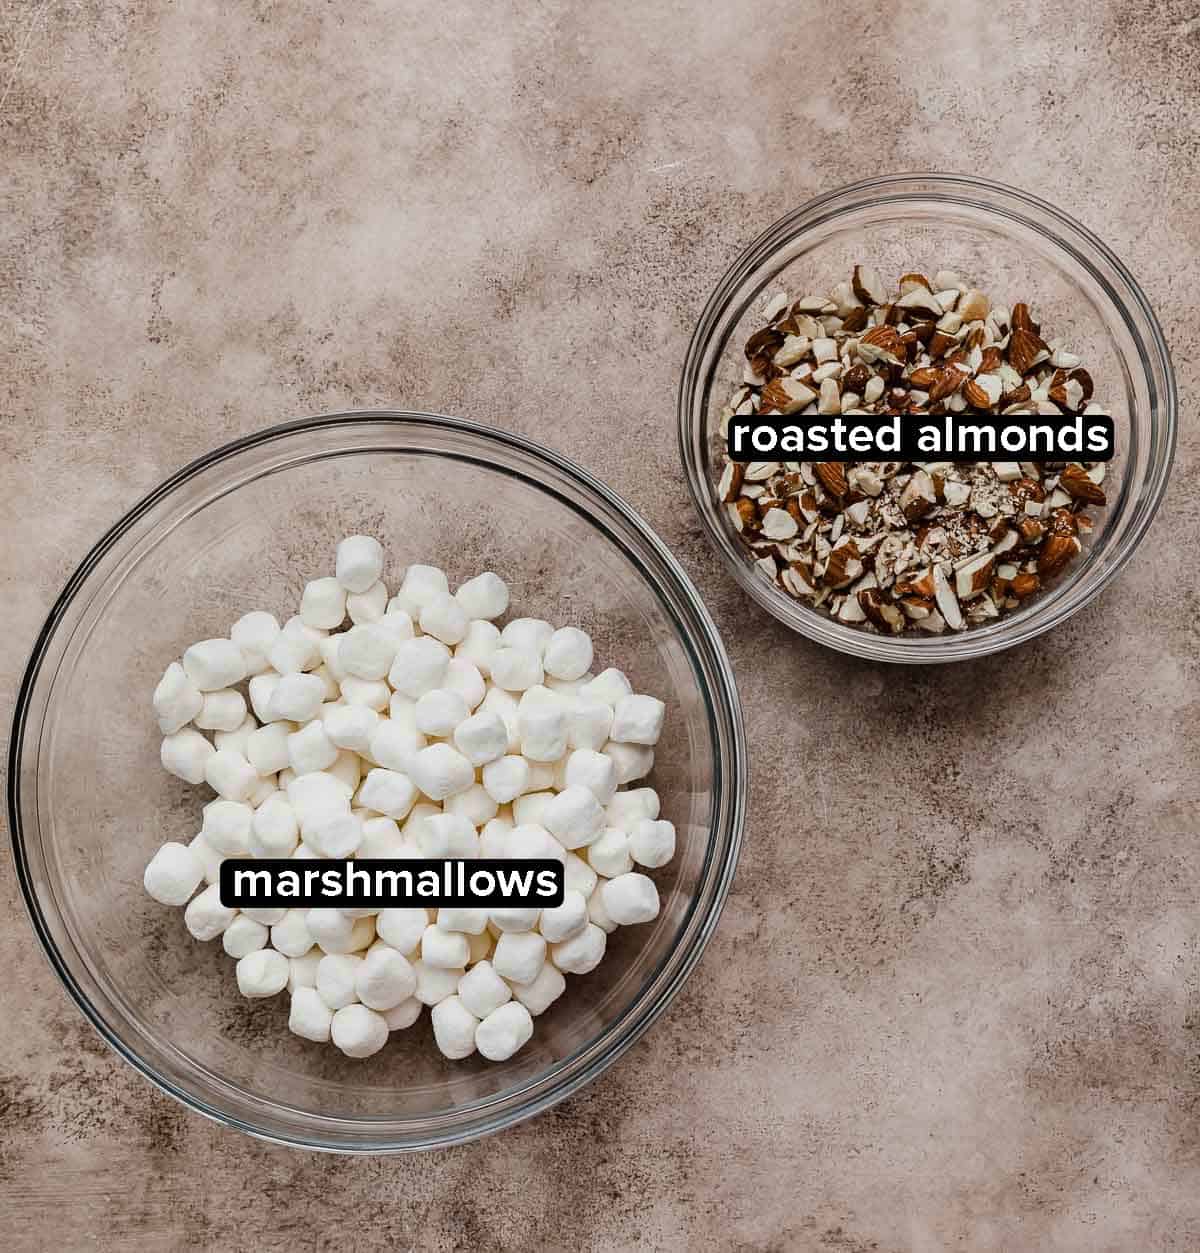
- Roasted almonds: Roasting the almonds before they’re added to the ice cream base enhances their flavor and also gives them a delicious crunch.
- Mini marshmallows: The other classic addition to rocky road ice cream, the marshmallows don’t harden in the ice cream so they provide soft pops of sweetness throughout.
How to Make Rocky Road Ice Cream
- Prep ingredients. Roughly chop 1 cup of almonds and set aside. Finely chop 8 oz of bittersweet or semisweet chocolate and set aside. Finally, separate 4 egg yolks into a small bowl and lightly beat them with a fork. Also, now is a good time to check if your ice cream maker requires a frozen bowl!
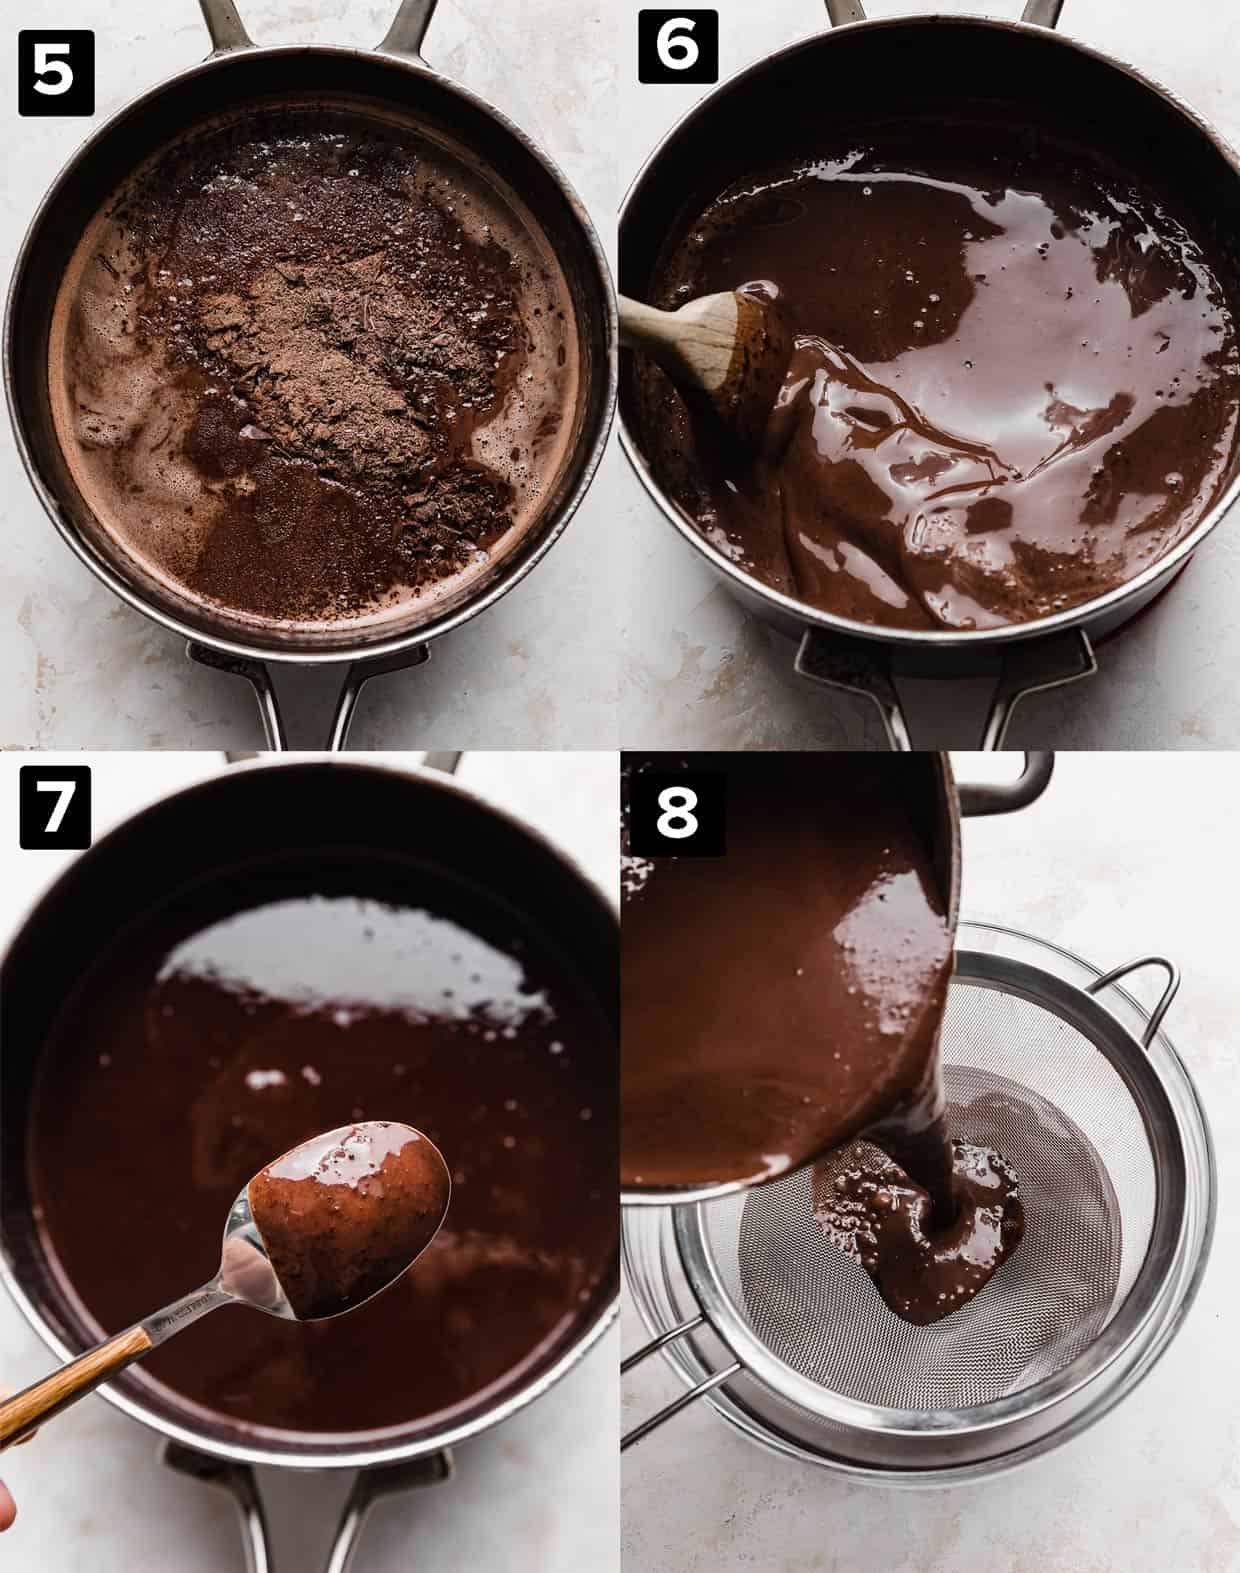
- Whisk dry ingredients together. In a saucepan, whisk together ¾ cup of granulated sugar, ⅓ cup Dutch process cocoa powder, and ¼ teaspoon salt. Make sure there are not cocoa powder clumps.
- Add milk and cream. Place your saucepan on the stove. While whisking the cocoa-sugar mixture, pour in 1 cup of whole milk and 2 cups of heavy cream. Turn the heat onto medium-low, stirring constantly, until it begins to simmer (bubbles start to form on the side of the pan). Remove from heat.
- Temper eggs. Slowly pour a ½ cup of the milk mixture into your bowl with the egg yolks, stirring the egg yolks the whole time. Then, slowly drizzle the warmed egg yolk mixture back into saucepan with the rest of the chocolate mixture, still stirring constantly. The slow pouring and constant stirring helps prevent the eggs from scrambling.
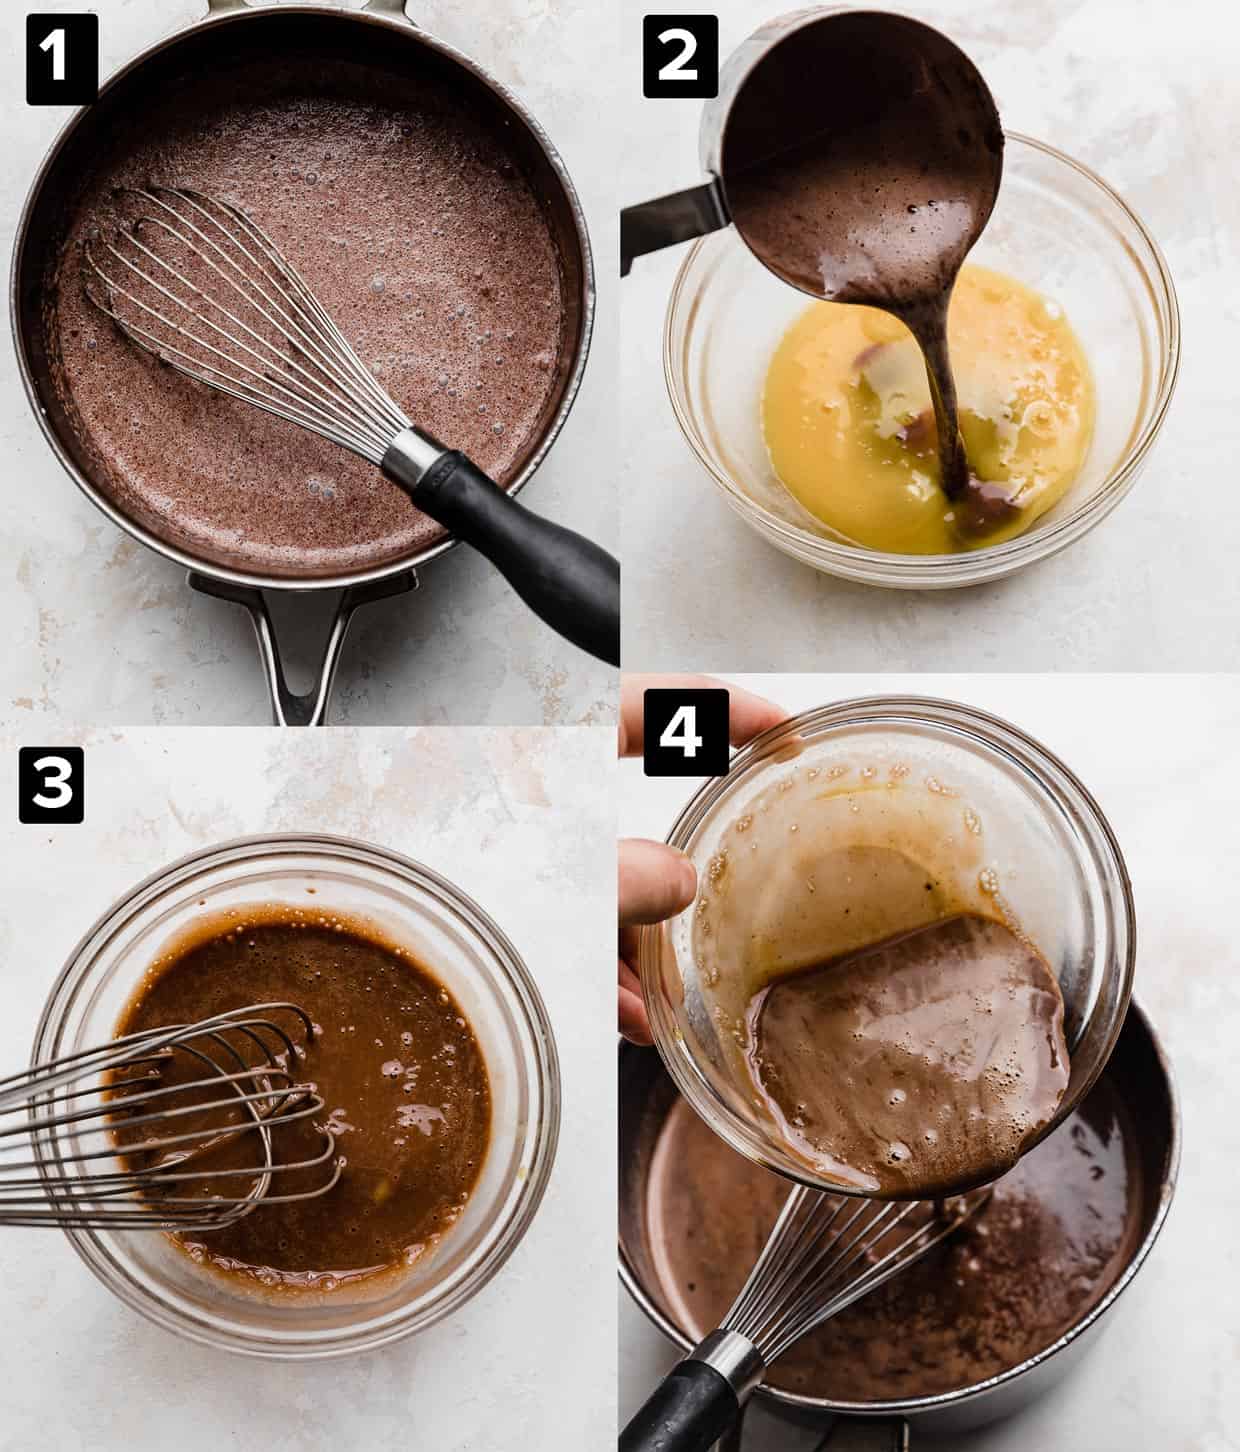
- Add chopped chocolate. Add 8 oz of finely chopped bittersweet chocolate to the chocolate-egg mixture and stir to combine.
- Heat until thickened. Place the saucepan back on the stove over low heat. Stir, heating the mixture until it becomes thick enough to coat the back of a spoon. Do NOT let it boil. If you have an instant read thermometer, you want to heat it until it reaches 170°F. Otherwise, it takes 5-7 minutes. Once it’s reached the desired thickness, remove it from heat.
- Strain and chill. After removing the mixture from the heat, stir in 1 teaspoon of vanilla extract. Strain the ice cream mixture through a fine mesh strainer into a large bowl. Next, place the bowl with the chocolate mixture inside on top of an ice bath (fill a large mixing bowl with ice and cold water). Stir often until the chocolate custard reaches room temperature. Once the custard reaches room temperature, cover it and let it chill in the fridge for at least 4 hours, or up to 1 day.
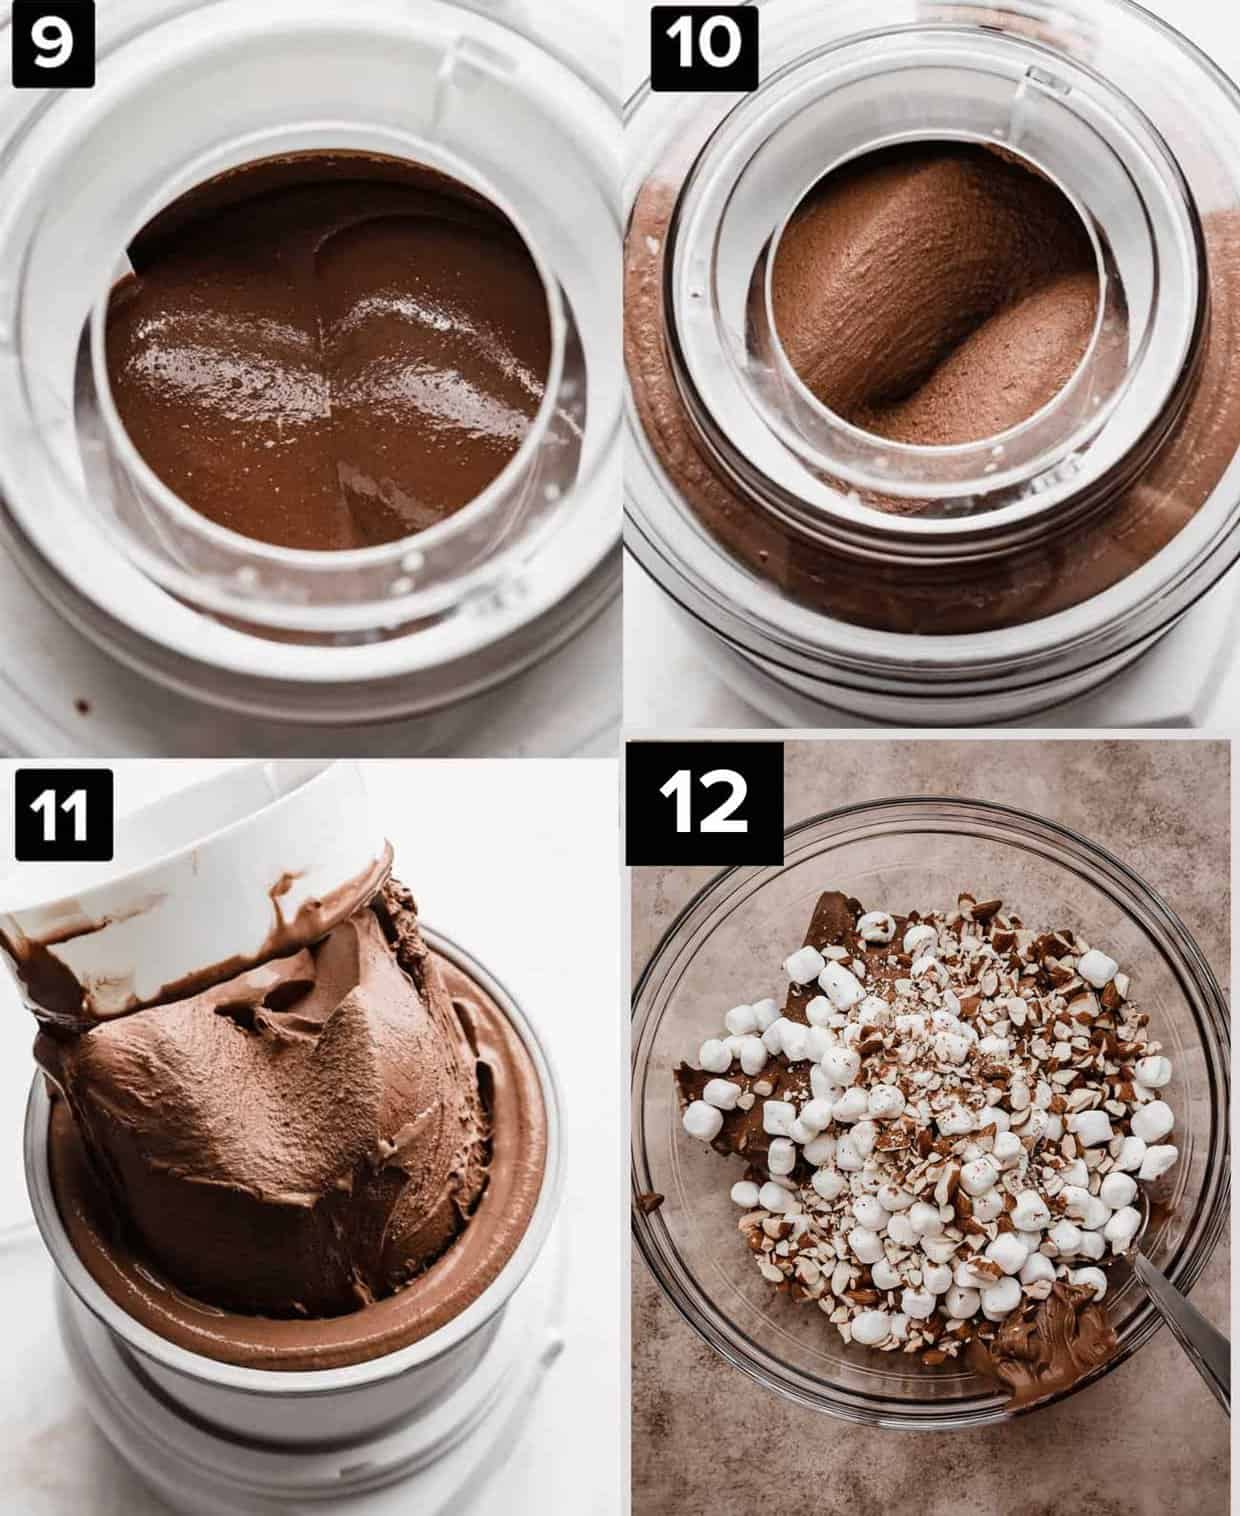
- Churn. After allowing the chocolate mixture to chill, remove it from the fridge and pour it into your ice cream maker. Churn according to your ice cream maker’s instructions.
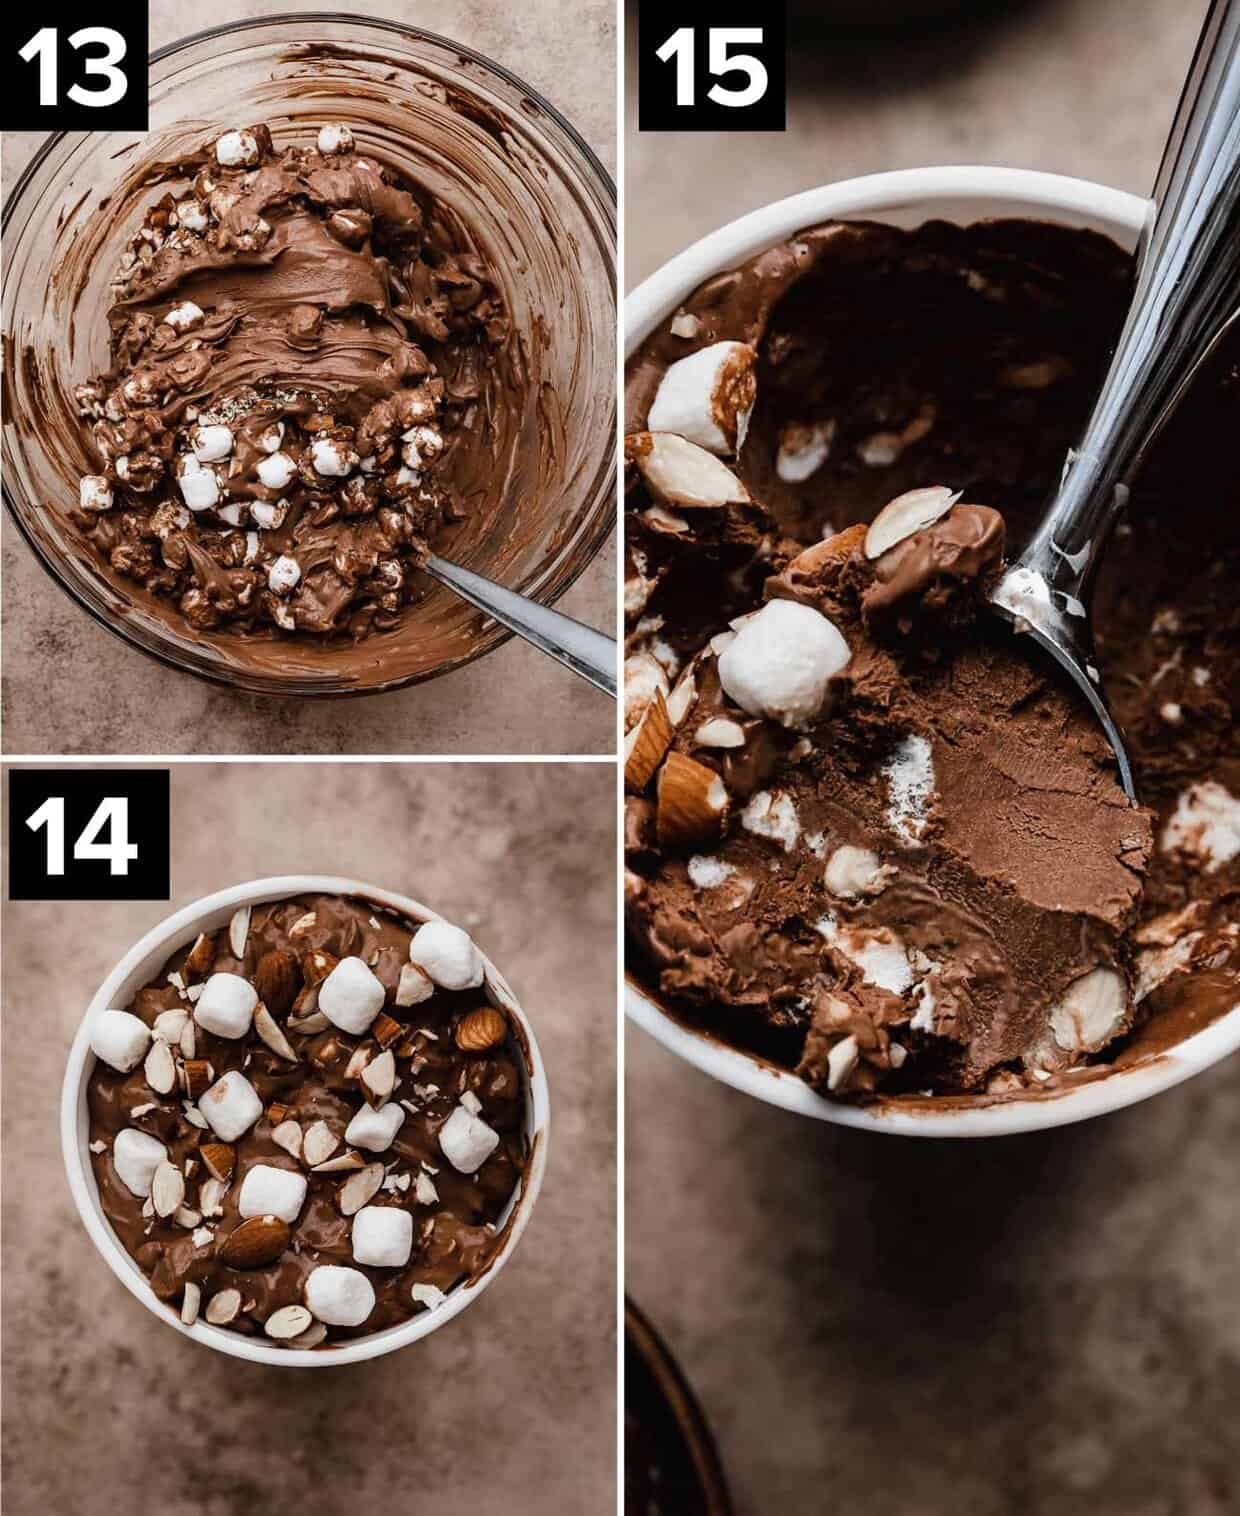
- Add marshmallows and almonds. Once your ice cream is finished churning, stir in 1 cup of chopped roasted almonds and 2 cups of mini marshmallows.
- Enjoy now or later. This ice cream is very thick, so it should be firm enough for you to enjoy right away. Or, transfer it to a freezer-safe container and allow it to firm up in the freezer for 2-4 hours before eating.
Recipe Tips
For the best ice cream, make sure you’re using full-fat dairy, and use the full amount of sugar. The fat in the dairy helps make a smooth, creamy ice cream, and sugar also plays an important role by affecting the freezing temperature of the ice cream to keep it soft.
You can buy pre-roasted almonds at the grocery store, or you can roast your own quite easily (and you may prefer to do so, so they aren’t so salty). Simply preheat your oven to 350°F, spread your almonds out on a sheet pan, and roast for 15-20 minutes. Stir at least once while cooking. Remove them from the oven when doen and allow them to cool completely, then use them in the recipe as directed.
Traditional rocky road ice cream is made with almonds, but I think peanuts or hazelnuts would also be delicious. Or, you have a nut allergy, you can swap the nuts for something else crunchy, like sunflower seeds. You can also leave out the almonds altogether and have a tasty chocolate and marshmallow ice cream.
For more chocolate deliciousness, trade out 1 cup of marshmallows for 1 cup of chocolate chips.
Rocky road ice cream is traditionally a chocolate ice cream, but why not mix things up and make a vanilla rocky road ice cream? Use my Homemade Vanilla Ice Cream as your base instead!For an even more decadent treat, swirl in some homemade Hot Fudge Sauce or Salted Butterscotch Sauce. You can also try swapping the mini marshmallows for swirls of my Homemade Marshmallow Fluff.
Make Ahead, Storing, and Freezing
Make Ahead: The chocolate custard can be made up to a day in advance before churning.
Storing: Store leftover rocky road ice cream in an airtight container in the freezer for up to 2 months.
Freezing: Freeze this rocky road ice cream recipe in a freezer-safe container for up to 2 months. Be aware that after a month, you may notice ice crystals beginning to form.
Recipe FAQs
Rocky road ice cream is typically a chocolate ice cream with nuts and marshmallows added to it.
Rocky road ice cream first came on the scene in the 1920’s, possibly after the stock market crash, although the question of who invented it is debated. William Dreyer (of Dreyer’s) and George Farren, a Fentons Creamery employee, both have stories claiming they invented the ice cream flavor.
Using low fat dairy, less sugar, and not following manufacturer’s instructions can all lead to ice cream that is icy.
Supposedly, the name “rocky road” came from the Great Depression, as a way to “give folks something to smile about” during a difficult time.
More Ice Cream Recipes
- Birthday Cake Ice Cream
- Butterscotch Ice Cream
- Raspberry Ice Cream
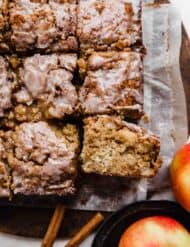
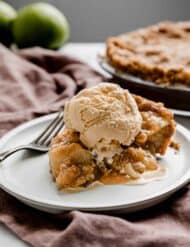
- Apple Pie Ice Cream
- Chocolate Chip Cookie Dough Ice Cream
Rocky Road Ice Cream Recipe
Ingredients
- 3/4 cup granulated sugar
- 1/3 cup Dutch process cocoa powder
- 1/4 teaspoon salt
- 1 cup whole milk
- 2 cups heavy cream
- 8 oz bittersweet chocolate - or semi-sweet chocolate, finely chopped
- 1 teaspoon vanilla extract
- 4 egg yolks - lightly beaten (I just use a fork)
Mix-Ins
- 1 cup roasted almonds - chopped
- 2 cups mini marshmallows
Equipment
Instructions
- In a saucepan combine the sugar, salt, cocoa powder. Whisk thoroughly so that there are no clumps of cocoa powder. While whisking, slowly add the milk and heavy cream. Turn the heat to medium-low. Stir constantly and bring to a simmer. (Just when bubbles form on the sides of the pan.) Remove from heat.
- Place the beaten egg yolks in a small bowl. Gradually stir in ½ cup of the hot liquid to the egg yolks. Slowly drizzle the egg yolks back into the saucepan, stirring constantly. Add the chopped chocolate and stir to combine.
- Place saucepan over low heat. Heat until thickened (it should coat the back of a spoon), about 5-7 minutes but DO NOT BOIL. If you have an instant read thermometer it should read 170°F.
- Remove from heat. Stir in the vanilla extract. Pour the chocolate mixture through a sieve into a large bowl. Place the large bowl full of the chocolate mixture on top of an ice bath. Stir often, until the chocolate mixture reaches room temperature. Once it is room temperature, cover and chill in the refrigerator for 4 hours or up to 1 day.
- Remove chocolate mixture from fridge. Pour into an ice cream maker and freeze according to manufacturer’s directions. Once finished churning stir in the chopped almonds and mini marshmallows. Enjoy right away (as this ice cream churns to be quite thick!) Or transfer to an airtight freezer safe container and freeze for 2-4 hours or until firm. Enjoy!
 Welcome to this delicious corner of the internet! Here I share the recipes my family loves.


2 Comments on “Rocky Road Ice Cream Recipe”
Any suggestions for heavy cream subs. While my most favorite flavor, the nutritional profile is why I avoid ice-cream altogether.
Hi Leslie, unfortunately using heavy cream and full fat dairy is critical to the texture of ice cream. Using low fat ingredients can result in ice cream with an icy texture. We do have a couple of delicious dairy free fruity sorbet recipes if you want to check those out instead!