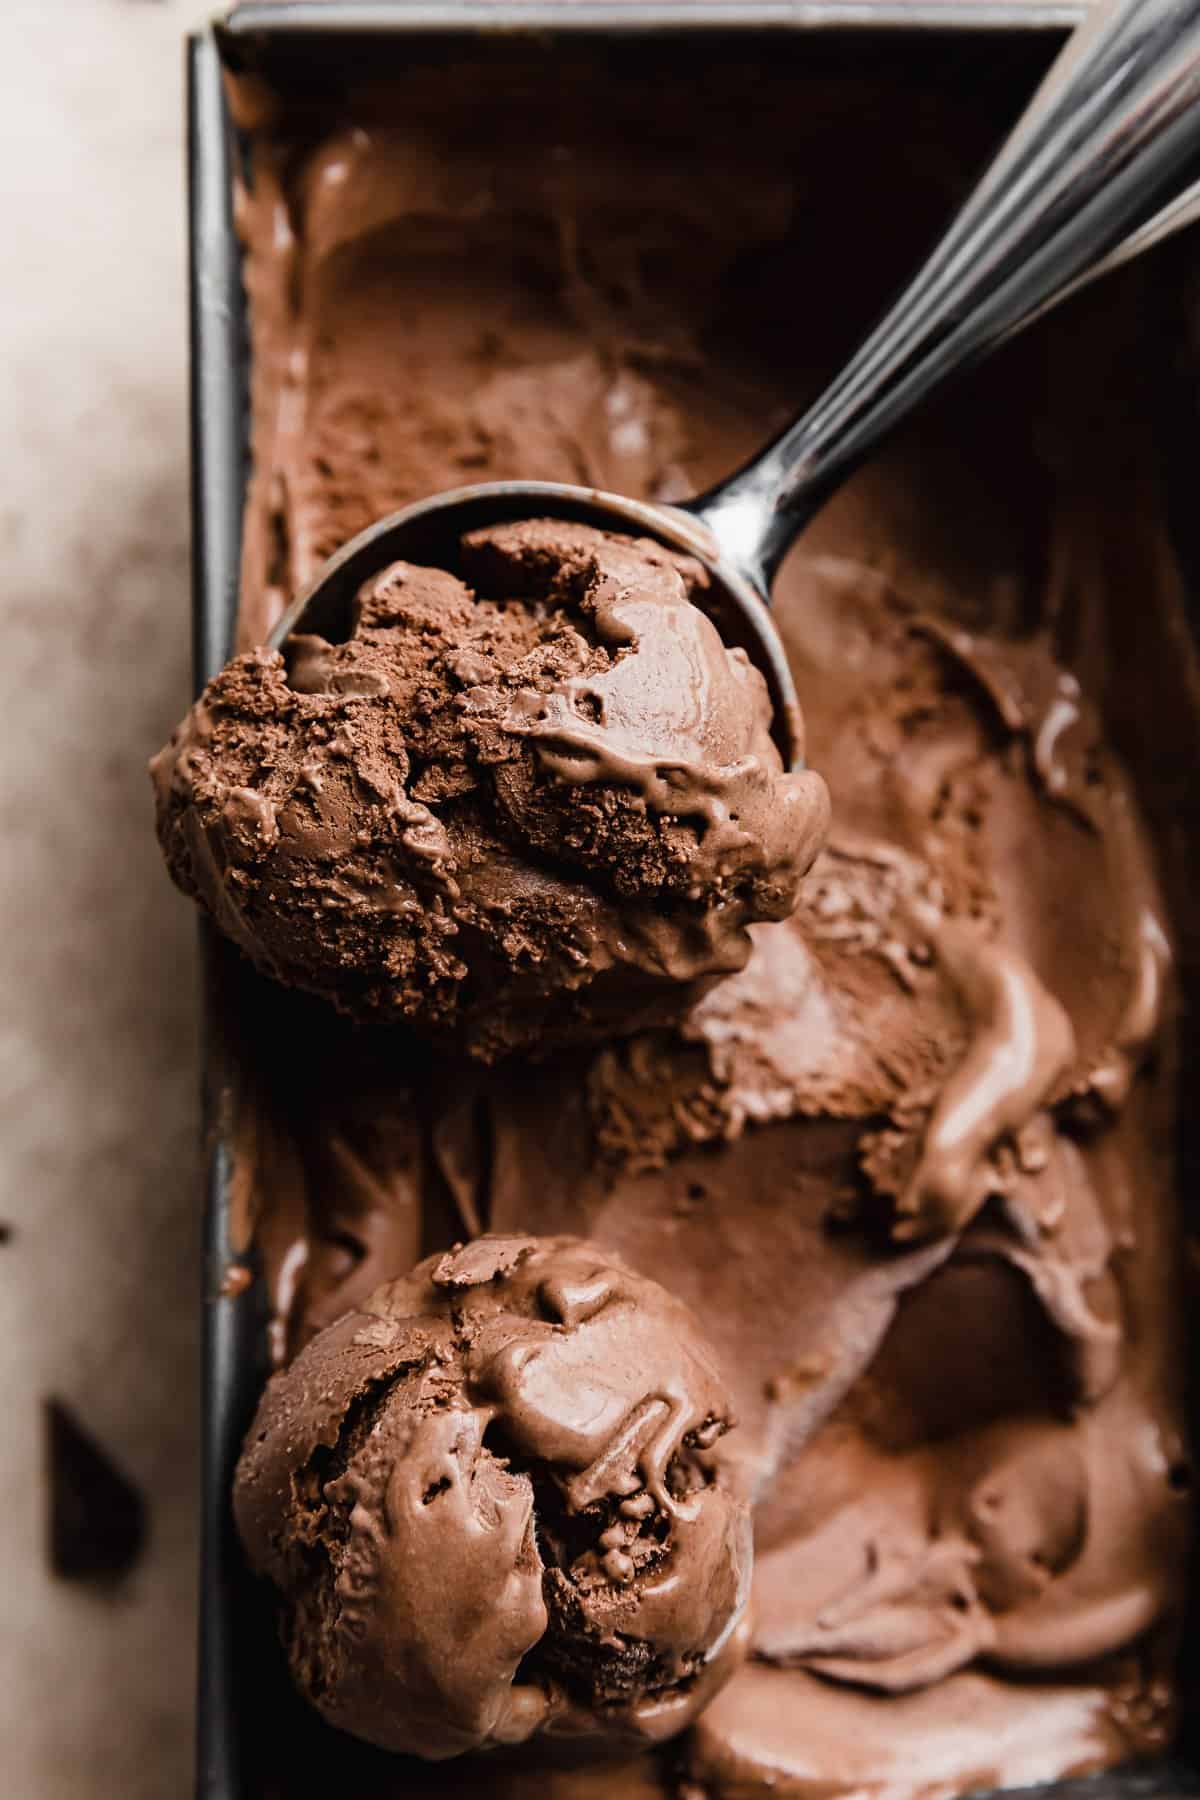
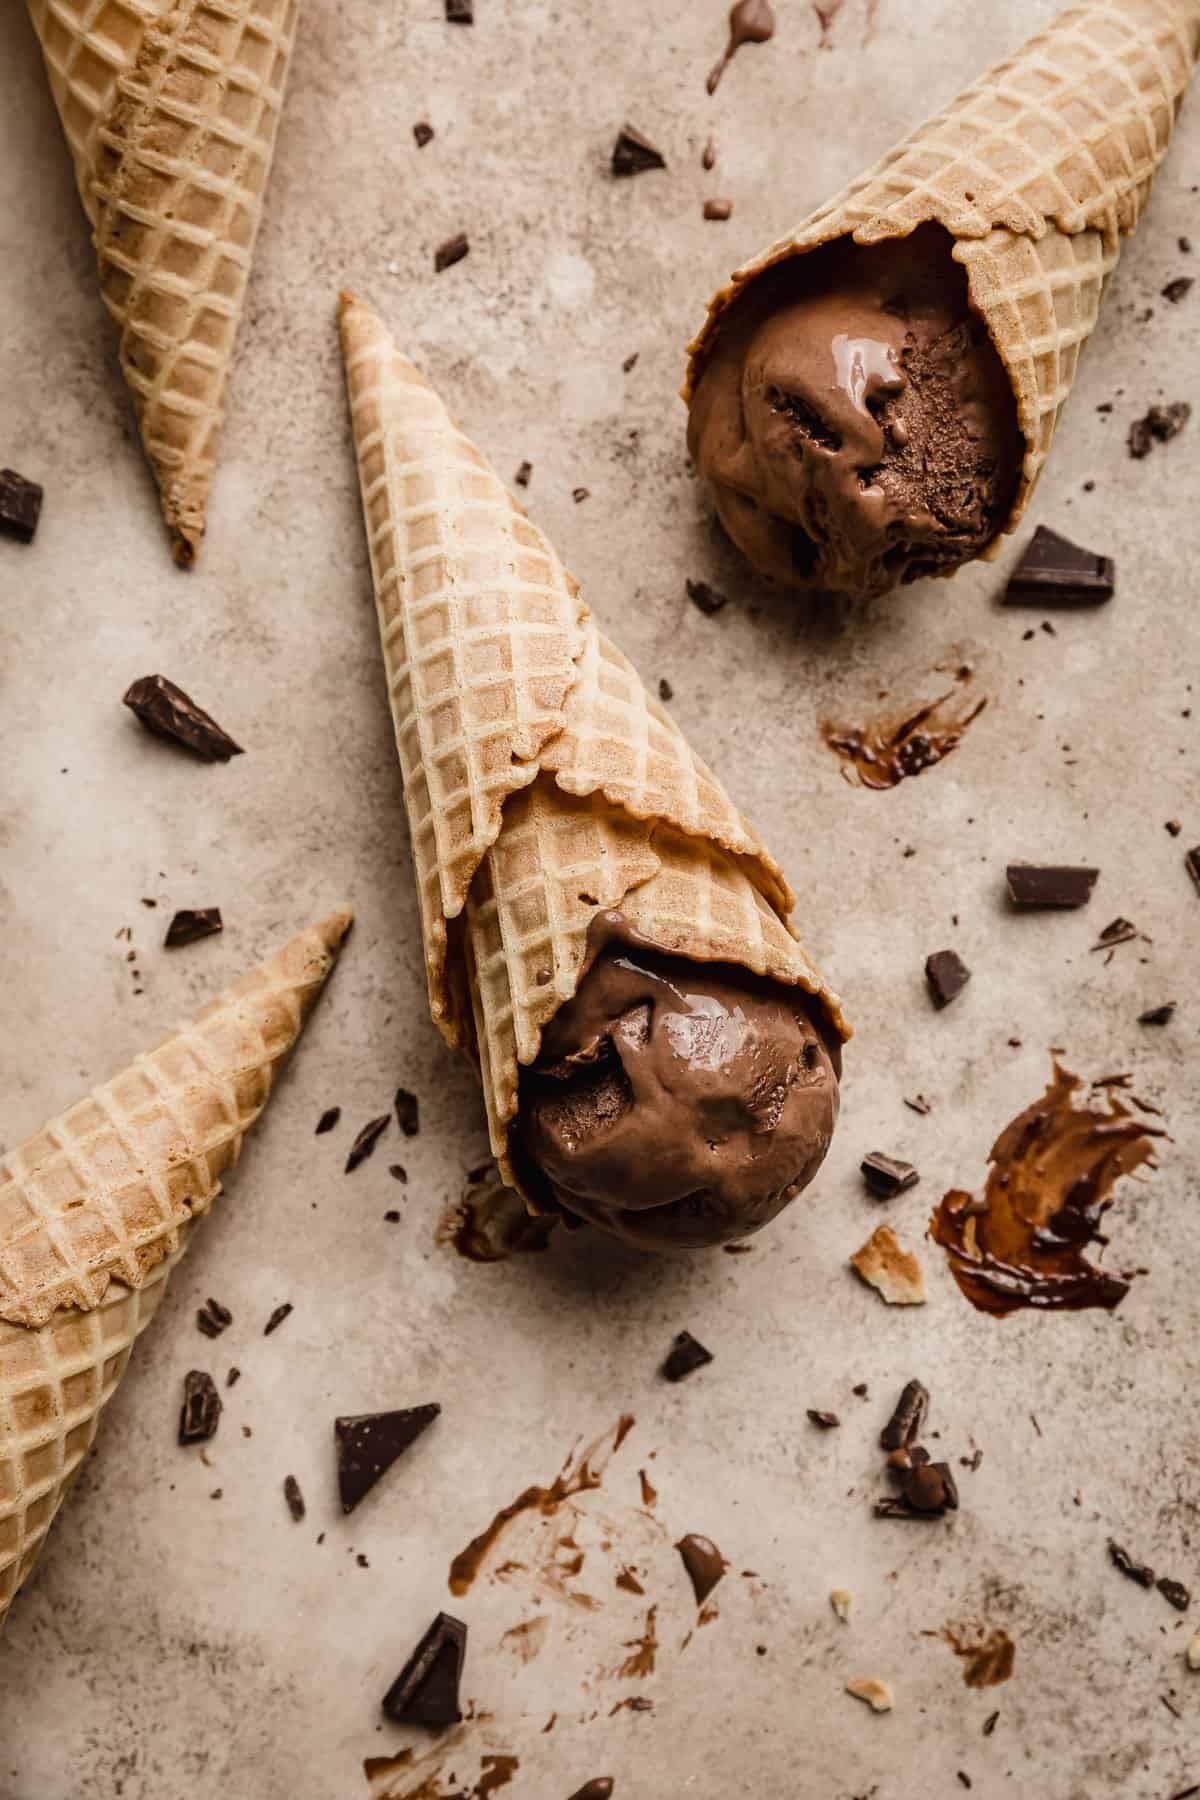
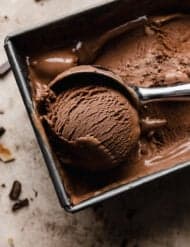
Dark Chocolate Ice Cream
This Dark Chocolate Ice Cream is made with bittersweet chocolate bars and Dutch process cocoa powder to bring out that rich, deep chocolate flavor and color that we chocolate lovers dream of!
This delicious ice cream serves as the base for my German Chocolate Ice Cream and my Cosmic Brownie Ice Cream. If you are looking for more yummy homemade ice cream recipes, be sure to check out my Chocolate Chip Cookie Dough Ice Cream, Homemade Vanilla Ice Cream Recipe, or my No Churn Oreo Ice Cream recipe!
Why This Recipe Works
- Rich dark chocolate flavor. I’m over the moon with how this recipe turned out! I made my previous recipe again and realized the chocolate flavor wasn’t everything I dreamed of. Now it is!! The dark chocolate flavor comes from using Dutch process cocoa powder (instead of natural/unsweetened) and 8 ounces of a bittersweet chocolate bar! You will take one bite and your chocolate lover’s heart will be so happy!
- Smooth and creamy texture. Our smooth and creamy texture comes from tempering the egg yolks and using whole milk with the heavy cream. This gives us a rich flavor and texture we wouldn’t get otherwise.
Ingredient Notes
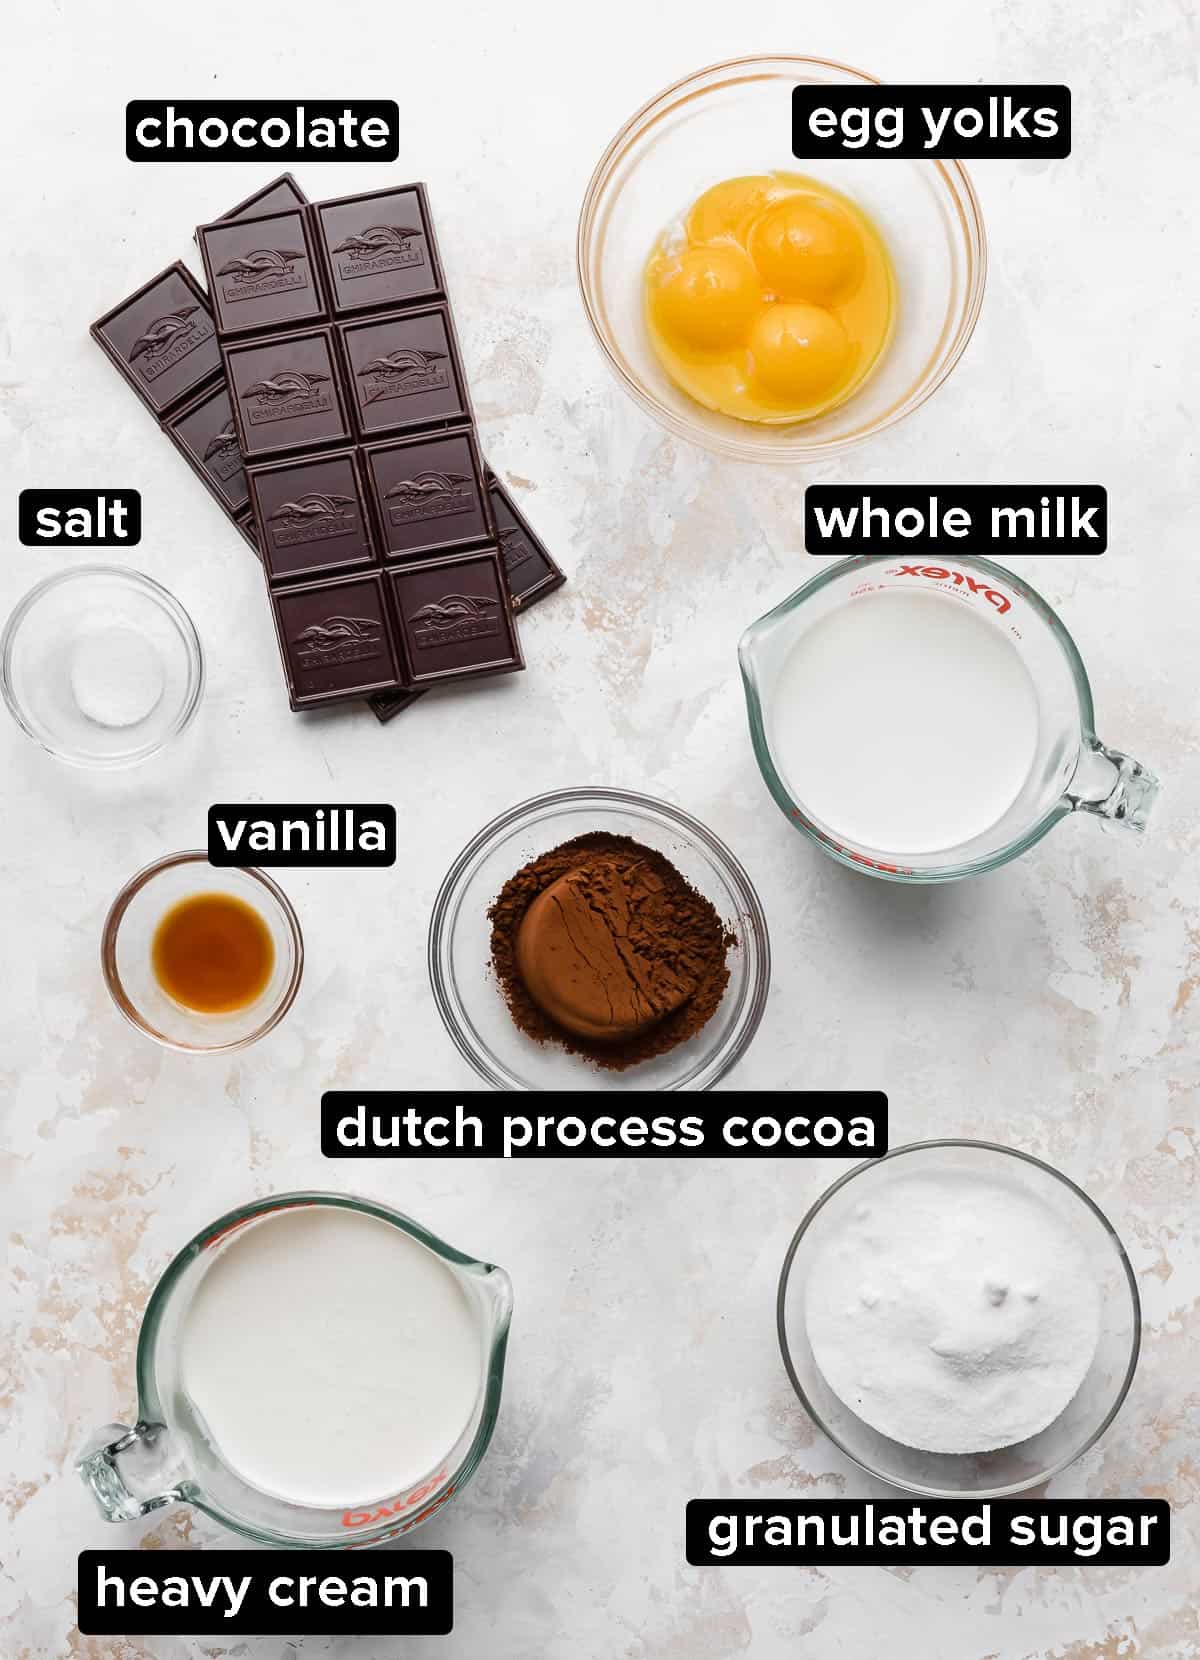
- Granulated Sugar: The sugar provides the sweetener for the ice cream. I only added 3/4 cup sugar in this recipe because I didn’t want the old-fashioned homemade chocolate ice cream to be so sweet that the rich chocolate flavor was overpowered by the sweetness.
- Dutch Process Cocoa Powder: A previous version of this recipe included unsweetened cocoa powder instead of Dutch-process cocoa powder. Let me just tell you that using this cocoa powder makes a huge difference in the color and flavor of the ice cream. It’s a much richer chocolate flavor and I’m obsessed with it! For more information on the differences between cocoa powders, check out my Cocoa Powder Guide.
- Whole Milk: I highly recommend using whole milk in this recipe because it has a higher fat content than 2% or 1%. The key to a deliciously creamy homemade ice cream is getting the proper fat content from the milk and cream + the tempered eggs (which I’ll talk about later!).
- Heavy Cream: This is essentially the same thing as heavy whipping cream. They can be used interchangeably. Do not use half and half. Half and half is half cream/half milk so it doesn’t have a high enough fat content.
- Bittersweet Chocolate: The previous version of this recipe only used 2 oz of a chocolate bar. Using 8 oz of bittersweet chocolate takes this recipe to an entirely new level of deep, dark chocolate flavor!
- Egg Yolks: The egg yolks are tempered to create a custard texture. Tempering eggs is simply pouring hot liquid into the eggs slowly, while stirring, to slowly elevate the temperature of the eggs so they cook, but not bringing their temperature up so quickly that the eggs scramble.
Step-by-Step Instructions
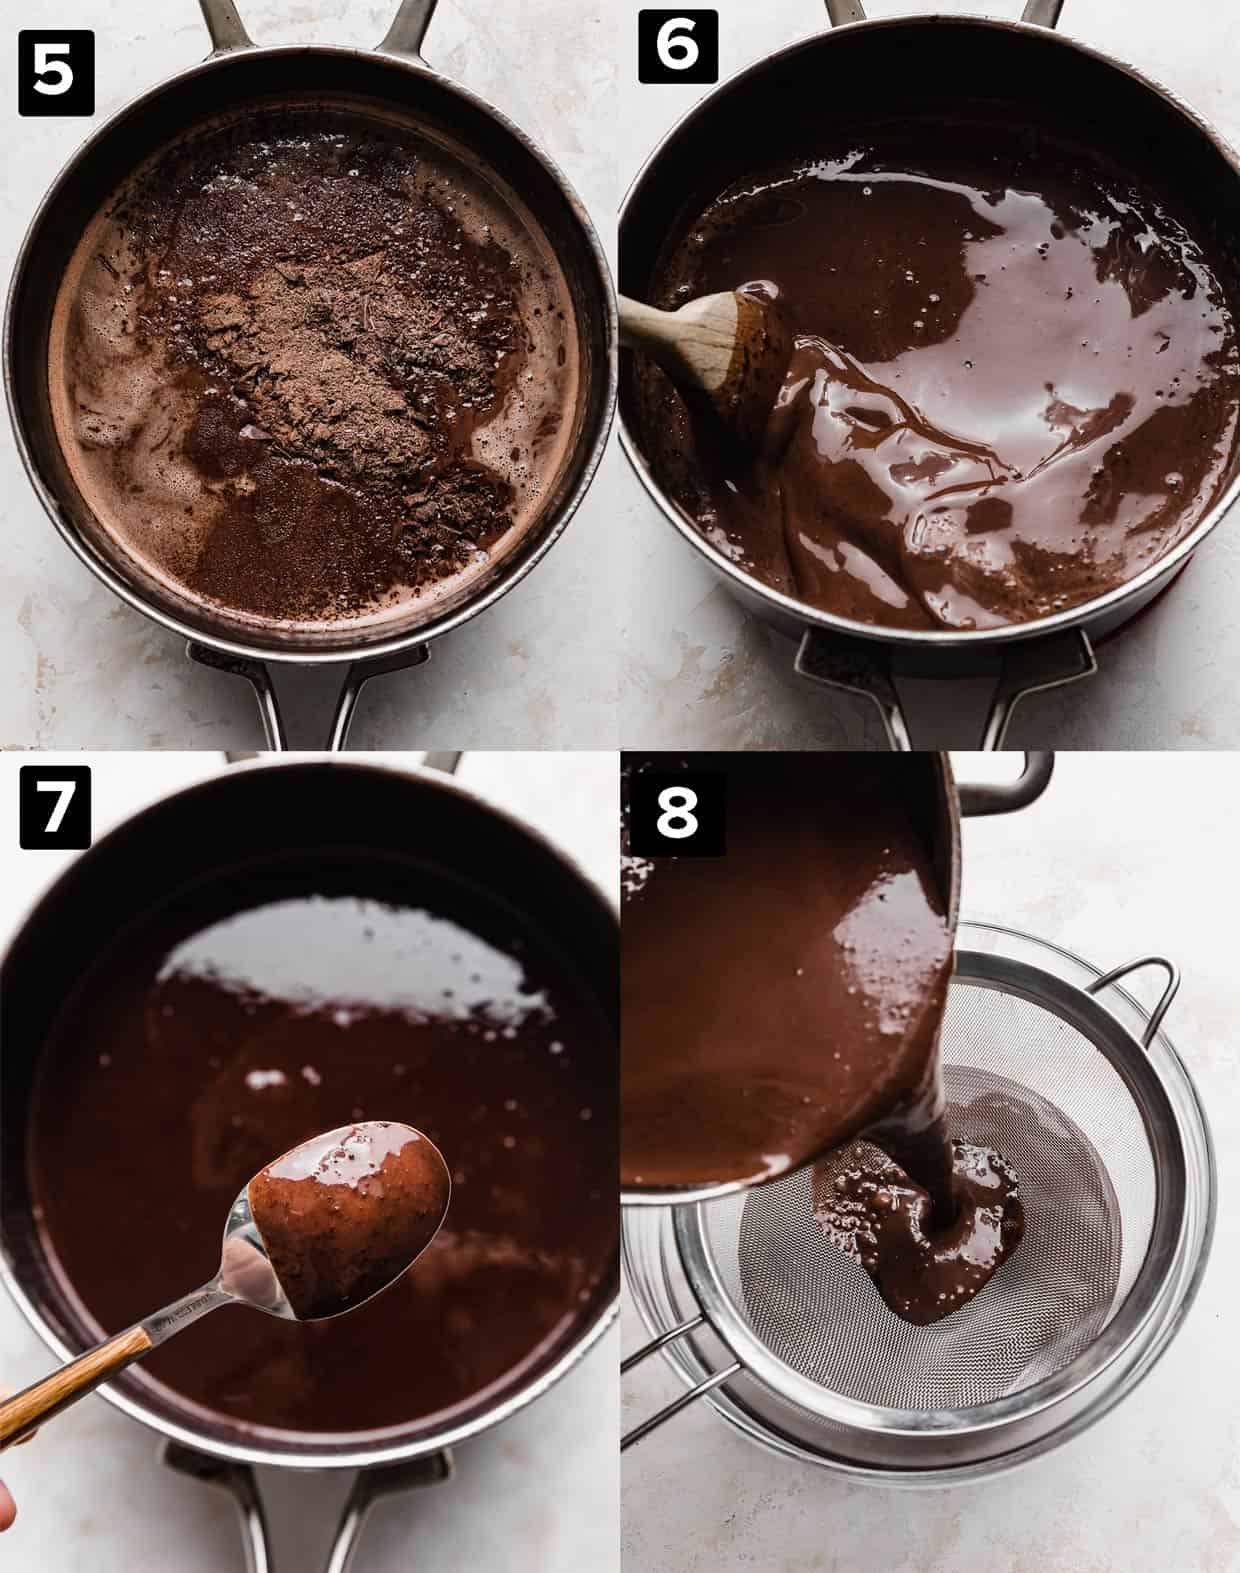
- Create the chocolate sugar mixture. Combine the sugar, salt and Dutch-process cocoa powder in a saucepan with the heat off. Whisk until smooth and no clumps. Slowly pour the milk and heavy cream in while whisking. Turn the heat to medium low and bring to a simmer while constantly stirring. Remove from heat just when bubble begin to form on the sides of the pan.
- Pour the chocolate mixture into the egg yolks. Place the egg yolks in a glass bowl and whisk. Gradually stir in 1/2 cup of the hot chocolate mixture into the egg yolks. Then gradually drizzle that mixture into the pan with the remaining chocolate mixture, always stirring.
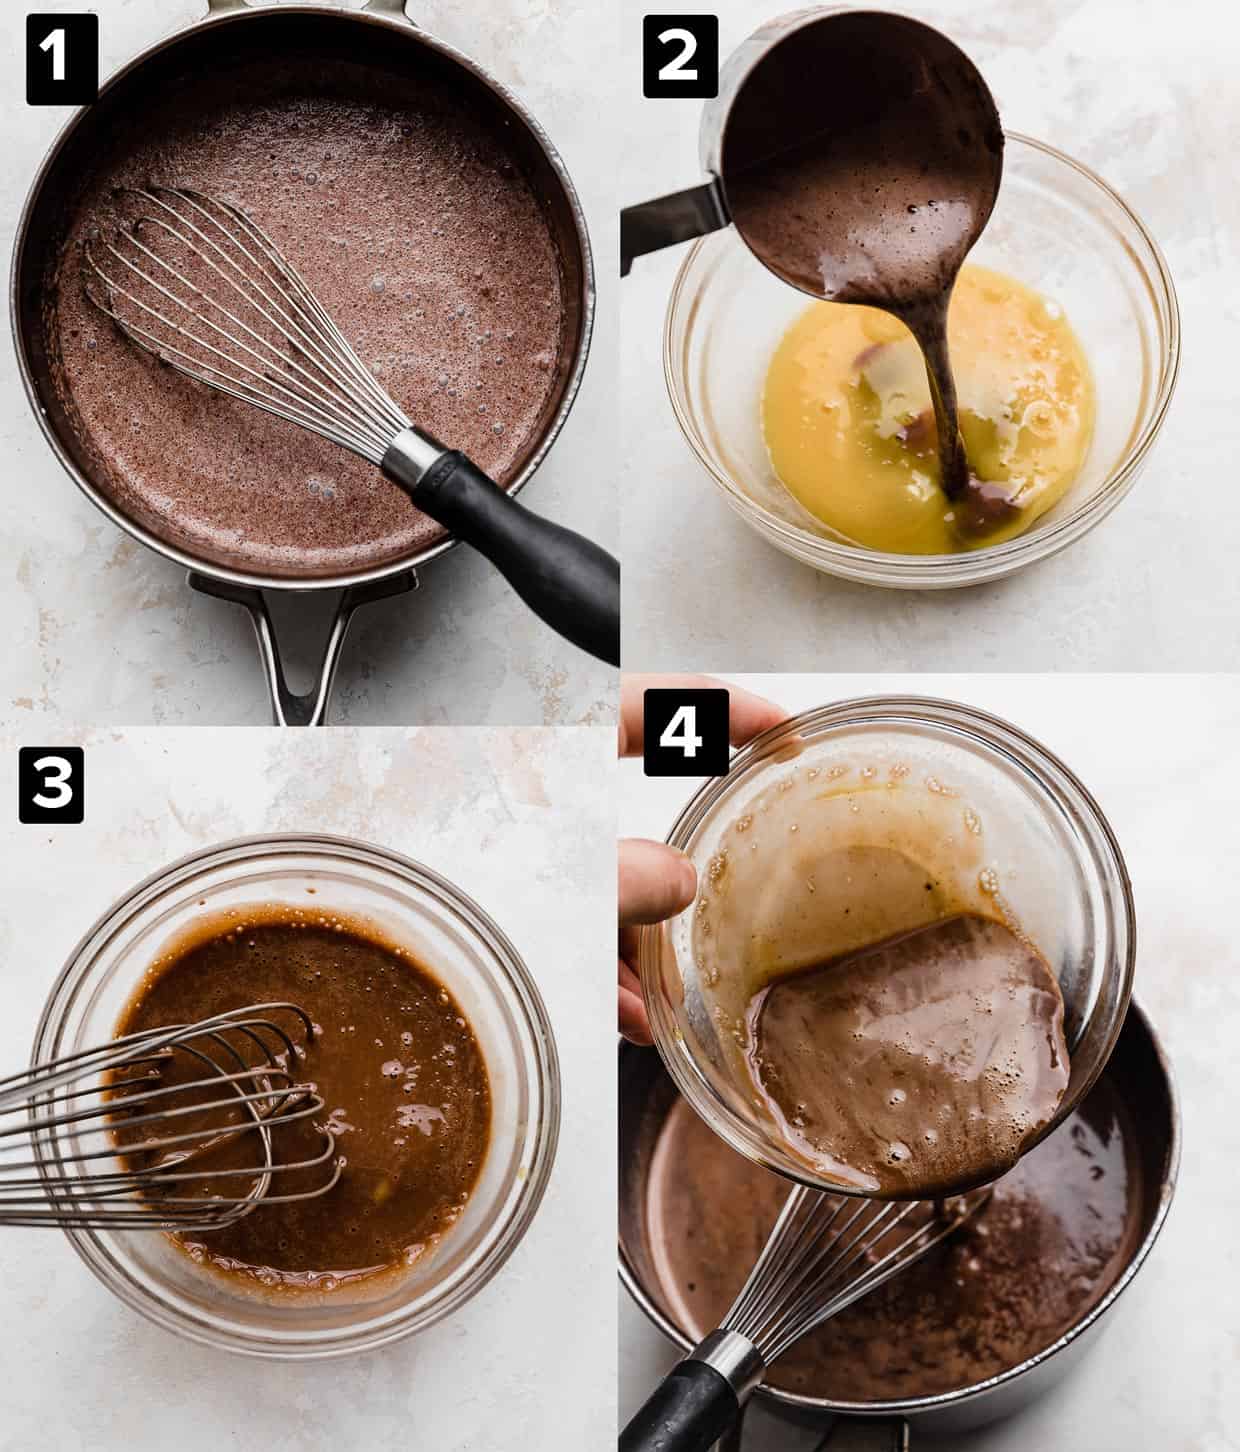
- Add the chocolate. Add the chopped bittersweet chocolate bar into the mixture. Stir until combined.
- Heat until thickened. Heat the mixture over low heat, constantly stirring, until thickened. The mixture should coat the back of a spoon (about 5-7 minutes). Do not bring to a boil. The mixture should reach 170°F.
- Remove and add vanilla. Remove the saucepan from the heat and add in the vanilla. Stir to combine.
- Strain and cool. Pour the chocolate mixture through a sieve into a large glass bowl. Let the mixture cool over an ice bath, stirring often, until the mixture reaches room temperature. Once at room temperature, cover and chill in the fridge for 4-24 hours.
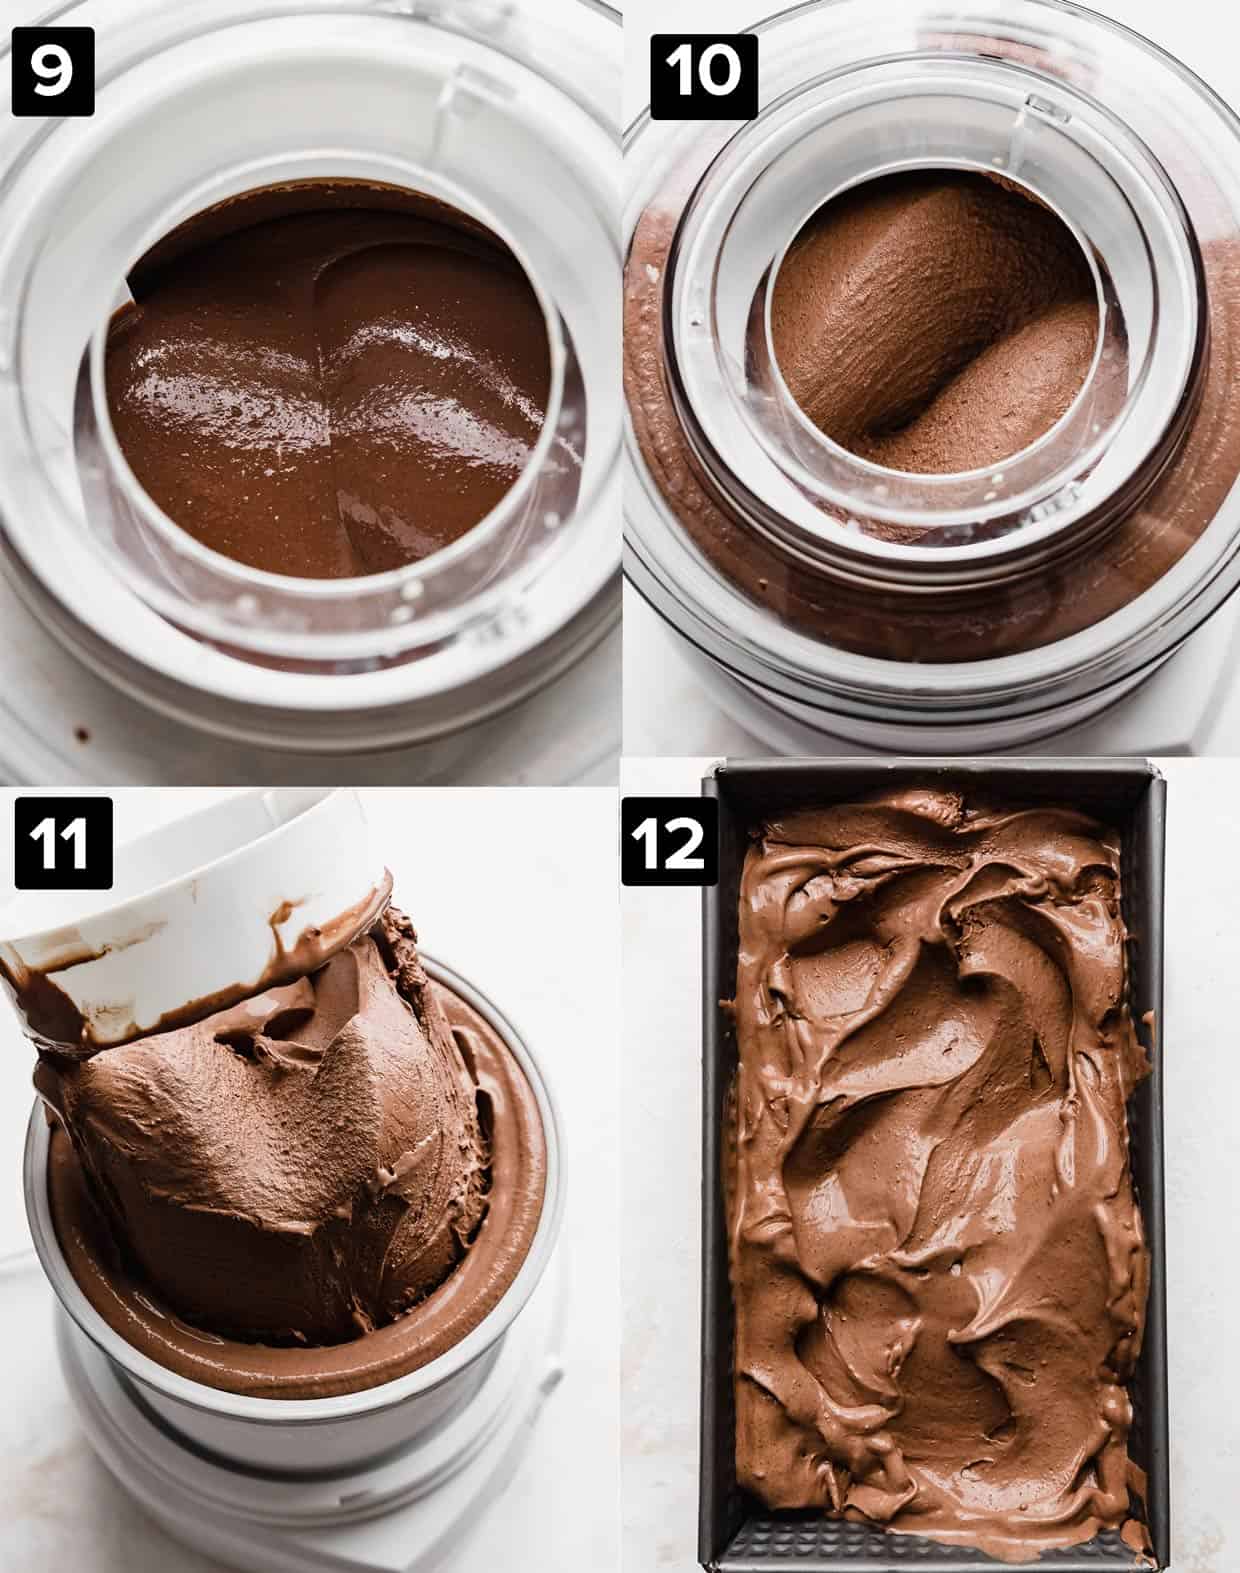
- Churn with ice cream maker. Remove the mixture from the fridge and pour into an ice cream maker. Be sure to follow the manufacturer’s directions for your ice cream maker. Once fully churned, serve immediately (it will be a bit thicker of a consistency than a soft serve ice cream). You can also store it in an airtight container in the freezer until later if you want the ice cream to be hard.
Recipe Tips
Be sure to properly freeze the bowl of your ice cream maker for the correct amount of time (see your ice cream maker’s manufacturing instructions). I would even freeze it for a day longer than recommended to really make sure it’s frozen. Not having a cold enough ice cream bowl will greatly impact the ability for the mixture to freeze correctly.
Be sure to follow the directly precisely when it comes to heating and cooling the dark chocolate ice cream mixture. The key to getting a smooth texture and a proper custard ice cream is to slowly heat and slowly cool the mixture.
Remember: stir constantly! You don’t want to burn the mixture.
Drizzle on some melted peanut butter for a homemade chocolate peanut butter ice cream twist!
Use my Cookie Ice Cream Sandwich and simply swap out the vanilla ice cream for this homemade dark chocolate ice cream recipe instead!
Add some Ben and Jerry’s Cookie Dough Bites to the ice cream at the end! Make sure to follow the manufacturer’s instructions for your ice cream maker for adding in mix-ins.
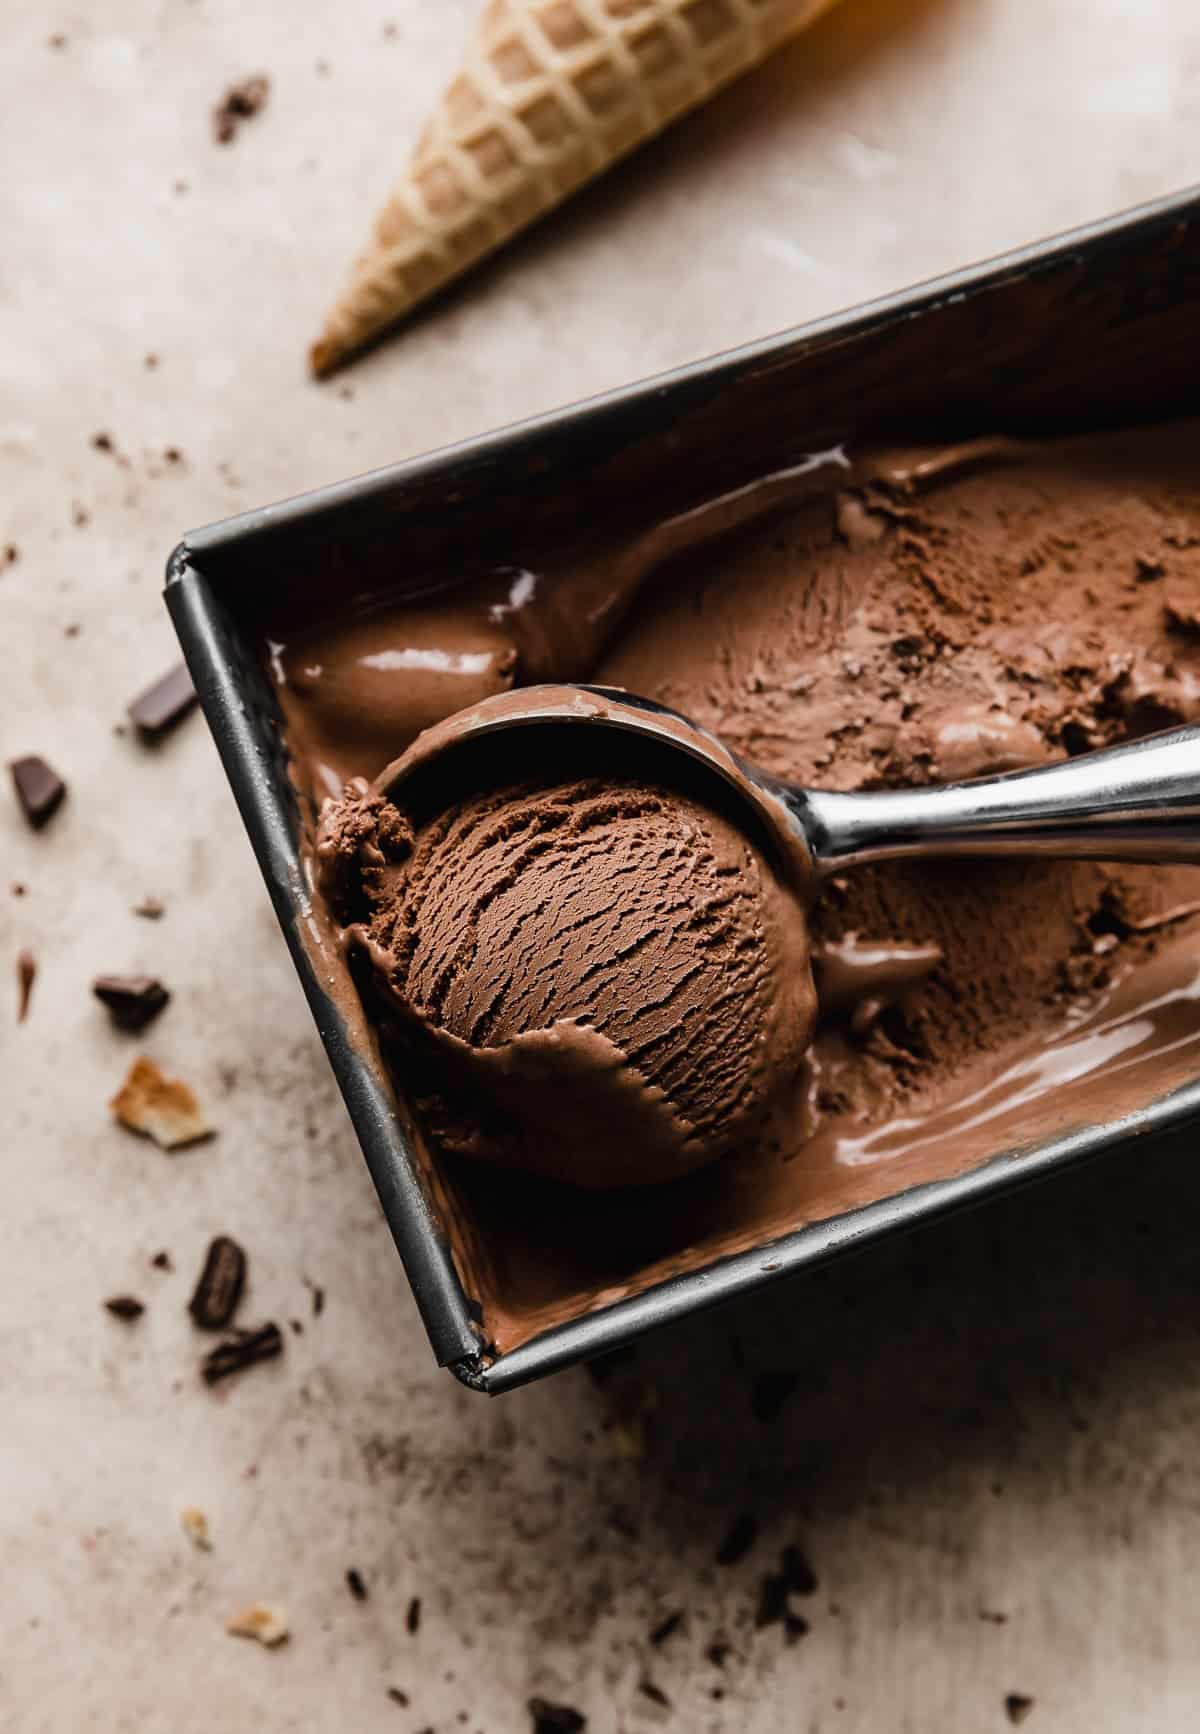
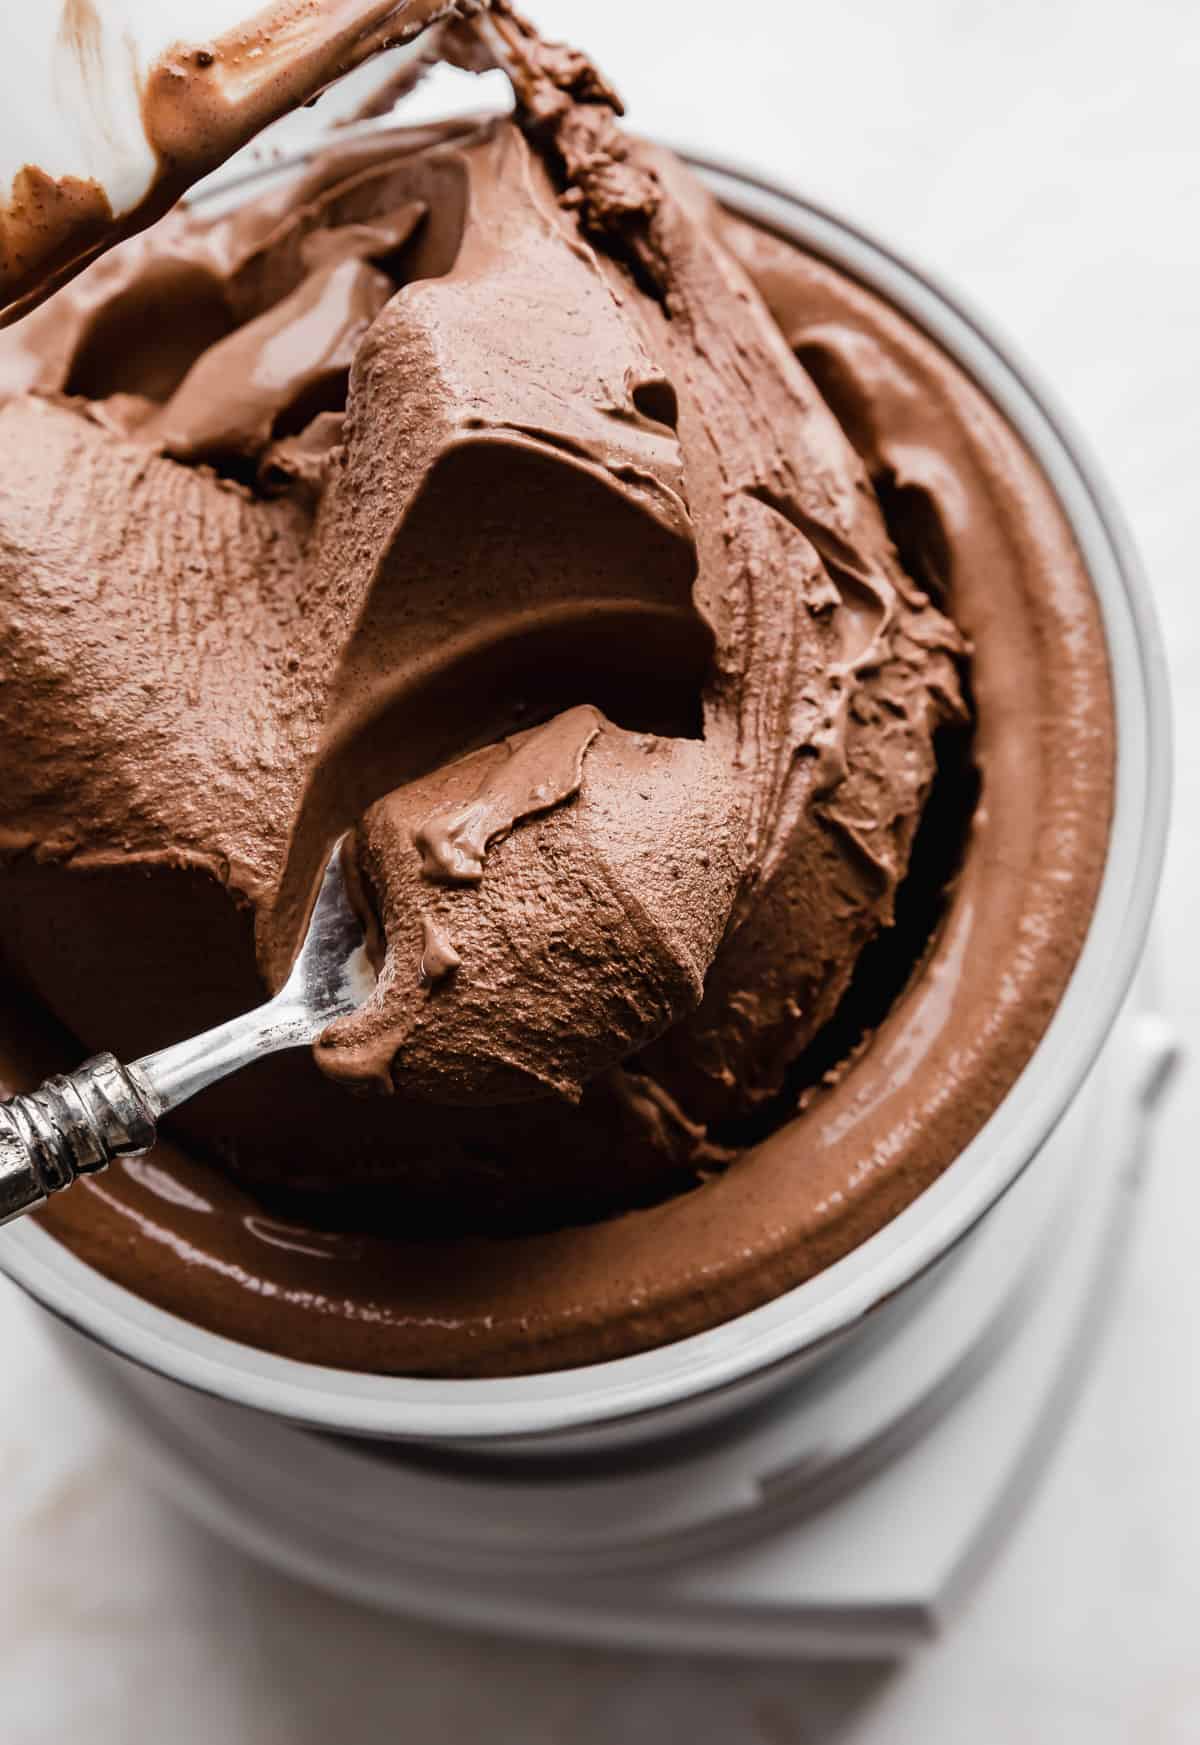
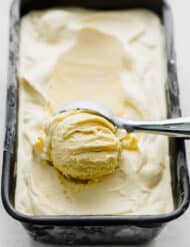
This ice cream is so thick and creamy coming out of the ice cream machine! It was the perfect combination frozen yet soft! If you prefer a more solid scoop of ice cream take the time to freeze it (covered) for a few hours.
This recipe calls for Dutch process cocoa powder. A previous version used unsweetened cocoa powder. Check out my Cocoa Guide for the differences between the two cocoa powders!
Make Ahead, Storing, and Freezing
You can make this dark chocolate ice cream recipe ahead of time! To get a harder texture for the ice cream, you’ll want to freeze it for a few hours prior to serving. You can also keep it frozen for a few days prior to serving if you’d like.
This homemade chocolate ice cream will keep in the freezer for up to 2 months. I would be sure to store the ice cream in an airtight container in order to prevent freezer burn.
Do not store in the fridge or the ice cream will melt.
Recipe FAQs
Yes. Bitter chocolate is the same as dark chocolate. It’s simply a variety of dark chocolate. Dark chocolate simply doesn’t have milk solids like milk chocolate does (or it could contain very little). The range of bitter chocolate depends on the sugar content.
A custard type ice cream has egg yolks in it, but don’t worry! The eggs are not raw! The eggs are tempered. Tempering eggs is simply slowly adding a hot liquid to the eggs to bring up the temperature to cook the eggs without cooking them too quickly and turning them into scrambled eggs. The egg yolks give the ice cream a creamy and smooth texture.
A custard ice cream contains tempered eggs whereas regular ice cream doesn’t.
It will depend on what type of ice cream maker you have. I use the Cuisinart ice cream maker. I will typically store it covered in the freezer for a few days to ensure it’s completely frozen. Just check the manufacturer’s instructions or check online to see what yours recommends!
More Chocolate Recipes
- Chocolate Buttermilk Bundt Cake
- Chocolate Buttercream Frosting
- Crumbl Chocolate Cake ft. Heath Cookies
- Chocolate Doughnuts
- Homemade Chocolate Pudding
Did you make this recipe? I’d love to hear about it! Leave a rating and review, or scroll below the recipe card and do so there.
Stay up-to-date by following us on Instagram, TikTok, Facebook, and Pinterest.
Dark Chocolate Ice Cream
Ingredients
- 3/4 cup granulated sugar
- 1/3 cup dutch process cocoa powder - sifted
- 1/4 teaspoon salt
- 1 cup whole milk
- 2 cups heavy cream
- 8 oz bittersweet chocolate - or semi-sweet chocolate, finely chopped
- 1 teaspoon vanilla extract
- 4 egg yolks - lightly beaten (I just use a fork)
Equipment
Instructions
- In a saucepan combine the sugar, salt, cocoa powder. Whisk thoroughly so that there are no clumps of cocoa powder. While whisking, slowly add the milk and heavy cream. Turn the heat to medium-low. Stir constantly and bring to a simmer. (Just when bubbles form on the sides of the pan.) Remove from heat.
- Place the beaten egg yolks in a small bowl. Gradually stir in ½ cup of the hot liquid to the egg yolks. Slowly drizzle the egg yolks back into the saucepan, stirring constantly. Add the chopped chocolate and stir to combine.
- Place saucepan over low heat. Heat until thickened (it should coat the back of a spoon), about 5-7 minutes but DO NOT BOIL. If you have an instant read thermometer it should read 170°F.
- Remove from heat. Stir in the vanilla extract.
- Pour the chocolate mixture through a sieve into a large bowl. Place the large bowl full of the chocolate mixture on top of an ice bath. Stir often, until the chocolate mixture reaches room temperature. Once it is room temperature cover, and chill in the refrigerator for 4 hours or up to 1 day.
- Remove chocolate mixture from fridge. Pour into an ice cream maker and freeze according to manufacturer’s directions. Once finished churning, serve immediately (the ice cream will be very thick! (Think thicker than soft serve ice cream). You can easily enjoy this right after churning. However, if you want the ice cream to be hard, or if you don't plan on serving it right away, place the ice cream in an airtight container, cover, and freeze until ready to serve.
 Welcome to this delicious corner of the internet! Here I share the recipes my family loves.


21 Comments on “Dark Chocolate Ice Cream”
Excellent ice cream recipe. It’s very rich and delicious. I have two toddlers and a husband who were over the moon about this. Thanks so much!
So glad to hear it’s a hit with the whole fam, Bonnie! This is one of my favorites too 🙂
Made it. I ran out of heavy cream so swapped with half and half. Very very rich and super chocolatey…almost too chocolatey if there is such a thing. Yummy!
Glad you loved it, Cynthia! You’re always welcome to cut back on the chopped chocolate to mellow out the chocolate flavor. It is a dark chocolate ice cream recipe!
Wow. Had to take the time to up your star rating.. This is the most delicious, decadent chocolate ice cream we’ve ever had. Absolutely delicious!! Sorry for the people this didn’t work for. It’s just amazing! Thank you for this!
So happy you loved it! Thank you for the 5-star rating and review!
The flavor was great but it was wayyy too rich! I used 7oz chocolate instead of 8, but I would have preferred half that (even though I’m a chocolate lover)
It is rich! That’s why it’s a dark chocolate ice cream! I’m glad you liked the flavor!
Just didn’t work for me. Adding 8 oz of finely chopped chocolate turned the mixture into a thick, unusable mess that separated out. Had to add loads more milk to rescue it. I followed the recipe exactly but the quantities seem to be wrong.
Hi Ali! I’ve had lots of people have success with this recipe. Let’s try and troubleshoot what happened. What separated? Was it just the chocolate mixture that separated or the ice cream? The chocolate mixture is thick, but that’s what makes the ice cream have that nice and thick custard texture and the dark chocolate flavor. Adding more milk won’t give you that same thick texture and it will dilute the chocolate flavor as well so it isn’t as dark/rich.
Could Almonds be added to this recipe?
It looks divine!
Yes, mix the almonds in after you churn the ice cream.
Turned out perfectly!!
We made this ice cream last week. Turned out great! SUPER creamy! When you get time, I’d love to see more ice cream recipes from you. This one was great!
This was absolutely delicious! Perfect for chocolate lovers. Will definitely make again!
So happy you loved it, Lettie! It’s a family favorite.
Amazing ice cream!! We thought it tasted similar to a frosty…. but WAY better!!!!!
This is the best ice cream we’ve ever had! We just got our ice cream maker, and our first recipe didn’t turn out well. It was airy/icy kind of like Halo top. This was our second attempt and holy cow! It was so creamy and rich. Thanks for a wonderful recipe!
Your comment made my week! Thank you for taking the time to come back and tell me about it. So glad you loved it!!
Did someone say chocolate? 🙂 Love this recipe and love the creaminess of the ice cream! The custard base definitely makes a difference.
I love making ice cream at home! This chocolate ice cream look delicious!