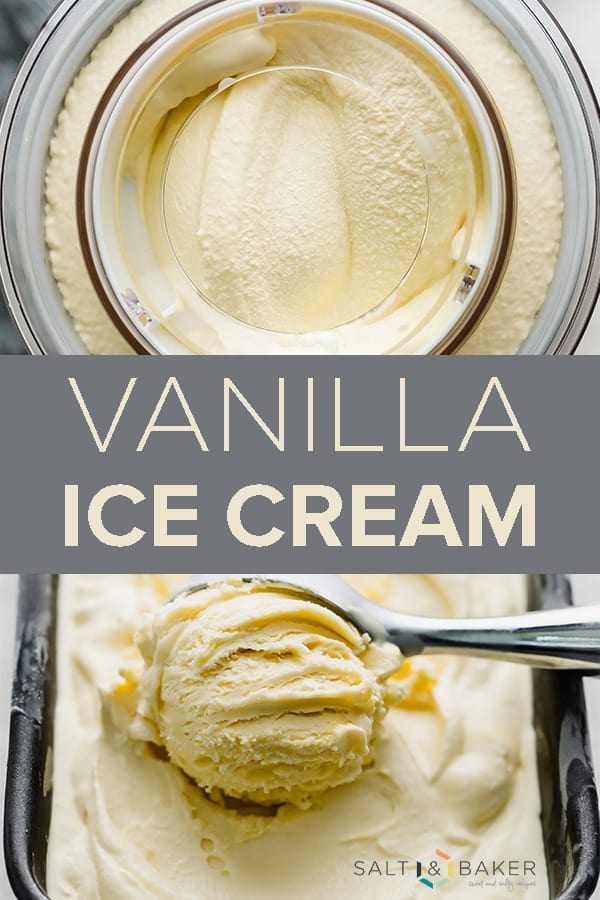
Homemade Vanilla Ice Cream Recipe
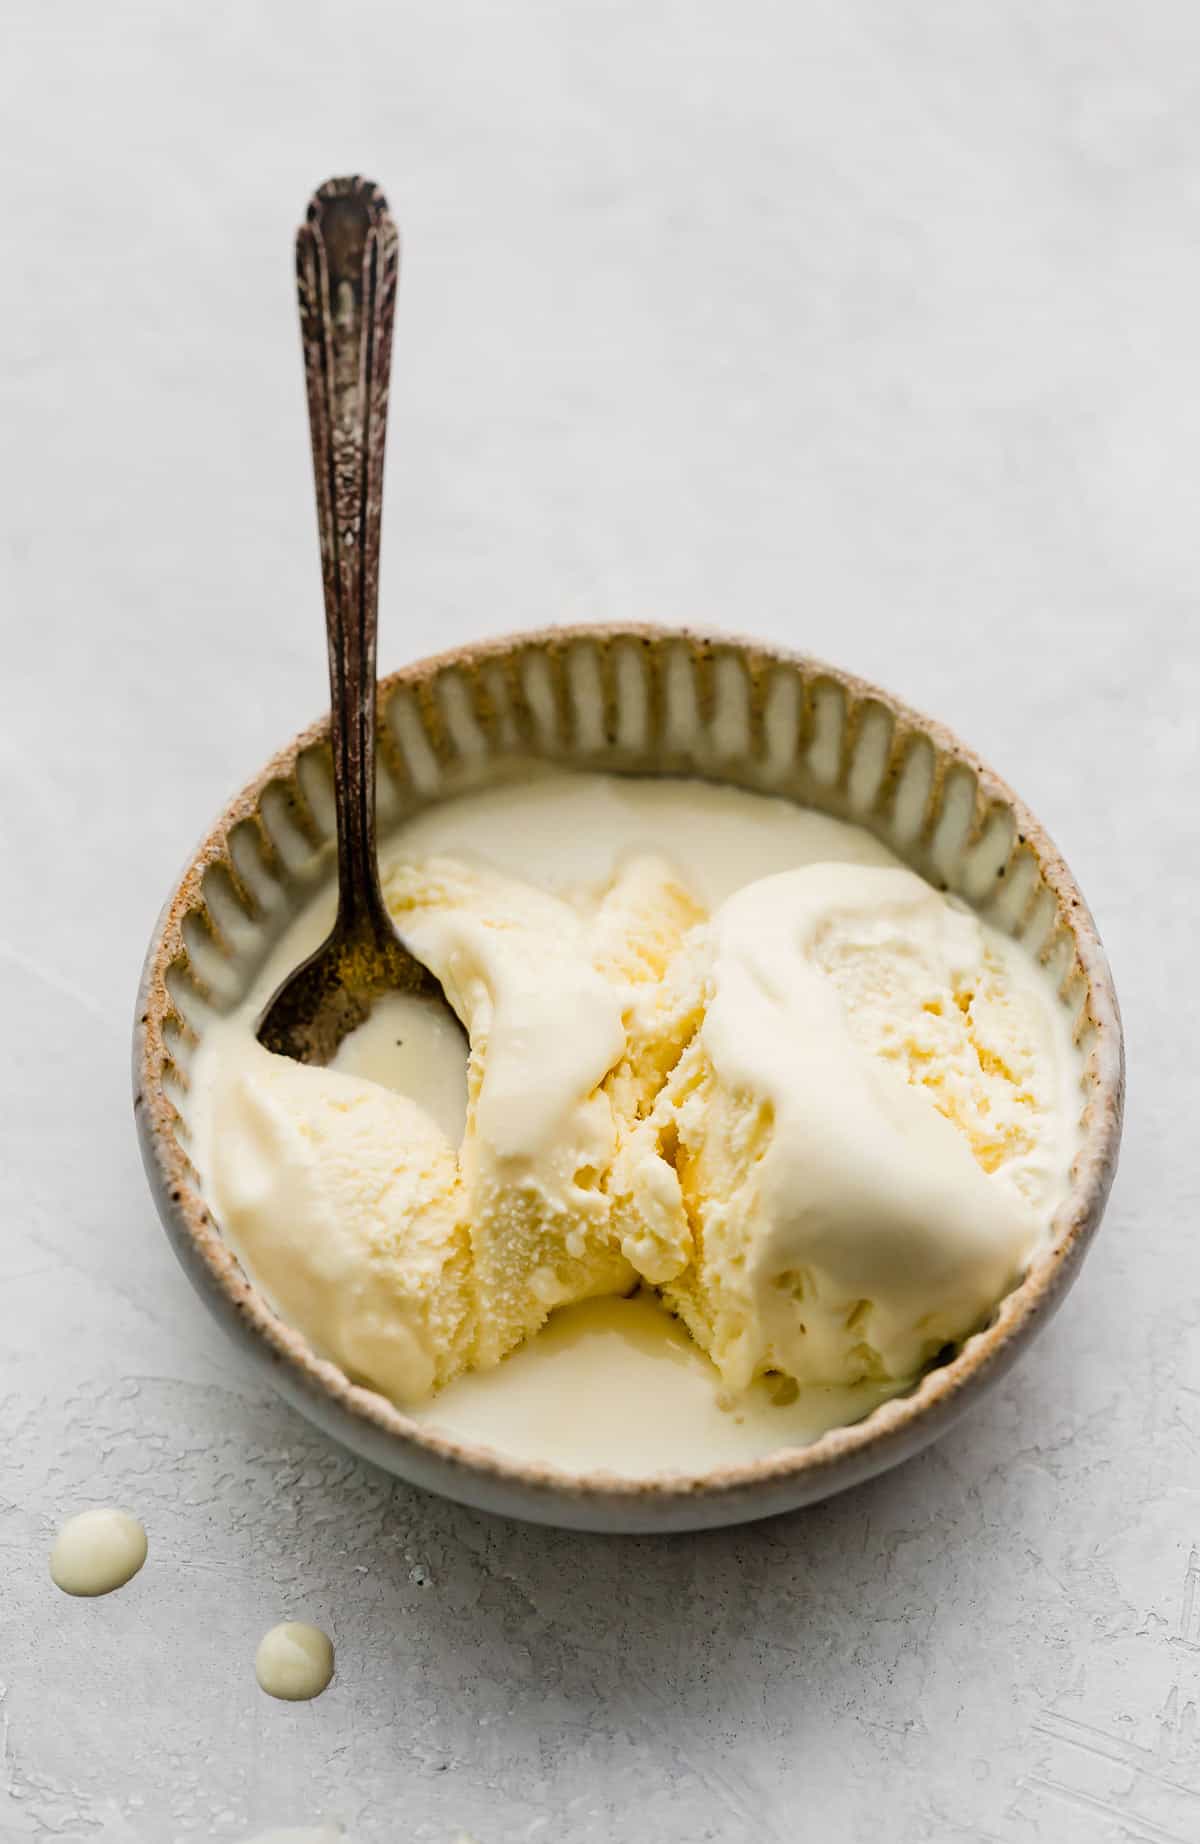
This Homemade Vanilla Ice Cream recipe is made with eggs and heavy cream to get a rich and smooth custard base. This homemade ice cream recipe has a heavenly vanilla flavor, a divinely smooth and creamy texture and freezes beautifully for ice cream cones and sundaes.
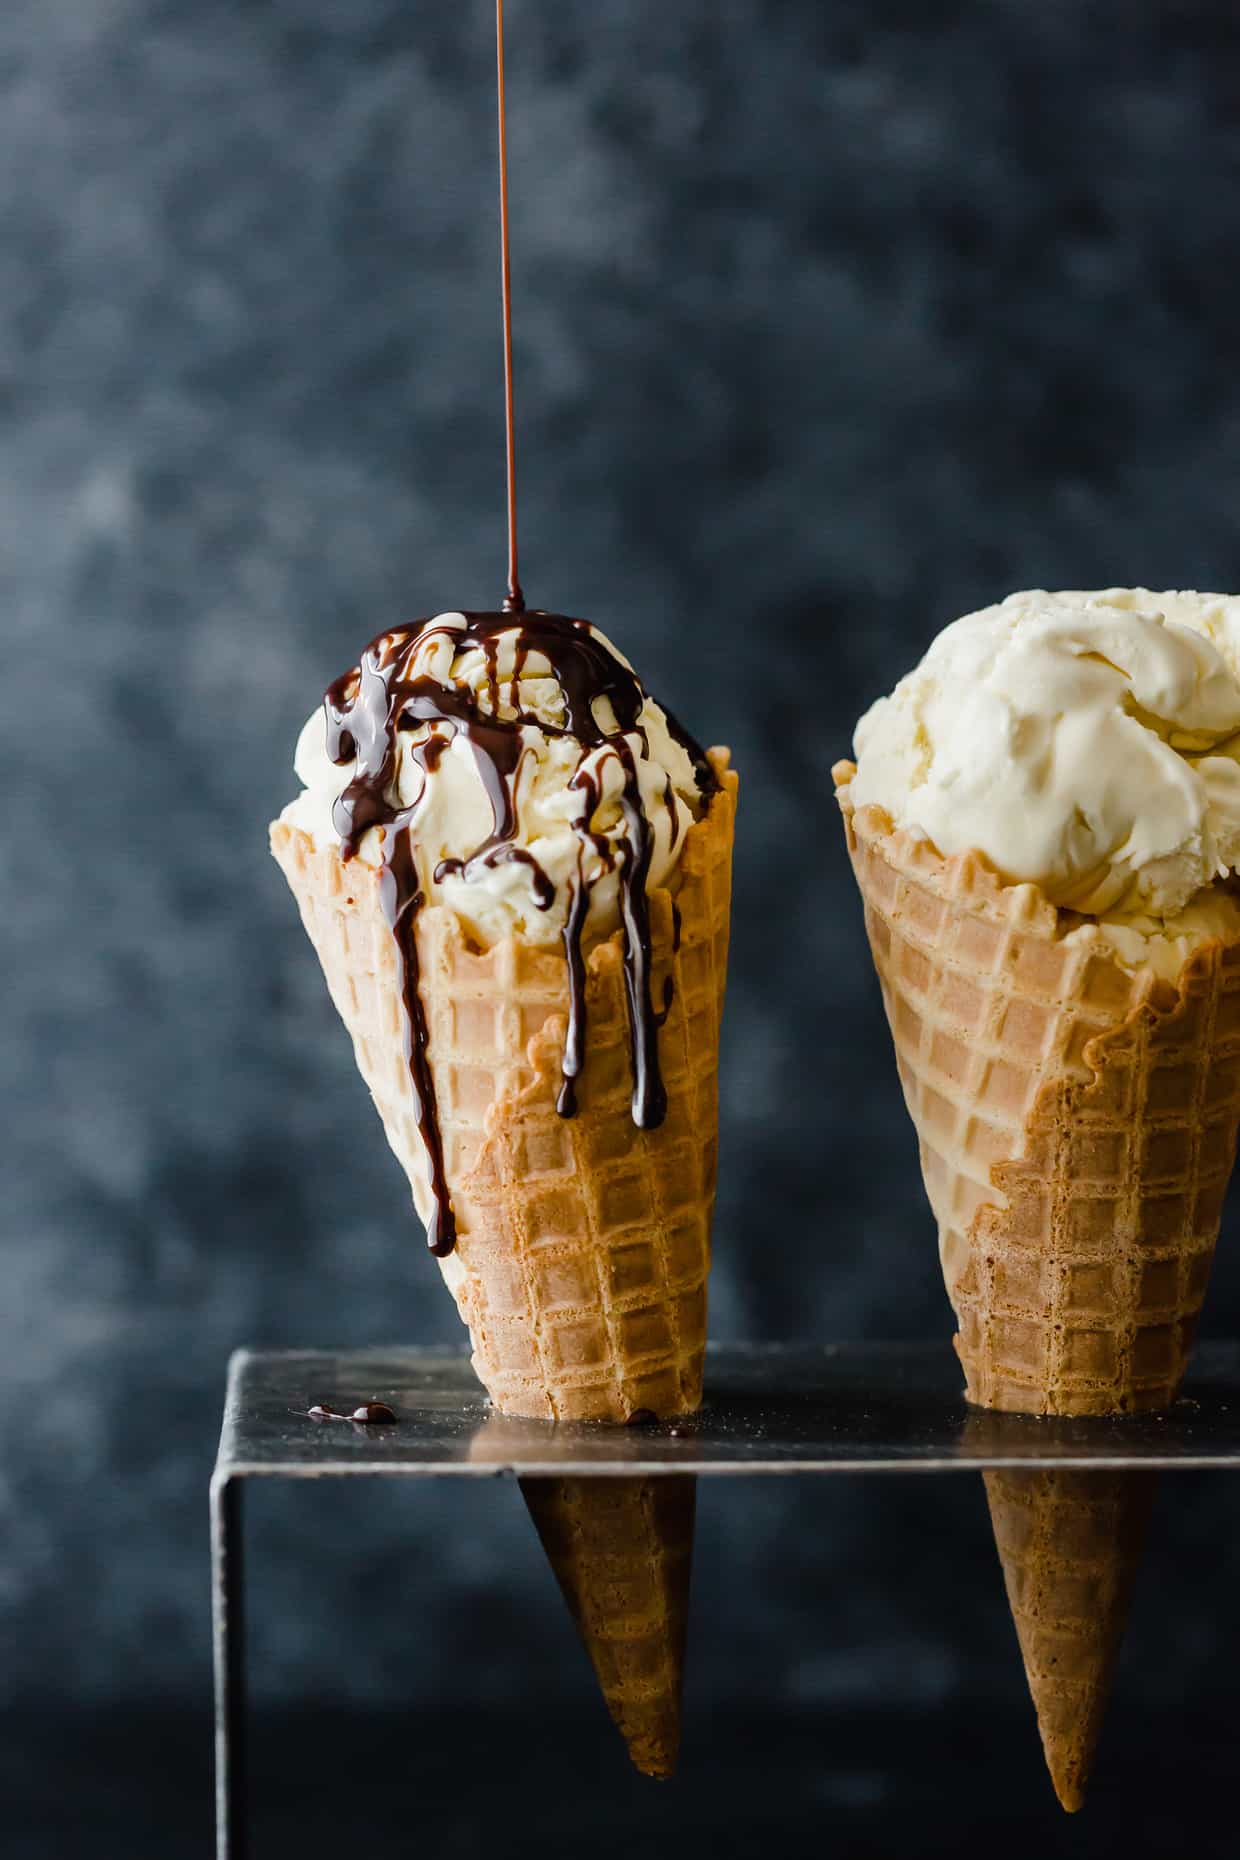
Knowing how to make old-fashioned vanilla ice cream in an ice cream maker is very helpful when the weather starts warming up. It’s perfect for a classic vanilla ice cream cone or a Cookie Ice Cream Sandwich. Or serve this classic ice cream alongside a classic Yellow Cake with Chocolate Frosting. Looking for more ideas? Drizzle with homemade Butterscotch Sauce or turn into Fried Ice Cream! For more ice cream recipes, check out my Dark Chocolate Ice Cream and Raspberry Ice Cream recipes.
Why This Recipe Works
- Best vanilla ice cream. There’s something about homemade vanilla ice cream that tastes so much better than store-bought. Is it the labor of love that went into it or the building anticipation as you wait for it to freeze before scooping? Either way, this recipe is going to become a huge hit in your house! One reader said, “This vanilla ice cream recipe will forever be my vanilla ice cream recipe. I have NEVER had homemade ice cream this creamy and delicious!”
- Ice cream maker vanilla ice cream. Unlike the no-churn ice cream recipes, this recipe is churned, which means it’s light, fluffy, and super creamy. The churning keeps the forming ice crystals small and smooth. It also thickens the texture due to the air churned into it.
- Perfect on its own — perfect with mix-ins! The vanilla flavor is so good on its own and is a great recipe to build off of with mix-ins and add-ons. See my Recipe Tips section for ideas. One reader left a comment saying, “I’ve made this recipe several times now and each time feels like a little miracle! I’ve had fun with different mix ins, from oreo’s to fresh raspberries and chocolate chips. It’s a bit dangerous to know how to make ice cream THIS GOOD, that turns out even better than the local favorite go-to!!”
Ingredient Notes
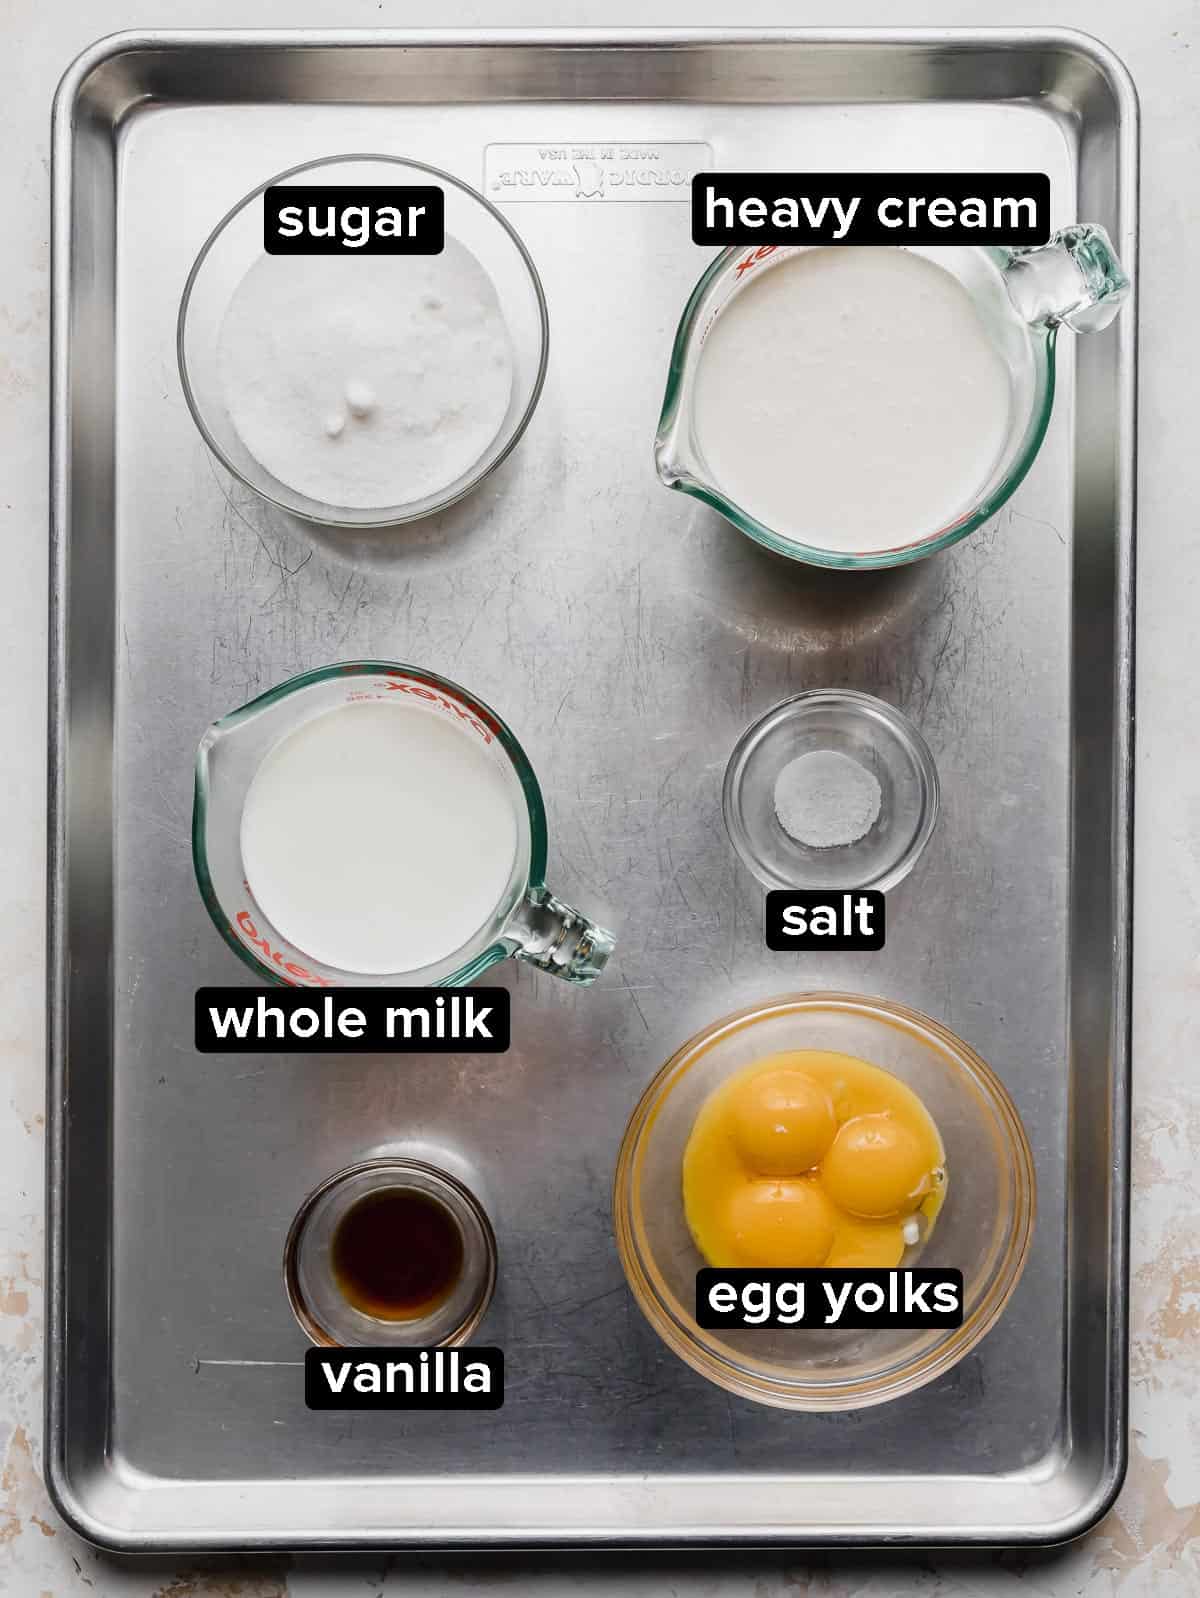
- Egg Yolks: Homemade ice cream with eggs produces a custard-based ice cream. Egg yolks (and churning) create a rich and creamy texture. The eggs are tempered (slowly elevating the temperature while stirring) when you pour the hot cream into it. It will melt the sugar and gradually cook the eggs (without turning into scrambled eggs).
- Granulated Sugar: When streaming in the hot cream, this will help melt the sugar granules to create a smooth texture.
- Salt: This is just enough salt to enhance the flavor.
- Heavy Cream: Heavy cream and heavy whipping cream can be used interchangeably. Do not use half and half. Half and half is half cream/half milk so it doesn’t have a high enough fat content.
- Whole Milk: You’ll want to use whole milk because it has a higher fat content than 2% or 1%. When making homemade vanilla ice cream, it’s all about getting the proper fat content from the milk and cream + the tempered eggs.
- Vanilla Extract: The vanilla flavor is obvious and works with the egg ratio for a vanilla custard without a heavy egg flavor.For an even more prominent vanilla flavor you can use vanilla bean paste.
Step-by-Step Instructions
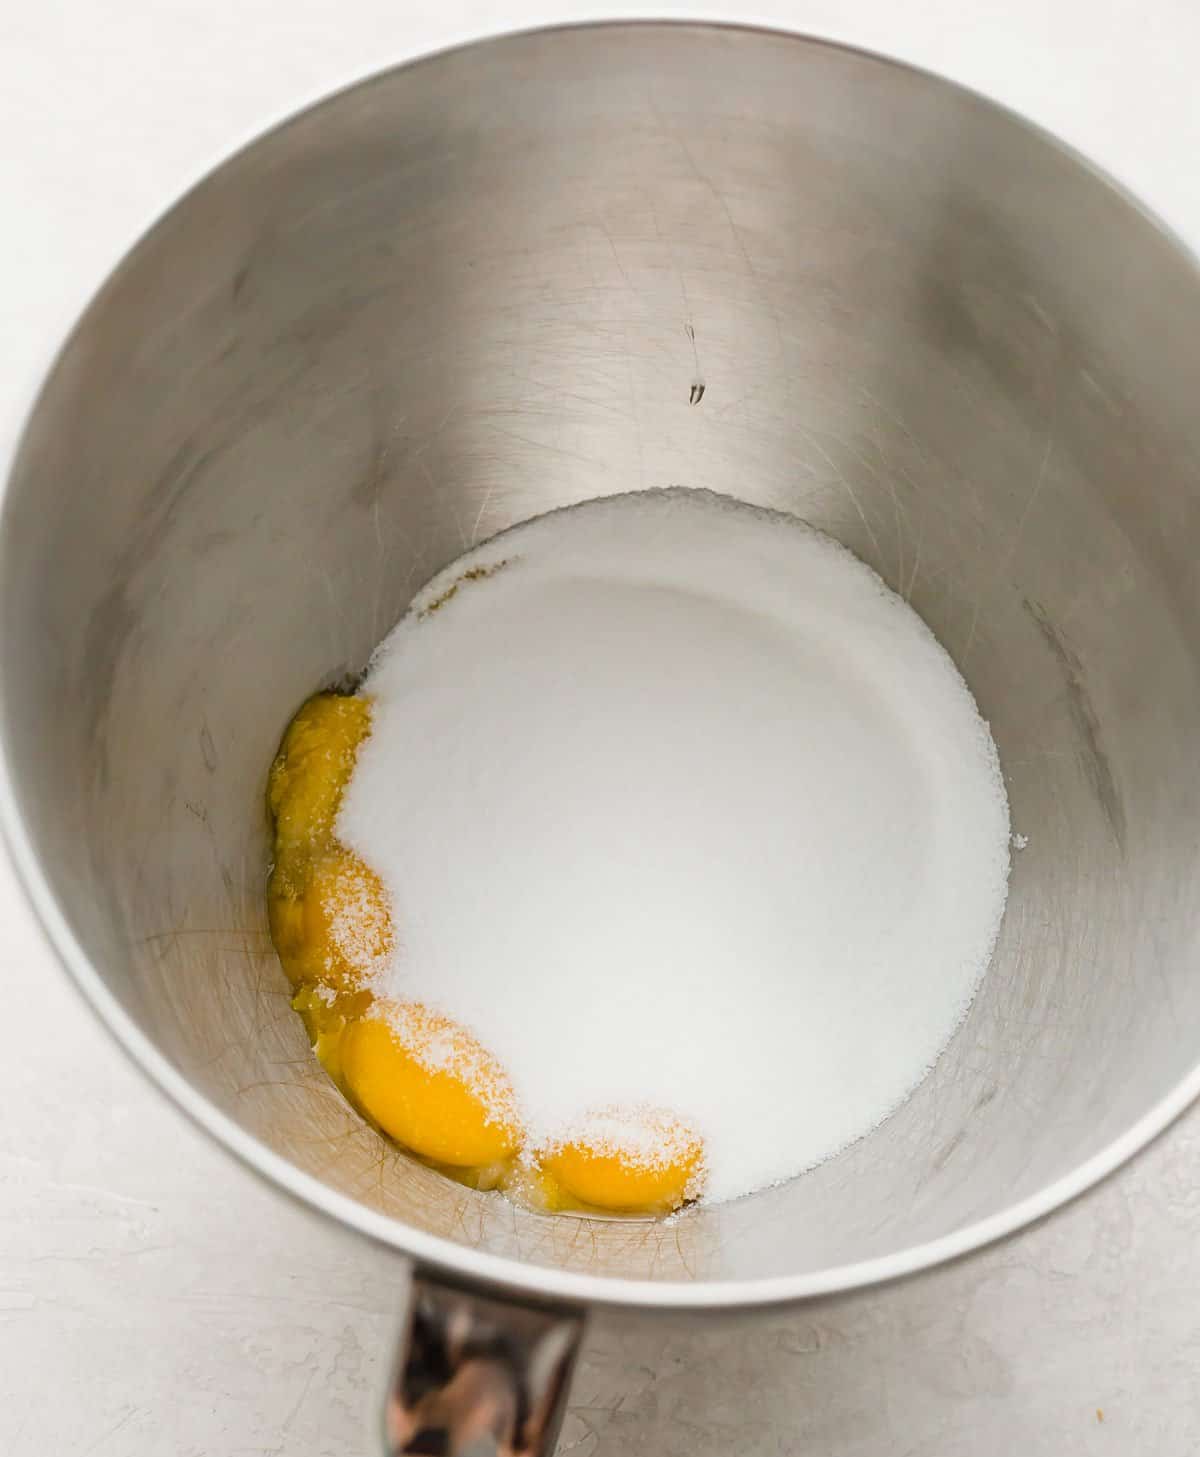
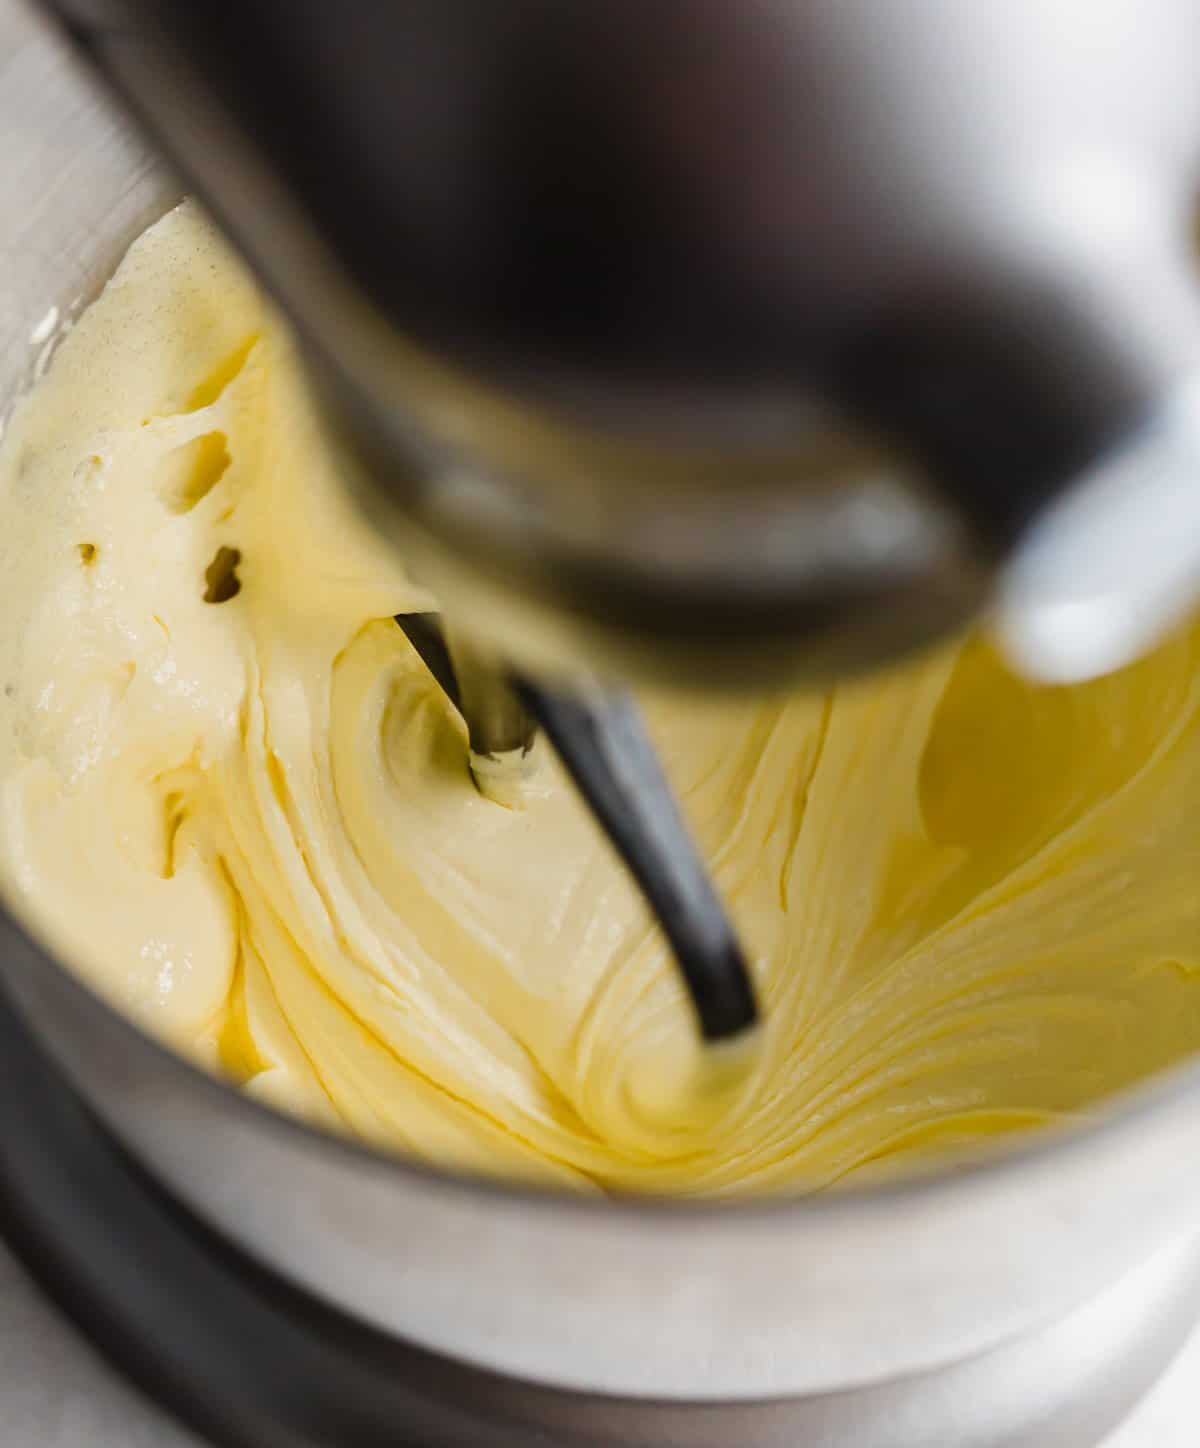
- Beat the sugar and eggs yolks. In the bowl of a stand mixer, add the egg yolks, sugar, and salt. Mix on medium speed until pale yellow and light and airy, about 4-5 minutes.
- Heat cream and milk. In a large pan, heat the cream and milk over medium-low heat. If you have an instant read thermometer, the mixture should reach 155-160°F. If you don’t have a thermometer, it will be hot but not boiling!
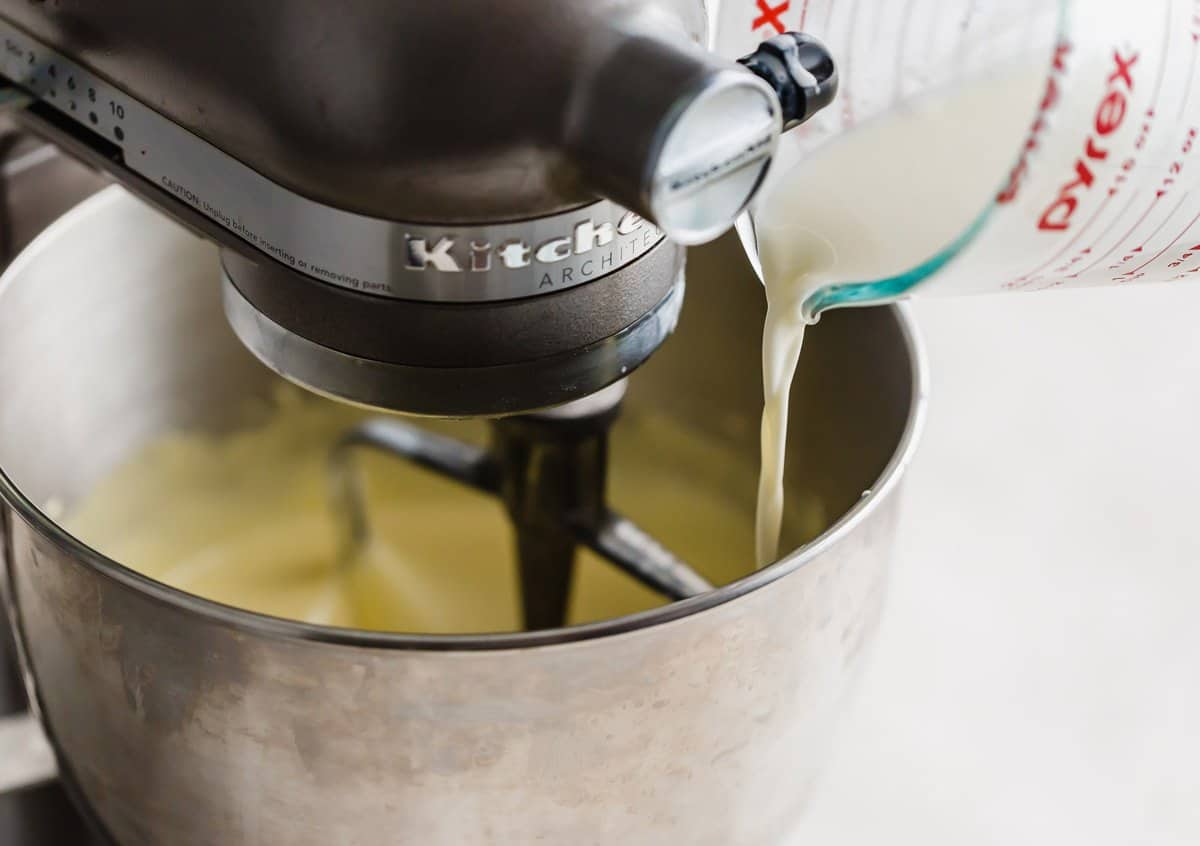
- Stream in the warm cream. With the mixer on low, stream the warm cream into the egg yolk and sugar mixture. Mix until thoroughly combined, about 3 minutes.
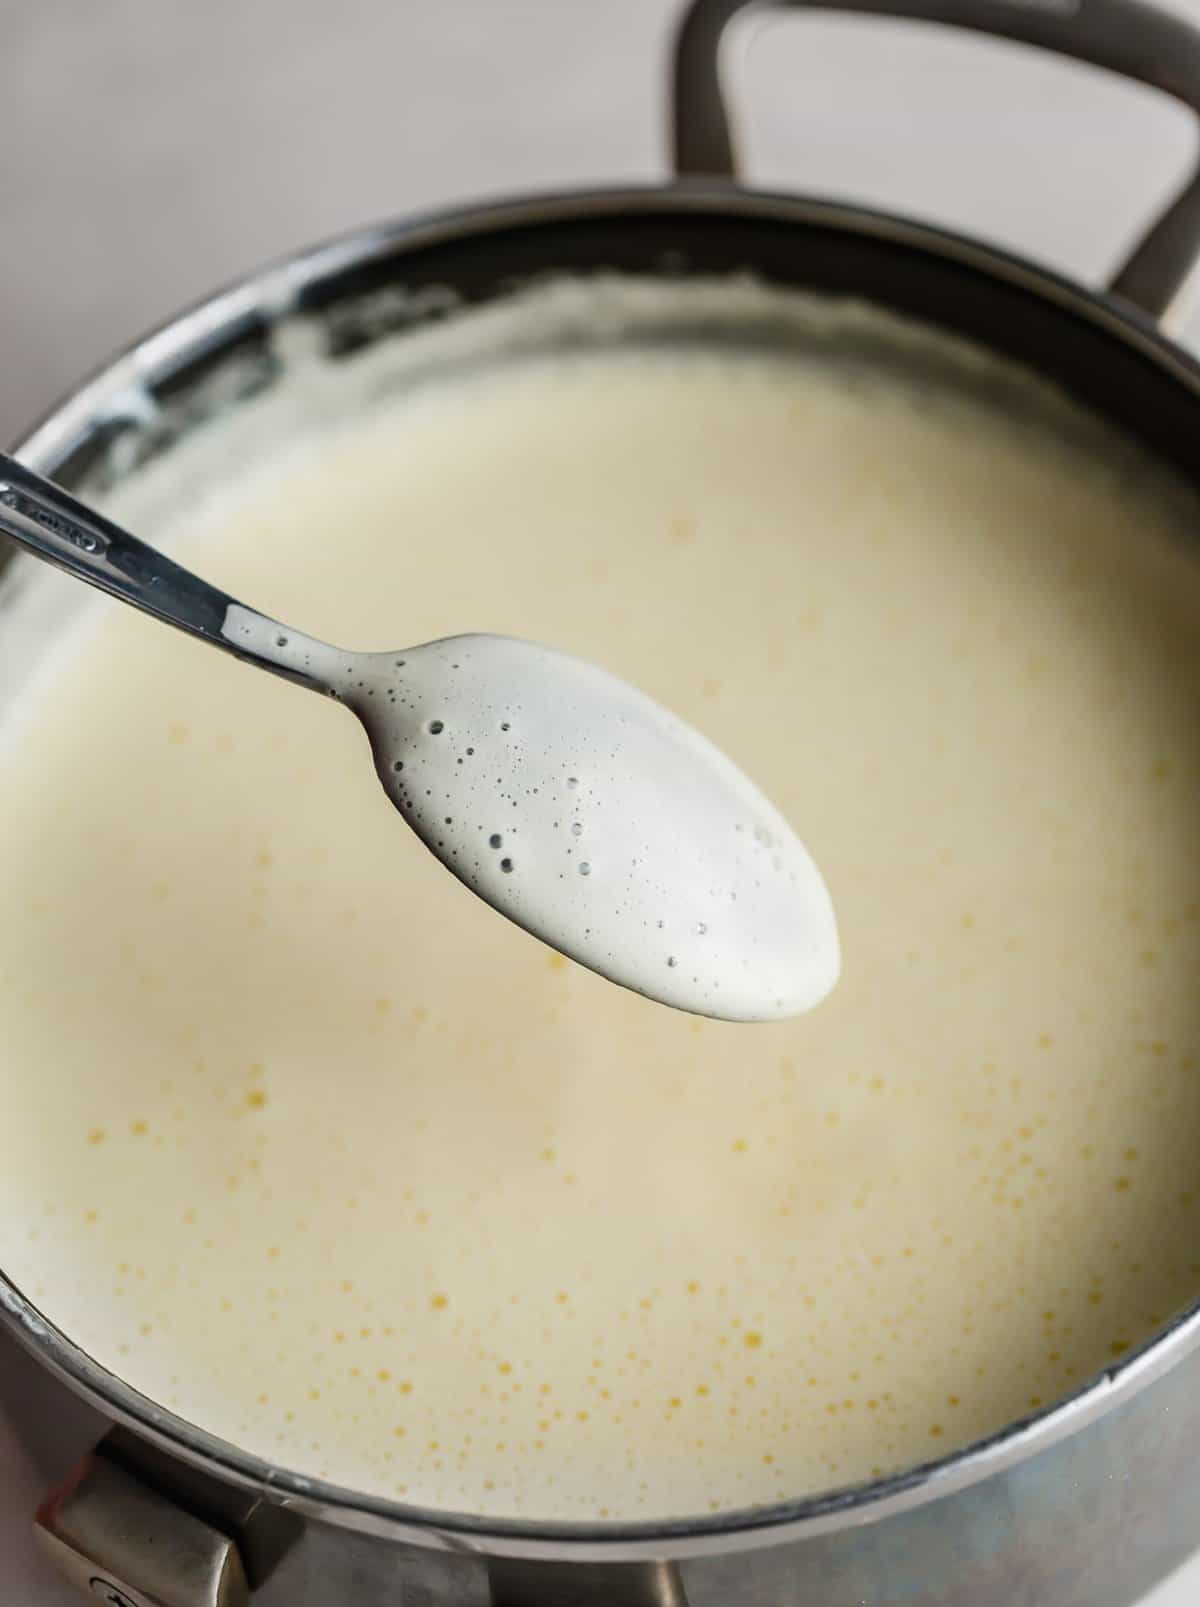
- Heat the egg and cream mixture. Next, pour the cream/egg mixture back into the large pan and heat over medium-low heat, stirring constantly. Heat to 155-160°F. If you don’t have a thermometer heat it until it thickens and coats the back of a spoon. It should NOT boil, however, a few bubbles may come up along the edges. Remove from heat and add the vanilla.
- Strain to remove any small chunks. Set a fine mesh strainer over a large bowl. Pour the warm mixture into the bowl through the fine mesh strainer.
- Chill. Cool the mixture over an ice bath, stirring every few minutes. Then place the mixture in the refrigerator until completely chilled.
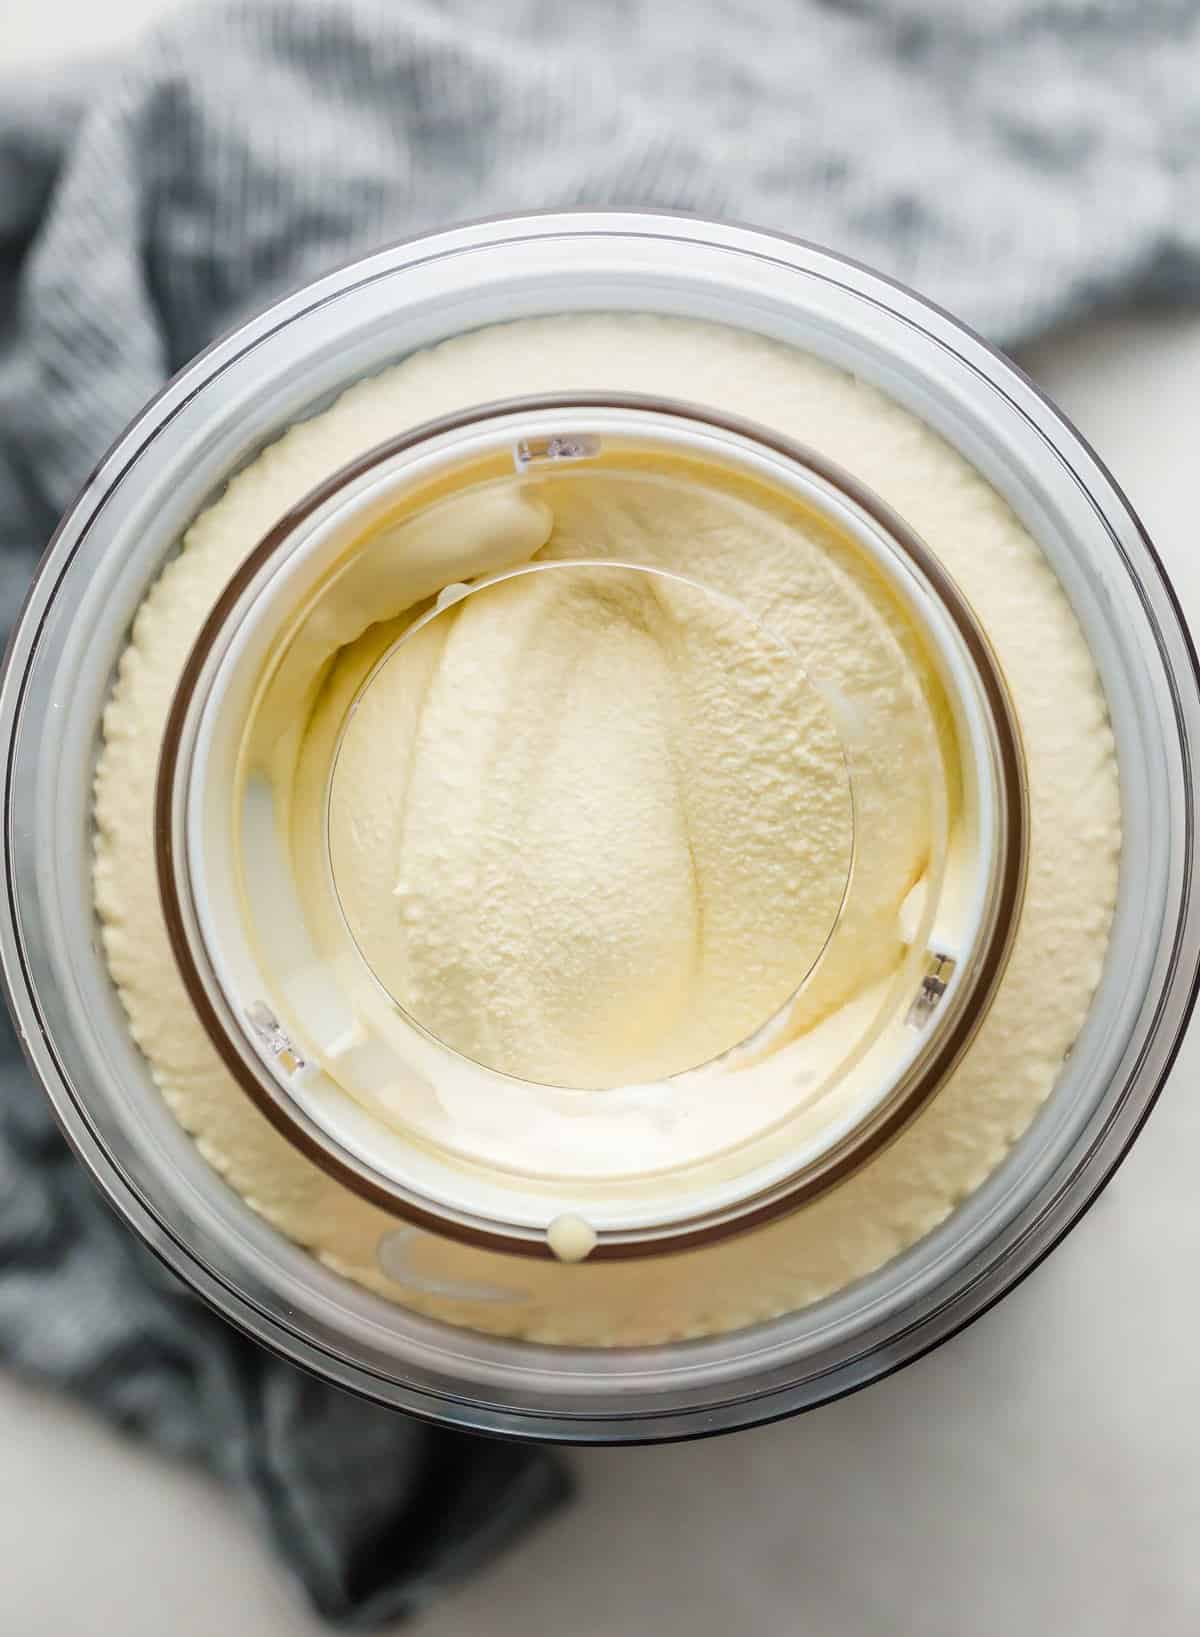
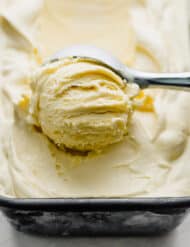
- Churn. Set up your ice cream machine according to the manufacturers directions. With the machine running, add the mixture in a slow steady stream. Churn according to the directions.
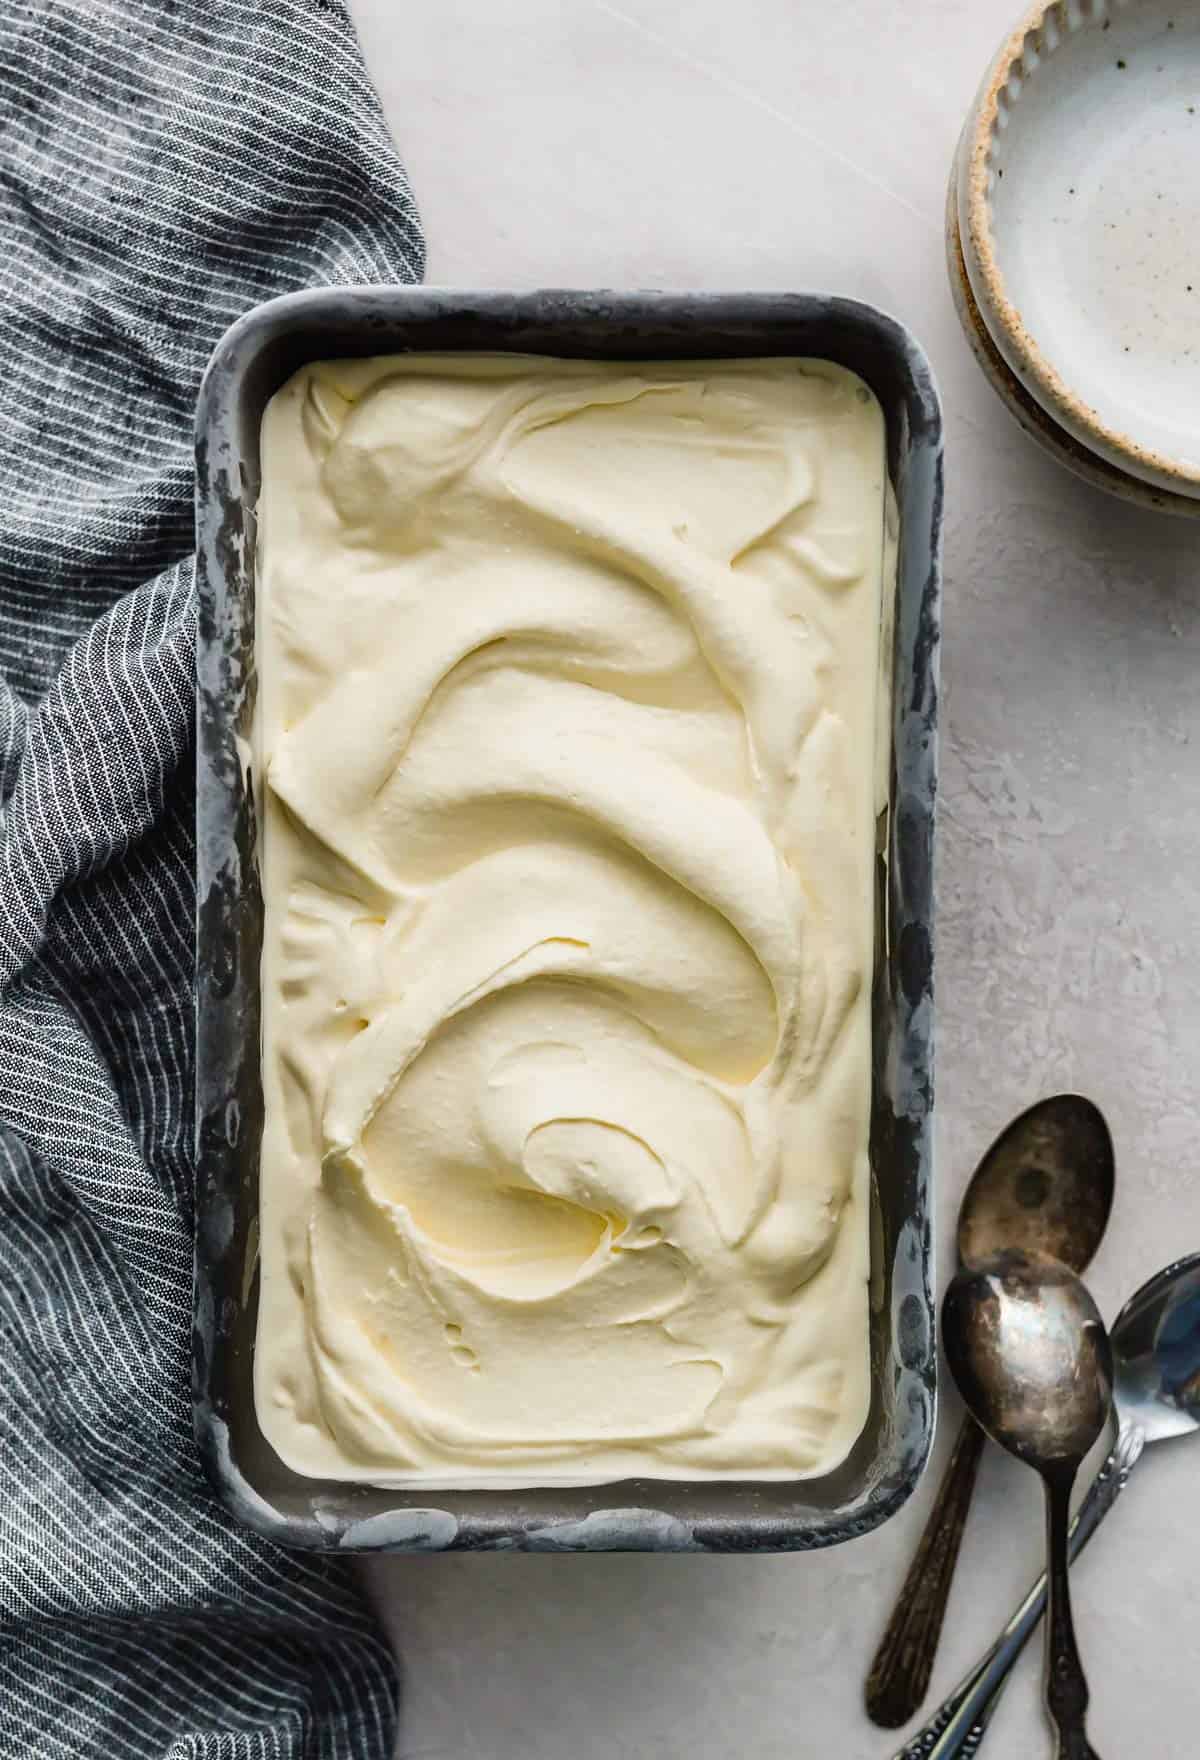
- Freeze. Transfer to an airtight container and place in the freezer for several hours to firm up. Serve with your choice of toppings, as a vanilla ice cream cone or a vanilla ice cream sandwich!
Recipe Tips
Properly freeze the ice cream maker bowl for the correct amount of time (see the manufacturing instructions). I would freeze it for even a day longer to really make sure it’s frozen. Not having a cold enough bowl will greatly impact the ability for the mixture to freeze correctly.
Follow the directions precisely when it comes to heating and cooling the mixture. The key to getting a smooth texture and a proper custard ice cream is to slowly heat and slowly cool the mixture.
Be sure to place a fully chilled cream and milk mixture into the machine for optimal results.
Mix-ins and Toppings:
- Crushed peppermint
- Oreos — or check out my Oreo ice cream recipe
- Chocolate chips
- Crushed (or whole) candy pieces, depending on size
- Ben and Jerry’s Cookie Dough Bites — follow along with my Chocolate Chip Cookie Dough Ice Cream recipe!
- A caramel ribbon
- Brownie bits
- Raspberry sauce
- Homemade hot fudge
- Reese’s Peanut Butter Cups — Use any leftover vanilla ice cream to make a delicious Reese’s Blizzard!
Not only can you add things to your custard vanilla ice cream to make it unique, but you can also use any leftovers to create something completely new like praline ice cream or Oreo Milkshakes.
Using homemade ice cream for Ice Cream Cake Roll can be a great option because it is soft enough to spread and roll.
Make Ahead, Storing, and Freezing
It’s definitely helpful to make this recipe ahead of time! You’ll at least want to prepare in advance because you need you ice cream maker bowl to be frozen prior to churning.
Store in an airtight container in the freezer for a few hours before serving for a more solid texture. If you serve right away, it will be more like a soft serve texture.
This recipe will keep in the freezer for up to 2 months. Store in an airtight container to prevent freezer burn.
Recipe FAQs
Churning combines the freezing and mixing process. By keeping the mixing paddle going as the mixture is chilled, you help to keep the ice crystals nice and small and incorporate more air into the ice cream mix. This gives you an ultra-smooth texture that’s nice and light. As more air is incorporated into the ice cream, the overall volume increases as well (similar to when you make whipped cream). This means that it will look like you have a lot more when the process is over than it did when you started! How cool is that?
Depending on your specific ice cream maker, your time may vary. Pay attention to the manufacturers instructions to make sure you follow the process correctly. A general guideline is that it normally takes between 25 and 40 minutes to churn, but the amount you have in your machine will affect the churn time.
It’s really important to me to adjust recipes based off reader feedback. This recipe used to have more eggs in it, but some readers commented a strong eggy flavor. Due to that feedback, I’ve reduced the amount of eggs. You’ll still get a delicious custard texture without an eggy flavor.
Yes you can! You can use vanilla bean paste on a 1:1 ratio. Vanilla bean paste will give you a stronger vanilla flavor and will provide those vanilla bean flecks.
More Frozen Desserts
Did you make this recipe? I’d love to hear about it! Leave a rating and review or scroll below the recipe card and do so there.
Stay up-to-date by following us on Instagram, TikTok, Facebook, and Pinterest.
Homemade Vanilla Ice Cream
Ingredients
- 7 egg yolks
- 1 1/3 cup granulated sugar
- 1/4 teaspoon salt
- 3 cups heavy cream
- 1 cup whole milk
- 1 tablespoon vanilla extract
Instructions
- In the bowl of your stand mixer add the egg yolks, sugar, and salt. Using the paddle attachment, beat on medium speed until pale yellow and light and airy. About 4-5 minutes.
- In a large pan heat the cream and milk over low heat, stir occasionally. If you have an instant read thermometer the mixture will reach 155-160°F. If you don’t have a thermometer, the will be hot but not boiling!
- Turn the mixer to low and add the heated cream in a slow, steady, stream. Mix until thoroughly combined, about 3 minutes.
- Pour the cream/egg mixture back into the pan and heat over medium-low heat stirring constantly. Heat to 155-160°F. If you don’t have a thermometer heat until it thickens and coats the back of a spoon. It should NOT boil, however, a few bubbles may come up along the edges. Remove from the heat and add the vanilla.
- Set a fine mesh strainer over a large bowl. Pour the warm ice cream mixture into the bowl (through the fine mesh strainer)*
- Cool the mixture over an ice bath, stirring every few minutes. After about 10-15 minutes place the mixture in the refrigerator until completely chilled.
- Set up your ice cream machine according to the manufacturers directions. With the machine running, add the mixture in a slow steady stream. Churn according to the directions.
- Transfer the churned ice cream to an airtight container and place in the freezer for several hours to firm up. Serve with your choice in toppings!
Video
Notes
This recipe and blog post was updated March 2022. The original recipe called for 8 egg yolks, and has since been reduced to 7 egg yolks. This still gives the ice cream the custard taste, texture, and creaminess but with a less likely chance of there being an “eggy” taste to the ice cream.
 Welcome to this delicious corner of the internet! Here I share the recipes my family loves.


97 Comments on “Homemade Vanilla Ice Cream Recipe”
I really like this ice cream. It is smooth and creamy. I actually add one tablespoon of Karo syrup to it and does not freeze hard. You don’t have to wait to eat it. Taste great! How can you add frozen strawberries to it in order to make strawberry ice cream. I want to use this great ice cream as a base for different flavors. Thank you
So happy you like it, Pamela! That is a great tip about the syrup. You can definitely add chopped strawberries after the ice cream is churned, or swirl in strawberry compote or puree. OR I would use this raspberry ice cream recipe, just sub strawberries! https://saltandbaker.com/raspberry-ice-cream/
I I have a 1 gallon electric machine . Can I double this recipe?
Yes that should fit. 1x this recipe fits in a 2 quart machine. 4 quarts in a gallon so it should be plenty big enough for a double batch.
I’m making an ice cream cake for my SIL. Wondering if I should double this recipe for 1/2 of the cake – the other layer will be chocolate. No mention about how much it makes – that would be helpful as my machine says no more than 1 1/2 qts.
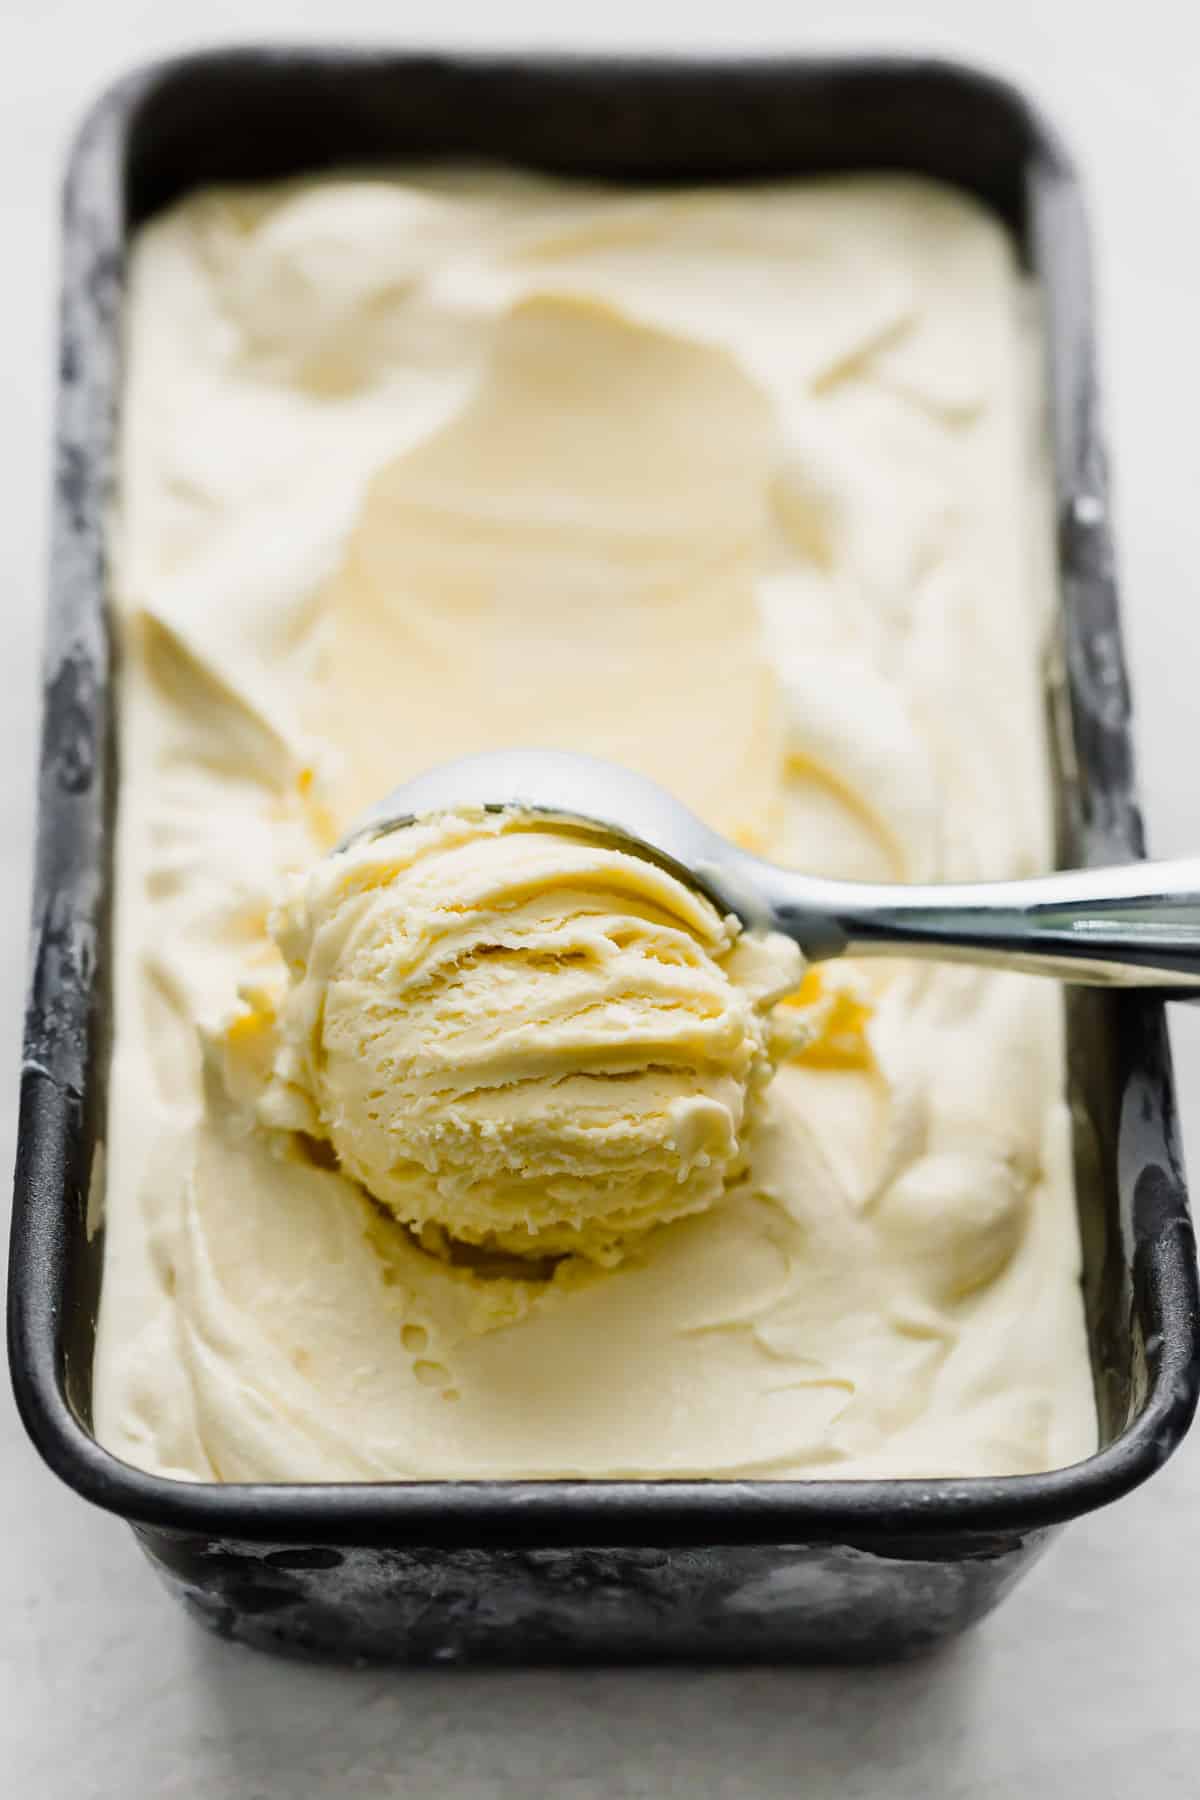
Hi Candace! The ice cream cake sounds so yummy! If you don’t want any leftovers, then I think 1x this batch would work. This batch makes a good amount of ice cream — enough to fully fill the 9 inch bread pan as you see in the pictures above.
Thank you for this recipe! Nowadays, the ice cream industry is a growing sector in the food industry. Its success depends on the effective management of the cold chain. If every step, beginning with ice cream production and ending with the delivery to consumers, is under control, the success of this industry will continue! You can find more information on ice cream manufacture here: https://ivypanda.com/essays/perishable-product-ice-cream-manufacture/
I was a little worried about making this after reading the other reviews but I was very pleased with how it turned out. I also made the cookie dough recipe on this website. It’s very rich and delicious like a custard. I didn’t think it was too eggy like other review say.
This is delicious! I used a White Mountain ice cream maker, cut the sugar in half, used 5 extra large egg yolks, added crushed Oreos at the end and it is FANTASTIC!! Super easy to make, just take your time. I’m making another batch right now 🙂
Made this today. It has a nice texture, and I didn’t get the eggy taste other reviews mentioned, although I found it to be way too sweet (not sure I have ever said that about anything before).
I don’t know if this is because you’re American and that’s how ice cream is over there? But I expect my ice cream to be more creamy than sickly sweet. I guess I could halve the sugar, but I will probably try to find a better recipe.
Ice cream is usually a sweet, decadent treat here in America.
I agree with you Laura. I’m American and still found this to be way too sweet (I might try it again, but will reduce the sugar to 3/4 C total).
Super easy recipe though, which I appreciate (and it wasn’t at all eggy in taste”
Does not make a lot of ice cream (only 4 servings!?) and not the best recipe. Just average
You would need a very large ice cream maker if you want to make more than 4 servings. Its a divide between, having a recipe that can be churned in 1 go, or having to divide it and churn separate batches… which in my opinion would get a lot more complaints.
Sorry it wasn’t for you!
Thanks for taking the time to comment, Liv. We always want to put forth the absolute best recipes here at Salt & Baker. What about the recipe do you feel was missing? In terms of the serving size, you can definitely multiply the recipe and do multiple batches in the ice cream maker.
I added 2C extra of whole milk and raised the cooking temp to 180⁰, came out perfect!
Happy to hear that Joe! Thanks for the great review!
Followed the recipe exactly and it came out looking good. It is not though. Too much egg taste even with using 7 yolks. We threw it out. 4 of us tried it with all the same opinions.
Sorry the ice cream wasn’t for you!
This was ridiculously good!! And super easy when you’re having fun:)
I have a Ninja Creami NC301 machine. I have to freeze the ice cream base for about 12-24 hours, then place it in the machine to be processed and become ice cream. Would this recipe still work? I was thinking of doing everything and freeze the mixture.
Yes that will still work!
Such a rich vanilla ice cream! So fun to make too. Will be making this again.
I just attempted this recipe with my Kitchenaid Ice Cream Maker attachment which has been in the freezer for over 24 hours. After 40 minutes turning it was still slightly thickened liquid. I could tell some ice crystals had formed, but it literally needed to be ladled out of the ice cream attachment. Any ideas of what could have happened or ideas of what I would do differently for better results?
Was the ice cream liquid fully chilled and really cold before you placed it in the ice cream attachment to churn?
Fan freaking tastic! I’ve made this twice now. The first time had too much of an egg taste. When I made it tonight, I only put in 5 eggs and it’s perfect in my opinion! So thick and creamy but no egg taste!
I will never not make this recipe!
I have a 1 quart ice cream maker. What size ice cream maker is this recipe for? I see it says it makes four servings, but that is it.
It’ll make about 1.5-2 quarts. You will want to half the recipe to fit it in your machine. Hope this helps! Let me know if you have any other questions.