Harry Potter Birthday Cake
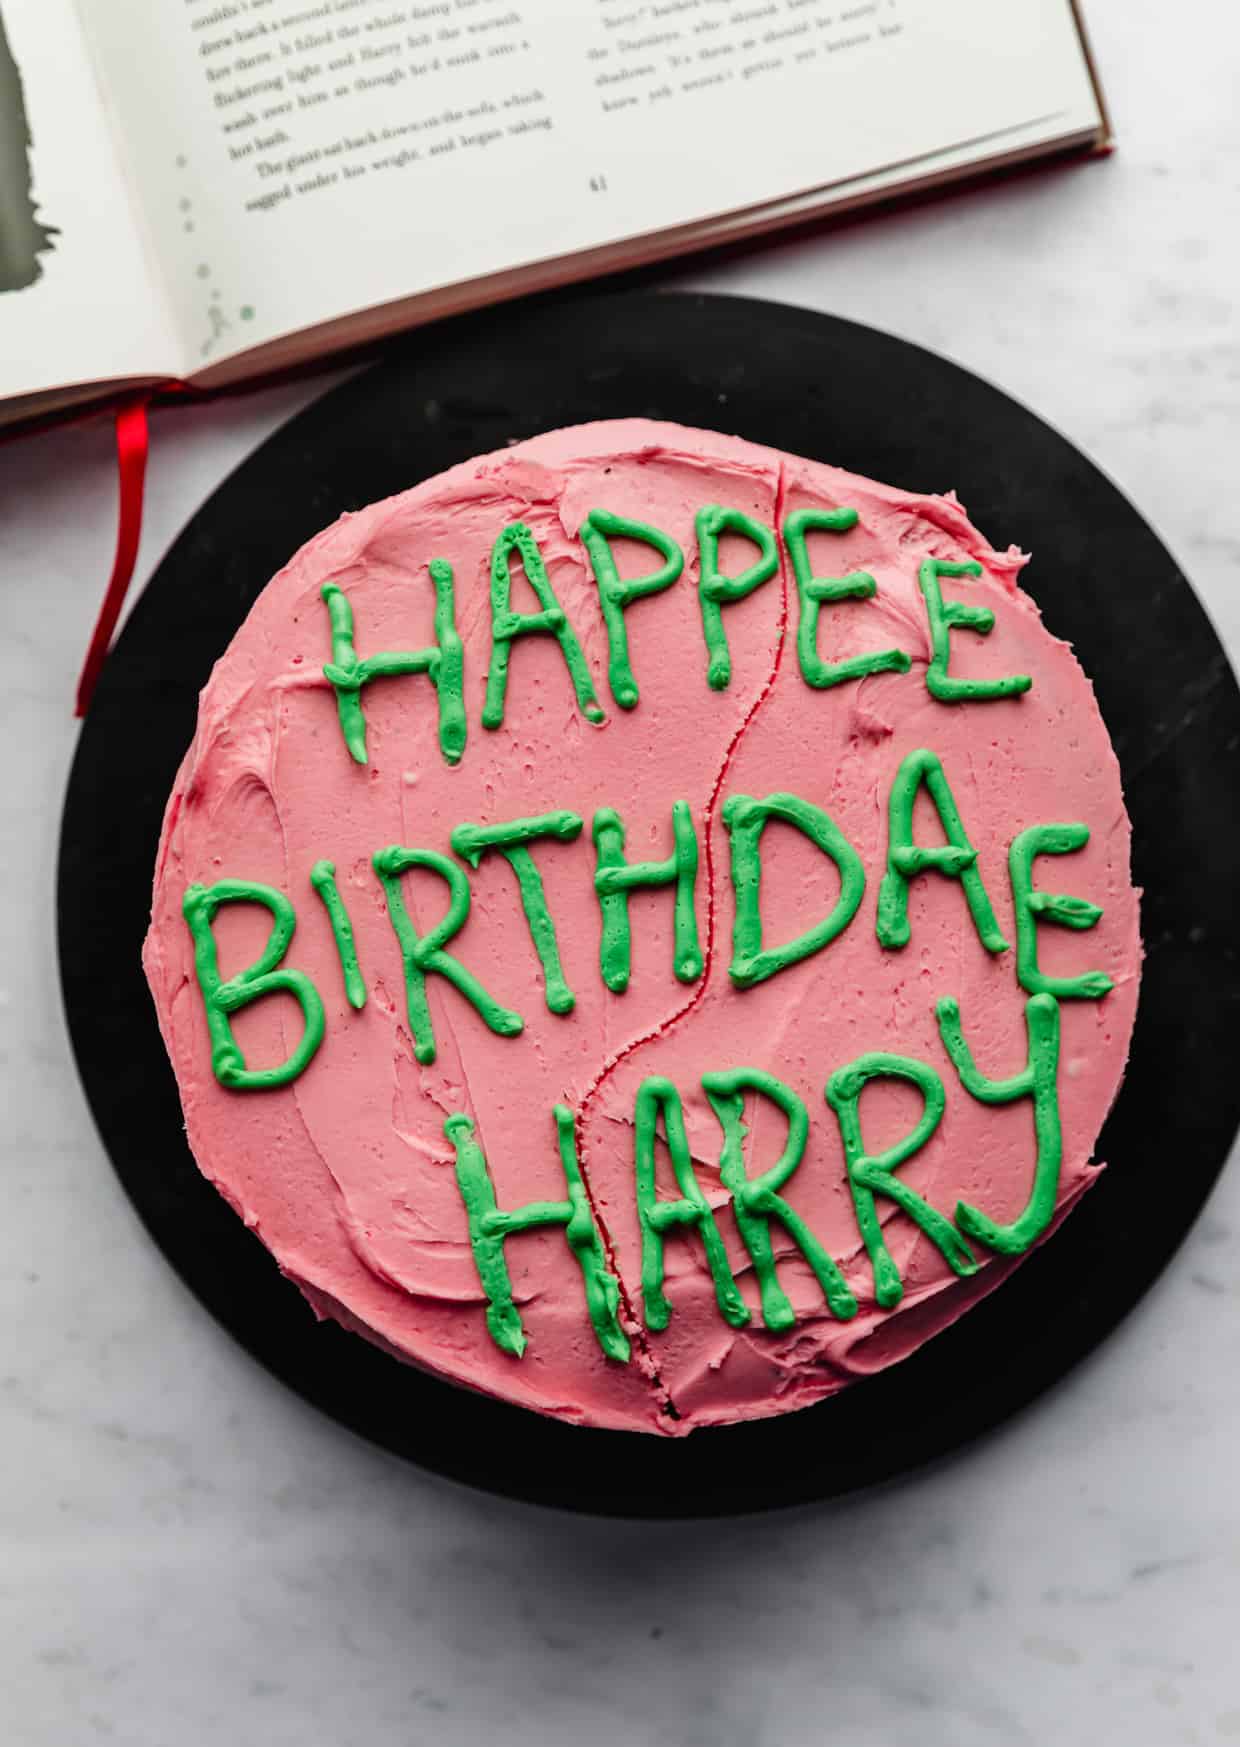
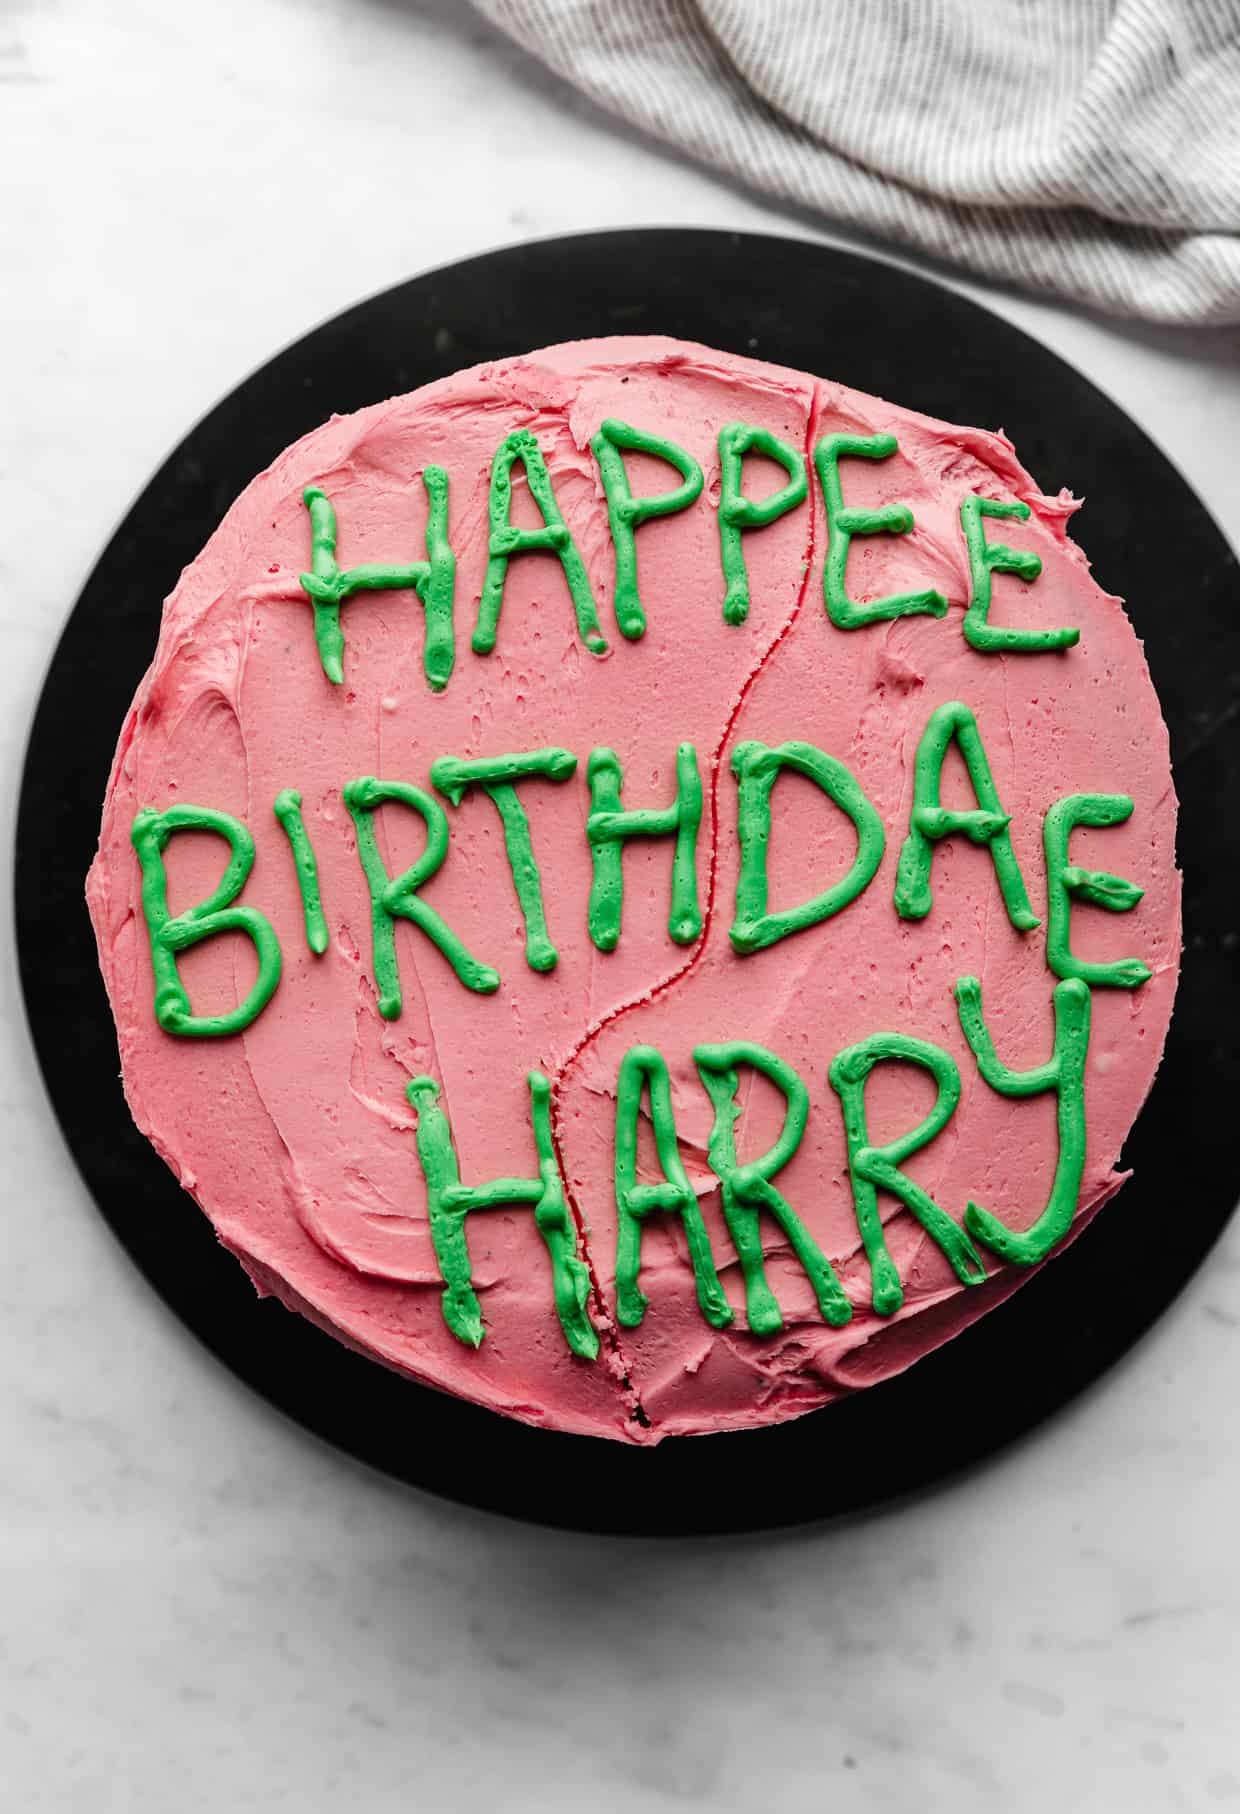
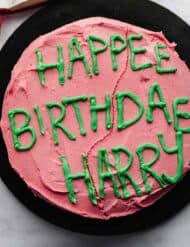
This Harry Potter Birthday Cake will take Harry Potter fans right into the wizarding world of Harry Potter! This delicious “sticky chocolate cake” (as described in the book) is covered in a bright pink vanilla buttercream frosting that is roughly done (Hagrid sat on it after all!) and finished off with the bright green “Happee Birthdae Harry” written on the top!
When I think of the famous Hagrid cake from the movies, I can hear Hagrid’s voice saying, “Got summat fer yeh here”. And from the “inside pocket of his black overcoat” Hagrid pulls out the “slightly squashed box” with Harry Potter’s birthday cake! He went 10 years without any birthday recognition, but his eleventh birthday marked the change in Harry’s story — and what better way to celebrate that then with his first ever birthday cake! Now you can have a slice (accompanied with some Pumpkin Juice)!
Why This Recipe Works
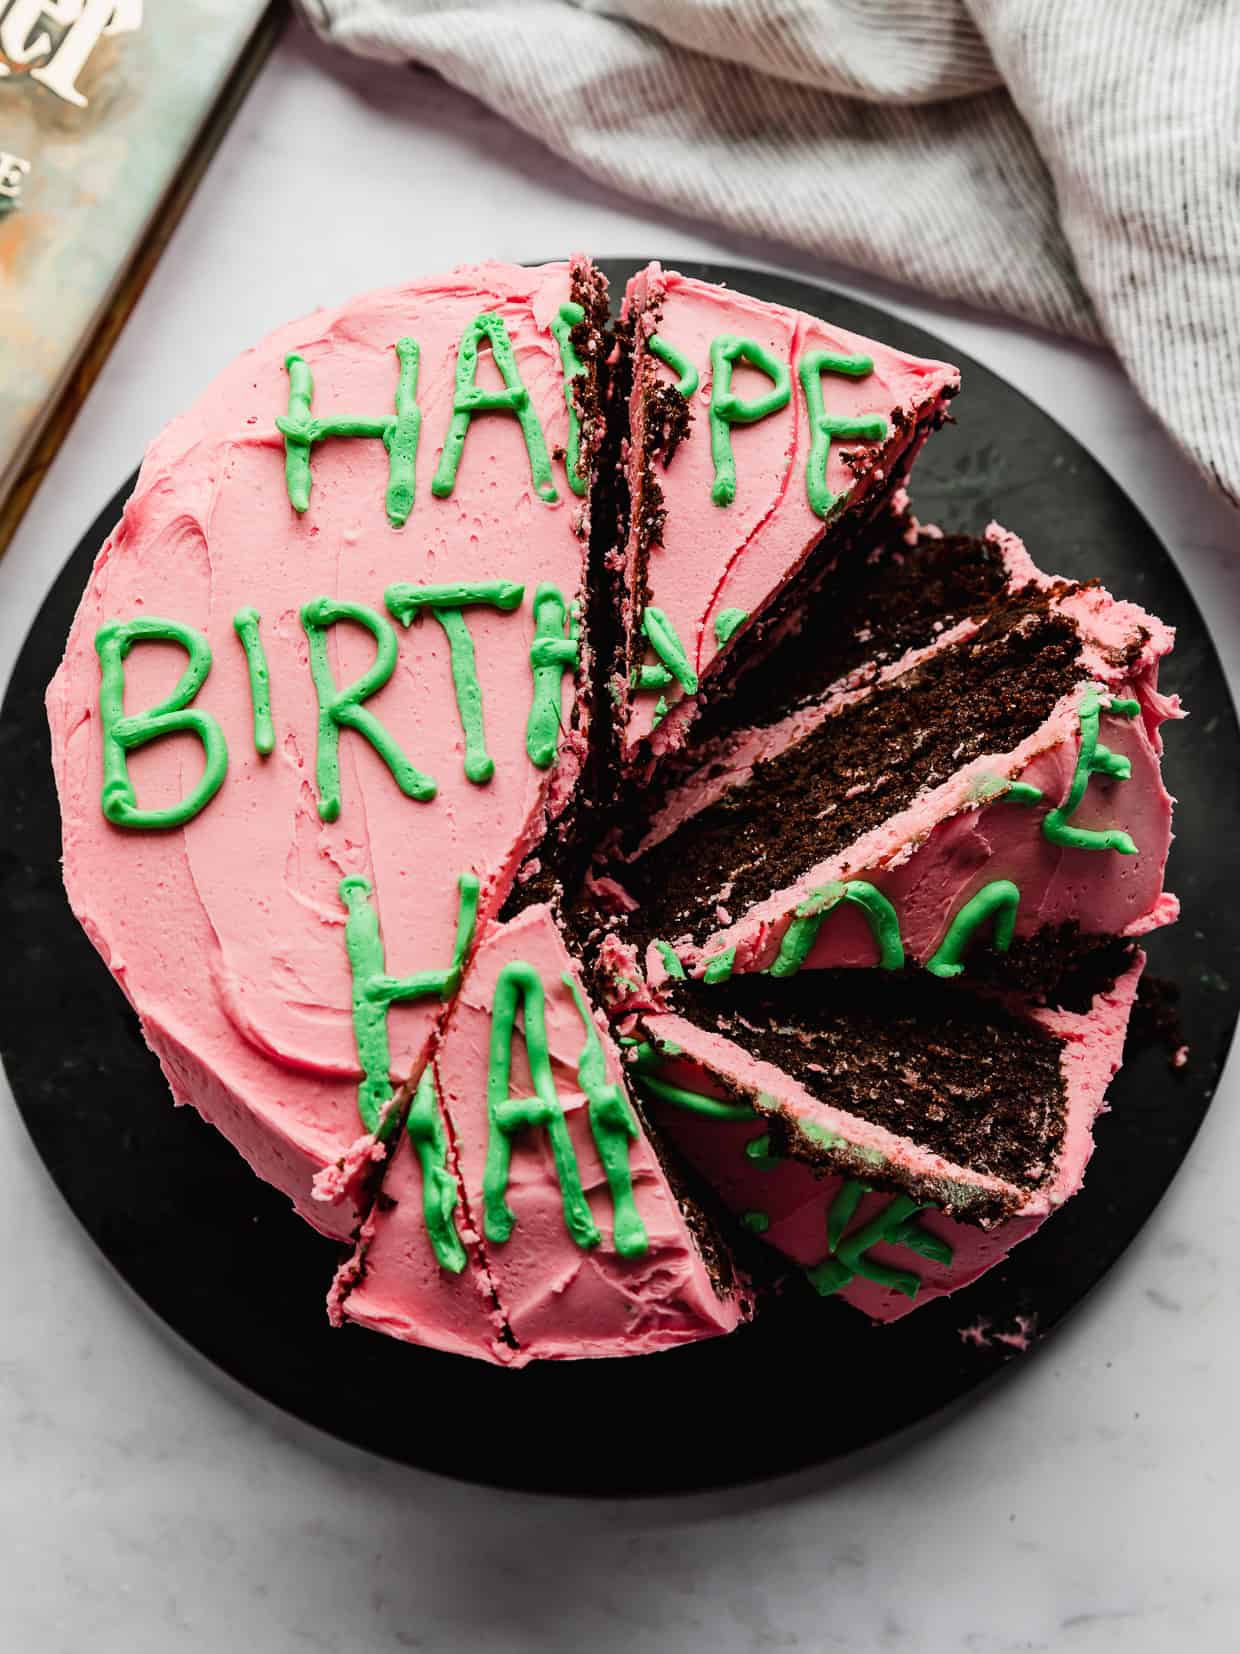
- Fits the movie and book description. In Harry Potter and the Sorcerer’s Stone it says that Harry Potter’s birthday cake is “a large, sticky chocolate cake with Happy Birthday Harry written on it with green icing”. That’s exactly what this cake is! It’s a two-tiered 8-inch Harry Potter chocolate cake that is moist and covered in pink frosting with green icing letters.
- Perfect Harry Potter themed cake. If you are looking to make a birthday cake for a friend or you want to celebrate Harry’s birthday on July 31, then this is the perfect Harry Potter cake for your wizarding celebrations! You really can’t go wrong with the Harry Potter birthday cake from Hagrid since it’s one of the most iconic food items from the Harry Potter series (except perhaps Bertie Bott’s Every Flavor Beans and Harry Potter Pumpkin Juice!)
- Fun and delicious Harry Potter cake recipe! I’m a big fan of the Harry Potter books and the Harry Potter movies. I’ve been reading the illustrated set with my son! This cake is such a fun and delicious dessert to share with fellow Harry Potter fans for your upcoming Harry Potter birthday party on July 31!
Ingredient Notes
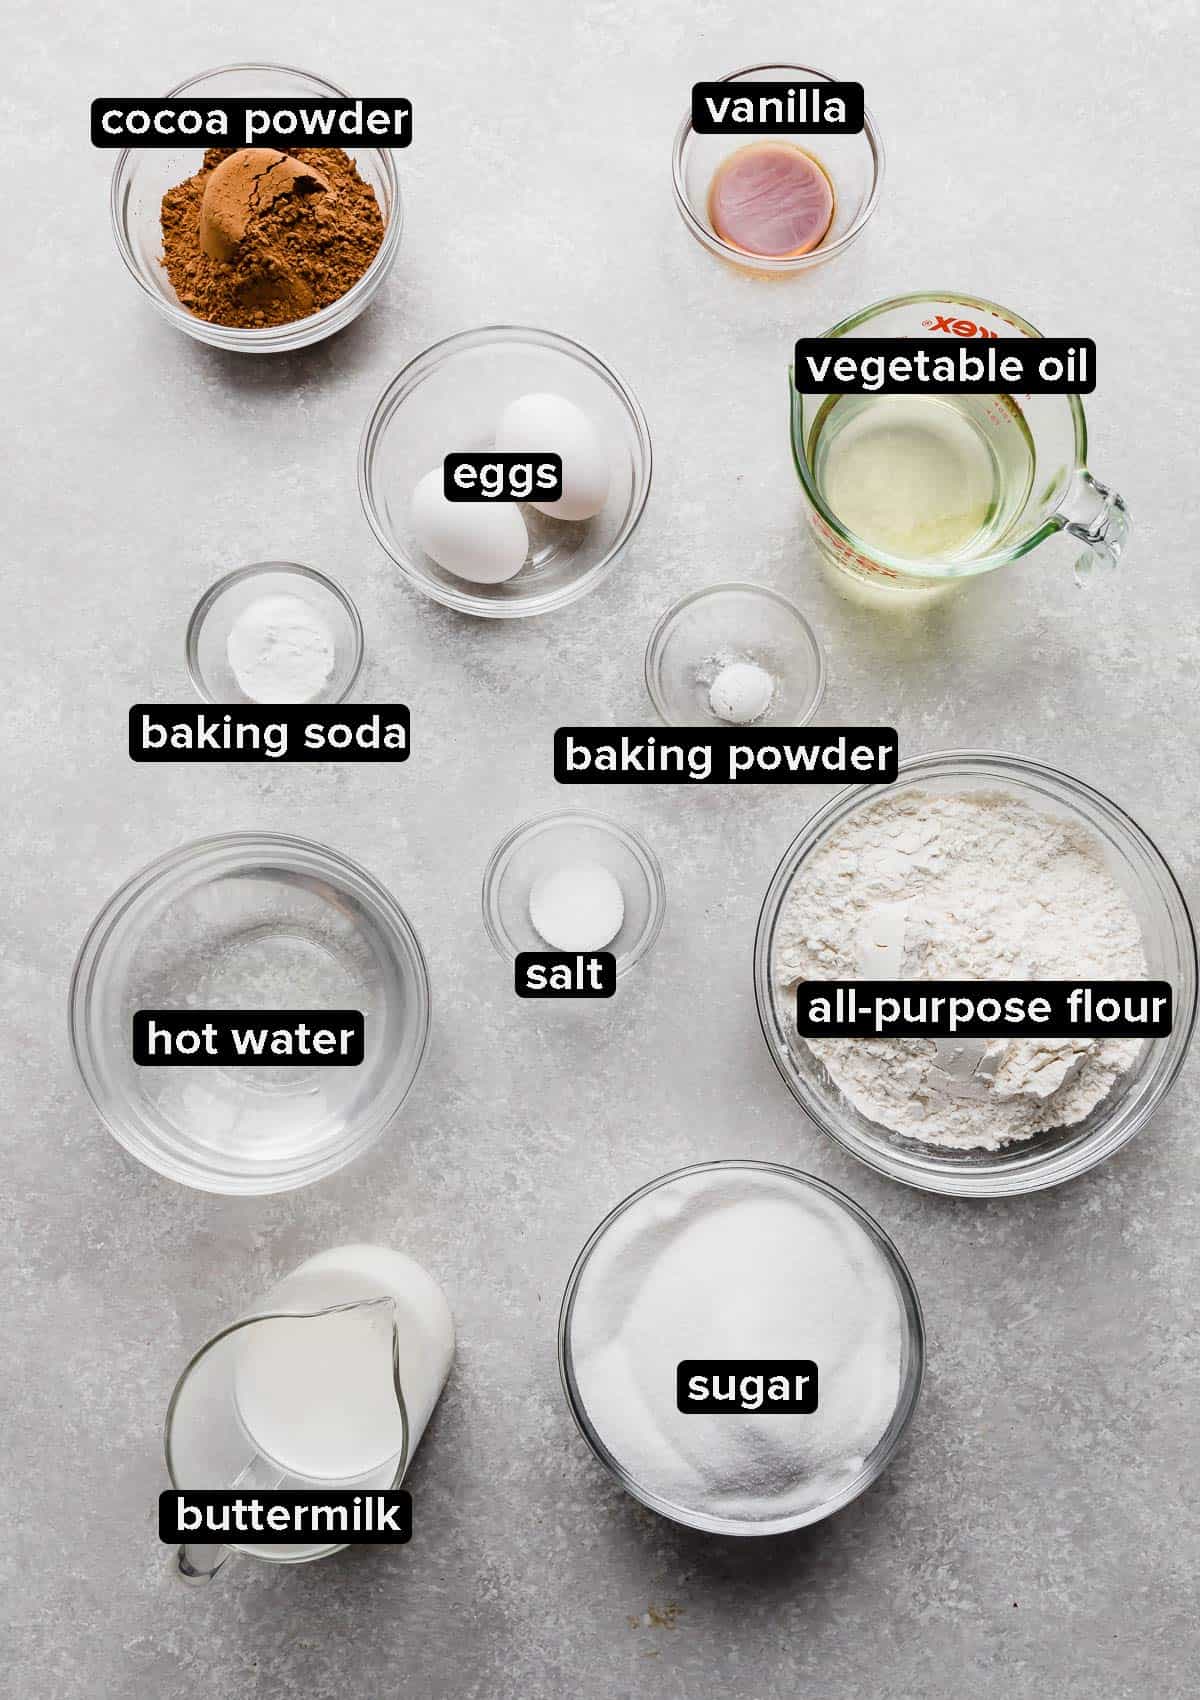
- Unsweetened Cocoa Powder: This is the same thing as natural cocoa powder but much different than Dutch process cocoa powder. For more information on the different types of cocoa powders, when to use them and why, read my post on the Best Cocoa Powder for Baking!
- Buttermilk: Use room temperature buttermilk to get the best results. Room temperature wet ingredients will incorporate into the batter better, resulting in a more even bake.
- Vegetable Oil: Cakes made with oil will be much more moist than cakes made with butter. This is because the oil is a liquid at room temperature where butter is a solid. J.K. Rowling specifically describes this Harry Potter Birthday cake as a “sticky chocolate cake” so that means it must have been incredibly moist. We achieve this moisture by using the oil.
- Hot Water: The hot water is used to bloom the cocoa powder. When you combine cocoa powder with hot water, it brings out a richer and deeper chocolate flavor.
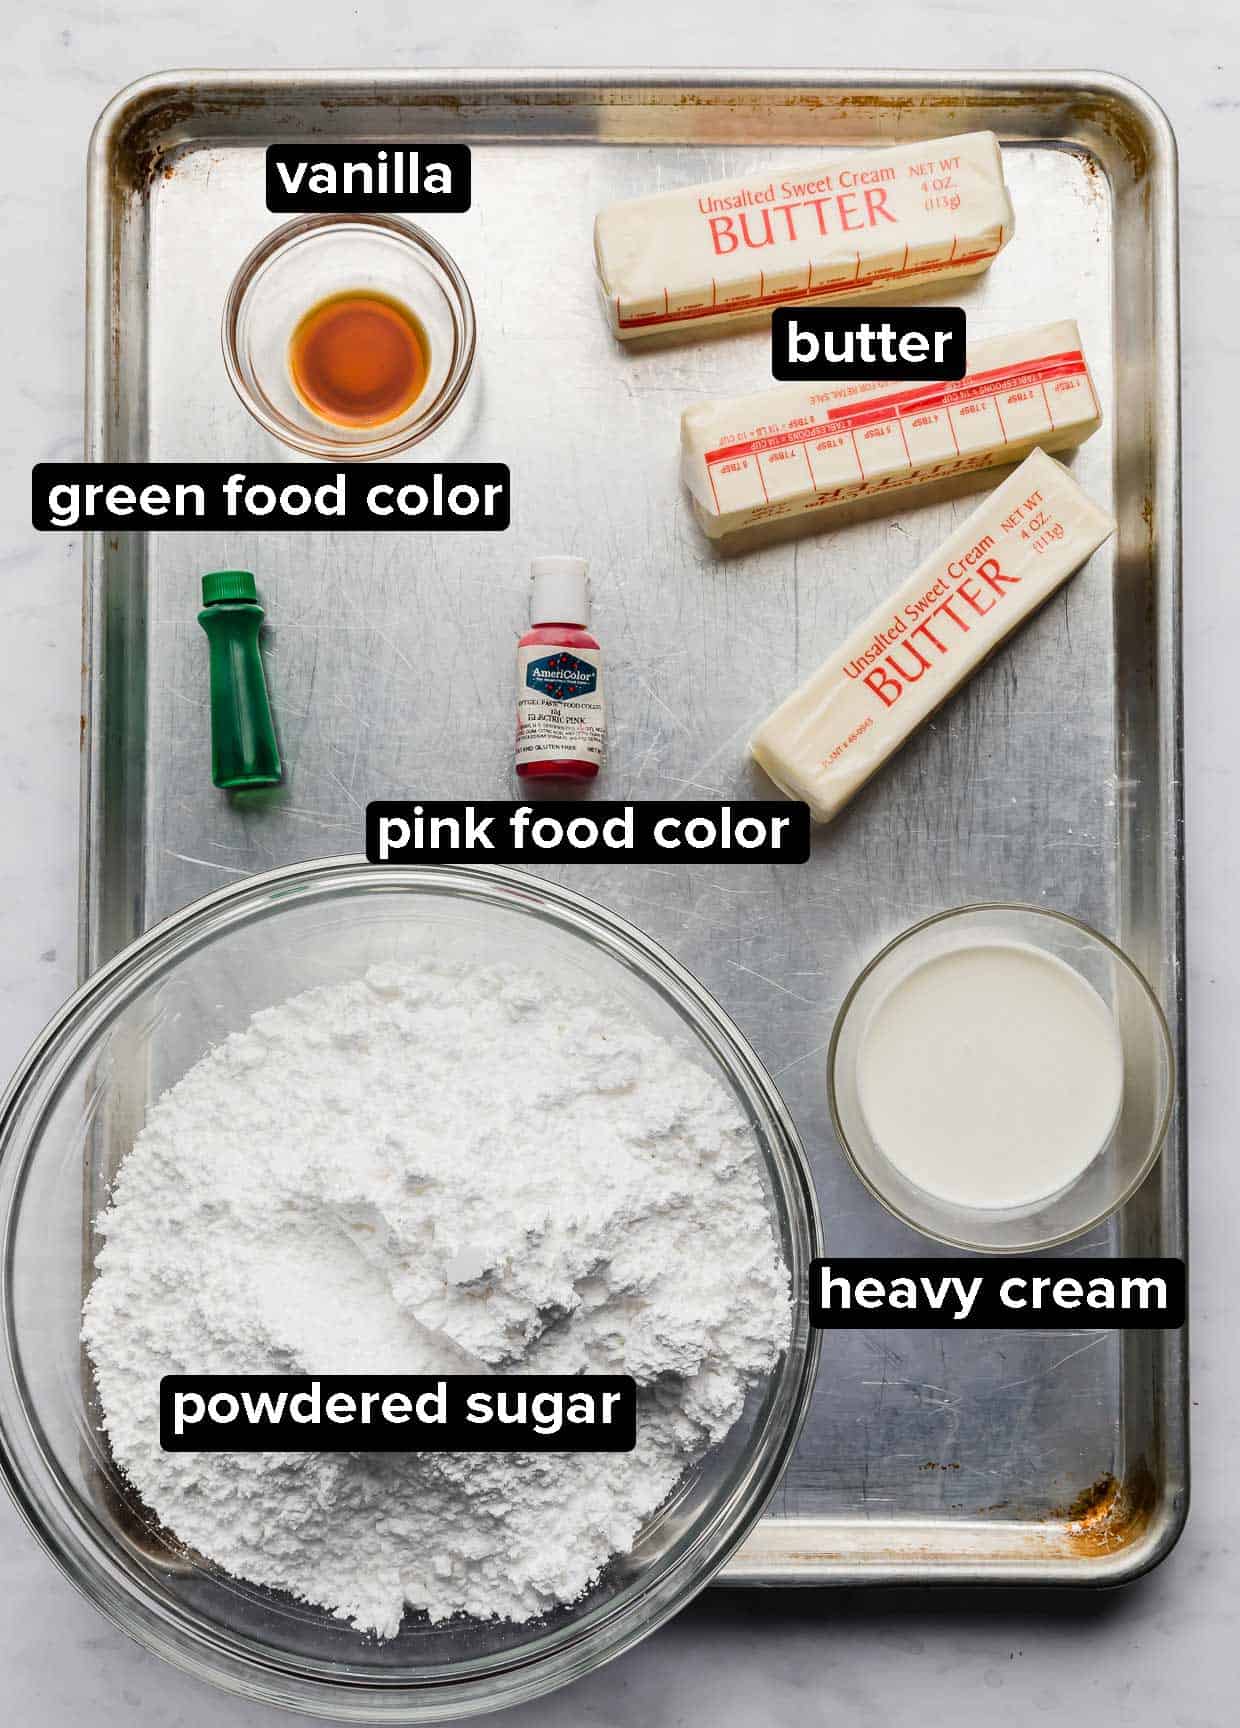
- Unsalted Butter: This butter is for the green and pink frosting. You want the butter to have sat at room temperature for about 30 minutes. It will be slightly soft but still cold.
- Food Coloring: The Harry Potter birthday cake is known for its bright pink and green colors for the frosting and icing! I didn’t have gel food color in green, so I used liquid food color and it worked well. I used pink gel food coloring though. Because of this, I think you could use either gel or liquid and be just fine.
Step-by-Step Instructions
- Combine the dry ingredients. Whisk the flour, sugar, cocoa powder, baking soda, baking powder and salt together in a medium bowl.
- Combine the wet ingredients. Mix the eggs, buttermilk, and vegetable oil in the bowl of a stand mixer until combined. Add the dry ingredients and mix.
- Bloom the cocoa powder. Pour the hot water and the vanilla extract into the stand mixer and mix until just combined.
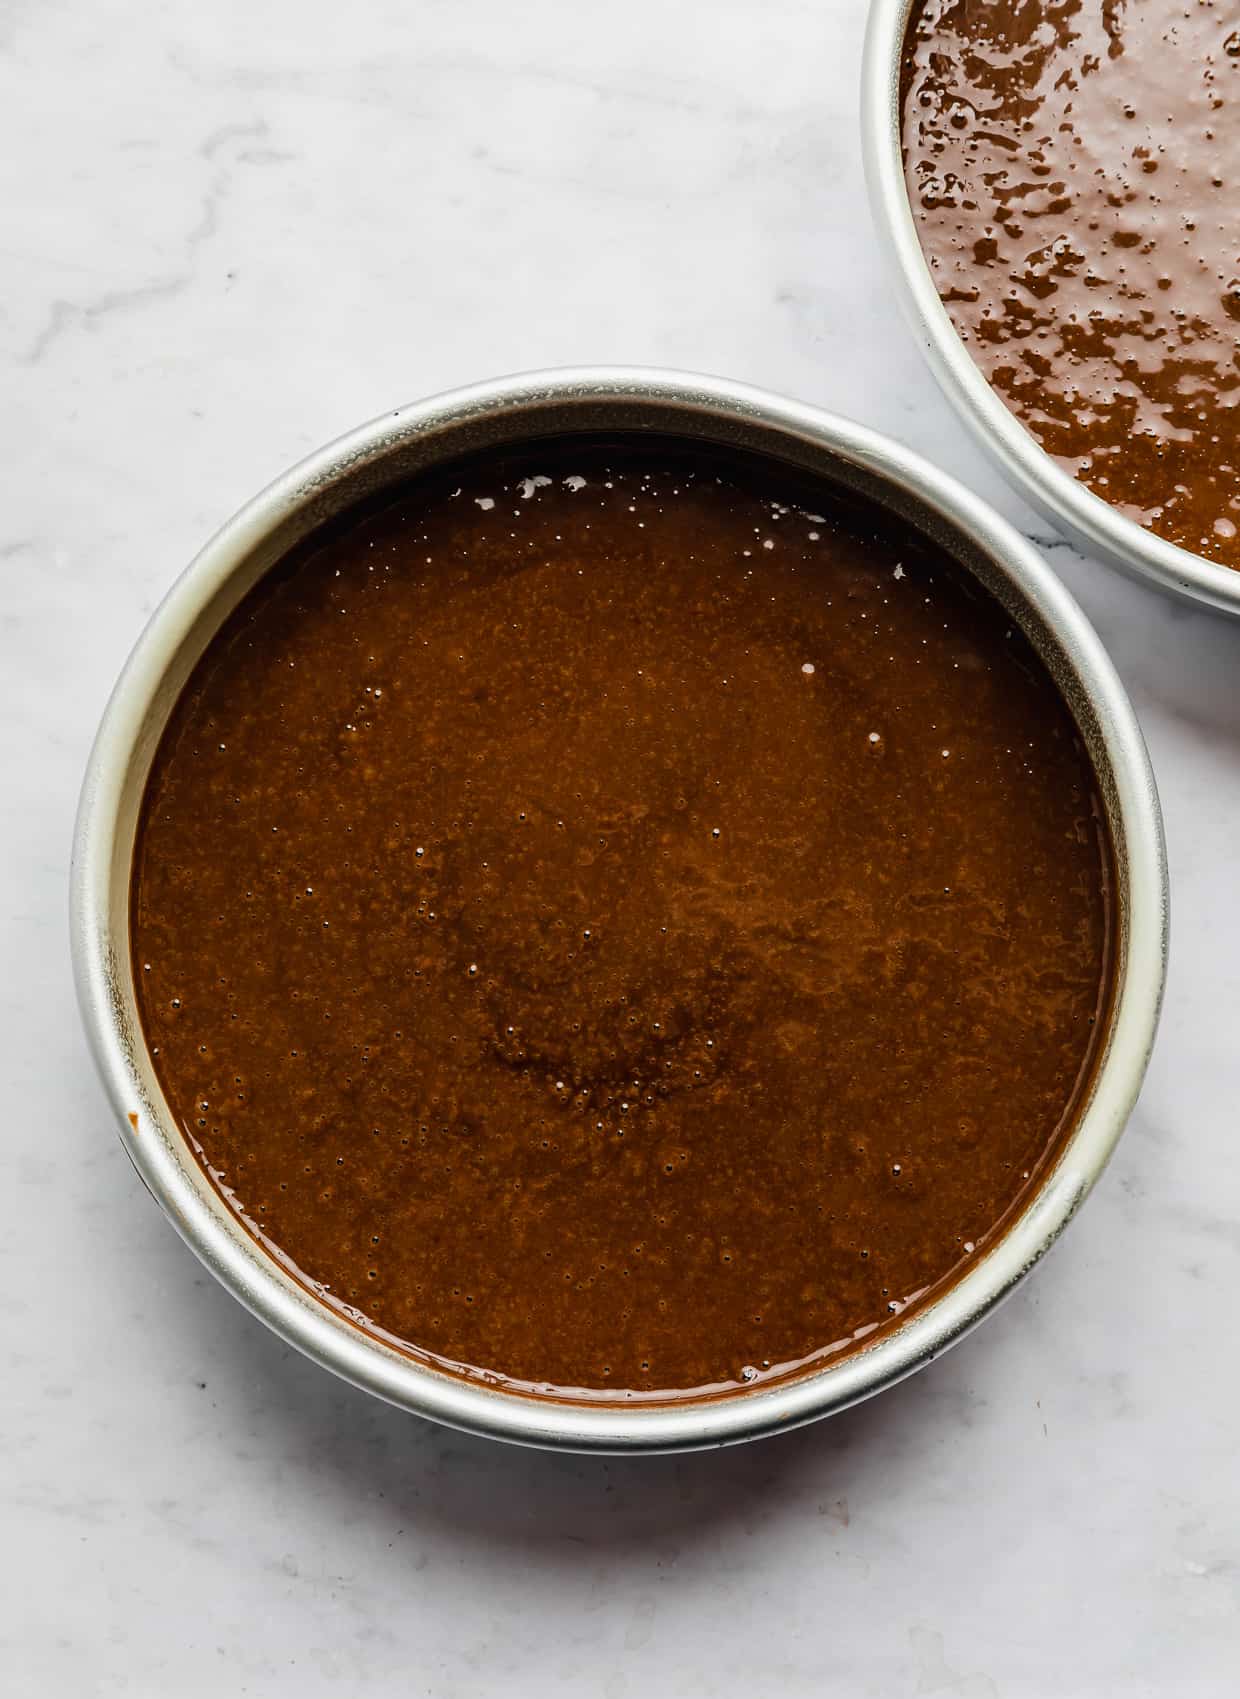
- Bake. Pour the chocolate cake batter evenly among three 8-inch circular cake pans that have been sprayed with cooking spray (with flour), lined with a circle of parchment paper on the bottom of the pan and sprayed again. Bake at 300° F for 35-40 minutes or until a toothpick in the center of the cakes comes out with a few moist crumbs but no wet batter.
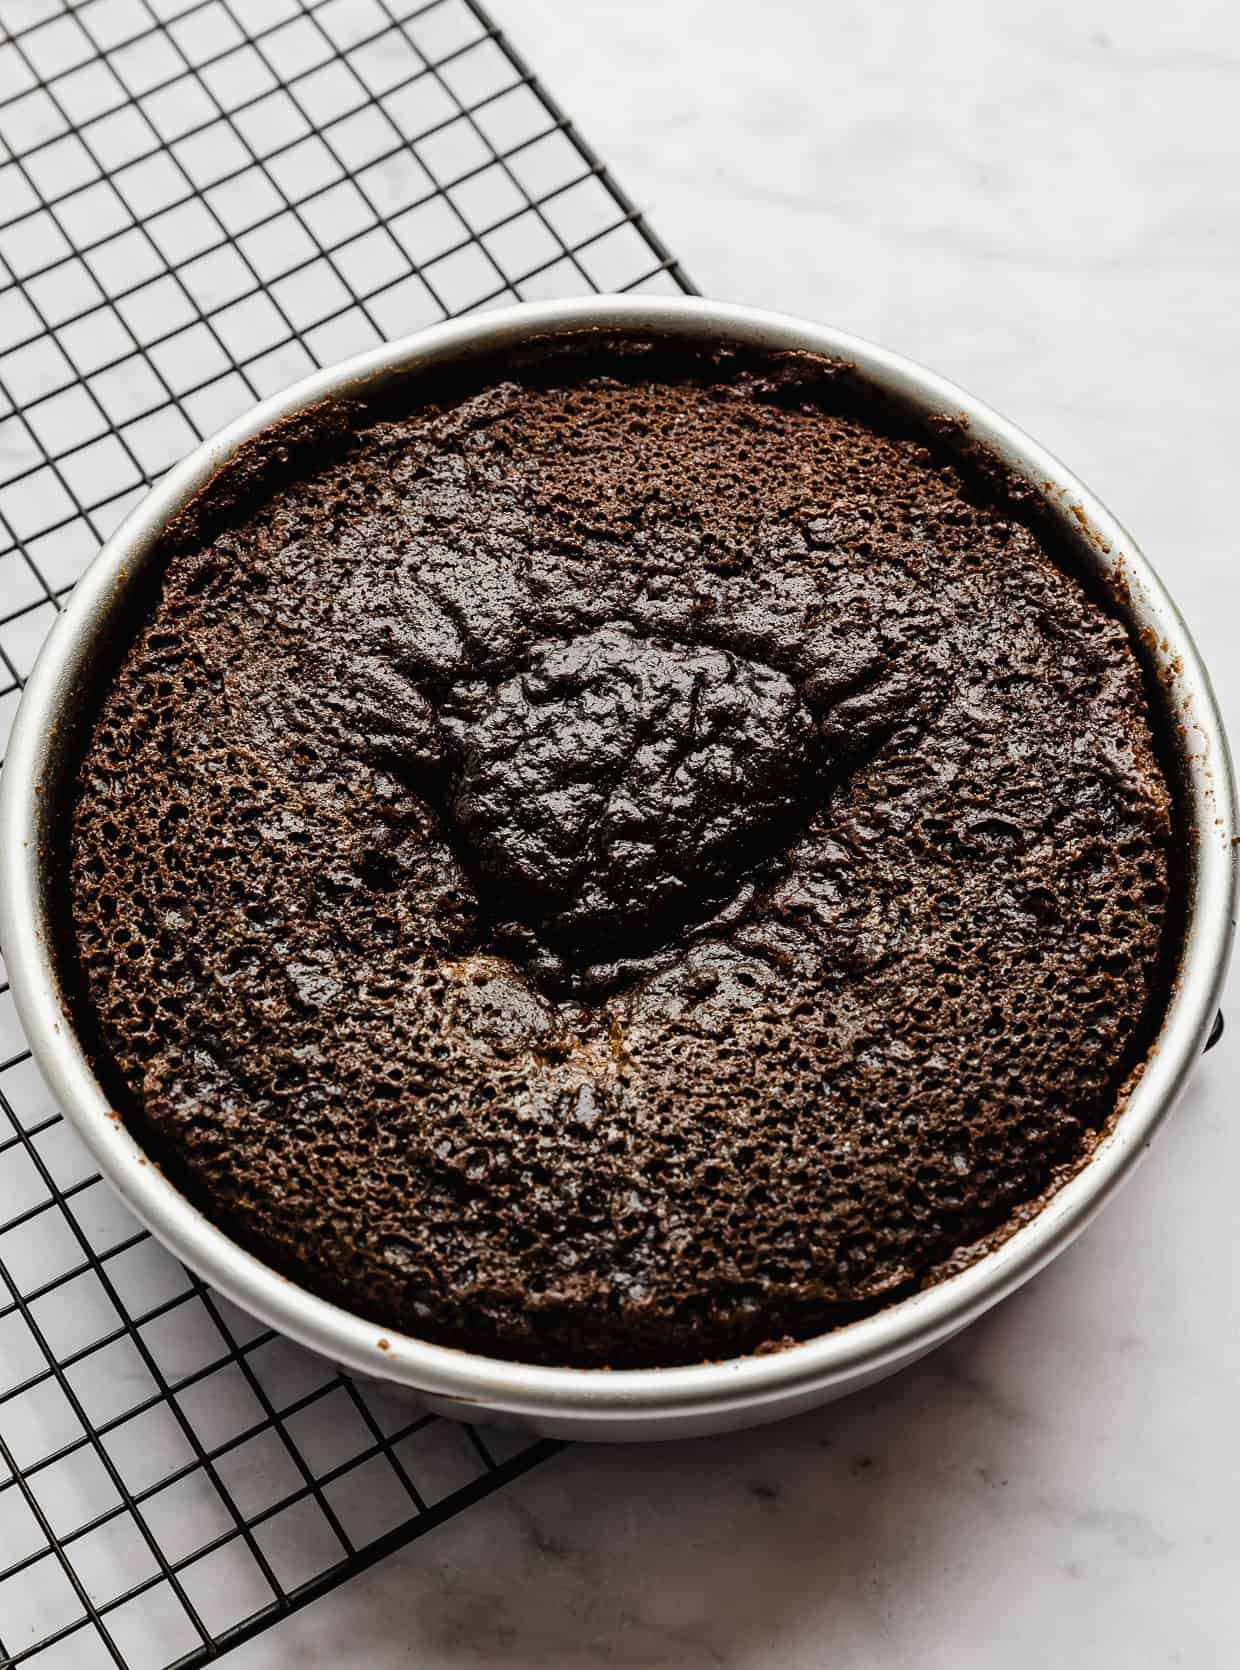
- Let cool while making the frosting. Let the cakes cool in the pans for 10 minutes before turning onto a cooling rack to cool to room temperature. Beat the butter in a stand mixer until creamed. Add the powdered sugar 1 cup at a time. Once combined, add the vanilla extract and heavy cream. Beat on medium speed for 2 minutes or until light in color and fluffy in texture.
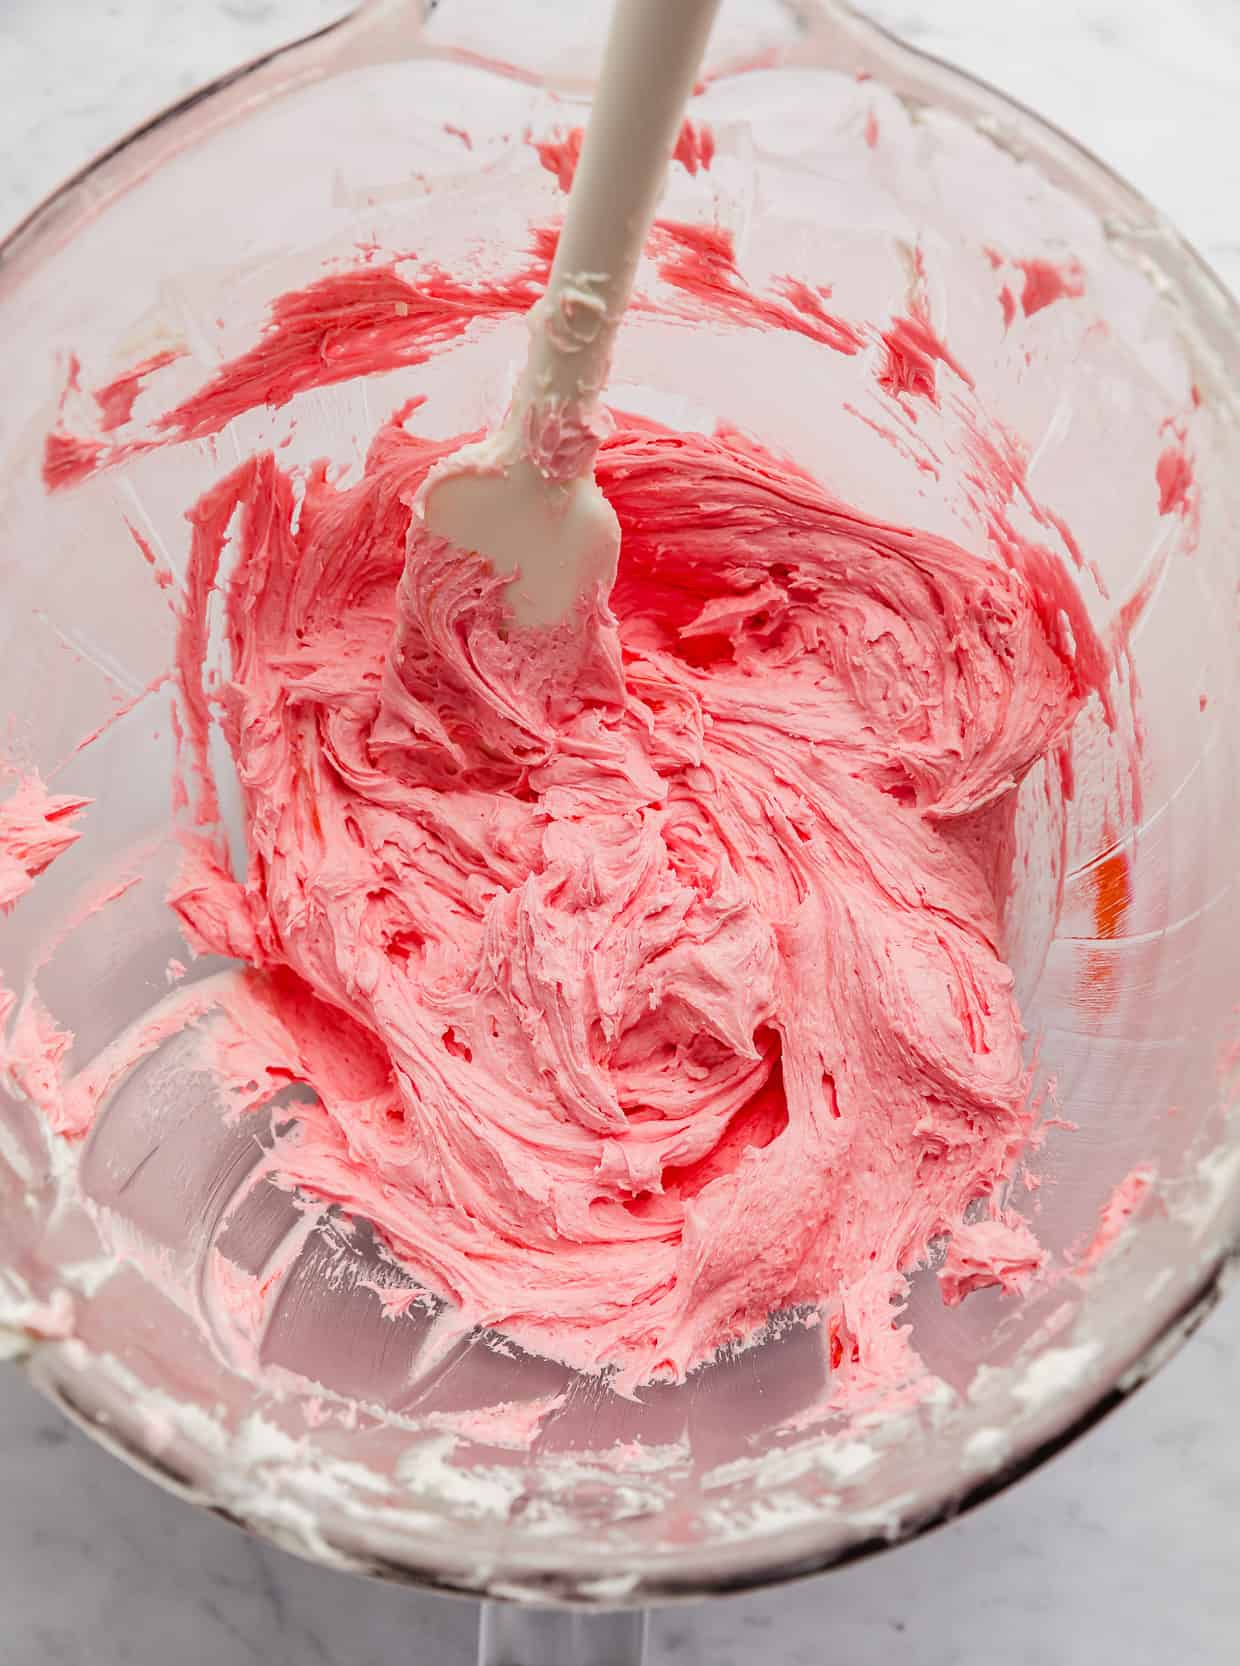
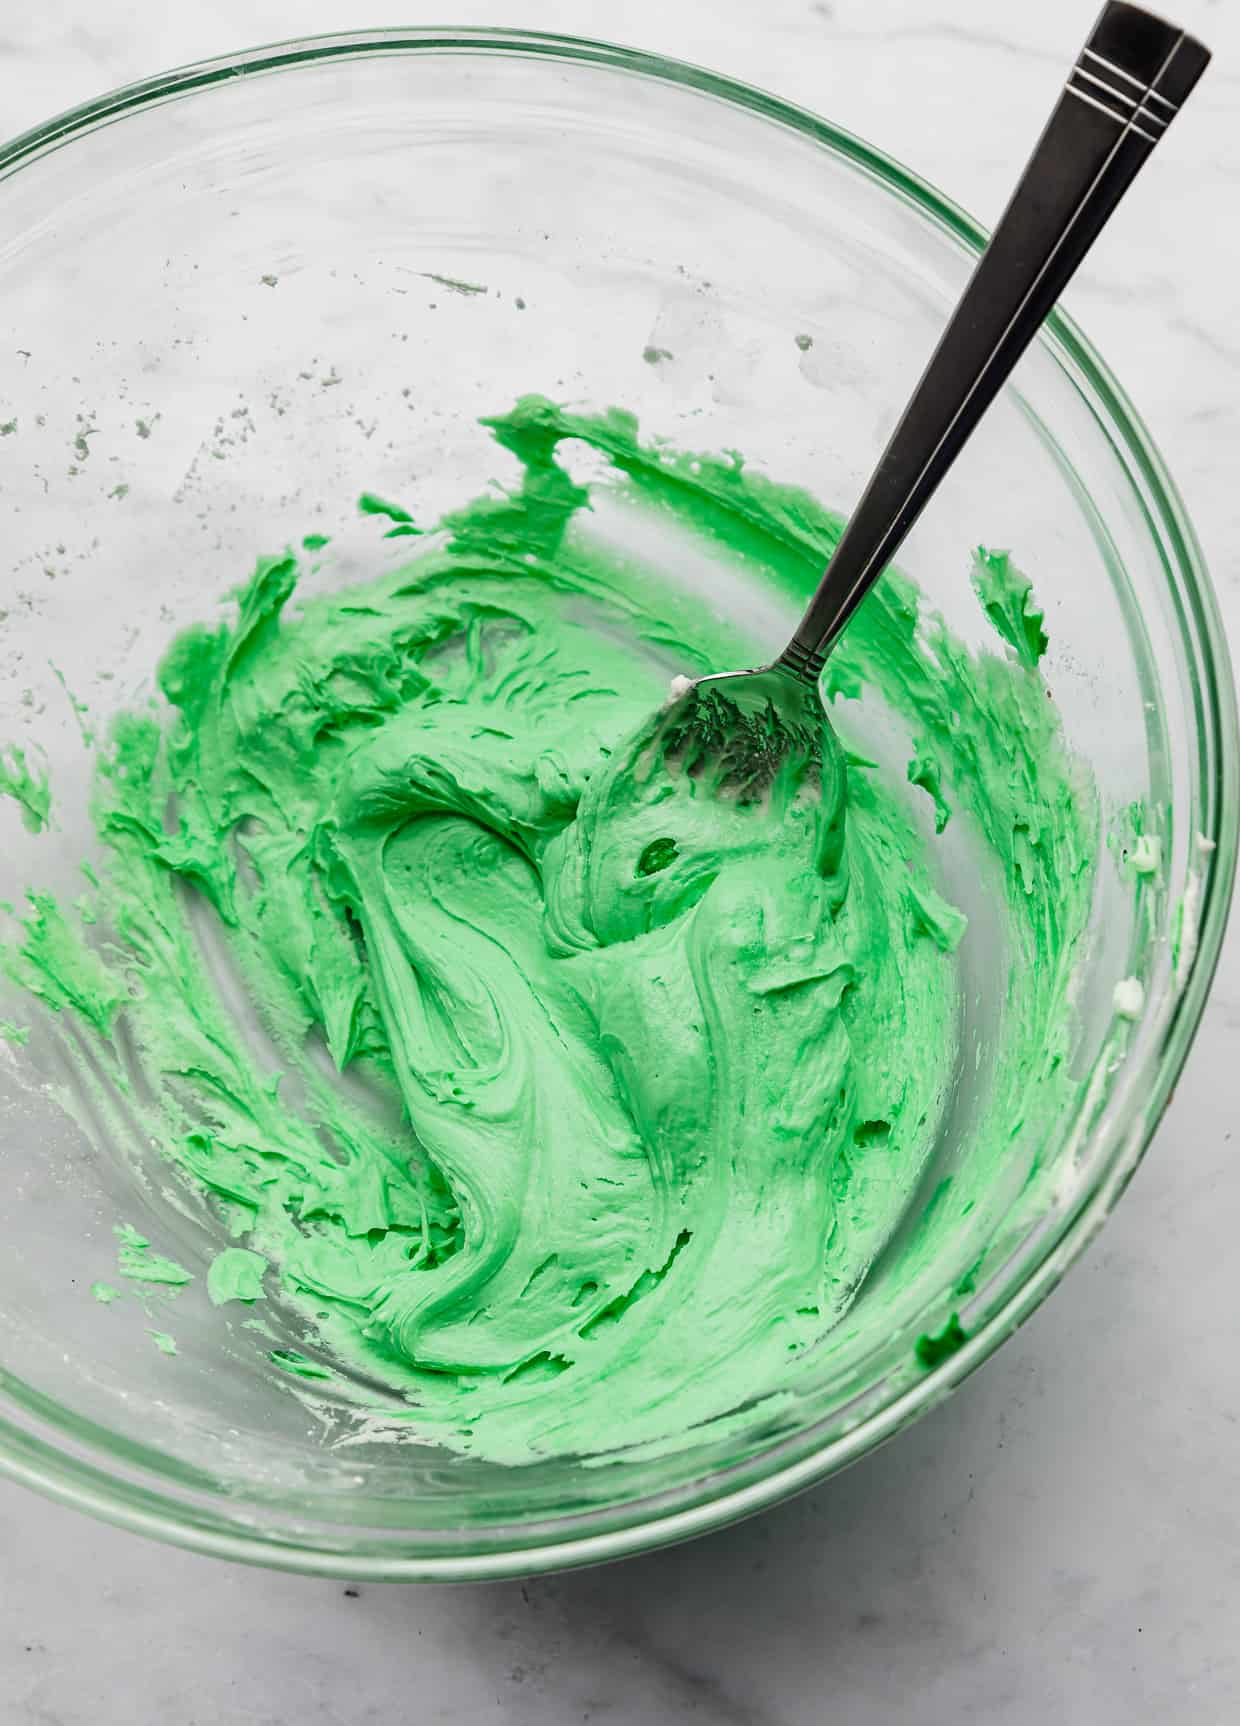
- Dye the frosting. Take 1 cup of the frosting and transfer it to a small bowl. Add the green food coloring and mix until combined. You want a vibrant green color. Place in a piping bag fitted with a fine tip. With the remaining frosting, add the pink food color and mix to combine. You want the pink icing to be vibrant as well.
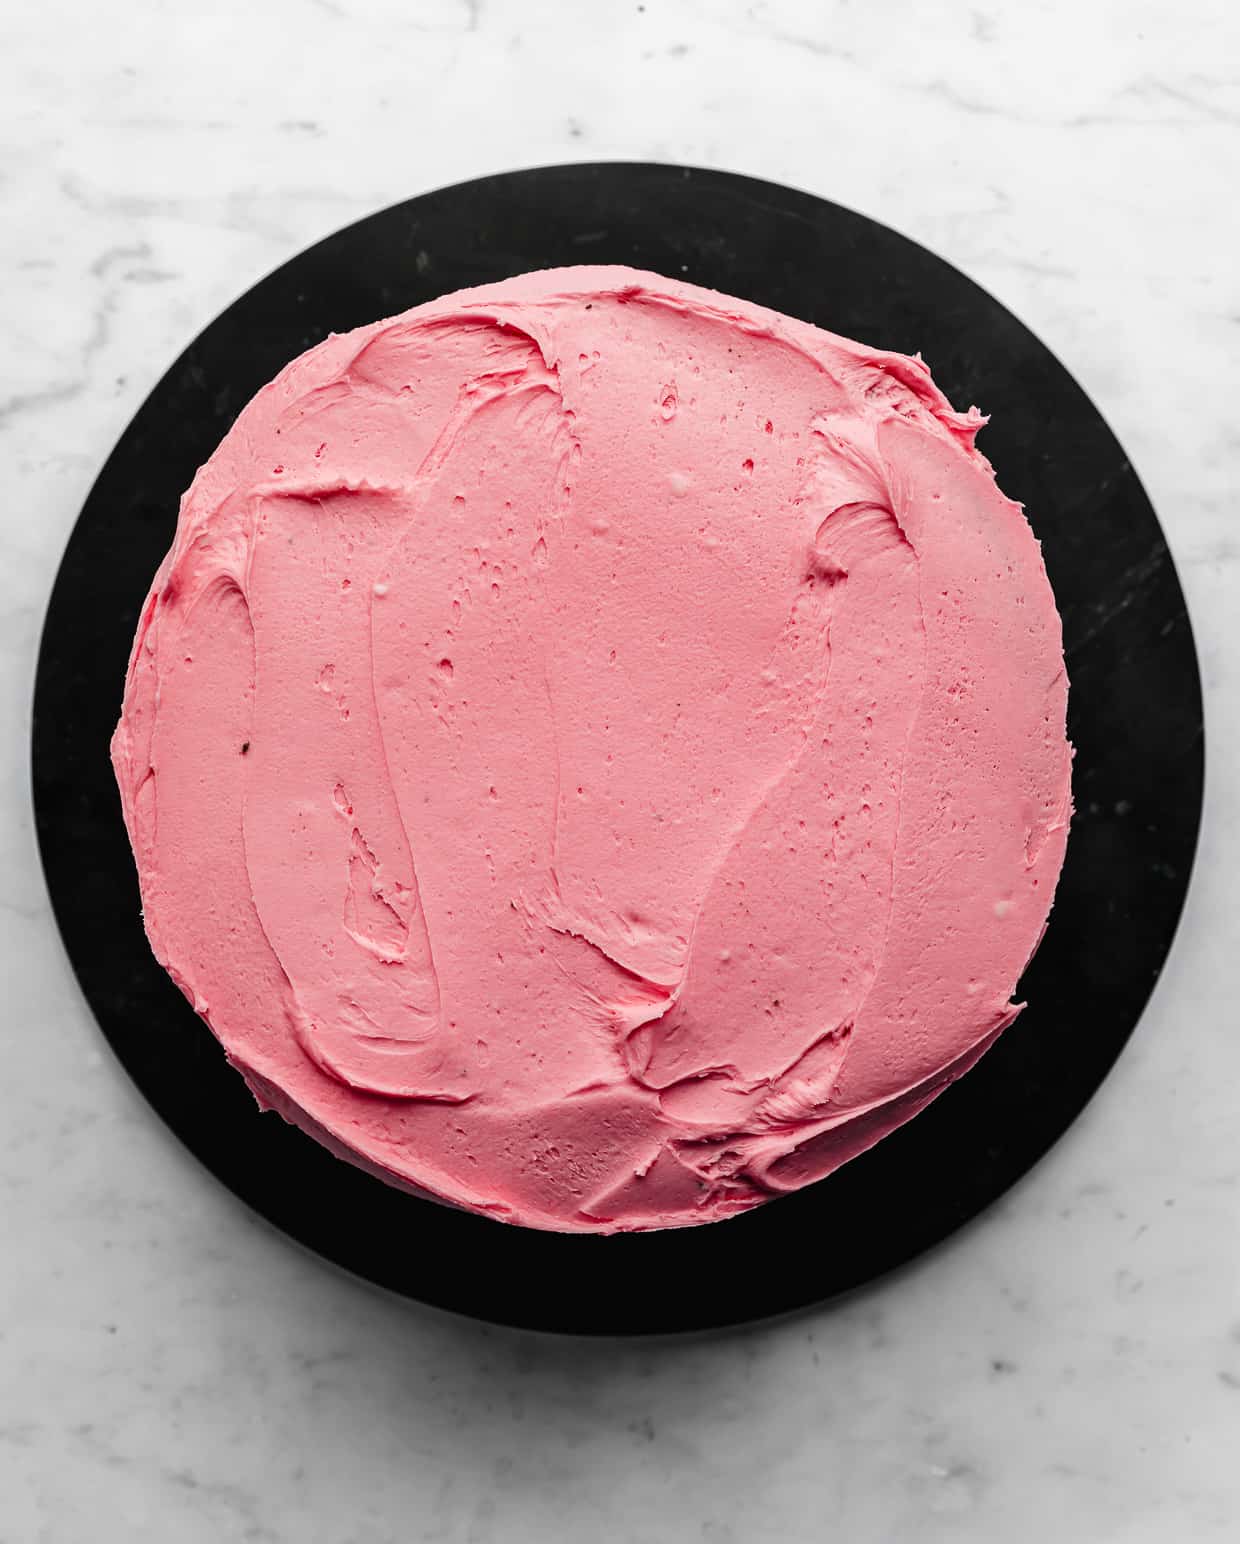
- Assemble the Happy Birthday Harry cake! Place one layer on a cake stand or cake board with a small dollop of frosting underneath so it doesn’t move while frosting. Frost a thin layer of the pink vanilla buttercream frosting and spread to cover the cake layer. Place the other cake layer on top. Roughly frost the whole cake in pink frosting.
- Write your Happee Birthdae Harry cake message. Using the green frosting in the piping bag, write “Happee birthdae harry” on the cake. The movie shows a line through the pink frosting between the “P” and “E” in HAPPEE extending down between “H” and “D” in BIRTHDAE, then between “H” and “A” in HARRY. If you want, you can change the name if this is for a friend’s birthday. Enjoy!
Recipe Tips
When it comes to frosting this Harry Potter birthday cake from Hagrid, you want to channel Hagrid! Remember the rock cakes from the books? Hagrid isn’t a baking expert, so the frosting job should look a bit rough and uneven! In fact, Hagrid even says, “I mighta sat on it at some point, but it’ll taste all right.” So it’s alright if it looks like a friendly half-giant sat on it while trekking across the country to a small shack in the middle of the sea. 🙂
Be sure to use room temperature wet ingredients for a more even bake and a more moist texture. And, once you add the wet and dry ingredients together, don’t over mix. Over mixing at this stage can make the cake batter tough, resulting in a tougher crumb texture and an uneven bake.
You can also use 9” round pans. The layers of the Harry Potter cake will be a tad thinner than mine pictured. The bake time will just be a few minutes less (check at 30 minutes). I used a 2” high cake pan and the cakes baked to the top of each pan.
To make writing with icing easier, you can write the message out with a toothpick and then trace the icing over that.
The book doesn’t note that in the Harry Potter cake Hagrid made he misspelled “happy” and “birthday”. So if desired, you can also write “HAPPY BIRTHDAY HARRY”. And it’ll still be a Harry Potter birthday cake!
The frosting should be a spreadable consistency, if it’s too firm add a splash of heavy cream, if it’s too soft add a little more powdered sugar.
If you are making a big spread of Harry Potter recipes for a Harry Potter party, I’d recommend making this Harry Potter birthday cake recipe twice: once as is, and another decorated with your favorite house colors, Harry’s glasses, golden snitches, etc to add to the wizard theme!
Make Ahead, Storing, and Freezing
Once the cakes have cooled you can wrap them in plastic wrap and store them in the fridge or the freezer for later assembly. Or continue with the recipe.
The vanilla buttercream will keep in the fridge in an airtight container for 4-5 days or in the freezer for 2-3 weeks. Remove and let thaw in the fridge overnight if frozen. Remove from the fridge and let come to room temperature then transfer to a stand mixer and beat until fluffy once again.
Cake layers will keep in the fridge for up to 6 days or in the freezer for up to 2 months. If freezing for more than 7 days, double wrap in plastic wrap then wrap in a layer of aluminum foil. Remove and let thaw in the fridge overnight.
Store the cake covered in the fridge for 4-6 days. The cake should be refrigerated due to the cream in the frosting.
For more information on storing and freezing cakes, including how to freeze cake layers, buttercream and decorated cakes, check out my How to Store and Freeze Cakes guide!
Recipe FAQs
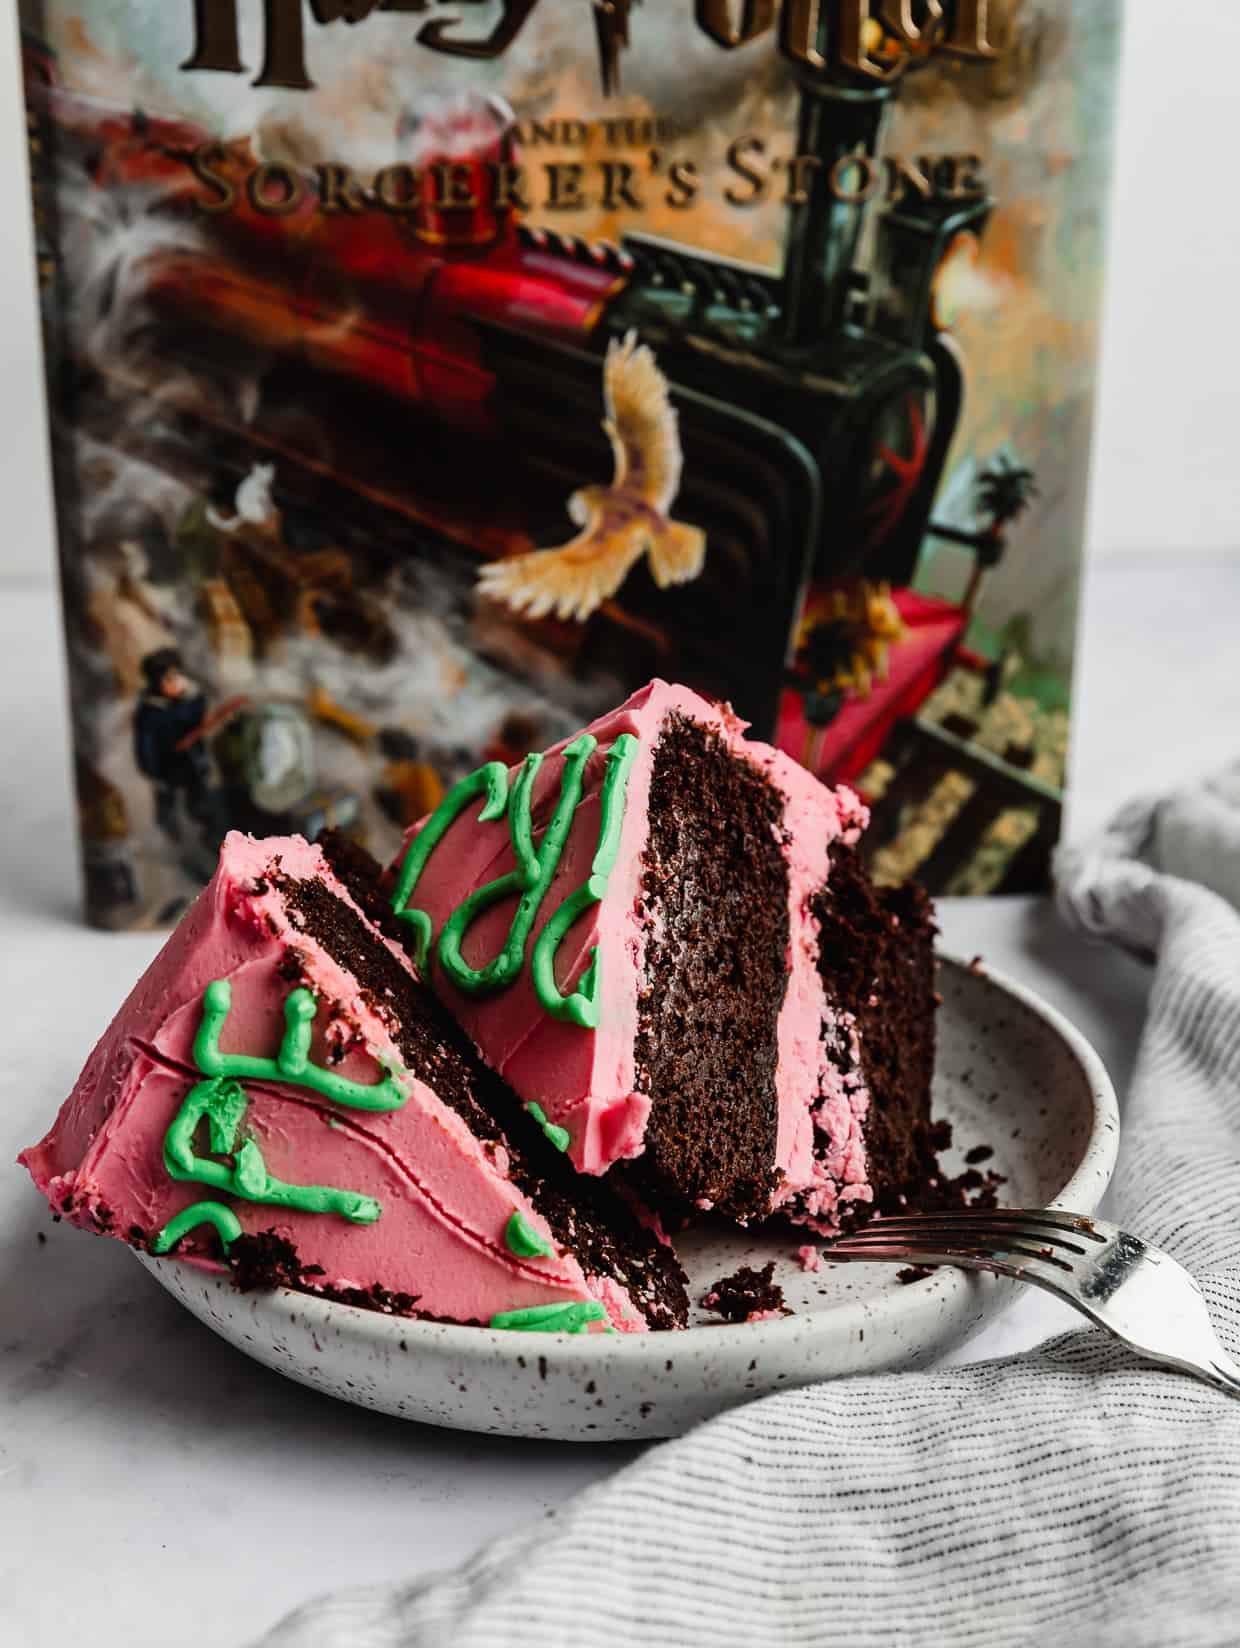
In Harry Potter and the Sorcerer’s Stone, the cake is described as a “large, sticky chocolate cake.” So, we know it was a chocolate cake!
The Harry Potter birthday cake from Hagrid is described as “a large, sticky chocolate cake with Happy Birthday Harry written on it with green icing”. The book doesn’t say it was made with pink frosting. When made into a movie, the first Harry Potter movie adaptation shows the iconic Hagrid cake covered in bright pink frosting with the green lettering on top.
Rubeus Hagrid ‘o course! Keeper of keys and grounds at Hogwarts!
I would recommend you use my Chocolate Cupcakes recipe. Then if you want to use the pink and green frosting, you can follow along with the frosting portion of this recipe. You could have each cupcake with one letter of the Happee Birthdae Harry message!
More Chocolate Cake Recipes
Did you make this recipe? I’d love to hear about it! Leave a star rating and review or scroll below the recipe card and do so there.
Stay up-to-date by following us on Instagram, TikTok, Facebook, and Pinterest.
Harry Potter Birthday Cake
Ingredients
Chocolate Cake
- 2 cups all-purpose flour
- 2 cups granulated sugar
- 3/4 cup unsweetened cocoa powder
- 2 teaspoons baking soda
- 1/2 teaspoon baking powder
- 1 teaspoon salt
- 2 large eggs
- 1 cup buttermilk - at room temperature
- 1 cup vegetable oil
- 2 teaspoons vanilla extract
- 1 cup hot water
Frosting
- 1 1/2 cups unsalted butter - room temperature, but still semi-chilled
- 6 cups powdered sugar
- 1 tablespoon vanilla extract
- 1/4 cup heavy cream - more or less as needed to make the frosting your desired spreadable consistency
- green food color - I didn't have gel food color in this one, so I used liquid food color and it worked well
- pink food color - I used gel food color
Instructions
Chocolate Cake
- Preheat oven to 300° F. Spray 2 – 8 inch round pans with nonstick cooking spray (that contains flour), line with parchment, and then spray the parchment and the sides again. Set aside. (Can also use 9” round pans, the bake time will be a few minutes less).
- In a medium bowl whisk the flour, sugar, cocoa, baking soda, baking powder, and salt.
- In the bowl of a stand mixer fitted with paddle attachment mix the eggs, buttermilk, and veg oil until combined.
- Add the dry ingredients to the stand mixer and mix until combined. Pour in the vanilla and hot water, mix on medium speed until combined.
- Divide batter evenly between the cake pans and bake for 35-40 minutes or until a toothpick comes out with a few moist crumbs but no wet batter. (If using 9” round cake pans check the cakes at the 30 minute mark). I used a 2” high cake pan and the cakes baked to the top of each pan.
- Remove cakes from the oven and allow to cool for 10 minutes. Remove from the cake pans and allow cakes to cool on a cooling rack until room temperature. Once the cakes have cooled you can wrap them in plastic wrap and store them in the fridge or the freezer for later assembly. Or continue with the recipe.
Frosting
- Make the frosting by beating the butter in a stand mixer fitted with the paddle attachment. Add the powdered sugar 1 cup at a time. Add the vanilla and heavy cream and beat on medium speed for 2 minutes or until very fluffy. The frosting should be a spreadable consistency, if it's too firm add a splash of heavy cream, if it's too soft add a little more powdered sugar.
- Transfer 1 cup of frosting to a small bowl. Add green food color to the frosting and mix until it’s incorporated. The green should be a vibrant bright green. Place in a piping bag that is fitted with a fine tip. You will use the green frosting for the lettering.
- To the remaining frosting add the pink food gel and mix to combine. The pink color should be vibrant as well.
Assembly
- Place one cake layer on a cake stand or cake plate and add pink frosting around the top cake circumference. Add the final cake layer and frost the top and sides of the cake with pink frosting.
- Using the green frosting write “HAPPEE BIRTHDAE HARRY” this is the text displayed in the first Harry Potter movie. The movie also shows a line through the cake between the letters “P” and “E” in HAPPEE extending down between “H” and “D” in BIRTHDAE, then between “H” and “A” in HARRY.
- The book however, doesn’t note that Hagrid misspelled “happy” and “birthday”. So if desired you can also write “HAPPY BIRTHDAY HARRY”. And it’ll still be a harry potter birthday cake! Enjoy!

 Welcome to this delicious corner of the internet! Here I share the recipes my family loves.


11 Comments on “Harry Potter Birthday Cake”
Hi Withney,
I’m planning to make this cake for my girlfriend’s birthday. As I’m from Germany and used to the metric system, I’m struggling with the quantities here. Are we talking about UK or US cup sizes here? Apparently there’s a difference between the two of them, also depending on the actual ingredient. Which conversion ratio can I use?
Best regards
Dennis
Hi Dennis, first of all, boyfriend of the year award! You are so sweet to make this for your girlfriend’s birthday.
Second of all, Salt and Baker is based in the US so this recipe is using US cup sizes. Thankfully, liquid measurements convert directly to mL, so 1 cup of buttermilk, vegetable oil, or hot water equals 250 mL. Unfortunately, dry ingredients are a bit trickier. I would refer to this chart from King Arthur Baking, which has the average weight of dozens of ingredients: https://www.kingarthurbaking.com/learn/ingredient-weight-chart#:~:text=A%20cup%20of%20all%2Dpurpose,4%20ounces%20or%20120%20grams. Good luck!
Hi Carley, thanks for helping me out with this recipe earlier this year. The birthday cake for my girlfriend turned out very well so I just wanted to say THANK YOU 🙂 I made a similar cake based on your recipe for my Dad two weeks ago and it worked very well too
Amazing! I’m so happy to hear it helped. Thank you for coming back and sharing!
Made this for my niece’s birthday, the cake itself was amazing! Moist and chocolatey. The batter was very runny, but worked perfectly, although I did have to cook it a bit longer than directed. The frosting however was so sweet, that I couldn’t eat it. I ended up adding half a pack of cream cheese to cut through the sweetness, which worked great. But I did end up with too much icing left over.
Delicious! Thanks for the recipe.
Hi Samantha! I’m so glad you loved the cake. Bake times are a range as every oven is different and altitude can affect bake time as well. I’m glad you used your baking intuition and added time as needed! woo hoo! The frosting is an American buttercream recipe, which is really sweet. If you are wanting a frosting that is much less sweet, I recommend my whipped cream frosting recipes, which are amazing! I also am sure to have the frosting recipes make enough frosting in case people want to use any to frost any decoration elements to their cakes. Hopefully that helps! Thanks for coming back and leaving a review.
It is soooooo good!
Thanks Annika! Glad you enjoyed the cake!!
This is now my go-to chocolate cake recipe!!! So tasty. I had fun recreating this cake
Hi!
I would love to know what color pink you used! I’m dying to recreate this
I used electric pink from Ameri Color.