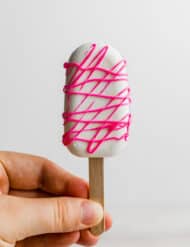
Cakesicles
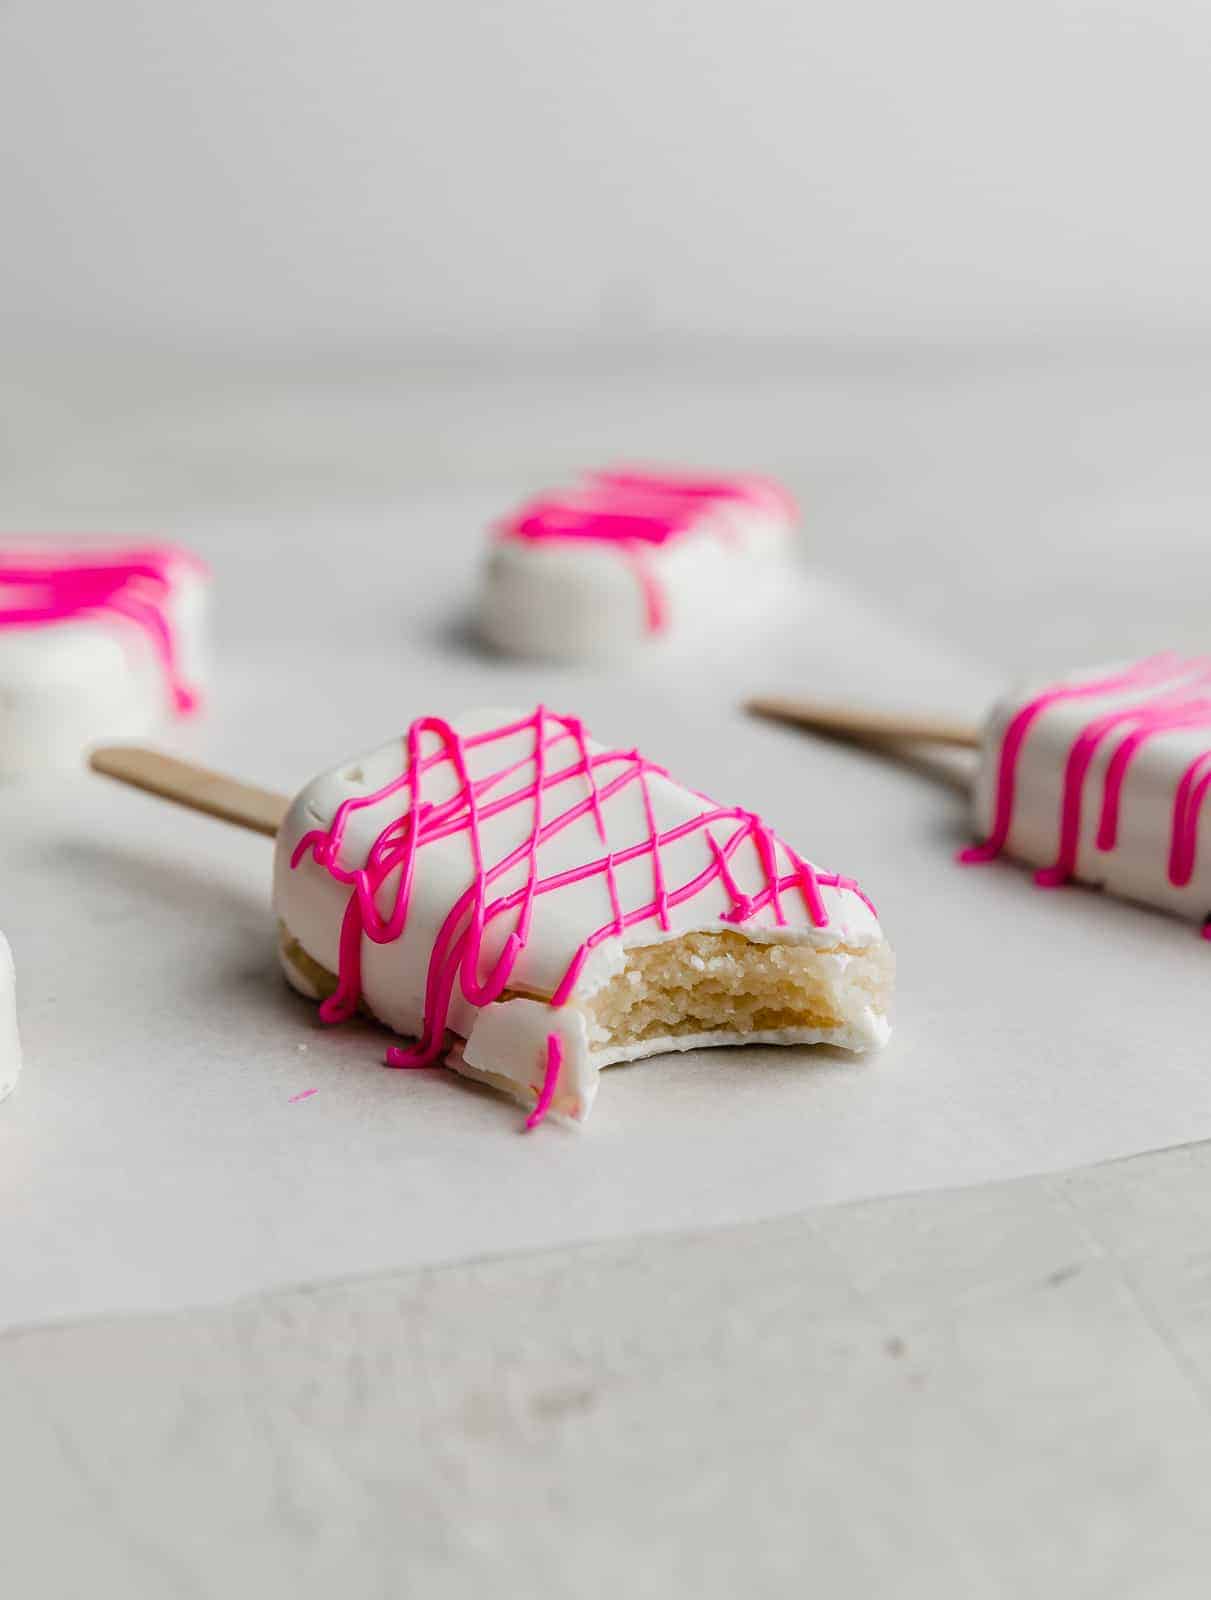
Cake and popsicles come together to create the ultimate party treat- Cakesicles. These easy cakepops have all the fun and flavor you could want on a nice portable stick. Perfect for summer and themed parties!
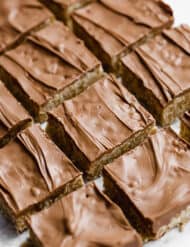
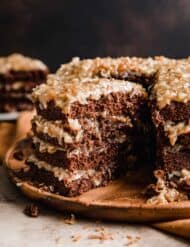
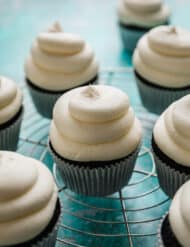
We have cake recipes galore! Try our spice cake, 7 Layer Bar Cake, and Angel Food Cake!
Why This Recipe Works
- A popsicle cake is always in fashion and in season. Dress them up for the holidays and enjoy Christmas cakesicles or keep the colors vibrant and fun for summer. Don’t forget about the Halloween and Easter possibilities too!
- Making popsicle cake pops is super easy to do and even more so if you use a boxed cake mix to make your cake. The prep work is so minimal and easy you could even get your kids to lend a few hands in helping.
- You can modify the cakesicle flavors to be anything you want. Use seasonal cake flavors for the filling and you’ll always have a holiday treat at the ready. So many possibilities!
Ingredients
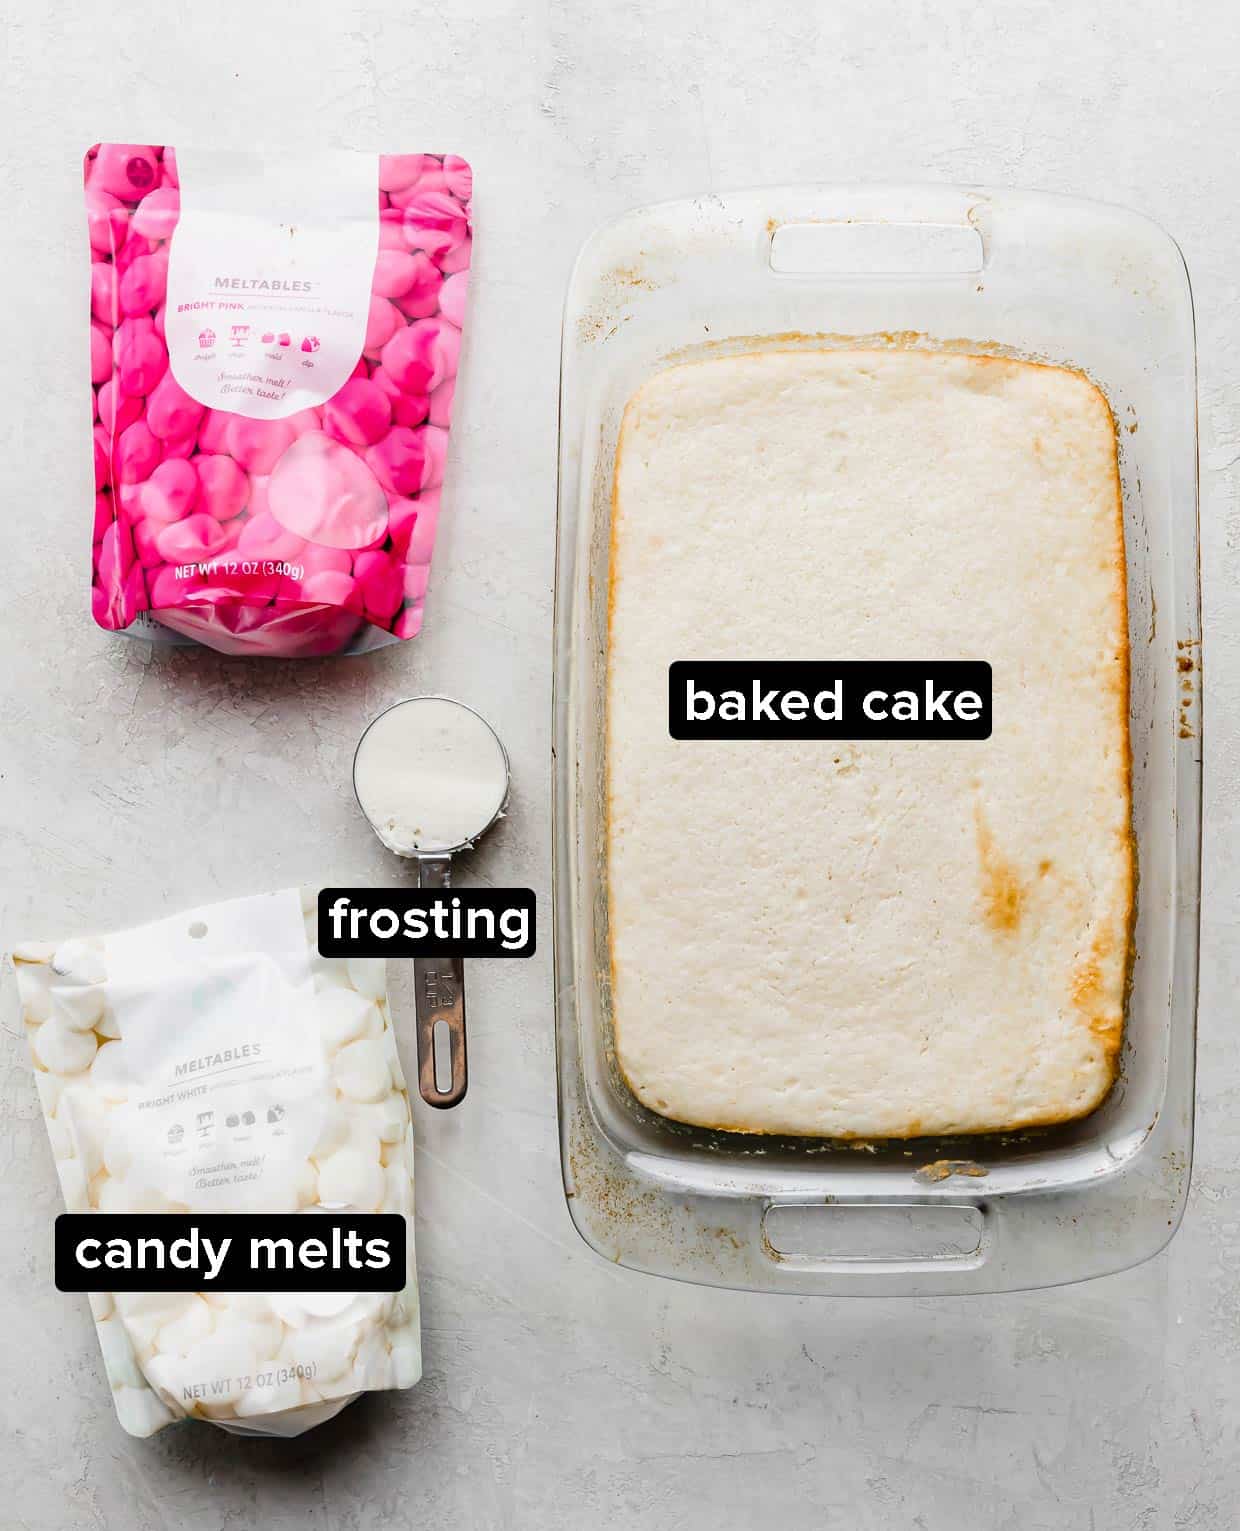
- Cake: You will need an already prepared and cooled cake. You can make your own cake from scratch or use a boxed cake mix and make it as directed in a large 9×13 baking dish. Either option is up to you depending on how much work and effort you want to put into these tasty treats.
- Frosting: To make the cake filling “wetter” and to bind it together into the perfect texture you’ll want to use some frosting. This also makes it taste sweet and delicious just like a real cake! You can use storebought canned frosting or make it from scratch using the recipe provided on my recipe card.
- Chocolate: Use melting chocolate for coating the cake pops and additional colored chocolates for drizzling designs on top if desired.
Step-by-Step Instructions
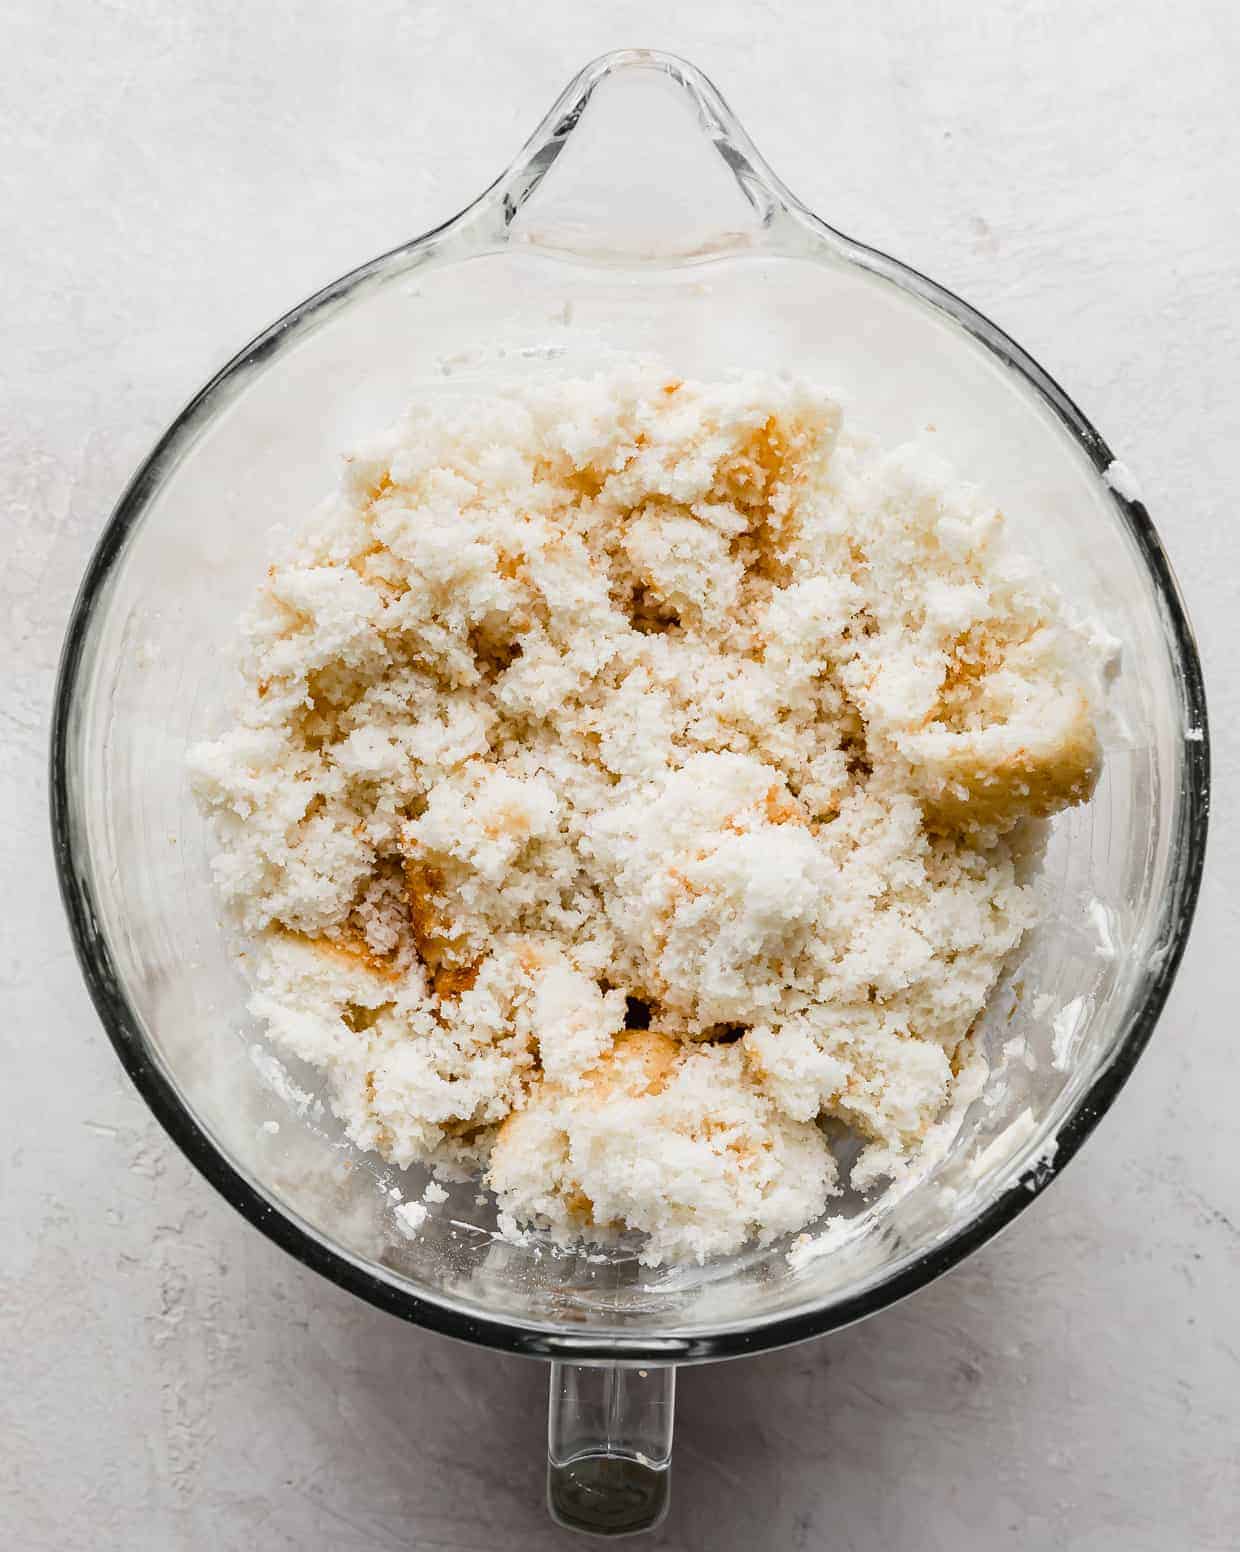
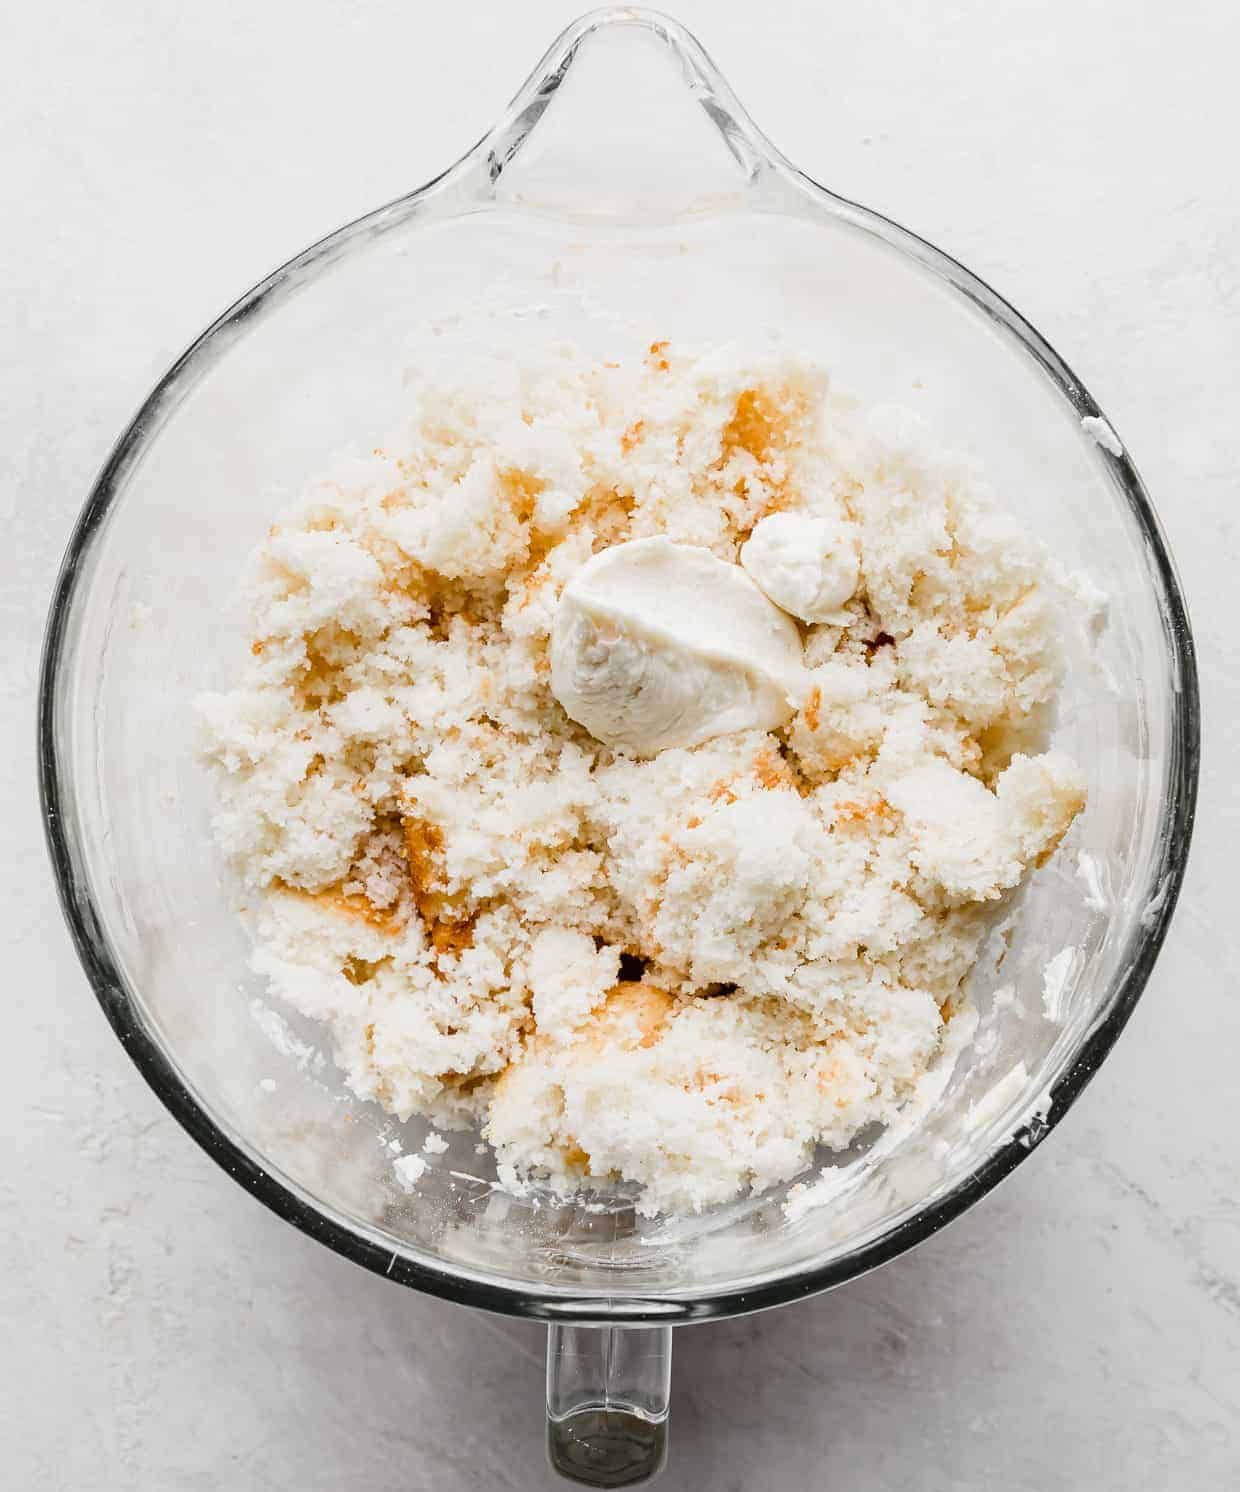
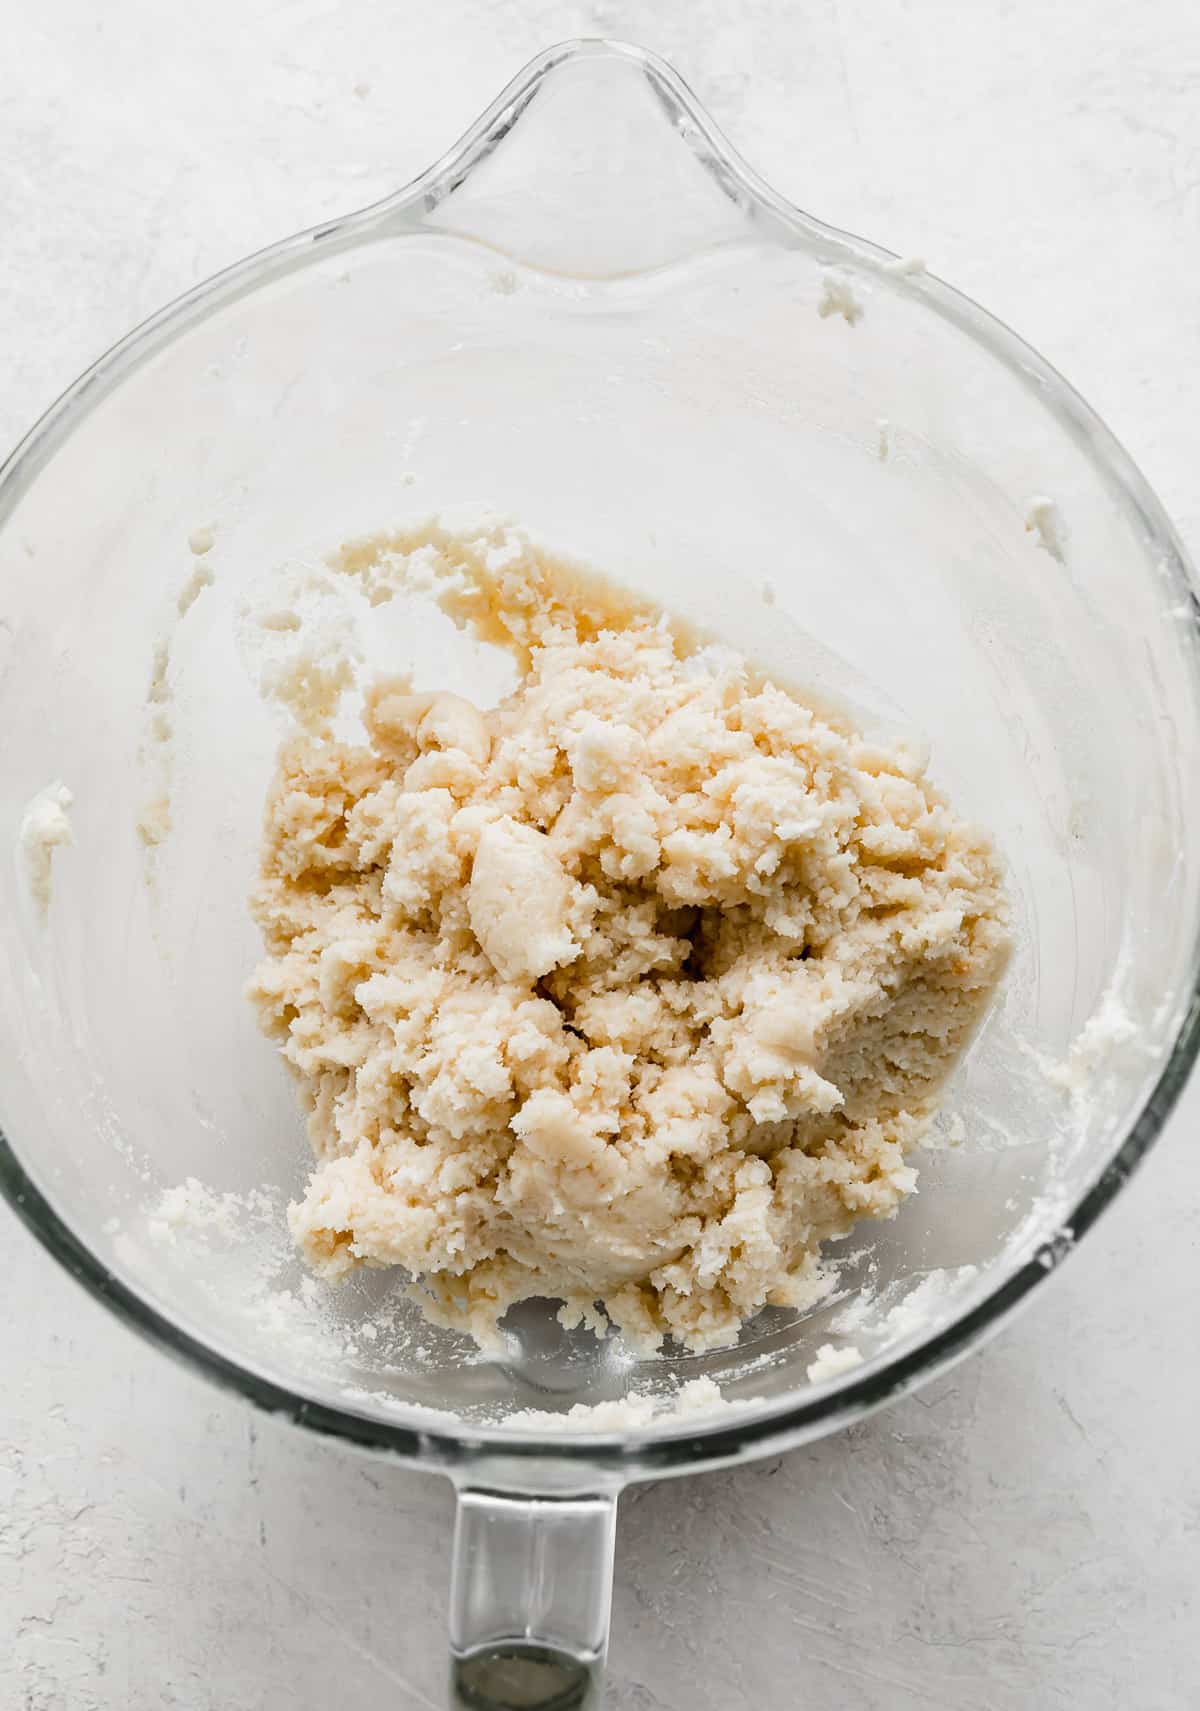
- Crumble your cooked and cooled cake into the bowl of a stand mixer and add in 1/3 cup of prepared or bought frosting while using the paddle attachment until combined. The mixer will be sticking together well but should not appear to look gloopy. If too dry, add in a tablespoon more of frosting and mix again.
- Melt your chocolate or candy melts as per package instructions or in a mixing bowl in the microwave in 30 second intervals, stirring well between each until smooth.
- Add a few tablespoons of the melted chocolate to the cakesicle molds and spread it along the bottom and up the sides of the mold.
- Insert and then remove a popsicle stick into the insert area of the mold so that chocolate doesn’t stick to that spot.
- Place the mold into the freezer and let sit for 3-5 minutes or until set.
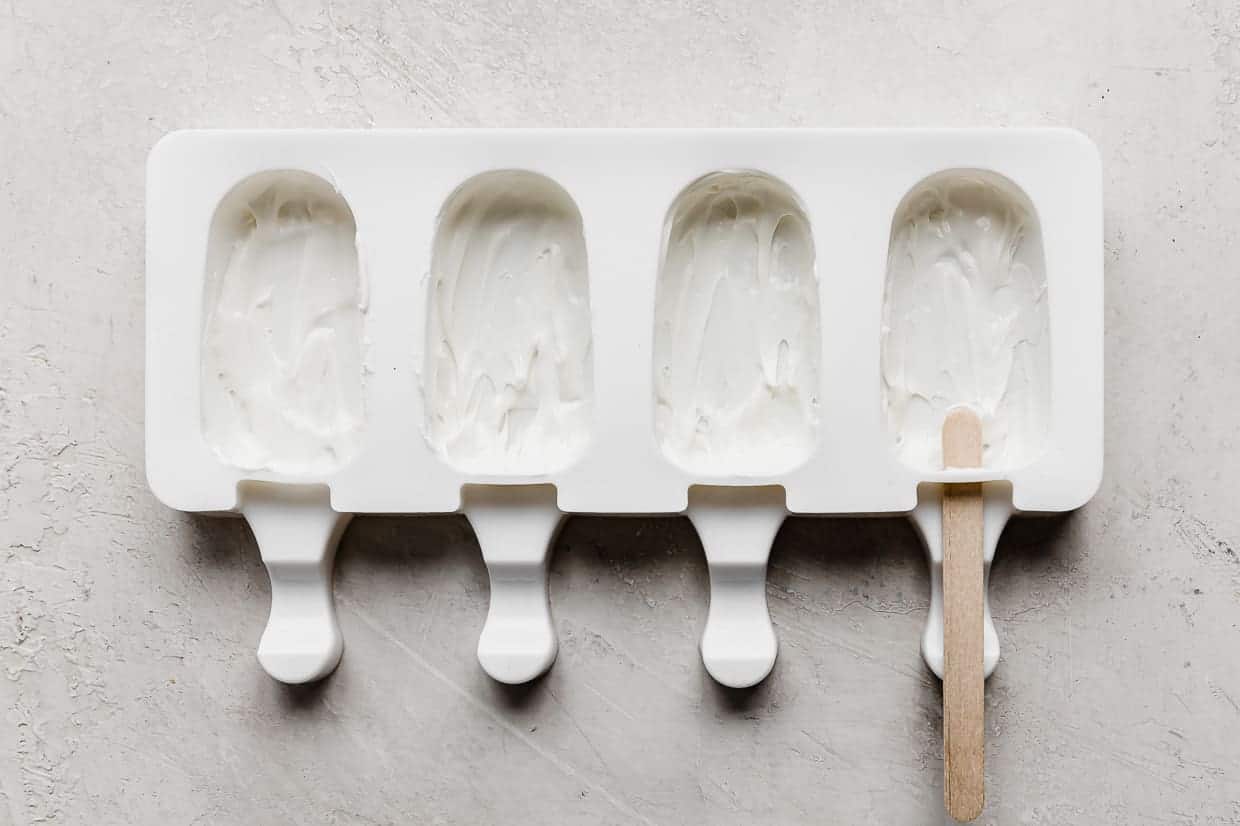
- Use a food safety brush to brush more melted chocolate along the edges and up the sides of the mold. Insert and remove the popsicle stick again. Freeze for another 3-5 minutes or until set.
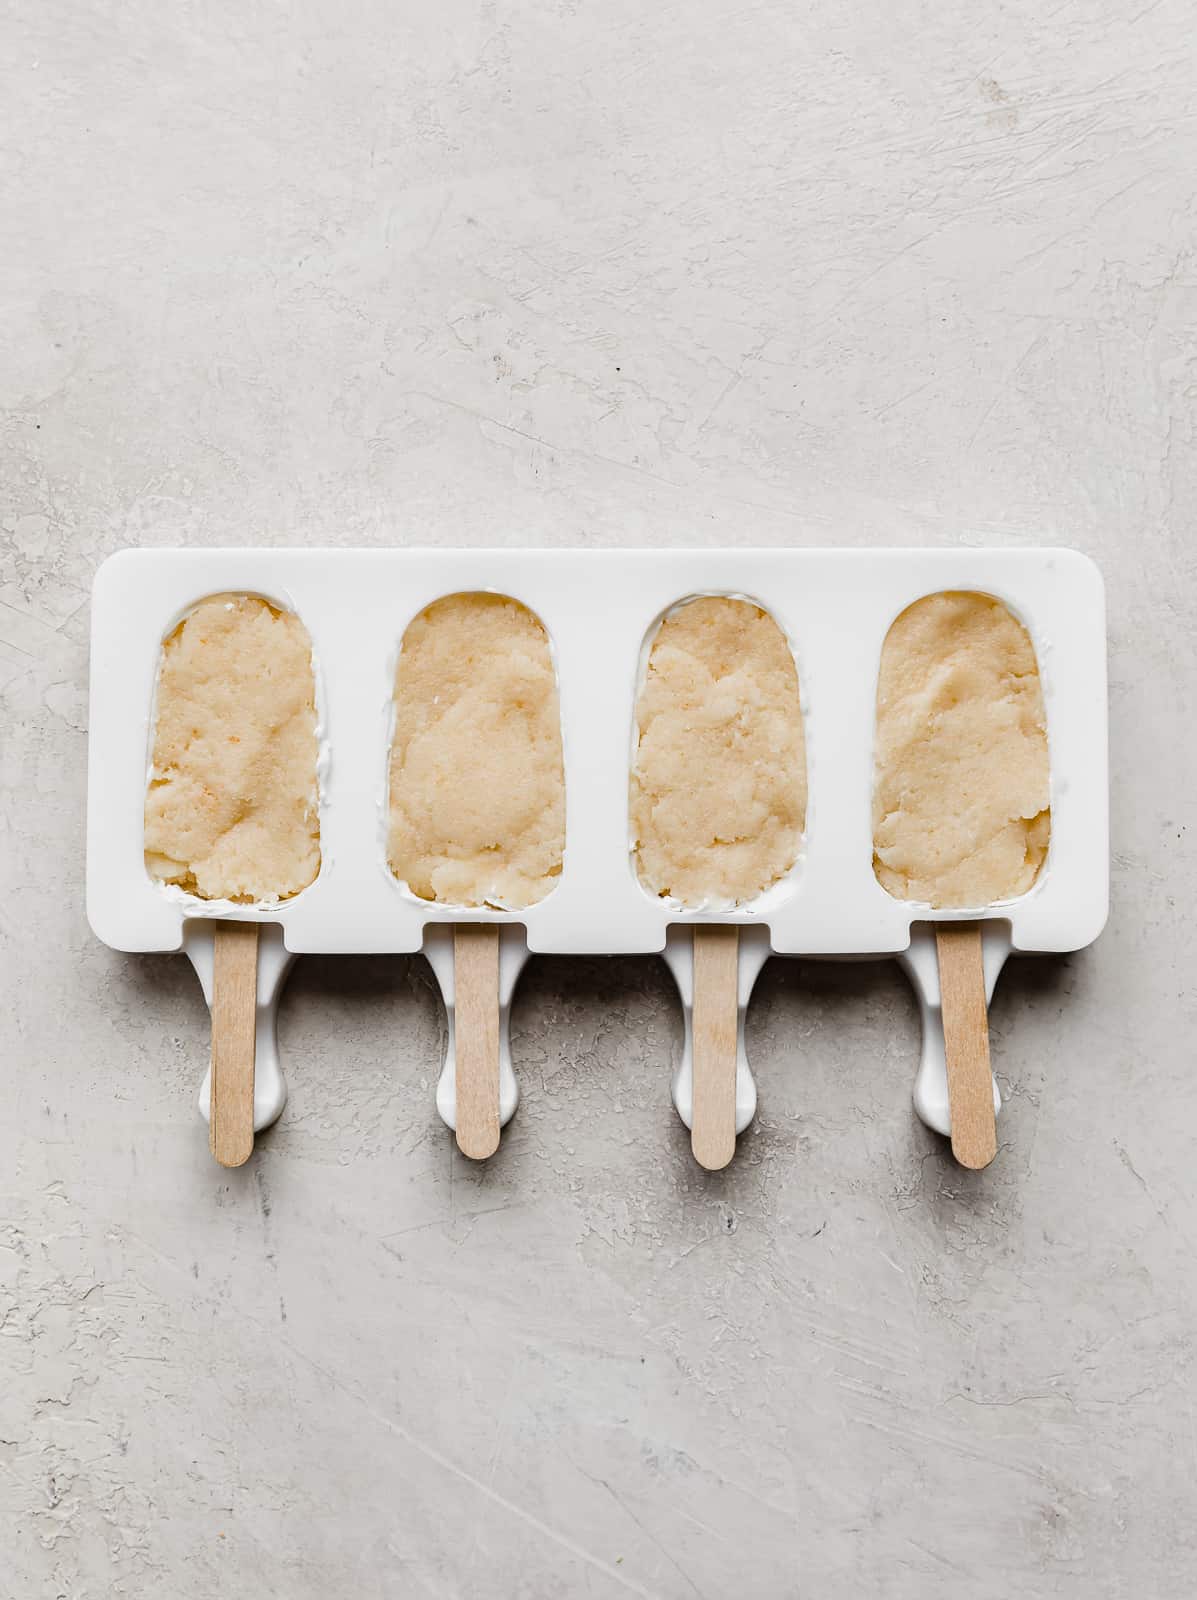
- Add a tablespoon of cake pop filling into the cavity of each mold and gently press down until it fills the entire hole, leaving about 1/16th of a gap at the top so that you can add a thin layer of chocolate to the top and make it flush with the mold.
- Insert a popsicle stick halfway into the cake mixture, do not remove it this time.
- Chill in the freezer for 10 minutes.
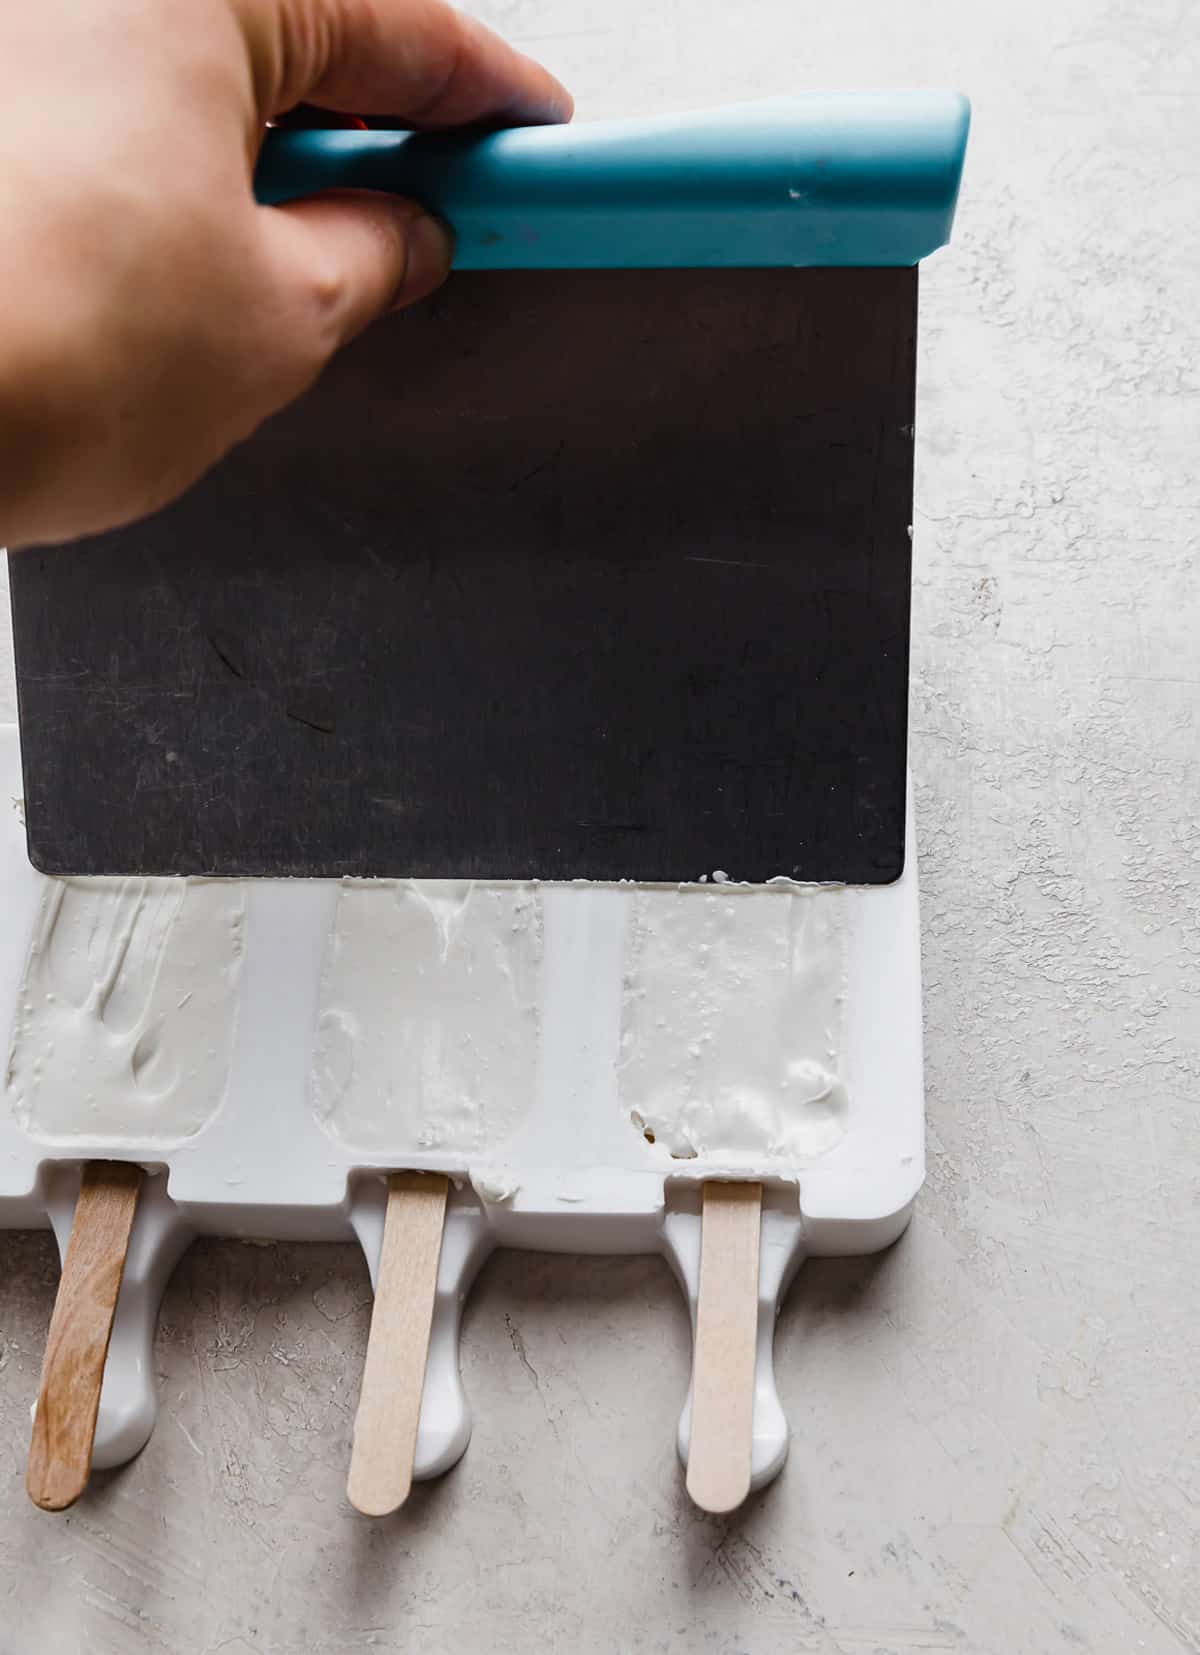
- Remove from freezer and add a tablespoon or two of chocolate on top of the cake filling, scrape off the excess chocolate using an offset spatula. You want the chocolate to be flush with the mold.
- Chill until the cake pops are set.
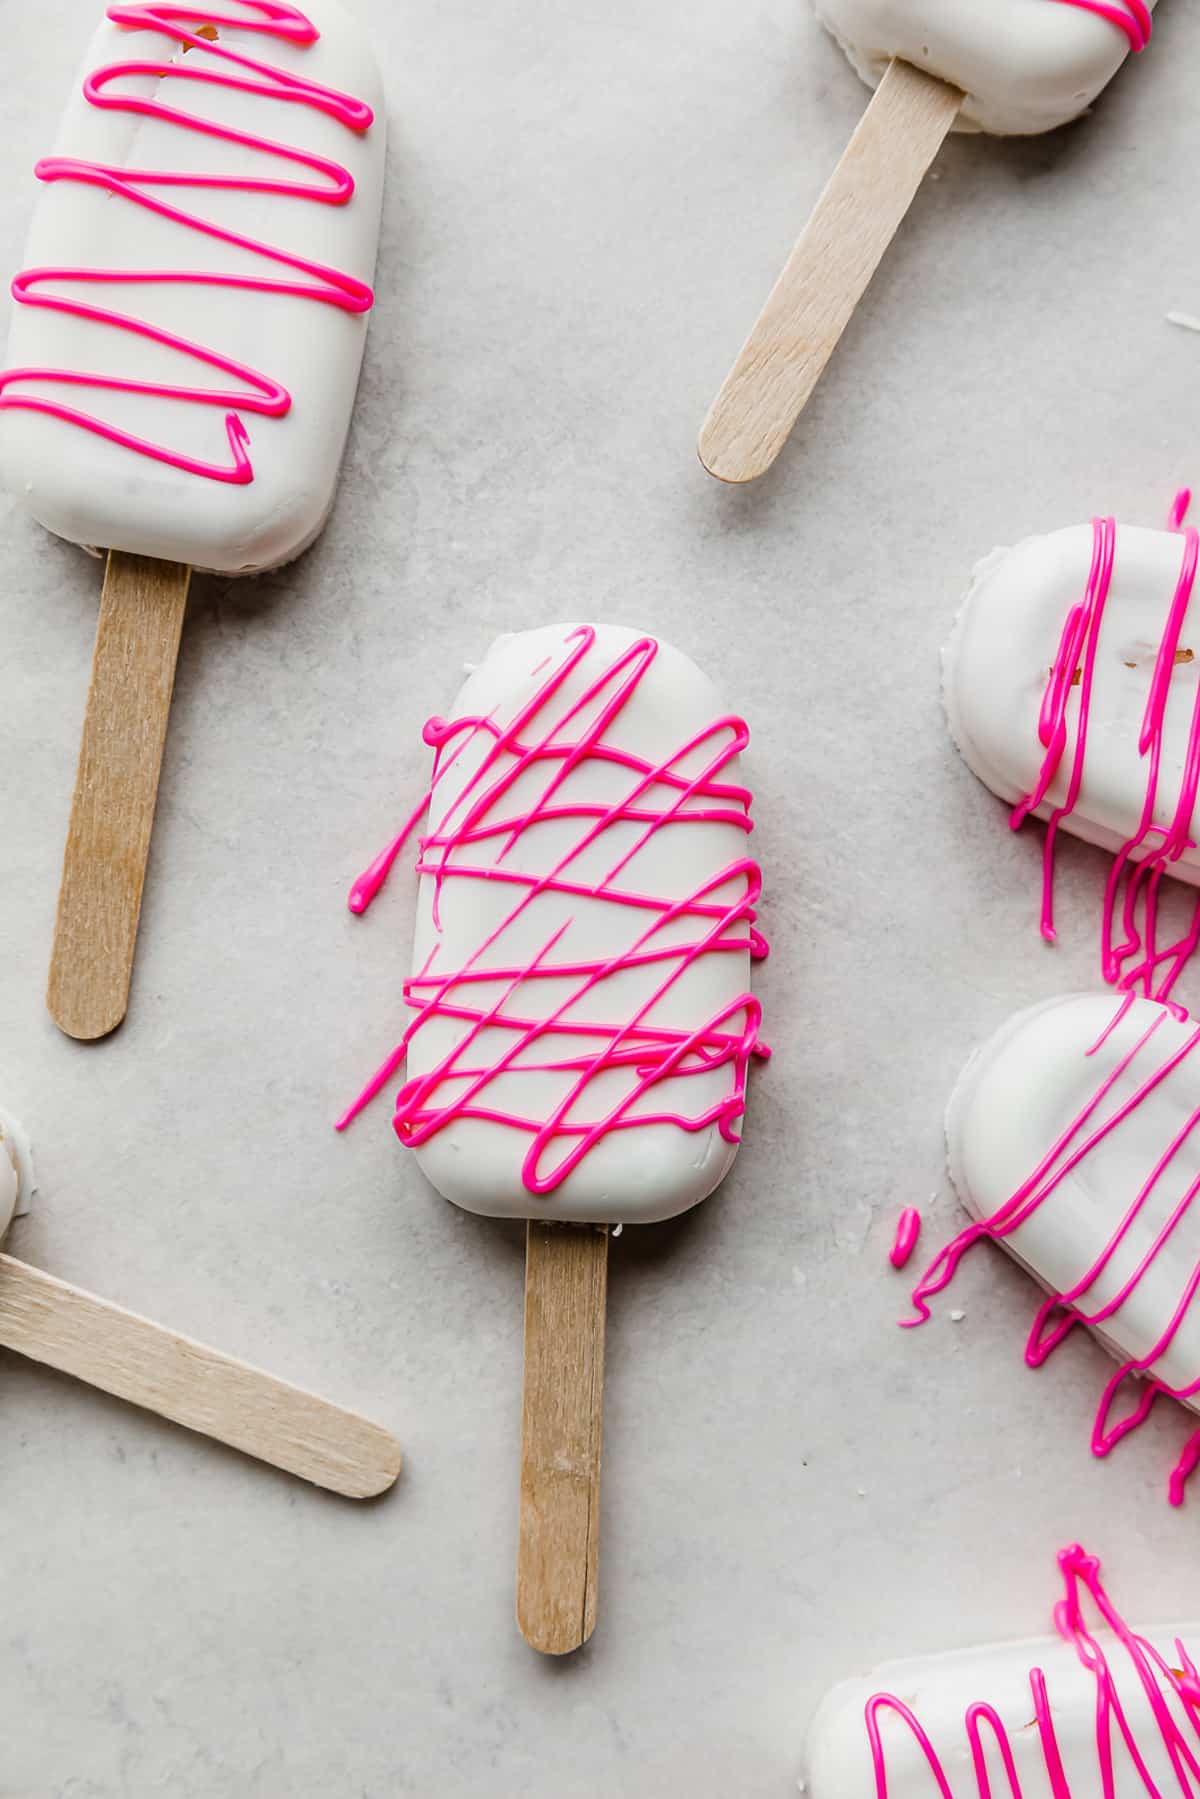
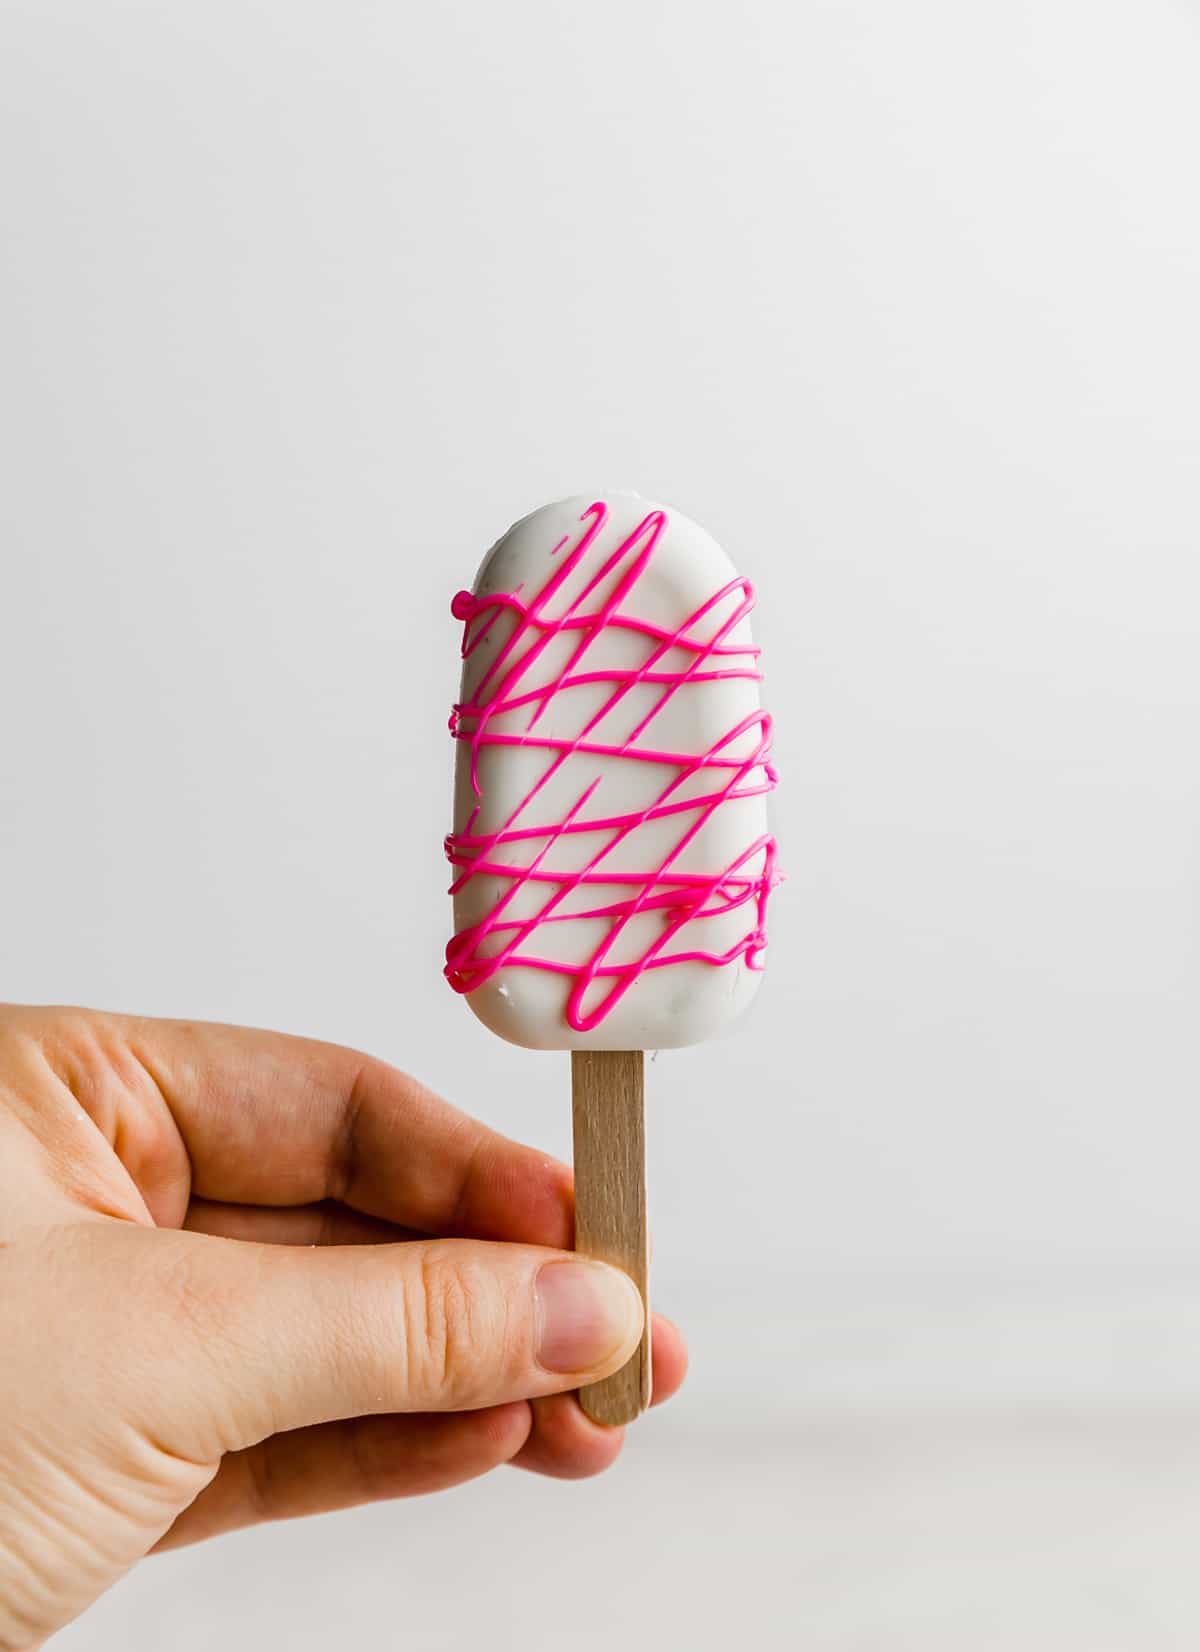
- Carefully remove each cakesicle from the mold and then decorate the tops as desired.
Recipe Tips
Chocolate: If you want to use candy melts please keep in mind that one 12 ounce sized bag will cover 12 cakesicles and that this recipe makes about 36 of them so three 12 ounce bags of candy melts are needed. More will be needed if you plan on drizzling and decorating the tops with additional chocolate.
Storage at room temperature: These cakesicles will last up to 3 days if stored at room temperature. Keep in mind that you won’t want to store them at room temp if it’s too warm because the chocolate can and most likely will melt.
Storage for the fridge: Keep the cake popsicles stored in the fridge well covered in plastic wrap and placed into an airtight container or large zip top bag. If you then place the bag into a cardboard box or shoe container the cardboard will absorb most of the moisture instead of the cakesicles.
FAQS
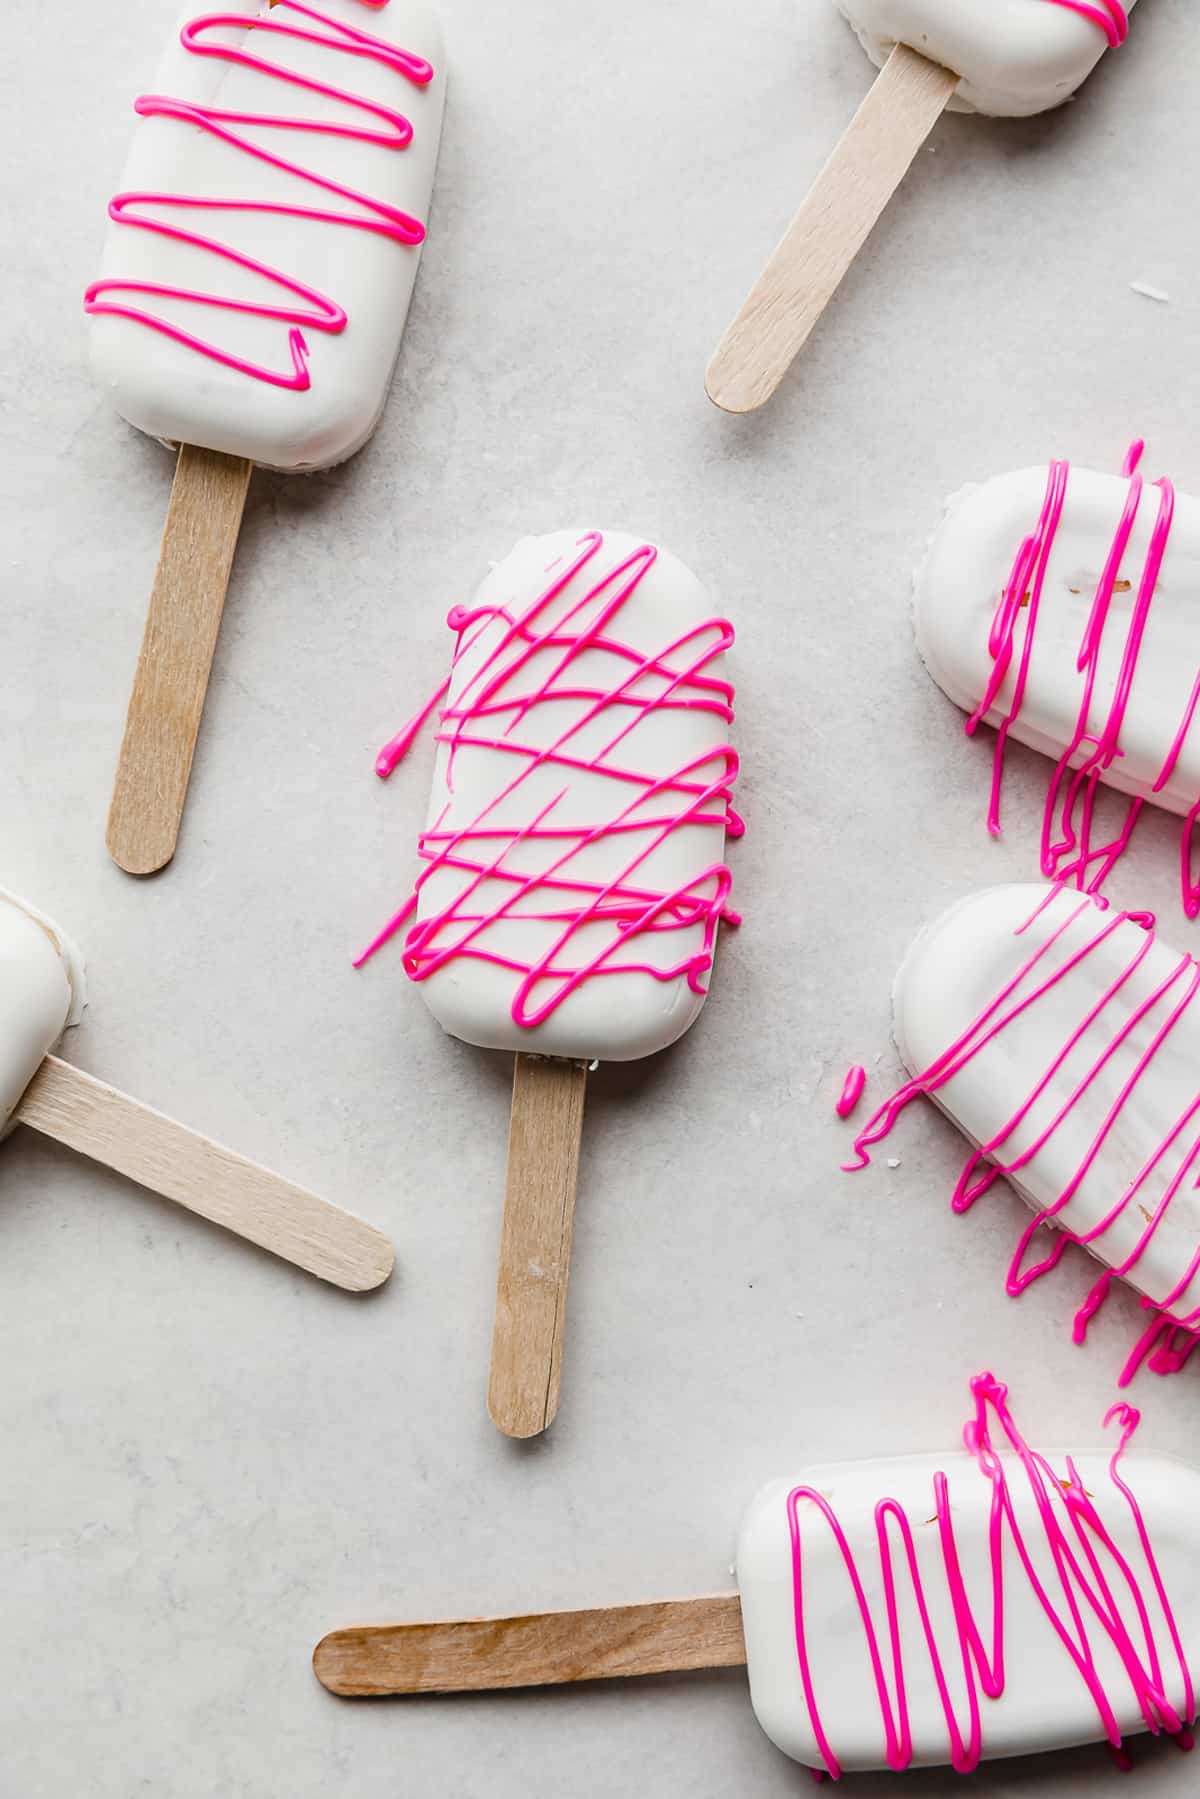
After the cake pops have been removed from the molds you can decorate the front of them however you wish. Most commonly the decorating is as simple as colored chocolate being drizzled over the top to form a pattern or nice design and then given festive sprinkles. You can have many different decorating possibilities for any occasion with this simple process.
If the chocolate coating the mold is too thin then the cakesicles may crack as they cool down and come to room temperature after chilling. This is why we give our cake molds two nice layers of chocolate before freeing. If your chocolate still looks too thin after two layers, adding another layer or two may be necessary.
If you melt your candy melts over too high of a temperature or for too long then the chocolate can seize and become lumpy. Once this happens, there is no saving the chocolate as it is now a clump forever. Make sure to melt the chocolate slowly and over low heat to get a smooth consistency before removing it from the heat.
Related Recipes
Did you make this recipe? I’d love to hear about it! Click here to leave a star rating and review.
Stay up-to-date by following us on Instagram, Facebook, and Pinterest.
Cakesicles
Ingredients
- 1 13×9 inch cake - baked (any variety)
- 1/2 cup frosting - plus more if needed
- 36 oz candy melts - any color
- 8 oz candy melts - of an opposing color to decorate, if desired
- sprinkles - for decorating, if desired
Doctored Cake Mix
- 1 white cake mix
- 4 egg whites
- 1/3 cup vegetable oil
- 2/3 cup sour cream
- 3/4 cup buttermilk
- 1 teaspoon vanilla extract
Frosting
- 6 tablespoons butter - softened to room temperature
- 1 3/4 cups powdered sugar
- 1 teaspoon vanilla extract
- 3 teaspoon heavy cream
Equipment
Instructions
Decide if you'll doctor a cake mix or bake a plain cake mix
- If you want to doctor a cake mix you can, or you can simply make a boxed cake and call it good. I like doctoring cake mixes as it makes them more moist. If you choose NOT to do a doctored cake mix you may need to use more frosting to get the cake crumbs to come together.
To doctor a cake mix
- Preheat oven to 325°F. Spray a 13×9 inch pan with nonstick cooking spray.
- Whisk oil, egg whites, sour cream, buttermilk and vanilla until combined. Sift the cake mix in and stir to combine.
- Place batter in a 13×9 pan that has been sprayed with nonstick spray. Bake for 25-30 mins or until a toothpick inserted in the center comes out clean. Remove from oven and let cool completely.
Frosting
- In the bowl of a stand mixer fitted with the paddle attachment (or using hand mixer) beat the butter until smooth. Add the powdered sugar, vanilla, and heavy cream and mix until smooth and light and fluffy. Note: you will not use all of the frosting. Store any leftovers covered in the fridge for 3-4 weeks.
Make the Cakesicles (start here if you've already baked a cake mix cake)
- Crumble the cake into the bowl of a stand mixer. Add 1/3 cup frosting and mix with the paddle attachment until combined. The mixture should stick together but not be too gloopy. If it’s too dry and crumbly add a tablespoon more frosting/buttercream.
- Melt the chocolate or candy melts. Add a few teaspoons of melted chocolate to the cakesicles molds. Spread it along the bottom and up the sides. Insert then remove a popsicle stick in the stick insert area so that the chocolate doesn’t set over the hole. Place in freezer for a 3-5 few minutes or until set.
- Using a food safe brush, brush more melted chocolate along the edges and up the sides of the mold. Insert and remove a stick in the popsicle stick insert area to make sure chocolate doesn’t set over the hole. freeze until set, 3-5 mins
- Add a tablespoon of cake pop filling to the cavity of each mold. Gently press down until it fills the entire cavity, leaving about 1/16” at the top so that you can add a thin layer of chocolate to the top and make it flush with the mold. Insert a popsicle stick halfway into the cake mixture.
- Chill for 10 minutes.
- Remove from freezer and add a teaspoon or two of chocolate to the tops of the cake filling. Scrape off excess using an off set spatula. You want the chocolate to be flush with the mold.
- Chill until set.
- Carefully remove each cakesicle. Decorate as desired.
 Welcome to this delicious corner of the internet! Here I share the recipes my family loves.


One Comment on “Cakesicles”
I’ve had cake pops before but the cakesicles are super fun and yummy! Highly recommend this recipe.