Red Velvet Macarons
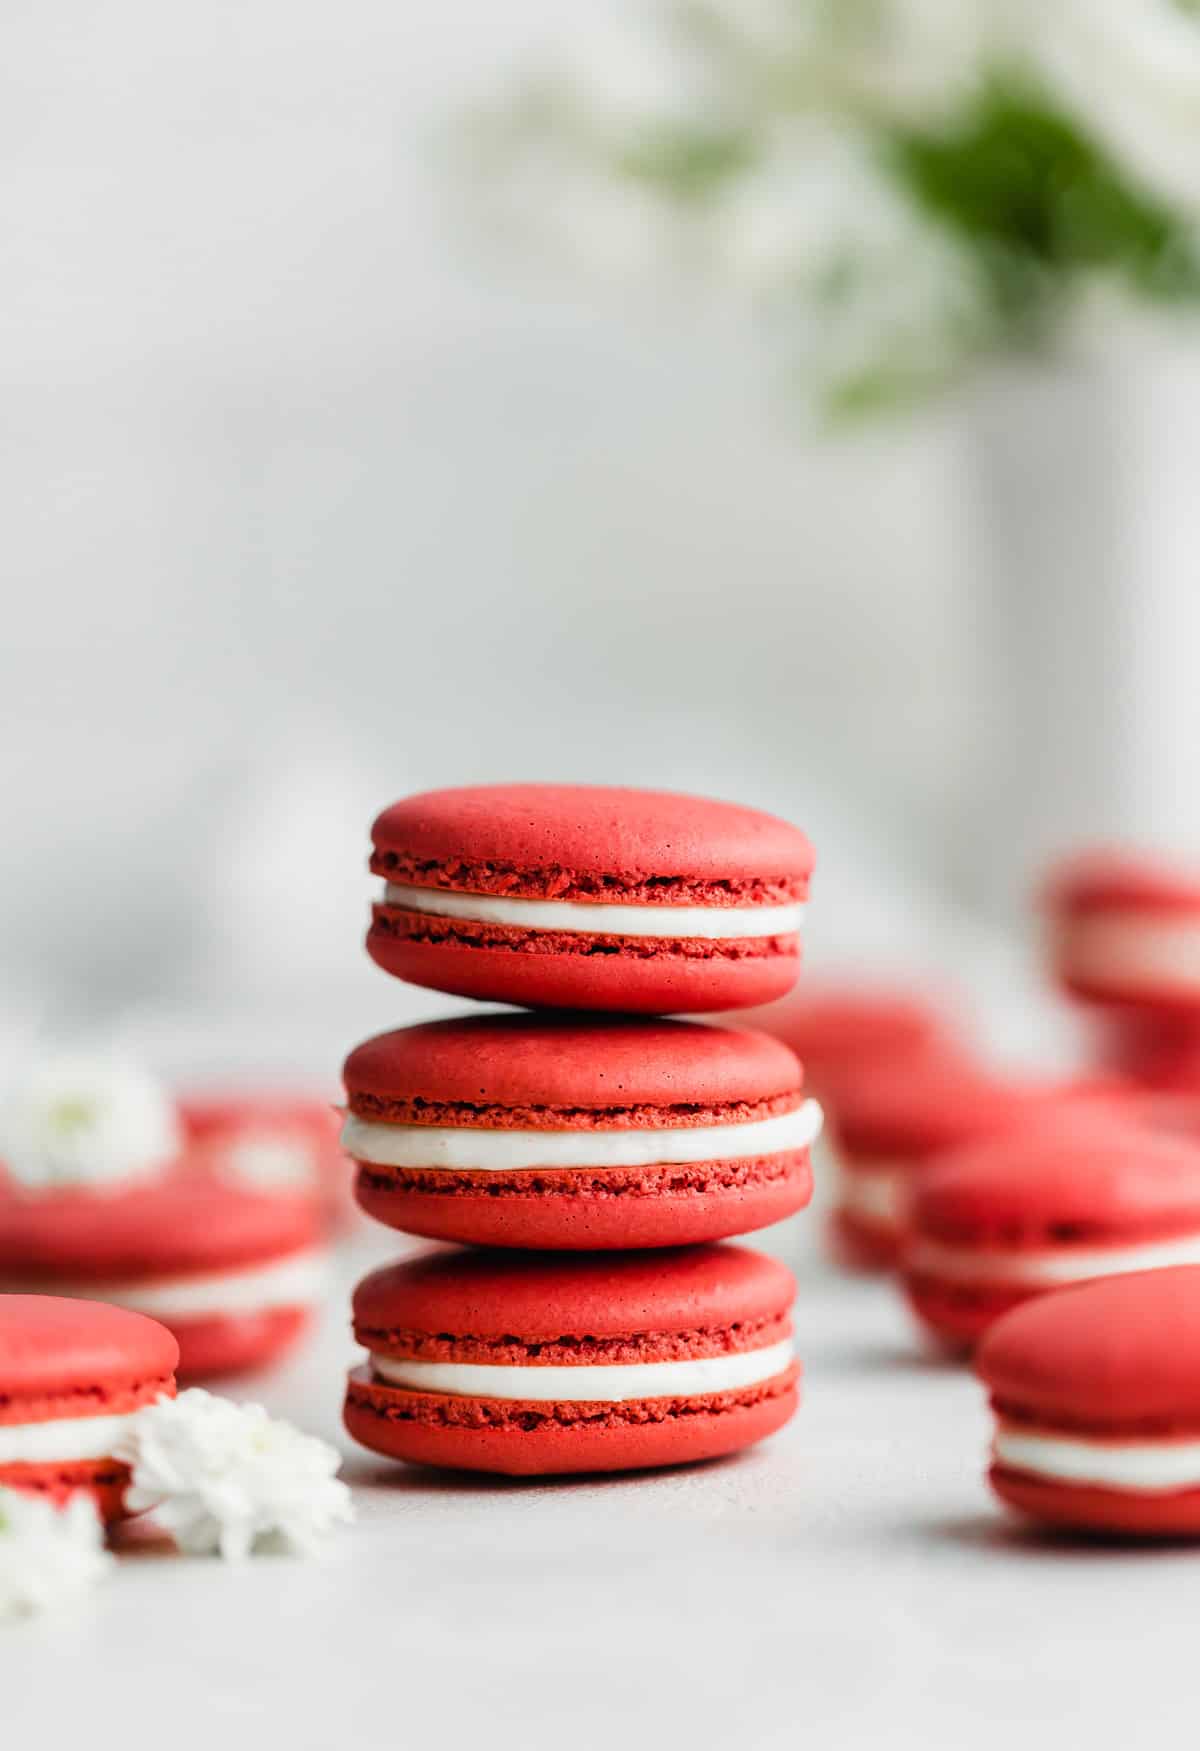
Have you ever had the pleasure of biting into delicate Red Velvet Macarons? If not, it’s time to change that! This red velvet macaron recipe gives easy-to-follow instructions so you can produce these beautifully red macarons right in your home!
Are you a big red velvet fan? Me too! I love the bright red color and then delicious and subtle chocolate flavor. Be sure to check out my Red Velvet Donuts and Old Fashioned Red Velvet Cake recipes for more red velvet desserts!
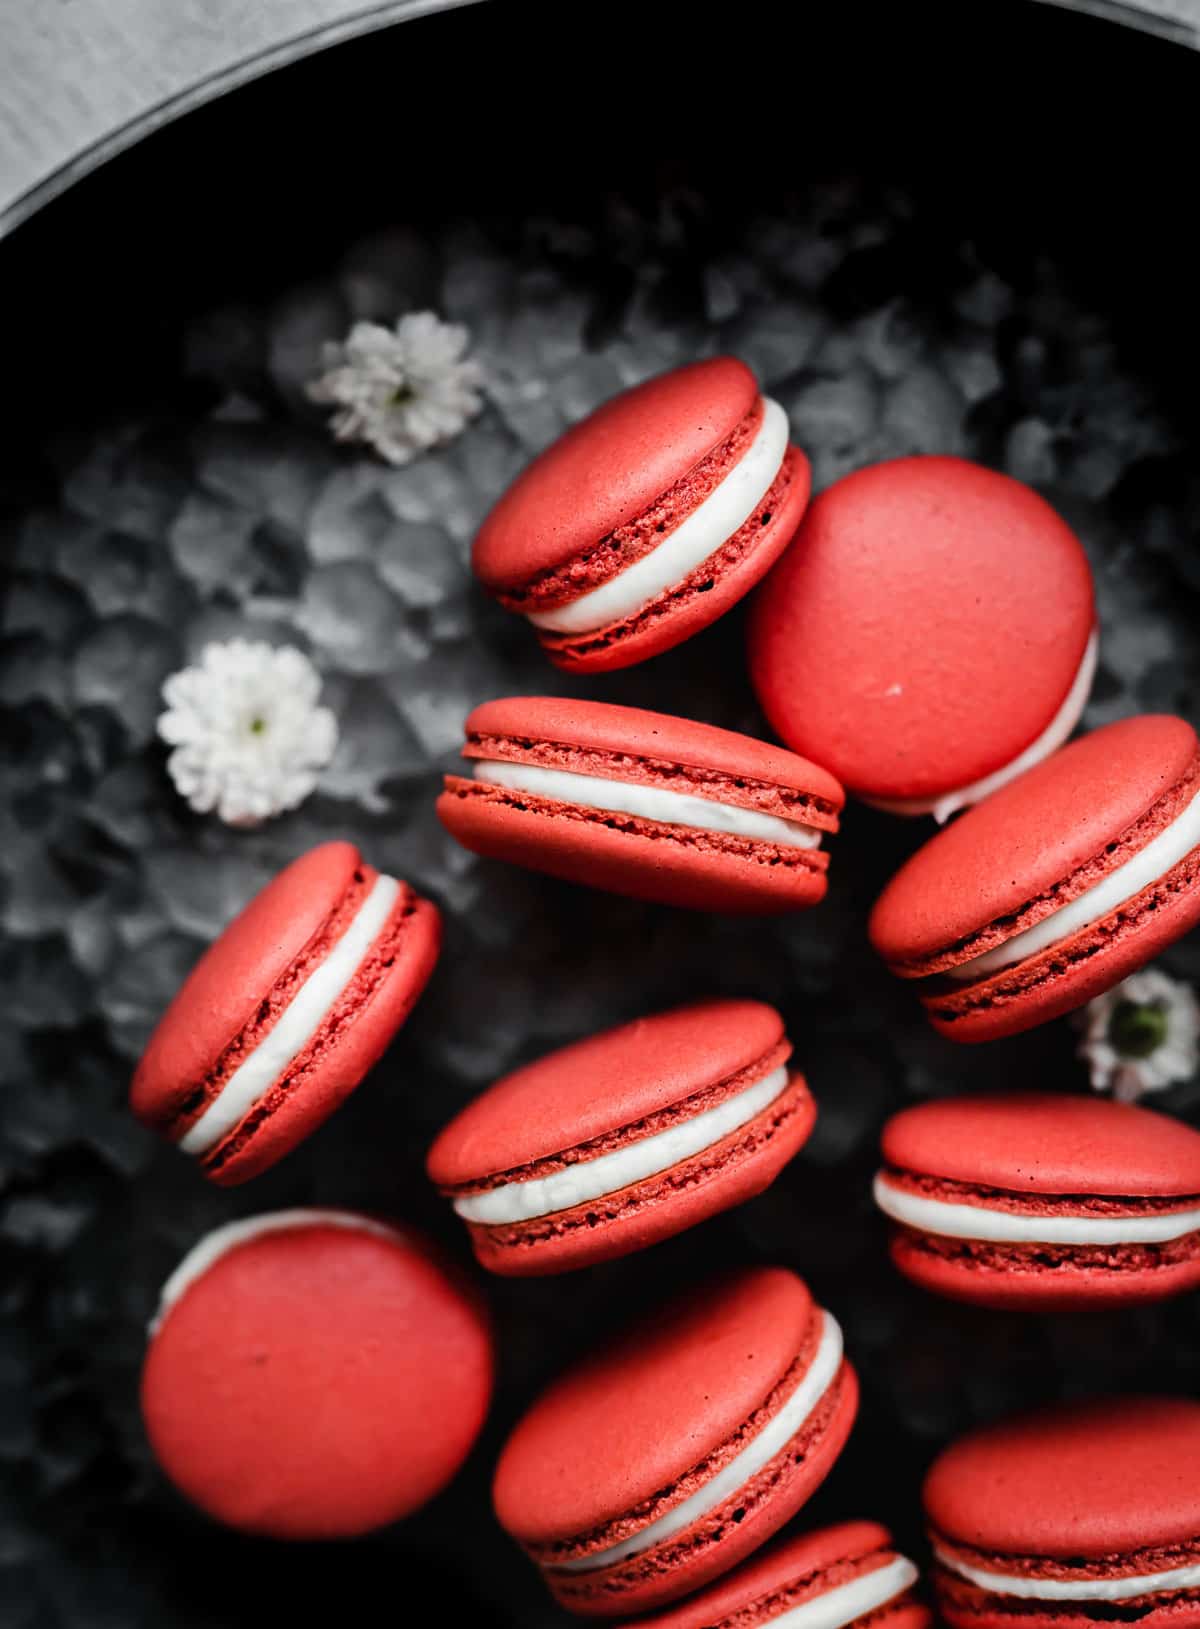
Now, I know all the talk (and bragging rights) come when you’ve eaten a real macaron from France. (Cue my *slight* bragging.)
When I was 18, I had the pleasure of eating a real French macaron! I should clarify that I purchased it in the France airport 😂. I never actually walked around the sites of France. However, that’s not my point. My point is, the macaron was delicious! Was it anything over-the-moon spectacular? Yes and no.
In my mind, it tasted amazing because I was on French soil, but truthfully (and after tasting many macarons since) the French macaron can and is replicated in homes all across the country. So whether you have or haven’t had the pleasure of eating a macaron, it’s time to dive in and make them ourselves!
Why This Recipe Works
- Easy-to-follow step-by-step instructions. While making macarons can seem daunting, following my step-by-step instructions will make the process so much easier! With my easy-to-follow recipe (plus some super helpful recipe tips!) we will master these red velvet macarons together!
- Perfect macaron feet and smooth, crackless surface. I’ll walk you through the best techniques to getting that iconic macaron feet and the smooth surface with no cracking!
- Delicious flavor. The red velvet macaron cookie pairs beautifully with the smooth cream cheese frosting! It’s a match made in heaven.
- An inside to be proud of. The insides of your red macarons will be so impressive! Follow my tips and instructions and your macarons will be lightly moist, slightly chewy and won’t be hollow.
Ingredient Notes
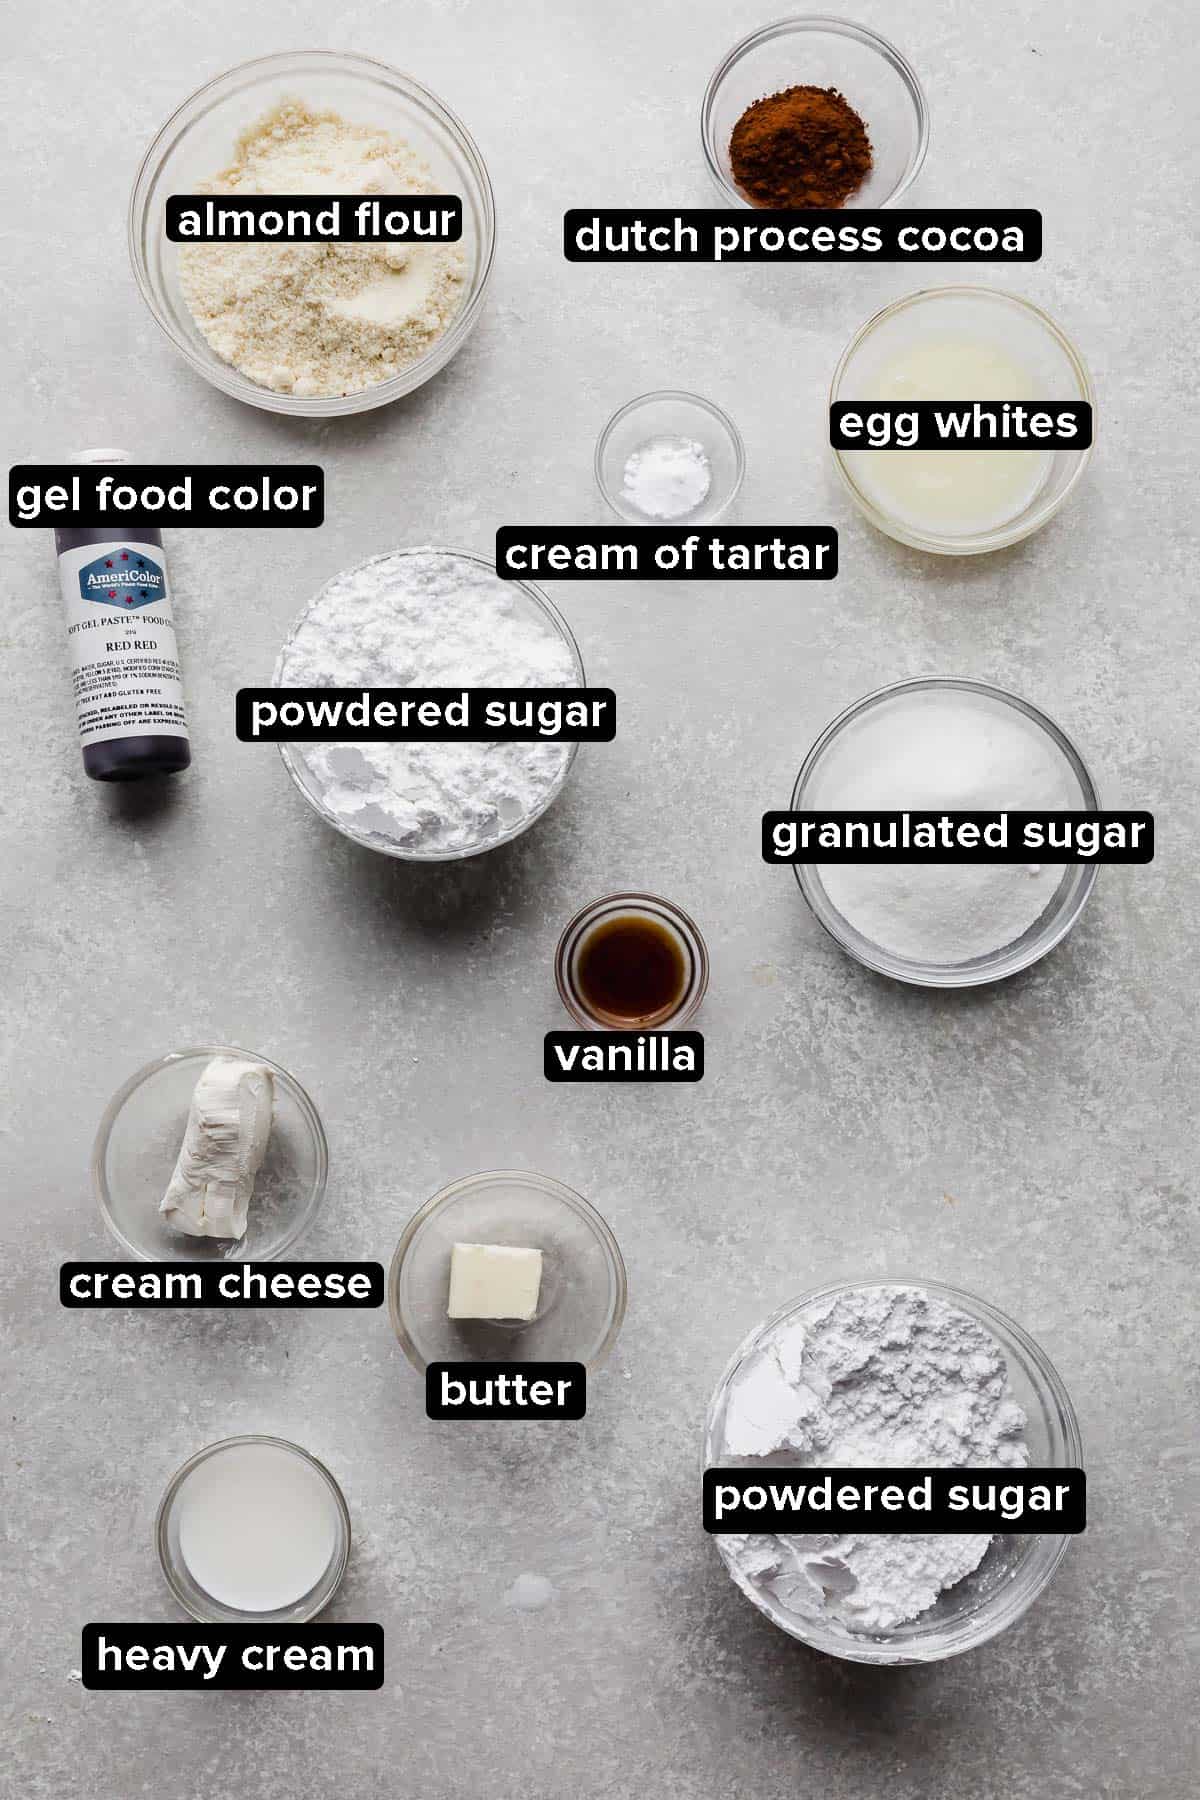
- Granulated Sugar: Some macaron recipes call for superfine sugar. I tested with granulated sugar and superfine and didn’t notice a difference. So we will just use granulated sugar.
- Almond Flour: Yes, it has to be almond flour. Macarons get their distinct taste and texture due to the use of almond flour. Using any other type of flour would throw the texture and taste off.
- Dutch Processed Cocoa Powder: Because making macarons can be a little tricky, I wouldn’t use unsweetened cocoa powder. That would throw off the bake of the macarons since the product is acidic. For more information on which cocoa powders to use when, check out my Cocoa Powder Guide.
- Egg Whites: Some recipes say you should “age the egg whites.” I (personally) didn’t age the egg whites for this recipe. (Honestly, I just wanted to keep this as simple, straightforward, and EASY as it can be). If you’d like to go the extra mile, you can age your egg whites by separating the egg yolks from the egg whites. Store the egg whites in a container in the fridge for 24 hours. This process allows the egg whites to dehydrate slightly and it relaxes the egg white proteins.
- Cream of Tarter: This stabilizes the egg whites so the macarons stay puffed up and don’t sink.
- Vanilla Extract: Don’t over-do it on the vanilla. Too much added liquid can throw off the macaron batter’s consistency.
- Gel Red Food Coloring: Be sure to use gel food coloring. Too much liquid will throw off the consistency.
Step-by-Step Instructions
- Line the baking sheets. You’ll need 2 baking sheets for this recipe. Line with either parchment paper or a silicone baking mat. (See Recipe Tips below.)
- Prepare the dry ingredients. Sift the almond flour, powdered sugar, and cocoa powder together. Repeat 1 more time (for a total of 2 times).
- Prepare the wet ingredients. In a stand mixer fitted with the whisk attachment, beat the egg whites at medium speed until frothy, about 1 minute. Add the cream of tartar. Continue beating for another 1-2 minutes. Add the granulated sugar a tablespoon at a time. Beat until soft peaks form. Once the egg whites reach soft peaks, add the vanilla and gel food coloring. I added about 3-4 drops of gel food coloring. Mix until stiff peaks form.
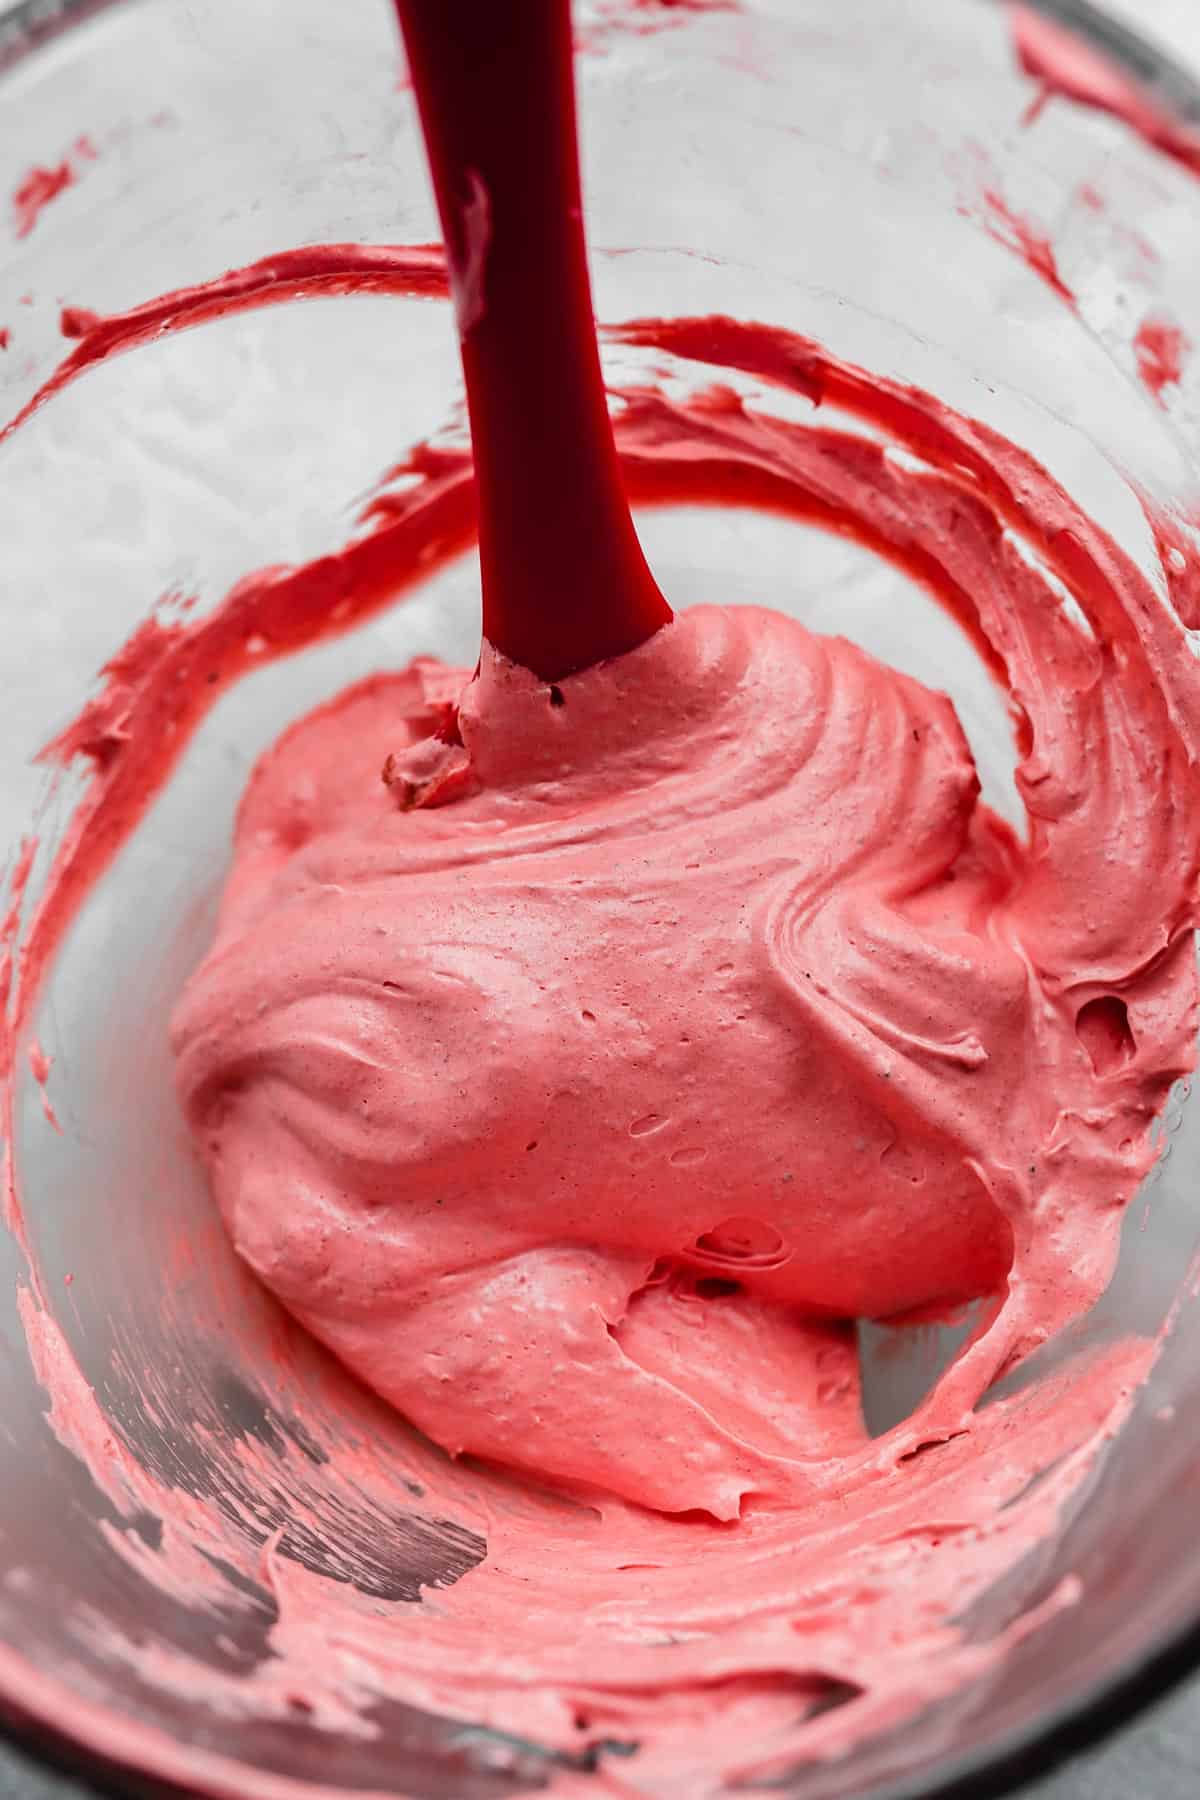
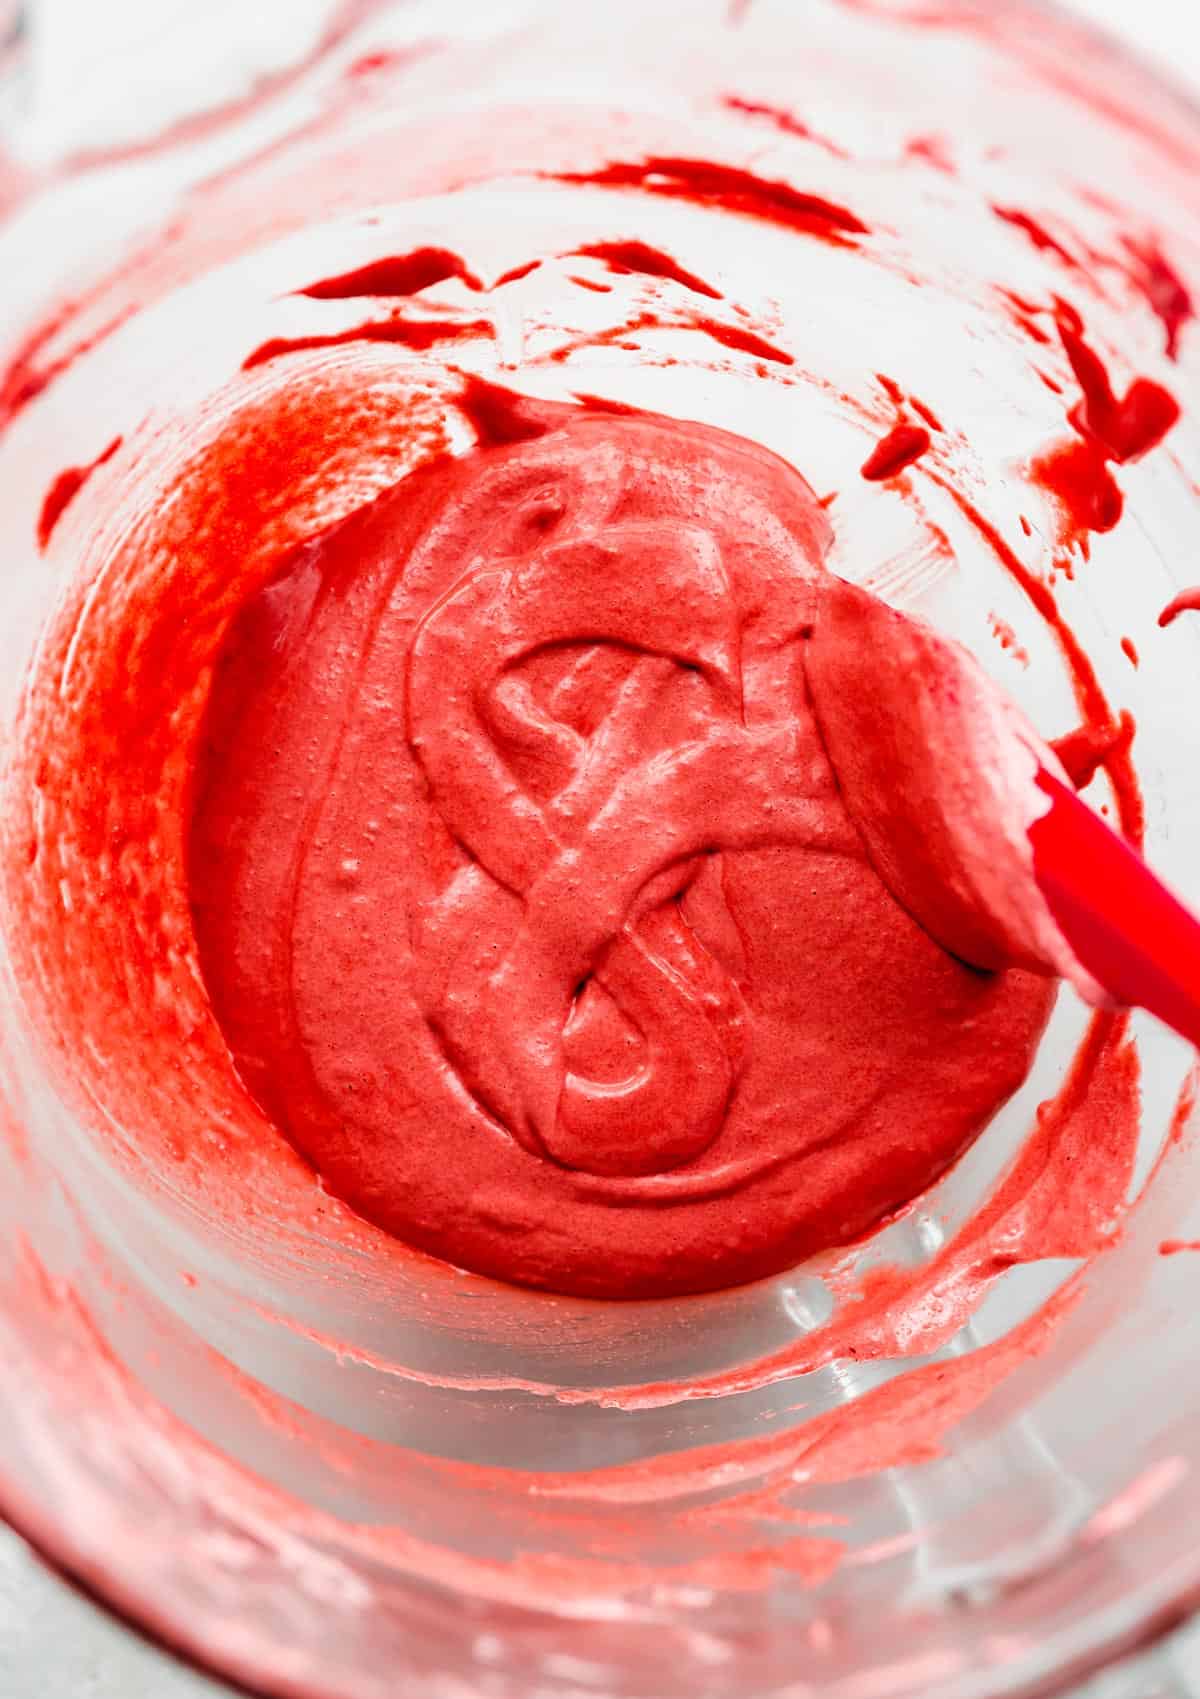
- Combine the wet and dry ingredients. Pour 1/3 of the dry ingredients into the egg white mixture. Using a rubber spatula fold the flour mixture into the fluffy egg whites. (The photo below was taken after I had mixed in 1/3 of the dry ingredients. You can tell the batter is still really thick and quite grainy.) Once you no longer see any dry ingredients, add the remaining flour mixture and fold it into the batter *until a ribbon “figure 8” holds into the batter without breaking, (it will flow like slow molten lava) and then disappears (folds back into itself) within 15-20 seconds. The batter will be smooth, sticky, and glossy. (See Recipe Tips below.)
- Pipe the macarons. Place the red velvet macaron batter in a piping bag with a round tip. Holding the piping bag vertically, pipe the macarons into 1.5-2-inch circles. As you pipe, hold the piping tip close to the paper/mat about 1 inch from the paper.
- Release the air bubbles. Slam (with love and care) the baking sheet firmly on the counter a couple of times to release the bubbles from the batter. Let the macarons rest. This part is important. You need to let the piped macarons rest for 30-45 minutes to form a skin over the tops of the macarons. The macarons should no longer be tacky when you touch them.
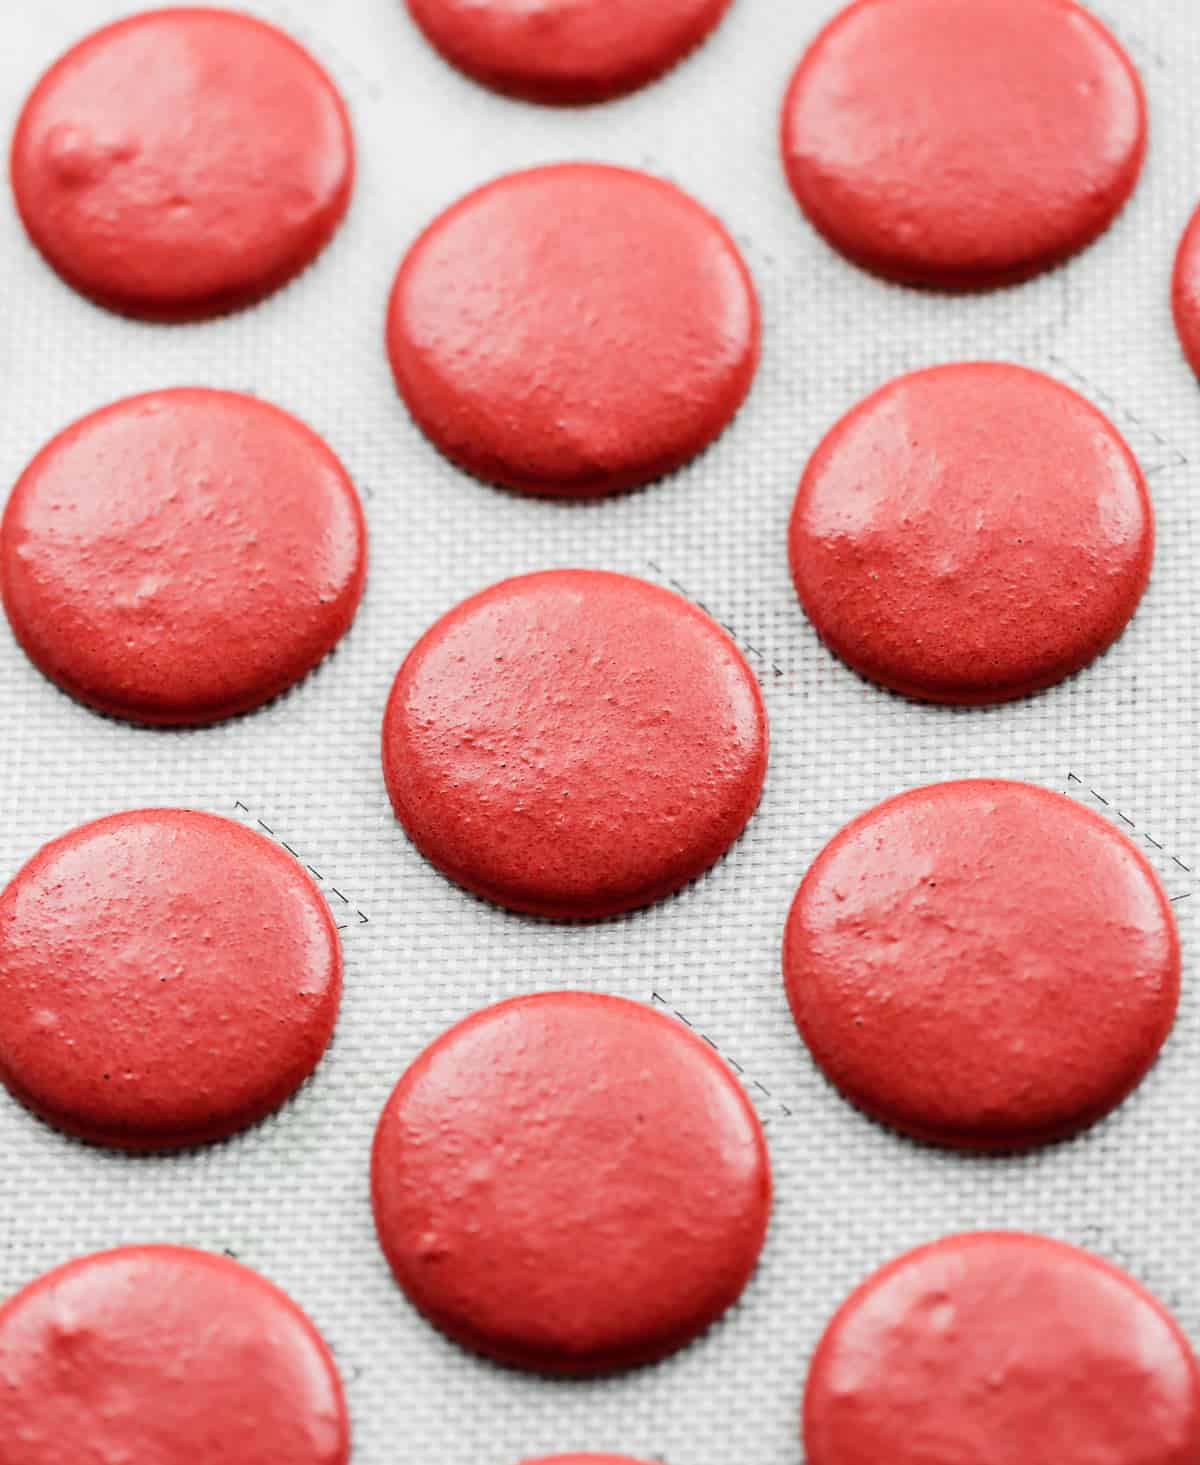
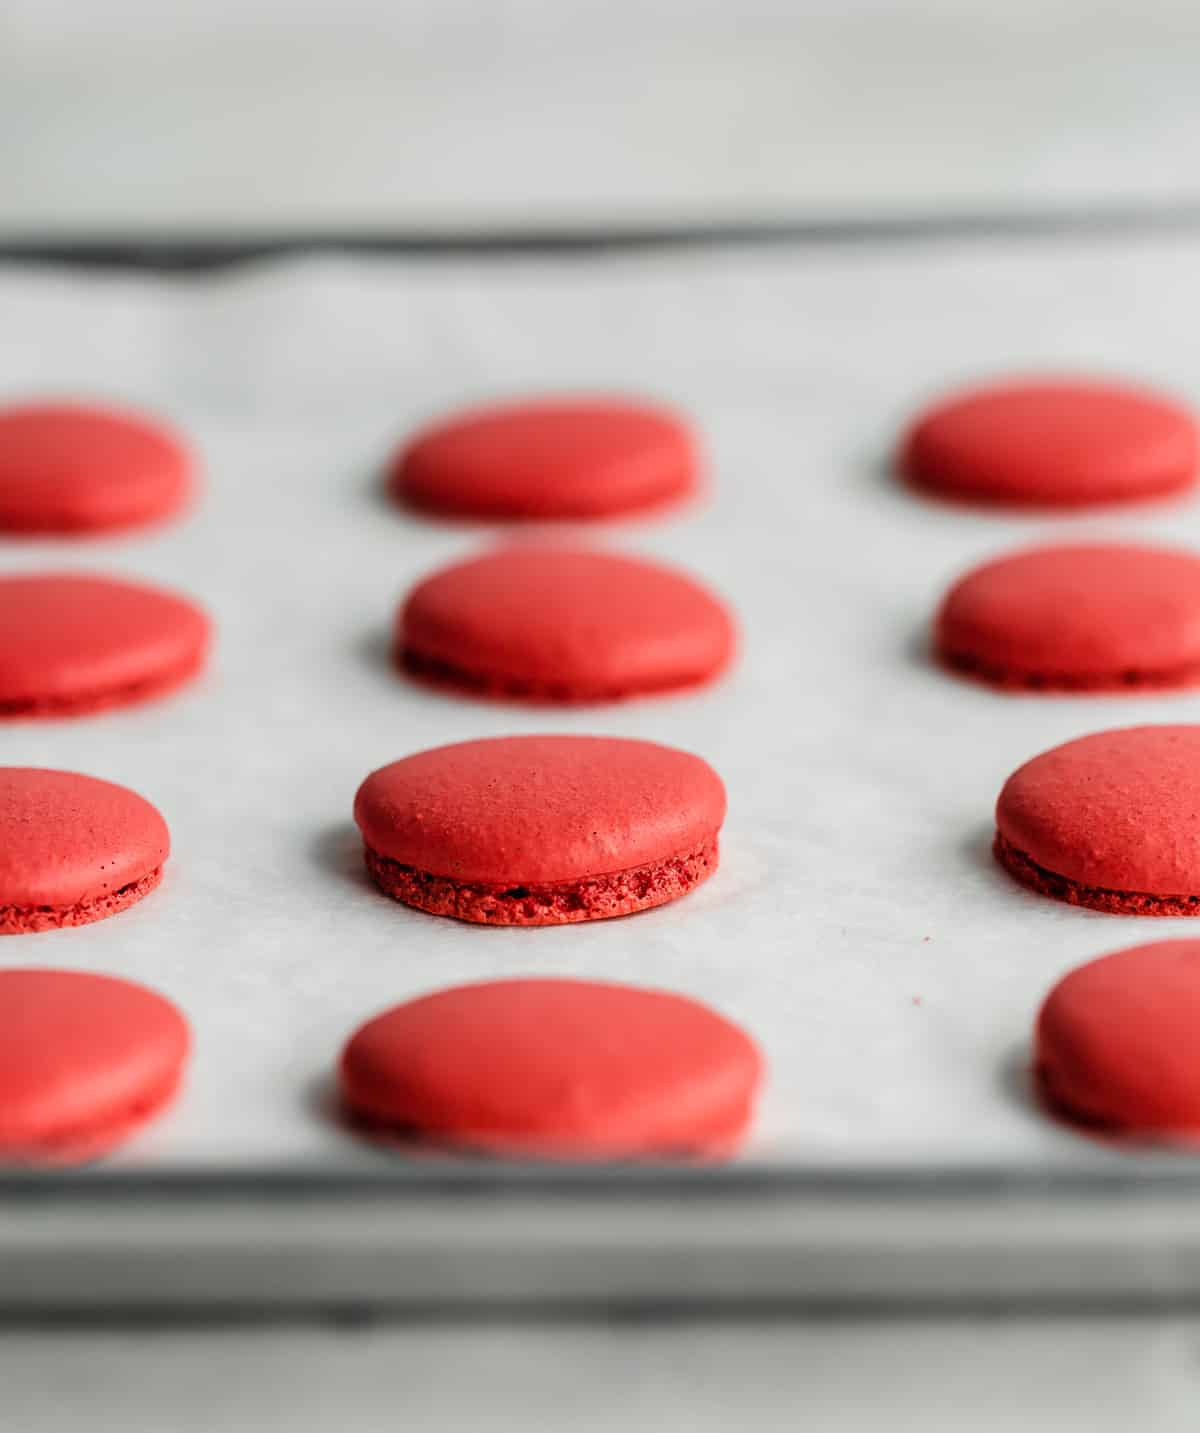
- Bake at 300°F for 16-18 minutes. Remove the red velvet macarons and cool for 20 minutes before removing them from the baking sheet.
- Make the cream cheese frosting. Beat the butter and cream cheese together until smooth. Mix in the powdered sugar. If the frosting is too thick, add a tablespoon of milk until it reaches your desired consistency.
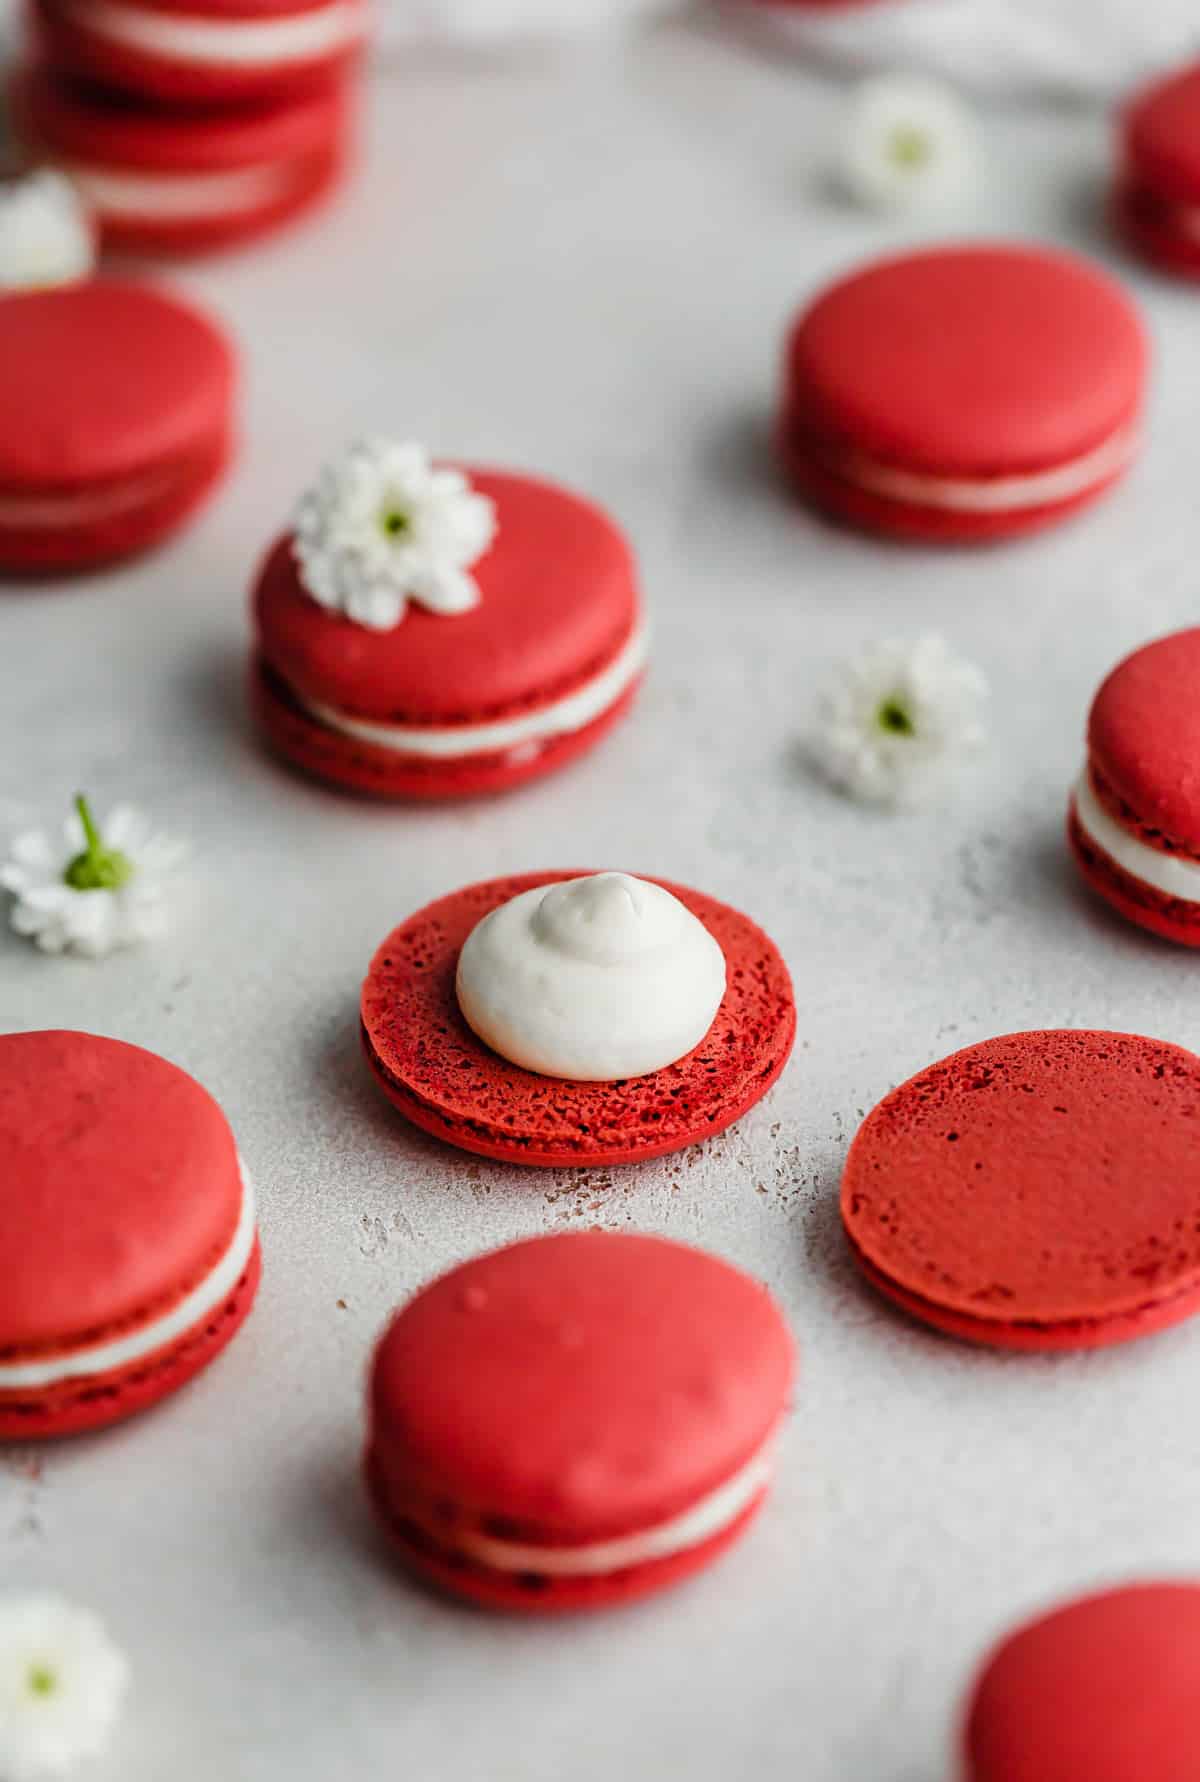
- Assemble. Pipe the frosting on the bottom (flat) portion of the macaron. Find another macaron and sandwich the two cookies together, gently pressing down to help the frosting spread to the edges.
Recipe Tips
You will need a kitchen scale to make macarons. You need an exact measurement of almond flour, sugar, powdered sugar, and egg whites. If you don’t have a kitchen scale you can find an affordable one here on Amazon.
I live in a humid place, so I had to place a fan near my macarons while they were resting (prior to baking) so that they’d form a coating on top.
I used parchment for one baking sheet and a macaron silicone baking mat for the other. Both worked great. The macarons sort of popped off the parchment paper once they were cool. The only trick with using a silicone mat is that you need to gently peel the macaron off (due to the mat being more grippy than parchment paper). I think I preferred the baking mat. The macarons from the baking mat batch were more uniform in size, had flatter bottoms, and cooked evenly. Plus, the macaron baking mat has the macaron outlines, making it easier to get identical sizes.
*It takes a decent amount of mixing to get to the “figure 8” stage. But once you reach it (meaning you can lift the spatula with batter on it and drag the batter in a figure 8 without it breaking and it folds back into itself in 15-20 seconds), then you’re good. Stop there.
Print a macaron template from the internet and place it underneath your parchment paper to ensure uniform macarons. If you do this, just remember to remove the template before baking!
Note: I did up the saturation of the red macaron when I was editing these photos. This red velvet macaron recipe was made at sea level.
Make Ahead, Storing, and Freezing
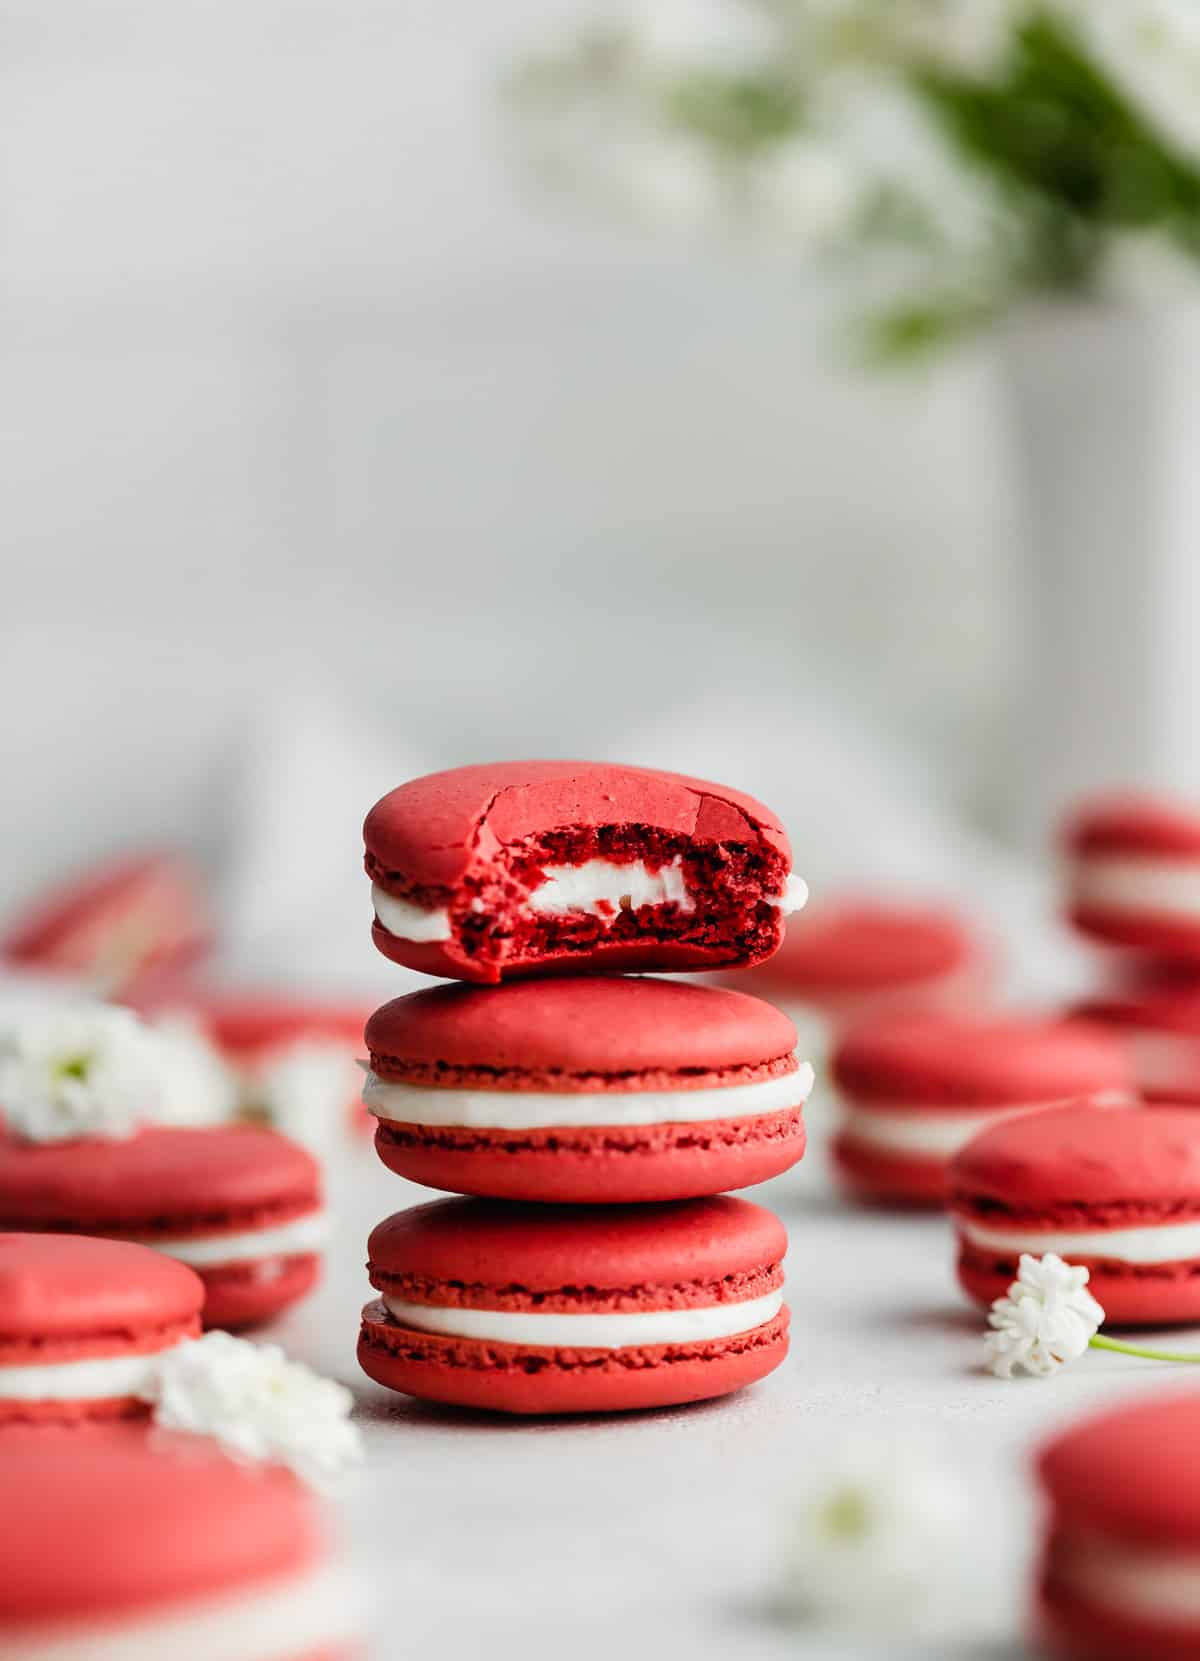
These should be stored in an airtight container in the refrigerator for up to 3 days. Macarons develop flavor with time — they’re even better on day 2!
It’s best to freeze the macarons unfilled. Let them cool completely and then wrap in plastic wrap and store in an airtight container. Remove from the freezer and let thaw. Then fill and sandwich together.
FAQs
One thing to consider would be your climate. I live in a humid climate, so to get the skin to develop on the tops I had to place a small fan near the macaron-covered baking sheets in order to help dry out the tops.
It could be a number of things. It’s important the tops dry out and form the “skin” on each top. Without this vital step, the macarons will not develop their characteristic “feet.” Also, is your oven at the correct temperature? (I always use an oven thermometer.) If the temperature is too low, the macarons won’t bake properly. Another factor could be poorly beaten or broken meringue. To fix this, make sure you’re using the cream of tarter which acts as a meringue stabilizer while beating. Make sure your egg whites are free of any egg yolks. And last but not least, make sure you beat until the egg whites reach stiff peaks and stop once you reach that stage.
Could be a number of things, including improper oven temperature, over beating the meringue, or too little or not enough macaronage (the folding of the macaron batter). I found this article helpful when troubleshooting hollow macarons.
Cracking can be caused by the macarons having too much air in the batter. Are you tapping the macarons on the counter really hard? I’m talking, holding the tray 18 inches off the counter and dropping it. It’s a bit daunting at first, but that could be why.
The cream of tartar helps stabilize the egg whites and gives them strength so your macarons stay puffed up. Without the cream of tartar, the egg whites won’t be strong enough to hold up and the macarons can sink.
More Red Velvet Recipes
Did you make this recipe? I’d love to hear about it! Click here to leave a rating and review, or scroll below the recipe card and do so there.
Stay up-to-date by following us on Instagram, Facebook, and Pinterest.
Red Velvet Macarons
Ingredients
Macarons
- 90 grams granulated sugar
- 100 grams almond flour
- 100 grams powdered sugar
- 1 T + 2 tsp (10 grams) Dutch process cocoa
- 100 grams egg whites - at room temperature (about 3 egg whites)
- 1/4 teaspoon cream of tartar
- 1/2 teaspoon vanilla extract
- 3-4 drops GEL red food coloring - don't use liquid
Cream Cheese Frosting
- 2 oz cream cheese - softened
- 2 tablespoons butter - softened
- 1 2/3 cups powdered sugar
- 1 tablespoon milk - if needed
Equipment
Instructions
Macarons
- Line a baking sheet with parchment paper, or a macaron silicone baking mat. Set aside.
- Sift the almond flour, powdered sugar, and cocoa powder into a large bowl. Repeat 1 more time.
- In a stand up mixer with the whisk attachment, beat the egg whites on medium speed until frothy. About 1 minute. Add the cream of tartar. Continue beating for another 1-2 minutes, then add the sugar a tablespoon at a time. Continue doing this until all of the sugar has been added. Beat until soft peaks form.
- Add the vanilla and food coloring, mix on low speed until food coloring is incorporated.
- Mix until stiff peaks form.
- Pour 1/3 of the dry ingredients into the egg white mixture. Using a rubber spatula FOLD/stir the flour mixture into the batter. Once you no longer see any dry ingredients, add the remaining flour mixture and fold it into the batter until a ribbon “figure 8” holds into the batter without breaking (as in, you can draw a figure 8 without the batter breaking), and then disappears (folds back into itself) within 15-20 seconds. The batter will be smooth, sticky, and glossy.
- Spoon the batter into a piping bag with a round tip.
- Using a circular piping tip, holding the piping bag vertically pipe the macarons into 1.5-2 inch circles. As you pipe, hold the piping tip close to the paper (about 1 inch from the paper.
- Tap the baking sheet FIRMLY on the counter a couple of times to release the bubbles from the batter.
- Let the piped shells rest for 30 -45 minutes to form hardened tops (See note #1). Macarons should no longer be tacky when you touch them.
- Bake at 300 for 16-18 minutes. (I pulled mine out around 17 minutes).
- Remove and cool for 15-20 minutes before removing them from the baking sheet.
- Pipe some cream cheese frosting on the flat side of a macaron then take a second macaron cookie to create a sandwich. Gently press the cookies together so that the frosting spreads to the edges.
Cream Cheese Frosting
- To make the cream cheese frosting, cream the butter and cream cheese together until smooth. (Can use hand mixer or stand mixer). Add the powdered sugar and mix until combined. If frosting is too thick add a tablespoon of milk until it reaches your desired consistency.
Notes
This recipe was originally published on Jan. 28, 2020. It was republished on Feb. 5, 2022, to include additional information and photos.


 Welcome to this delicious corner of the internet! Here I share the recipes my family loves.








13 Comments on “Red Velvet Macarons”
Worst batch I’ve ever made but idk if it’s a me problem or a you problem
Sometimes macarons take more than 1 try to get them right. Better luck next time!
My cookies did not turn out red they were brown. What did I do wrong? They taste delicious!
You need to use a lot of vibrant red gel food color. I also note in the blog post that I upped the saturation in my photos to have the red be more noticeable as well.
Can you freeze the filled red velvet macarons? Thanks
Yes, you can. Let me know if you have any more questions!
These turned out great. I did have to add a bit more red than you suggested but otherwise perfect!!! For me I have a conventional oven and use silicone sheets so I find mine need a bit extra. They were perfect at 22 minutes.
Thanks for the kind words! Glad you enjoyed the macarons.
Hello! I tried two batches and am having trouble with cracking. I whipped to a very stiff peak and kept stirring until I could do figure 8s. Another issue I had was with the color. My gel red never looked super red…. even before baking. Help!
Great questions. Cracking can be caused by the macarons having too much air in the batter. Are you tapping the macarons on the counter REALLY hard? I’m talking, holding the trap 18 inches off the counter and dropping it. It’s a bit daunting at first, but that could be why.
As for the color, I noted in the blog post the following: “Note: I did up the saturation of the macaron coloring when I was editing these photos.” It’s hard to get a really strongly saturated macaron color unless you add lots and lots of gel food coloring. You can do so but then you risk the probability of the recipe working properly.
Hope this helps and I’m so sorry they haven’t worked out. Macarons are finicky to make! I usually end up making 2 batches as well because the first doesn’t always work. (It’s annoying, but it happens).
Could you also add regular measurements like how many cups or tablespoons are needed? I find weighing to be much harder and time consuming. Thanks!
When it comes to making macarons, weighing is the best approach as it gets MUCH more accurate measurements than using cups and tablespoons. Macarons are very finicky too. So I’m really sorry, I don’t have cups and tablespoon measurements at this time.
I was nervous to make macarons (this was my first time), but it went well! The macarons looked AND tasted great! Can’t wait to make them again. Would love to see another macaron recipe on your site. 😉