Red Velvet Waffles
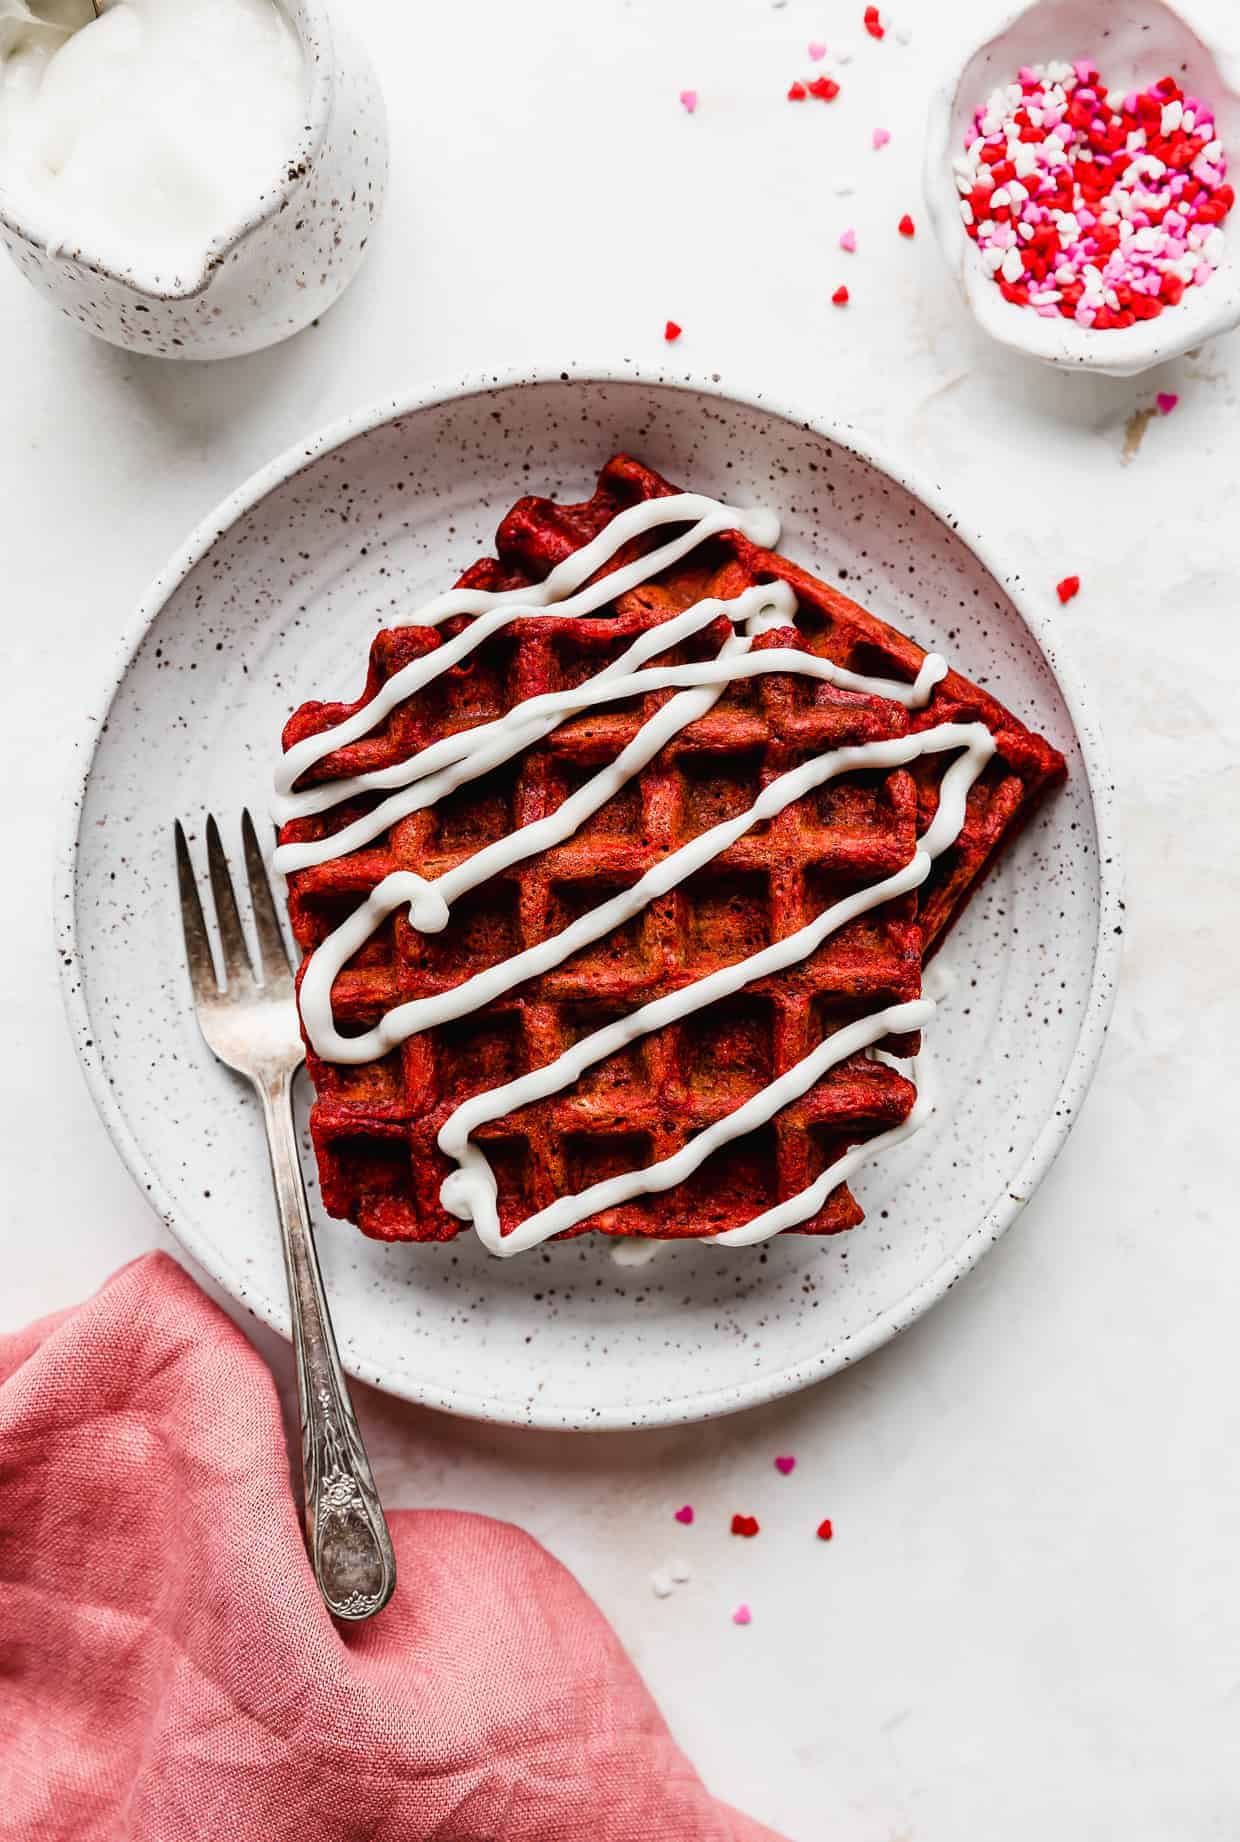
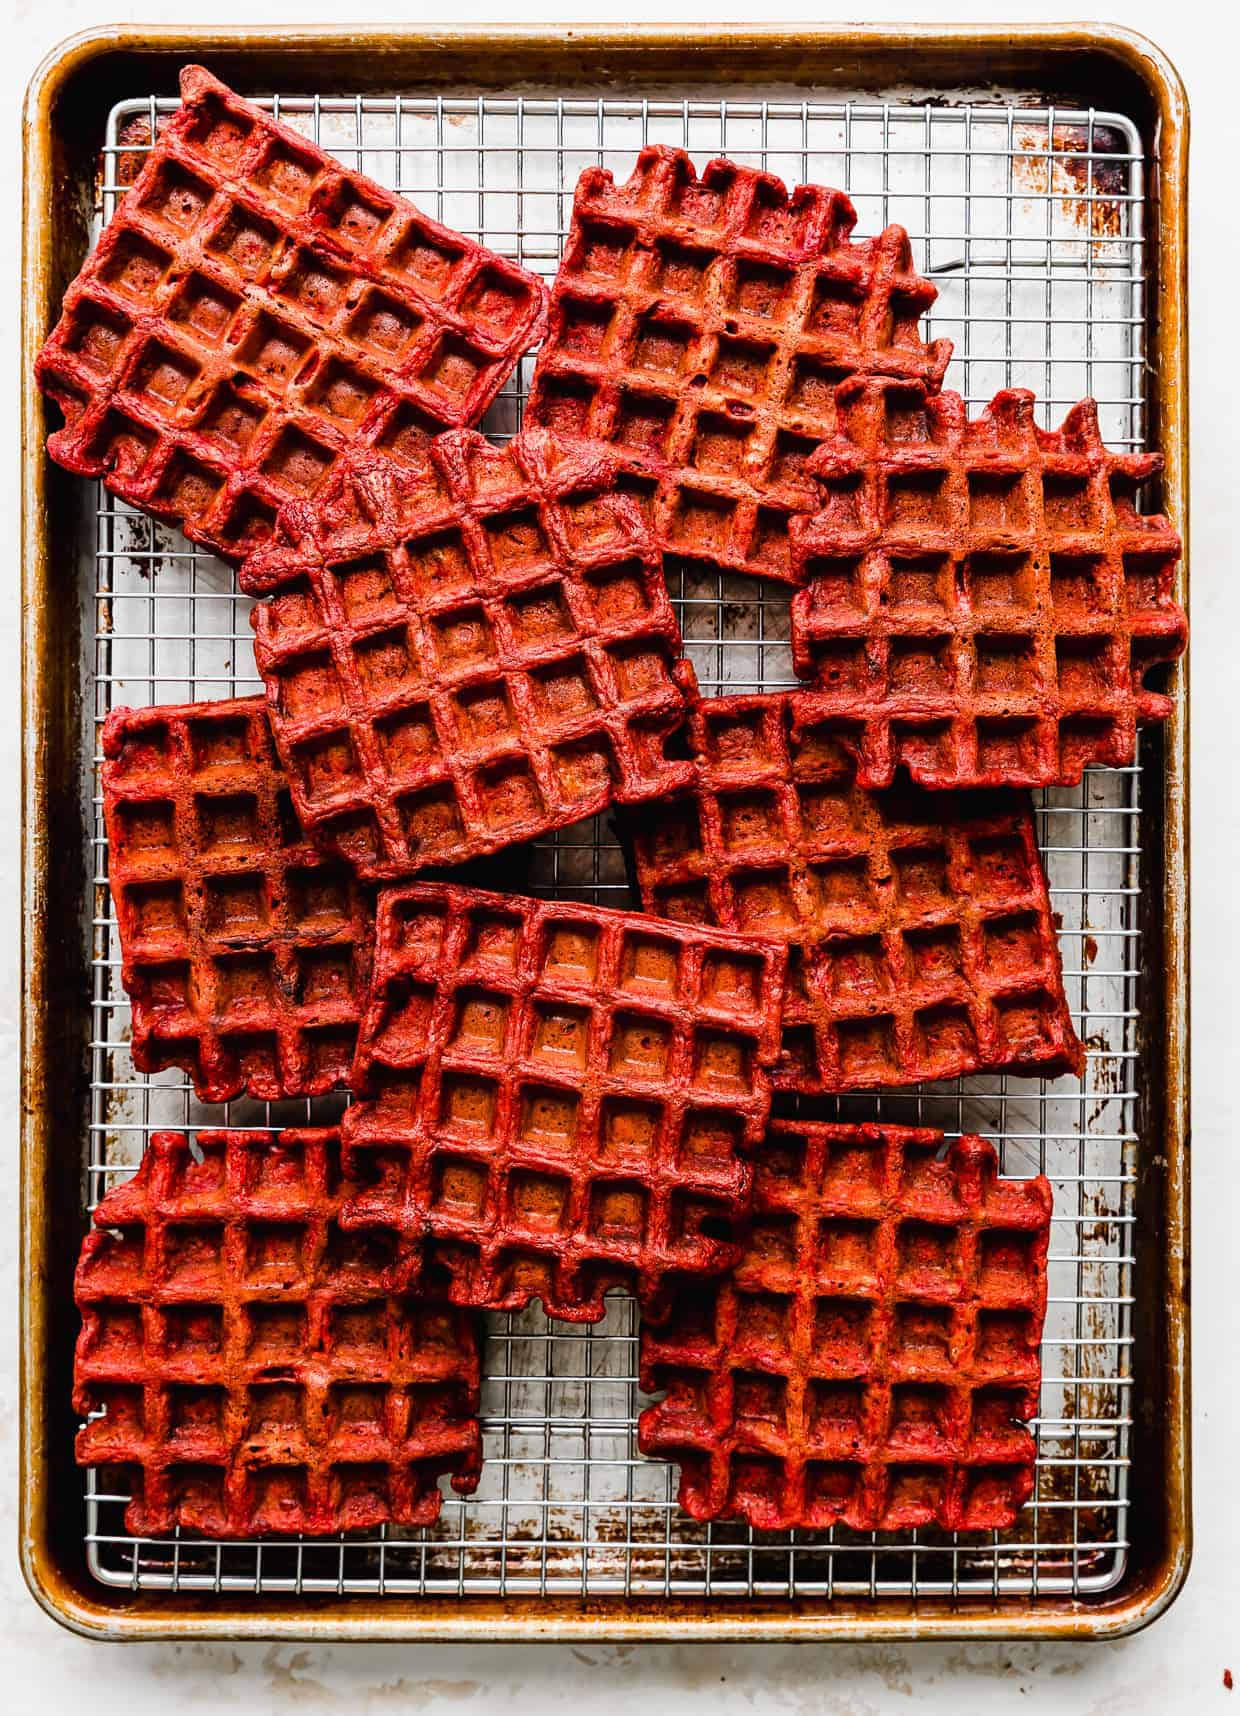
Red Velvet Waffles are the perfect treat to celebrate Valentine’s Day! Whether you use a heart-shaped waffle iron or not, there’s no denying the festive nature of these chocolate-flavored, dreamily red-colored waffles!
When I saw this heart-shaped waffle iron, I just knew I wanted to post a Red Velvet Cake inspired waffle recipe. Whether it’s for Valentine’s Day, your significant other’s birthday, your anniversary, or just a special breakfast, these heart-shaped waffles are the perfect romantic gesture! If you need additional red velvet recipes for your Valentine’s Day dessert, try my Red Velvet Donuts, Pink Velvet Cookies or Red Velvet Cake Mix Cookies!
Why This Recipe Works
- Valentine waffle recipe. Nothing says Happy Valentine’s Day than these red velvet waffles! You don’t even need a heart-shaped waffle iron to make these festive. Their red color is perfect for all special occasions.
- Vibrant red colored waffles. We use red gel food coloring to get the most amazing red color.
- Rich chocolate waffles. This is the best red velvet waffle recipe because we use cocoa powder and melted chocolate. This provides the most amazing, rich chocolate flavor.
- Great breakfast recipe or dessert! Are these breakfast or dessert? I’ll let you decide! But my vote is BOTH!
Ingredient Notes
Cream cheese glaze
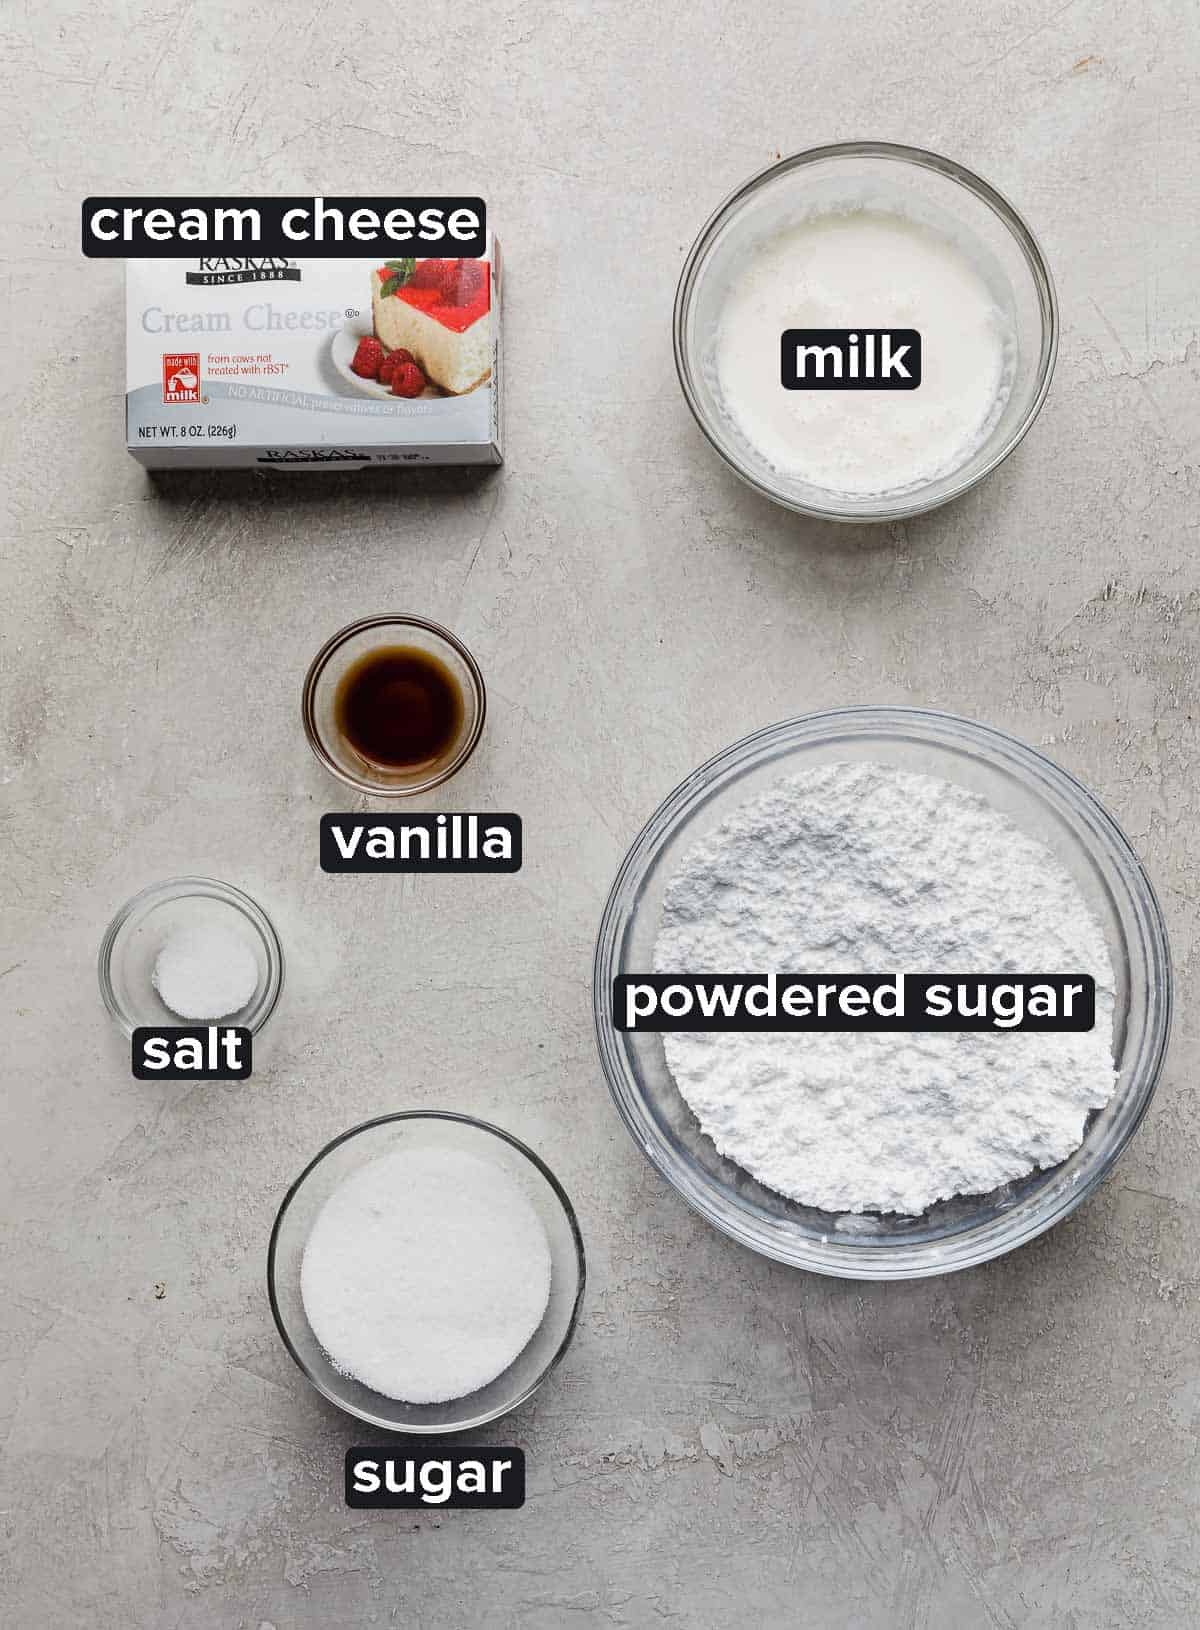
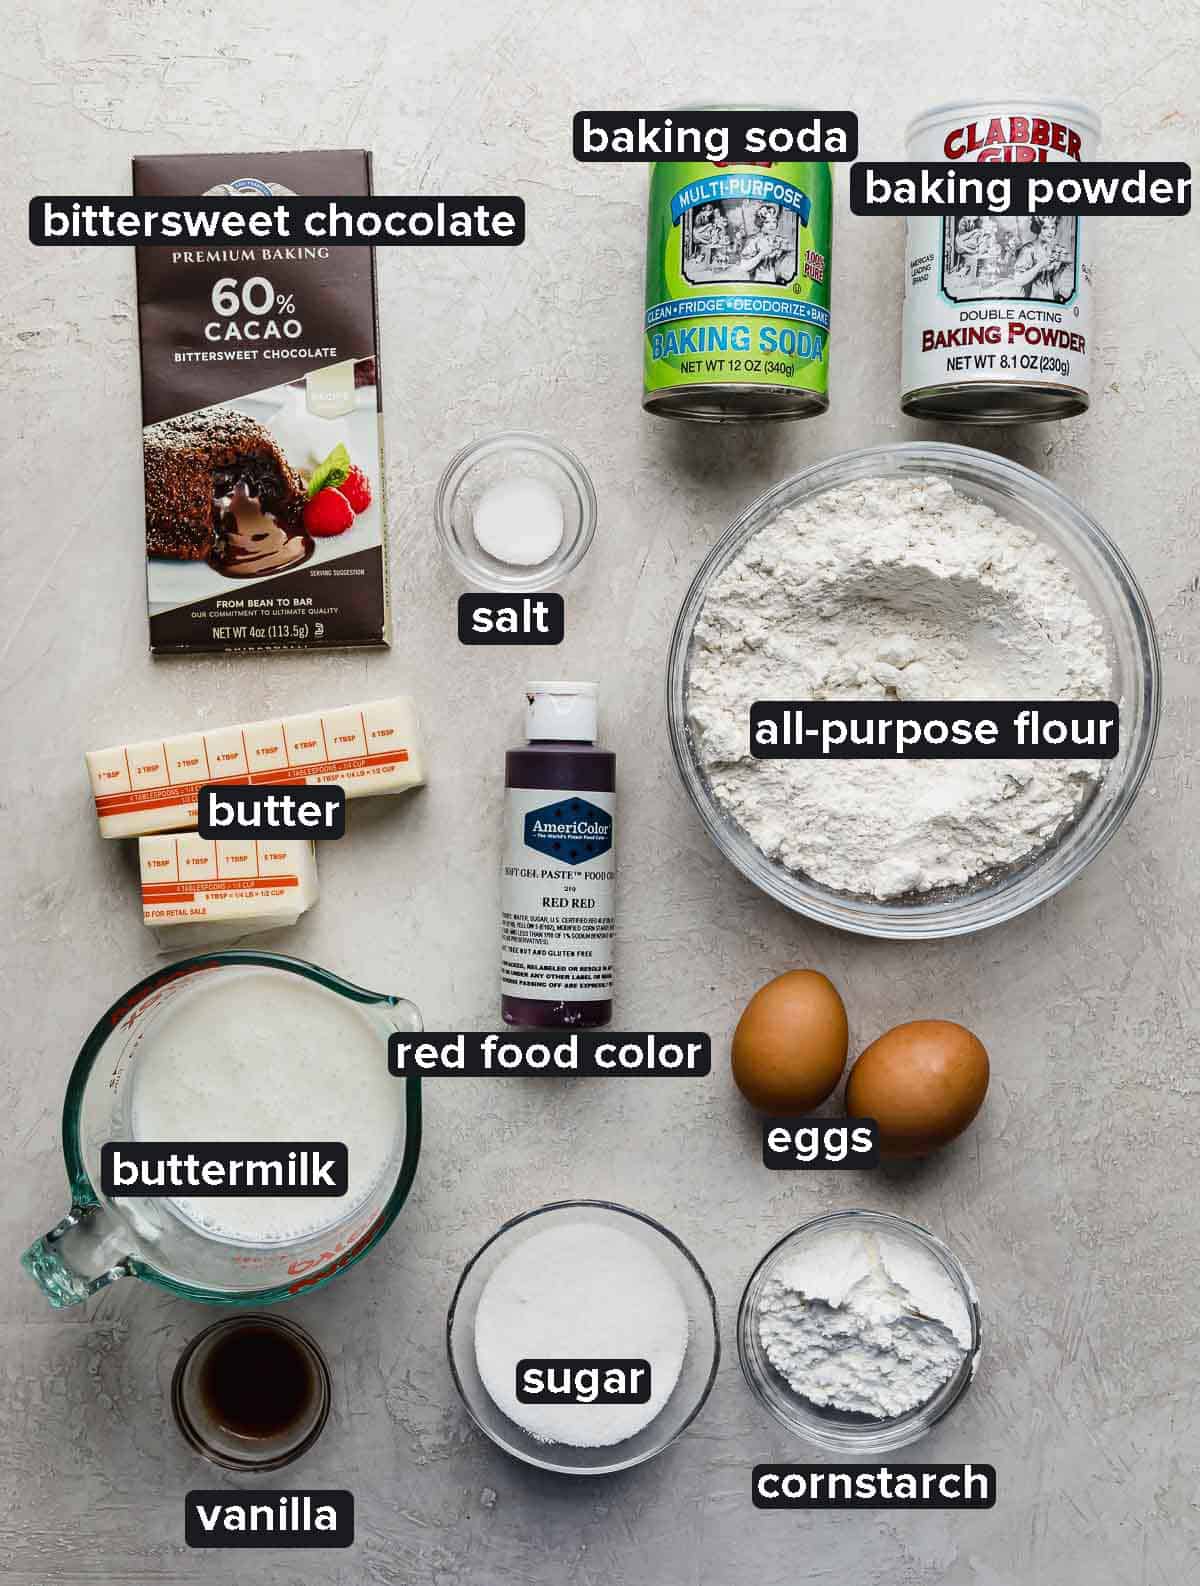
- Bittersweet Chocolate: We’ll melt the chocolate and add it to the waffle batter. Using real melted chocolate will really bring home that chocolate flavor in these waffles.
- Flour: Regular all-purpose flour is what you’ll need for this red velvet waffles recipe.
- Cornstarch: This ingredient is different from what we’d see in a pancake recipe. Adding cornstarch to waffle batter is what gives the waffle a crispy exterior and soft inside.
- Unsweetened Cocoa Powder: Using cocoa powder and melted chocolate is what will give us the red velvet flavor (which, if you didn’t know, red velvet cake is a chocolate flavor base).
- Eggs: Separated. We’ll use the yolks first and then whip the whites up to help provide that extra fluffy waffle texture.
- Buttermilk: The important acidic element we need to not only add flavor but to work with the baking soda to give a light, fluffy texture.
- Butter: Adding melted butter means the butter will be well disperse through the red velvet waffle mix to get delicious pockets of butter flavor throughout!
- Red Gel Food Coloring: Wouldn’t be red velvet without the traditional red color! I like to use gel food coloring because it provides a vibrant color with only a few drops.
- Cream Cheese: To avoid clumps, make sure your cream cheese has been sitting at room temperature for a few hours.
Step-by-Step Instructions
- Melt the chocolate. Place 1/3 cup finely chopped bittersweet chocolate in a microwave-safe bowl. Using 30-second increments, melt the chocolate. Stir after each interval. Set aside to cool slightly.
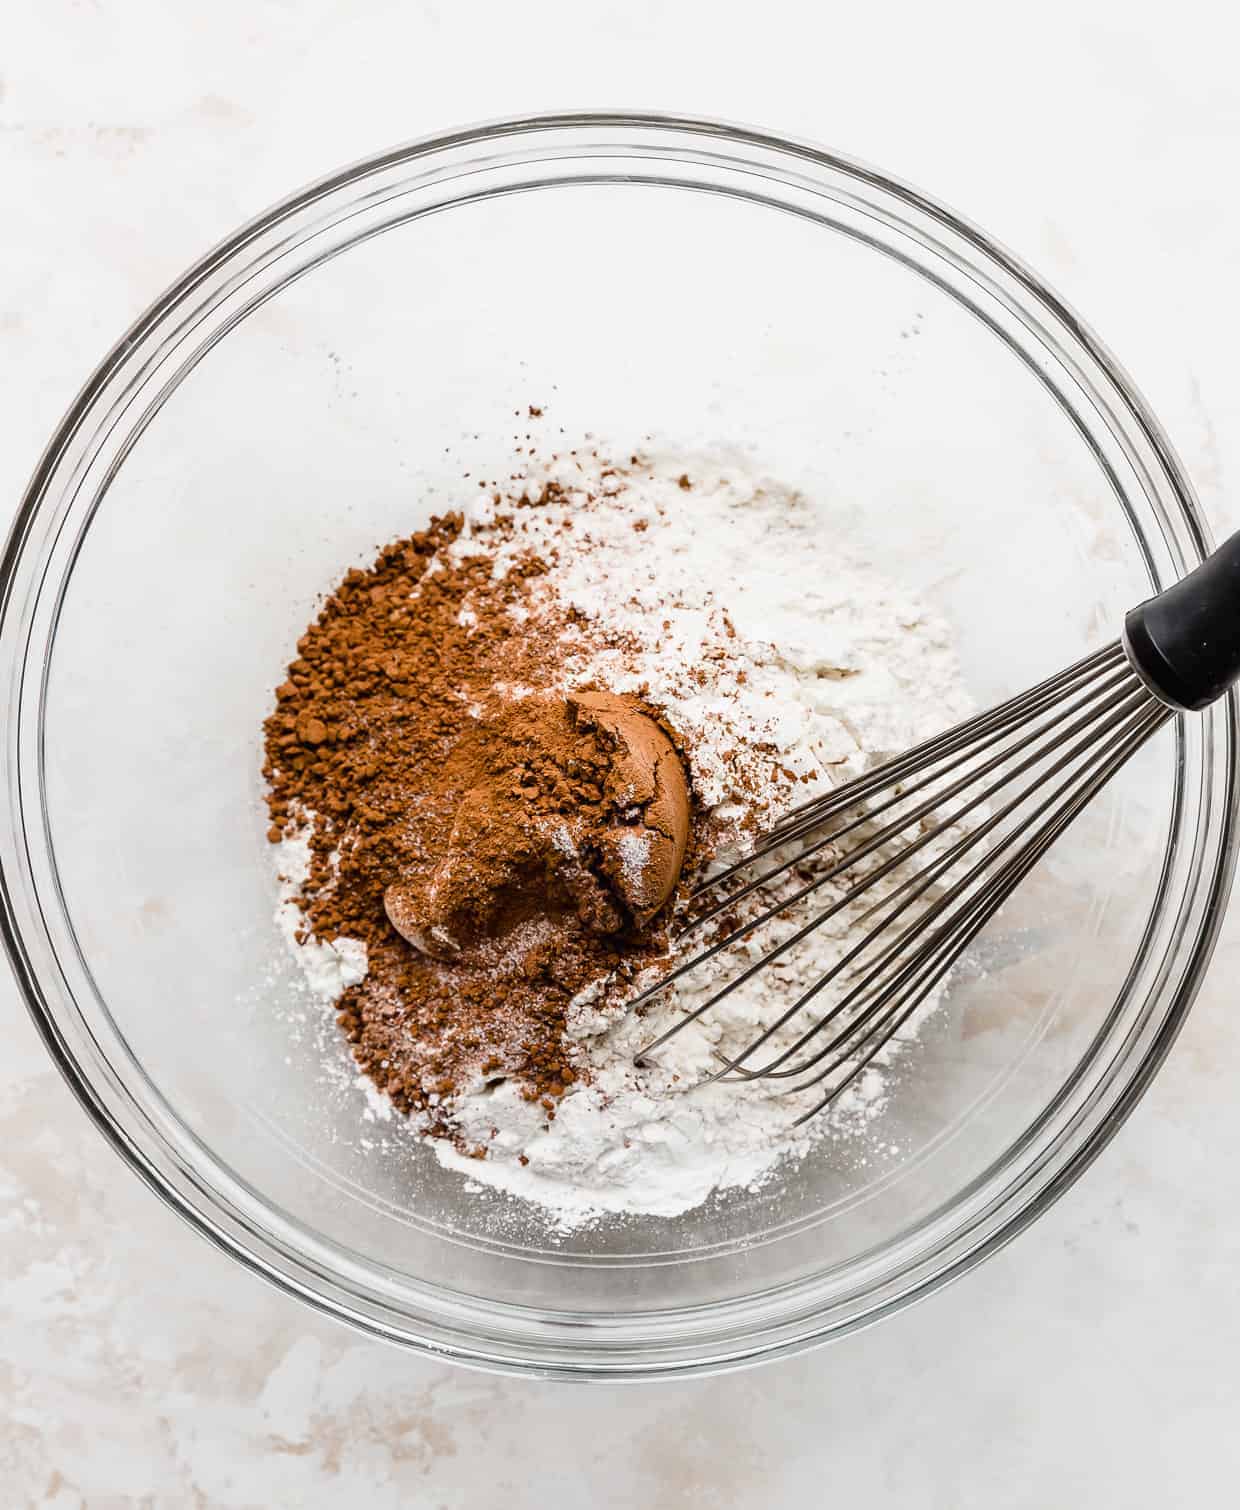
- Combine the dry ingredients. To a large bowl add 2 cups all-purpose flour, 1/4 cup cornstarch, 1/4 cup cocoa powder, 4 tsp baking powder, 1/4 tsp baking soda, and 3/4 tsp salt. Whisk until combined.
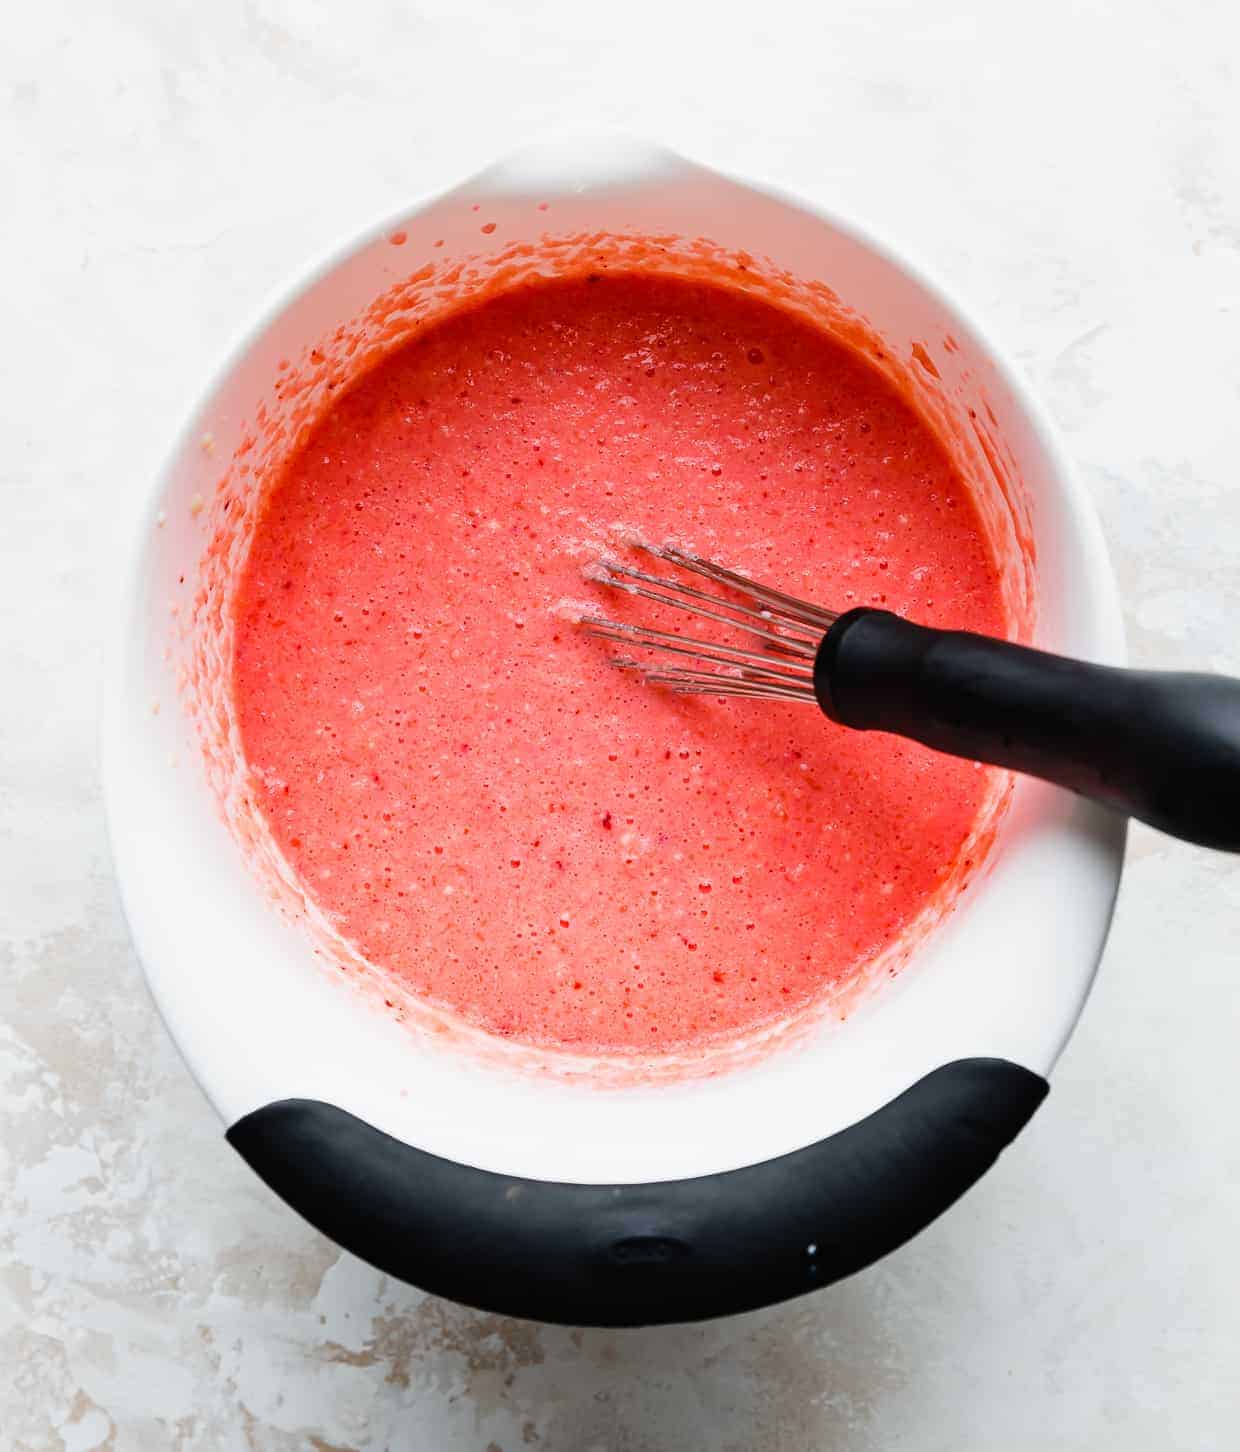
- Combine the wet ingredients. To a medium bowl add 2 egg yolks, 2 1/4 buttermilk, 1 tsp vanilla extract, 12 T melted butter and a few drops of the red gel food coloring. Whisk until well combined.
- Add the melted chocolate. Add the melted chocolate to the bowl with the wet mixture and whisk until combined.
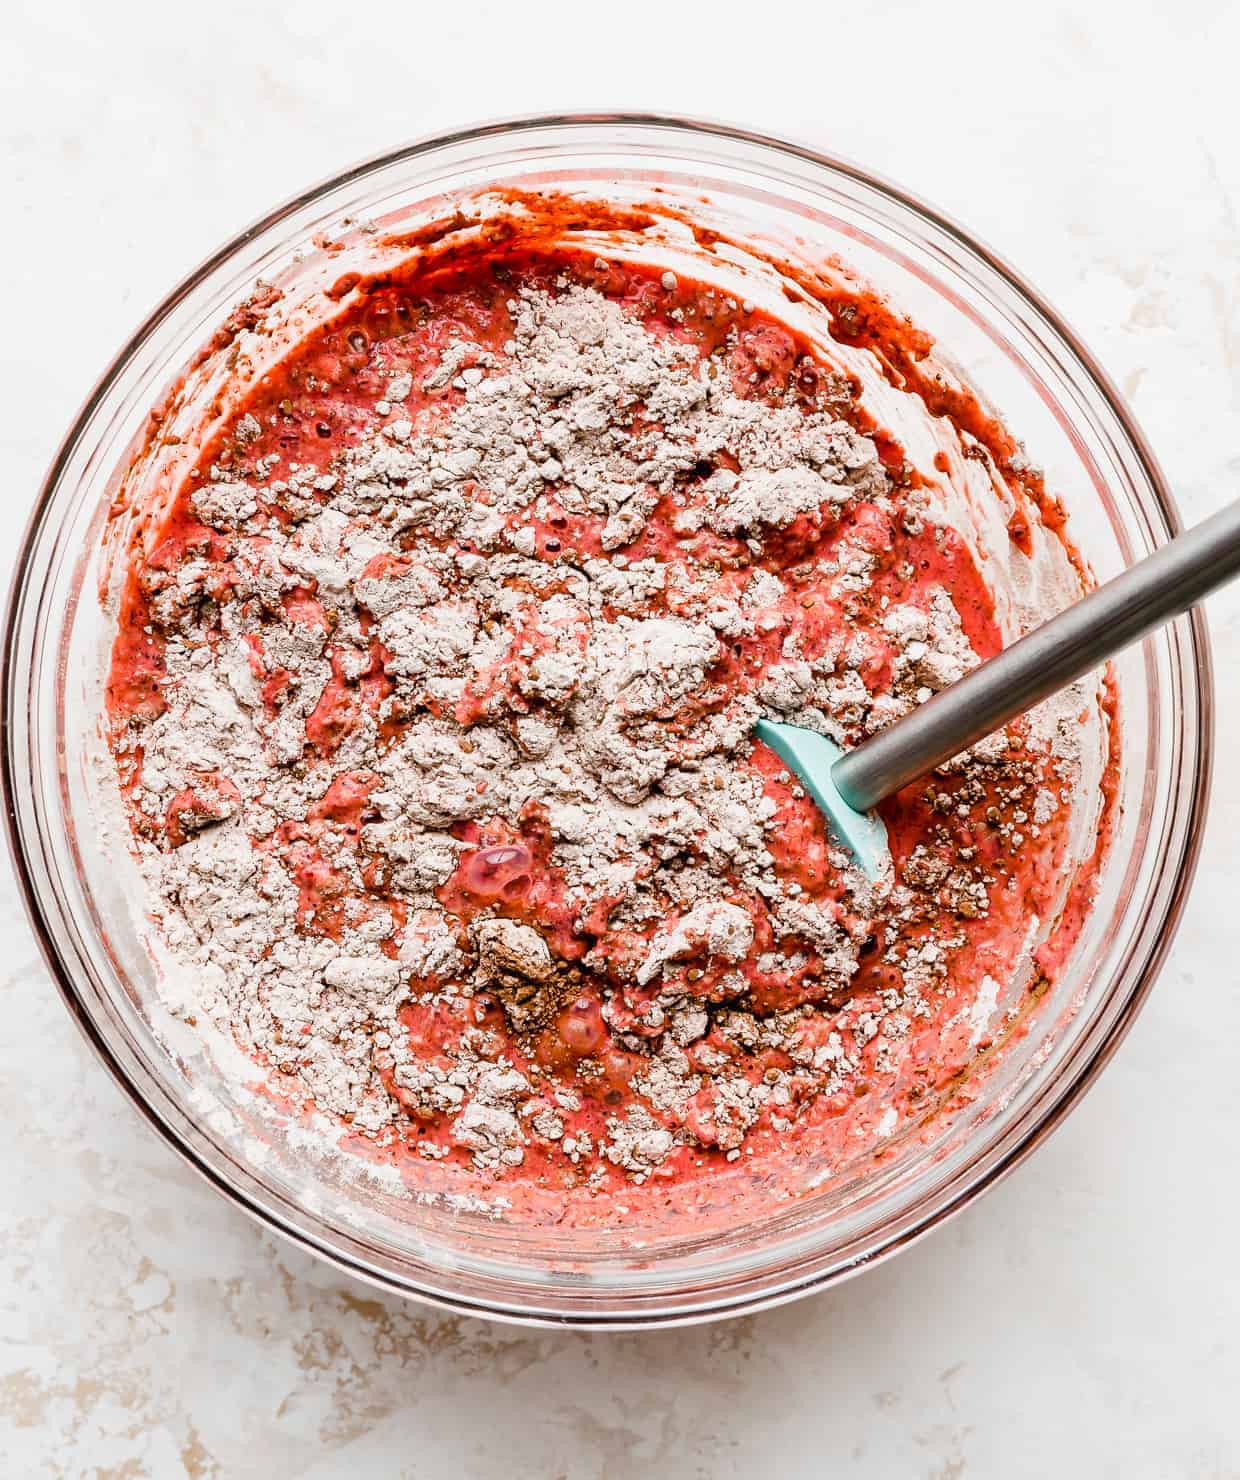
- Add wet ingredients to the dry mixture. Pour the wet ingredients mixture into the flour mixture and mix until partially combined (you’ll still have large pockets of flour).
- Beat the egg whites. Add the 2 egg whites to a small bowl and beat until frothy. Add 1/3 cup granulated sugar and beat until soft peaks form.
- Fold the egg whites into the red velvet waffle batter. Using a rubber spatula, fold the beaten egg whites into the waffle batter. Batter will be lumpy.
- Cook the red velvet waffles. Heat a waffle iron and cook waffles according to the manufacturer’s instructions for your waffles iron (this includes properly greasing it/spraying with cooking spray if needed).
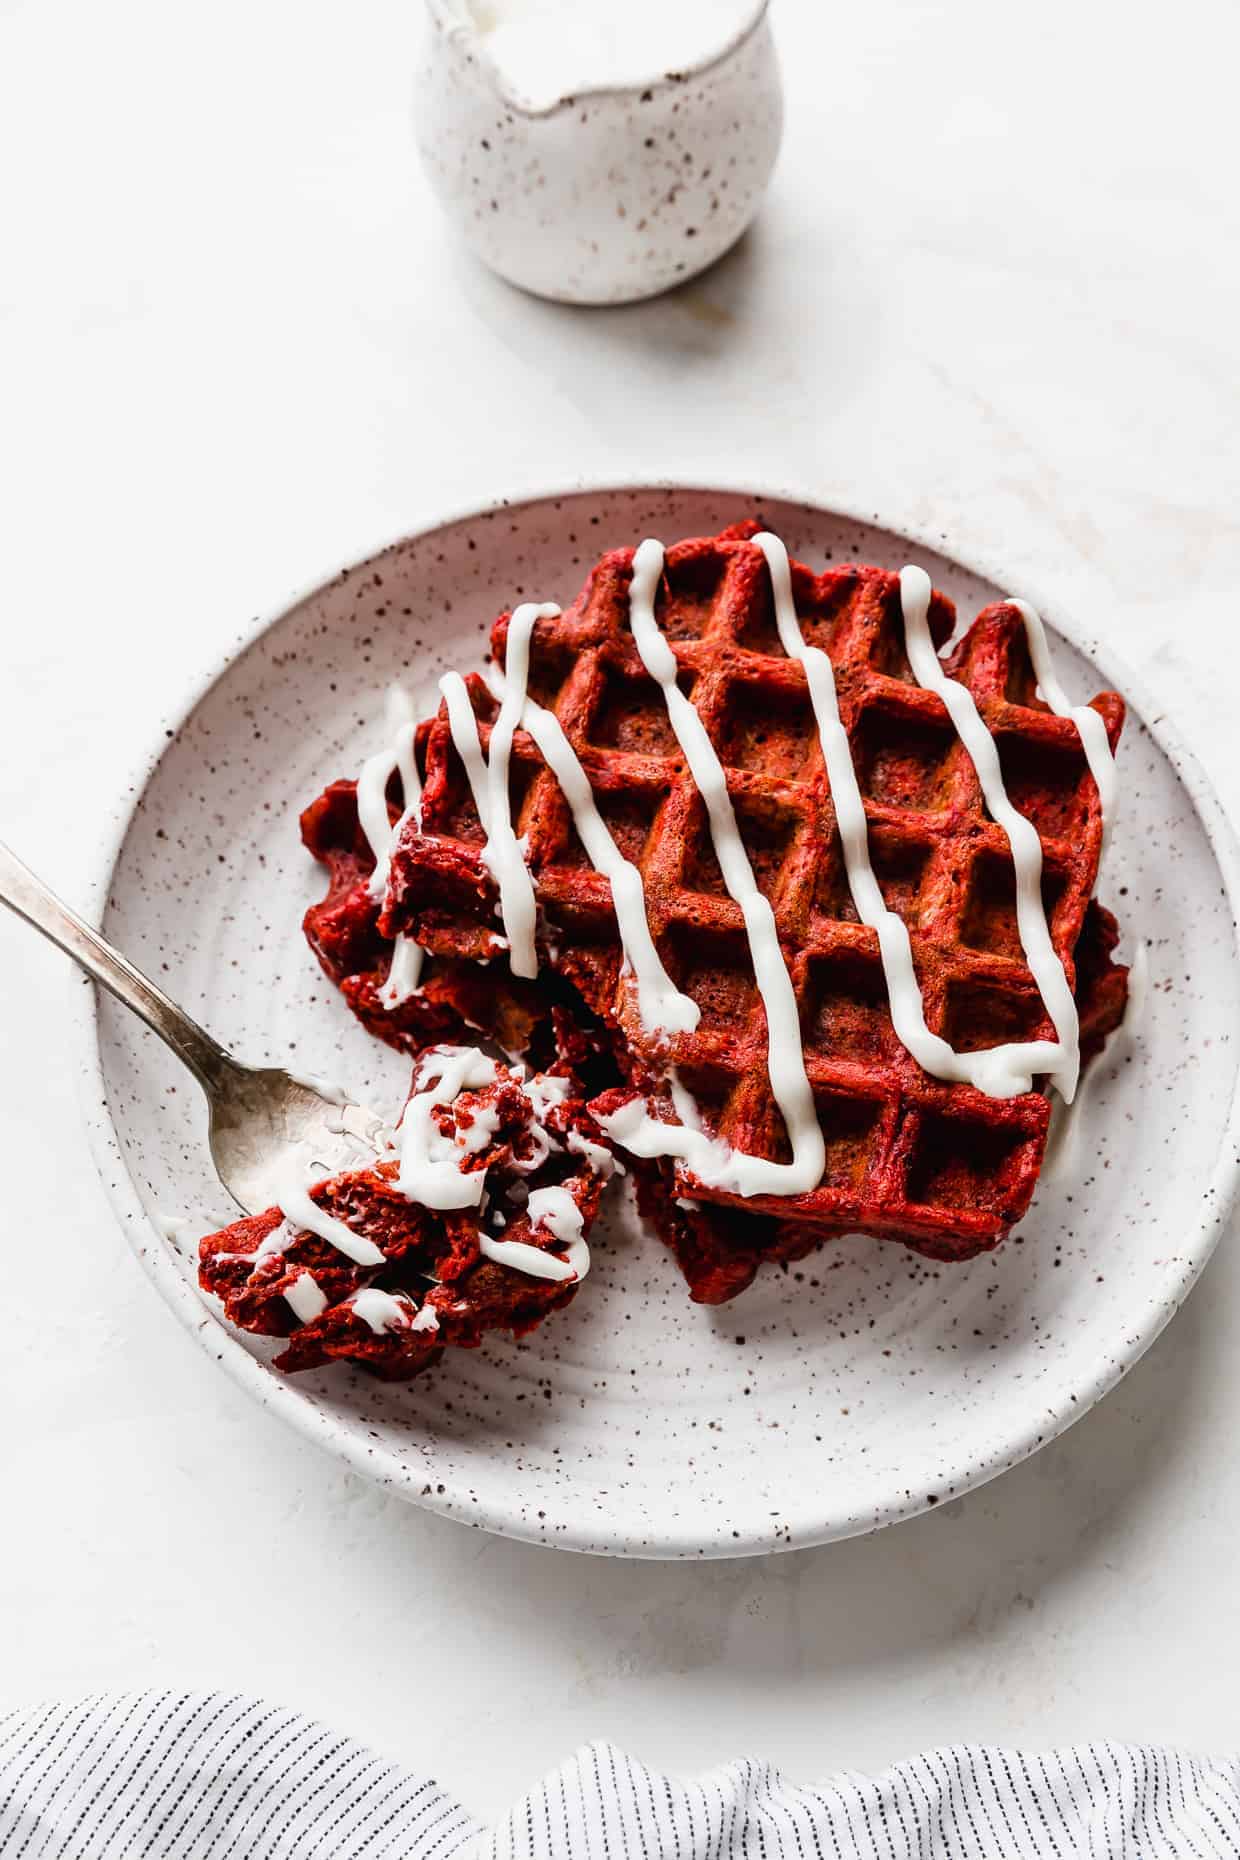
- Serve with cream cheese frosting. Place 6 oz softened cream cheese in a medium sized bowl and beat until smooth. Add 3 T milk, 1/2 tsp vanilla extract, and 1 1/2 cups powdered sugar. Beat until smooth. Drizzle over the red velvet waffles or serve with fresh fruit and whipped cream. Enjoy!
Recipe Tips
If you’d rather not use red food coloring, you can use red beet powder instead.
Let your butter and chocolate cool slightly before adding it into the mixture to avoid scrambling the eggs!
To save time you could use a store-bought cream cheese frosting. Put it in the microwave for a few seconds to soften it, add it to a piping bag and drizzle on top of the waffles.
Turn your breakfast into fried chicken with red velvet waffles! You just might opt for syrup instead of the cream cheese glaze.
Chocolate can burn easy, so be sure to watch your waffles. If you can adjust the heat on your waffle iron, don’t have it too hot. If you can’t, just be sure you don’t overcook it.
I like to make 1 waffle first as a test and take note of how long it was in the waffle iron and use that as a guide for how long to cook the rest. I wish I had a one-size-fits-all option for how long to cook the waffles, but it all just depends on the waffle iron you use (and how crispy you like your waffles).
I recommend using a red gel food coloring. The color is more vibrant and you don’t need as much to get your desired color. If you use a liquid food color, the color isn’t as concentrated. This means you may need to add teaspoons of it to get the right color. Adding this much extra liquid might affect the thickness of the waffle batter.
If you want to make them into heart waffles you have 2 options: 1- buy a heart-shaped waffle iron (Warning: this waffle iron is super cute but also small and gets very hot! I only made a few heart shaped waffles and then gave up and decided my family would eat large waffles.) 2- use a heart shaped cookie cutter and cut the waffles using that.
To get the nice cream cheese drizzle, I placed the glaze in a ziplock bag and snipped off the end then squeezed it overtop for the prettier look. You can also serve these with syrup and/or sprinkled powdered sugar.
If you don’t want to use a cream cheese frosting and you also don’t think maple syrup and chocolate are the right pairing, then I highly recommend you try my favorite buttermilk syrups! You can buy them in different flavors at buttercountry.com. Use code SB10 for 10% off your order!
I like to top with red valentine sprinkles for an extra Valentine’s touch. You can also add some mini chocolate chips to the batter in the waffle iron before closing it!

Make Ahead, Storing, and Freezing
You don’t want waffle batter to sit for too long, so I wouldn’t make the batter ahead of time. However, you can combine the dry ingredients a day in advance if you’d like to cut down on time the day you make these red waffles!
Store any leftover red velvet waffles in an airtight container or ziplock bag in the fridge for 4-5 days.
To freeze, let cool completely. Then store in a ziplock bag or freezer safe container. Freeze for up to 3 months. Remove and let thaw in the microwave or in the fridge overnight. Use the toaster to make them crispy again!
Recipe FAQs
Red velvet is a combination of vanilla, chocolate, butter and buttermilk flavors. This recipe doesn’t use a red velvet cake mix but is made from scratch. I’ve included finely chopped chocolate in addition to cocoa powder in this recipe to enhance the chocolate flavor.
Red velvet is a popular way to make cookies, cakes and more! While I don’t know exactly when the flavor came to be, what we can all agree on is its bright red color and delicious chocolate-y flavor!
It all just depends on your waffle maker (and how crispy you like your waffles). Note that chocolate can burn easily. If you can adjust the heat, make sure the iron isn’t too hot. If you can’t adjust the heat, then just take care to not have the waffle batter on for a long time. I like to make 1 waffle first as a test and take note of how long it was in the waffle iron and use that as a guide for how long to cook the rest.
Yes you can. It just won’t have as rich of a flavor since regular chocolate chips aren’t as richly chocolate as bittersweet chocolate.
Definitely! Or serve it with my delicious Cream Cheese Whipped Cream Frosting for something a bit more substantial.
Valentine’s Day Recipes
- Red Velvet Macarons
- Homemade Red Velvet Cake
- Red Velvet Popcorn
- Valentine’s Day M&M Rice Krispie Treats
- Oreo Red Velvet Cake
Red Velvet Waffles
Ingredients
- 1/3 cup bittersweet chocolate - finely chopped, about 2 oz
- 1/4 cup unsweetened cocoa powder
- 2 cups all purpose flour
- 1/4 cup cornstarch
- 1/4 teaspoon baking soda
- 4 teaspoons baking powder
- 3/4 teaspoon salt
- 1/3 cup granulated sugar
- 2 eggs - separated
- 2 1/4 cups buttermilk
- 1 teaspoon vanilla extract
- 12 tablespoons unsalted butter - melted
- gel red food coloring
Cream Cheese Glaze
- 6 oz cream cheese - softened
- 3 tablespoons milk
- 1/2 teaspoon vanilla extract
- 1 1/2 cups powdered sugar
Instructions
- In a microwave safe bowl melt the chocolate in the microwave in 30 second intervals, stirring well after each interval. Let cool slightly.
- In a large bowl whisk the flour, cornstarch, cocoa powder, baking powder, baking soda, and salt.
- In a medium bowl whisk the egg yolks, buttermilk, vanilla, butter, and a few drops of gel red food coloring. Add the melted chocolate and whisk until smooth. Add this to the dry ingredients and mix until partially combined.
- In a small bowl beat the egg whites until frothy, then add the sugar and beat until soft peaks form. Fold the egg white mixture into the batter until combined. Batter will be lumpy but you don’t want large pockets of flour.
- Heat waffle iron. Cook waffles until your desired doneness. Be careful not to cook for too long as the chocolate can burn in the waffles. Place in a 200 degree oven to keep warm and to crisp them up even more.
- Serve with syrup or a cream cheese glaze. I suggest the cream cheese glaze if you want the full “red velvet” effect.
Cream Cheese Glaze
- Place cream cheese in medium sized bowl. Beat cream cheese until smooth. Add milk, vanilla and powdered sugar and beat until smooth. Add more milk or powdered sugar to make it your desired thickness.
- Drizzle the glaze over the waffles when ready to eat. To get the nice squiggles you see in the picture, I placed the glaze in a ziplock bag and snipped off the end then squeezed it overtop for the prettier look. You can also serve these with syrup and/or sprinkled powdered sugar.
Notes
Recipe adapted from Spruce Eats.



 Welcome to this delicious corner of the internet! Here I share the recipes my family loves.
