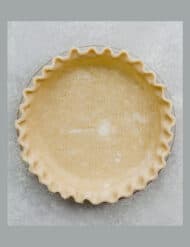
Food Processor Pie Crust
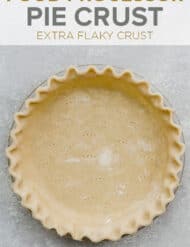
This all-butter Food Processor Pie Crust recipe produces a buttery, extra flaky, and dare I say, PERFECT pie crust! I give you full permission to toss out the pastry cutter because making homemade pie crust is so much easier in a food processor!
Making pie crust from scratch is definitely the way to go. I promise that you’ll never go back to store-bought pie crusts ever again. This flaky pie crust recipe is perfect with my fresh peach pie, praline pumpkin pie, and spinach and bacon quiche recipes.

Why This Recipe Works
- Best tasting pie crust. One contributing factor to the amazing flavor of this pie crust is the butter! No shortening in this crust or sour cream, just basic, delicious butter!
- Butter means better browning and amazing flavor. Because we use butter in this pie crust recipe, the crust will brown in the oven better! And don’t get me started on the flavor. Pie crusts made solely with shortening lack in the flavor department, and I’m just not willing to give that up!
- Perfect flaky crust. I wanted an all butter pie crust without sacrificing the layers and flakiness every pie crust should have. I’m happy to report you can have both. Flavor and flaky. There’s so much buttery flavor AND this recipe produces an insane amount of tender flaky crust. It’s beautiful, really.
- Food processor provides ease. You’ll love this recipe because using the food processor is a game changer! It’s so much easier and quicker than using a pastry cutter.
Ingredients
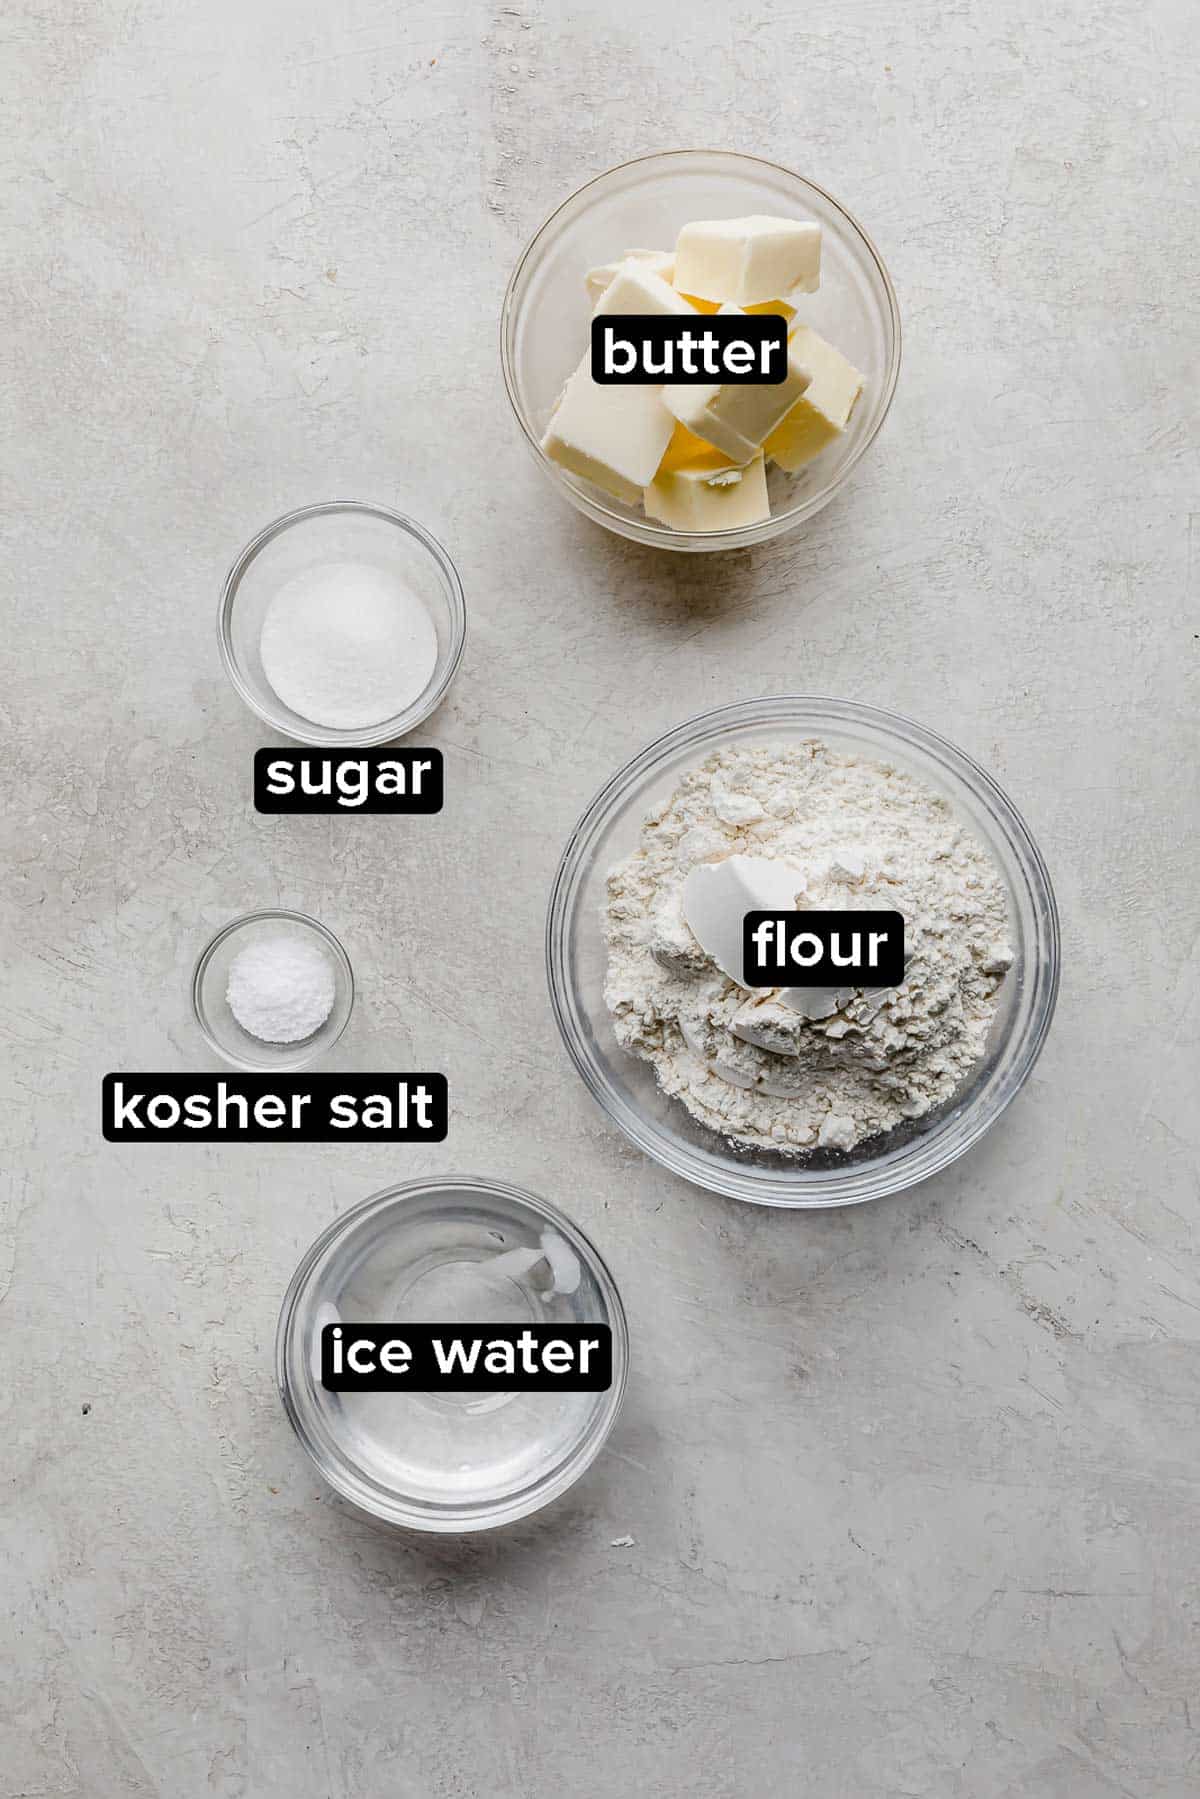
- Flour: Use all-purpose flour. Avoid high protein flours that are commonly used in chewy breads such as bagels. For a tender and flaky crust use medium protein flours such as all-purpose flour or low-protein pastry flour.
- Granulated Sugar: Adding a small amount of sugar gives a small dose of flavor and aids in the browning. It’s not enough sugar to make it sweet, but just enough to help the crust not taste like pure flour and butter.
- Kosher Salt: Salt is key to adding flavor. Without the salt your crust will be bland. If you don’t have kosher salt you can use table salt, just reduce the amount by 1/4 tsp.
- Unsalted Butter: It’s important to keep the butter COLD. This flavor enhancing ingredient should be cold so that it doesn’t combine into the dough easily. If the butter gets warm the dough becomes hard to work with and when baked is tough and cracker-like. We want cold chunks of butter dispersed throughout the dough so that when the pie crust is baked the butter will steam and create extra flaky pockets.
- Cold Ice Water: Add just enough water to bring the dough together. Too much water can produce a tough and chewy crust.
Step-by-Step Instructions
- Combine ingredients. In the bowl of a food processor, combine 1 2/3 cups of flour, the sugar, and kosher salt. Pulse 2-3 times to combine.
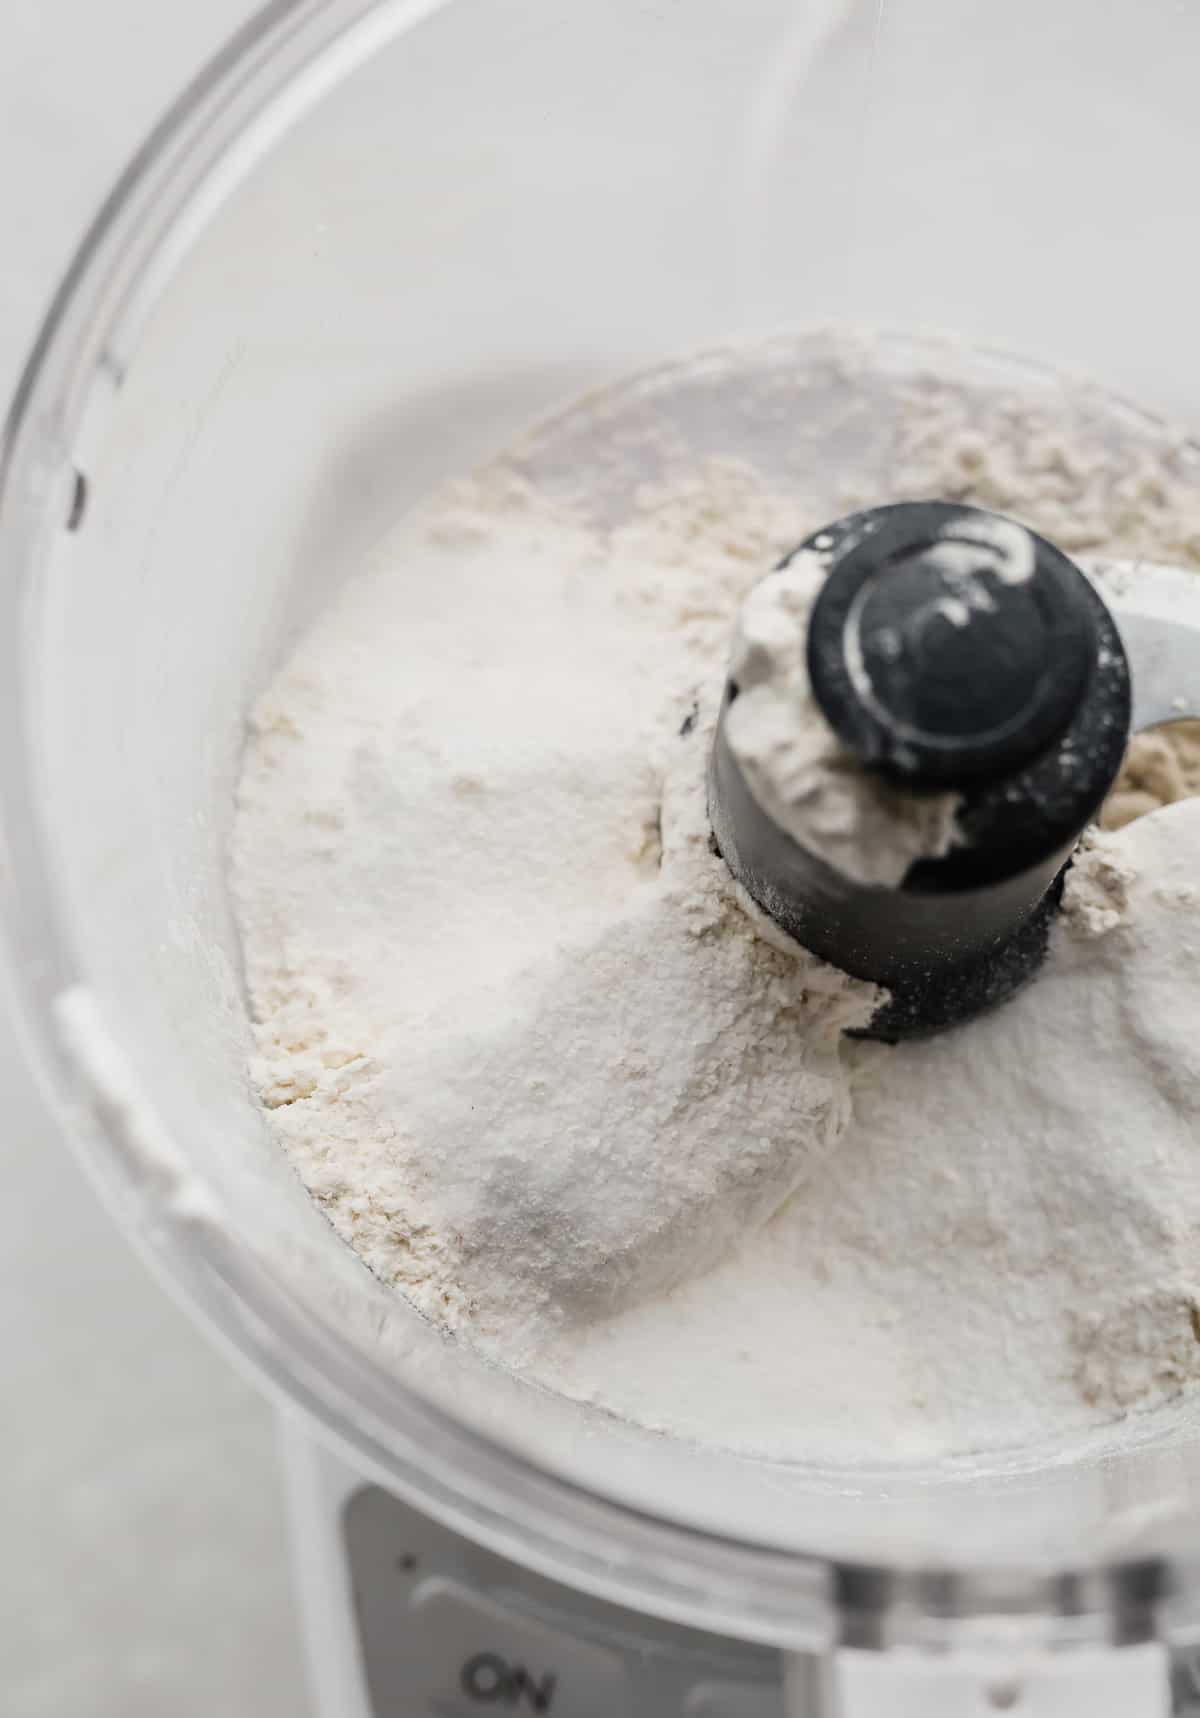
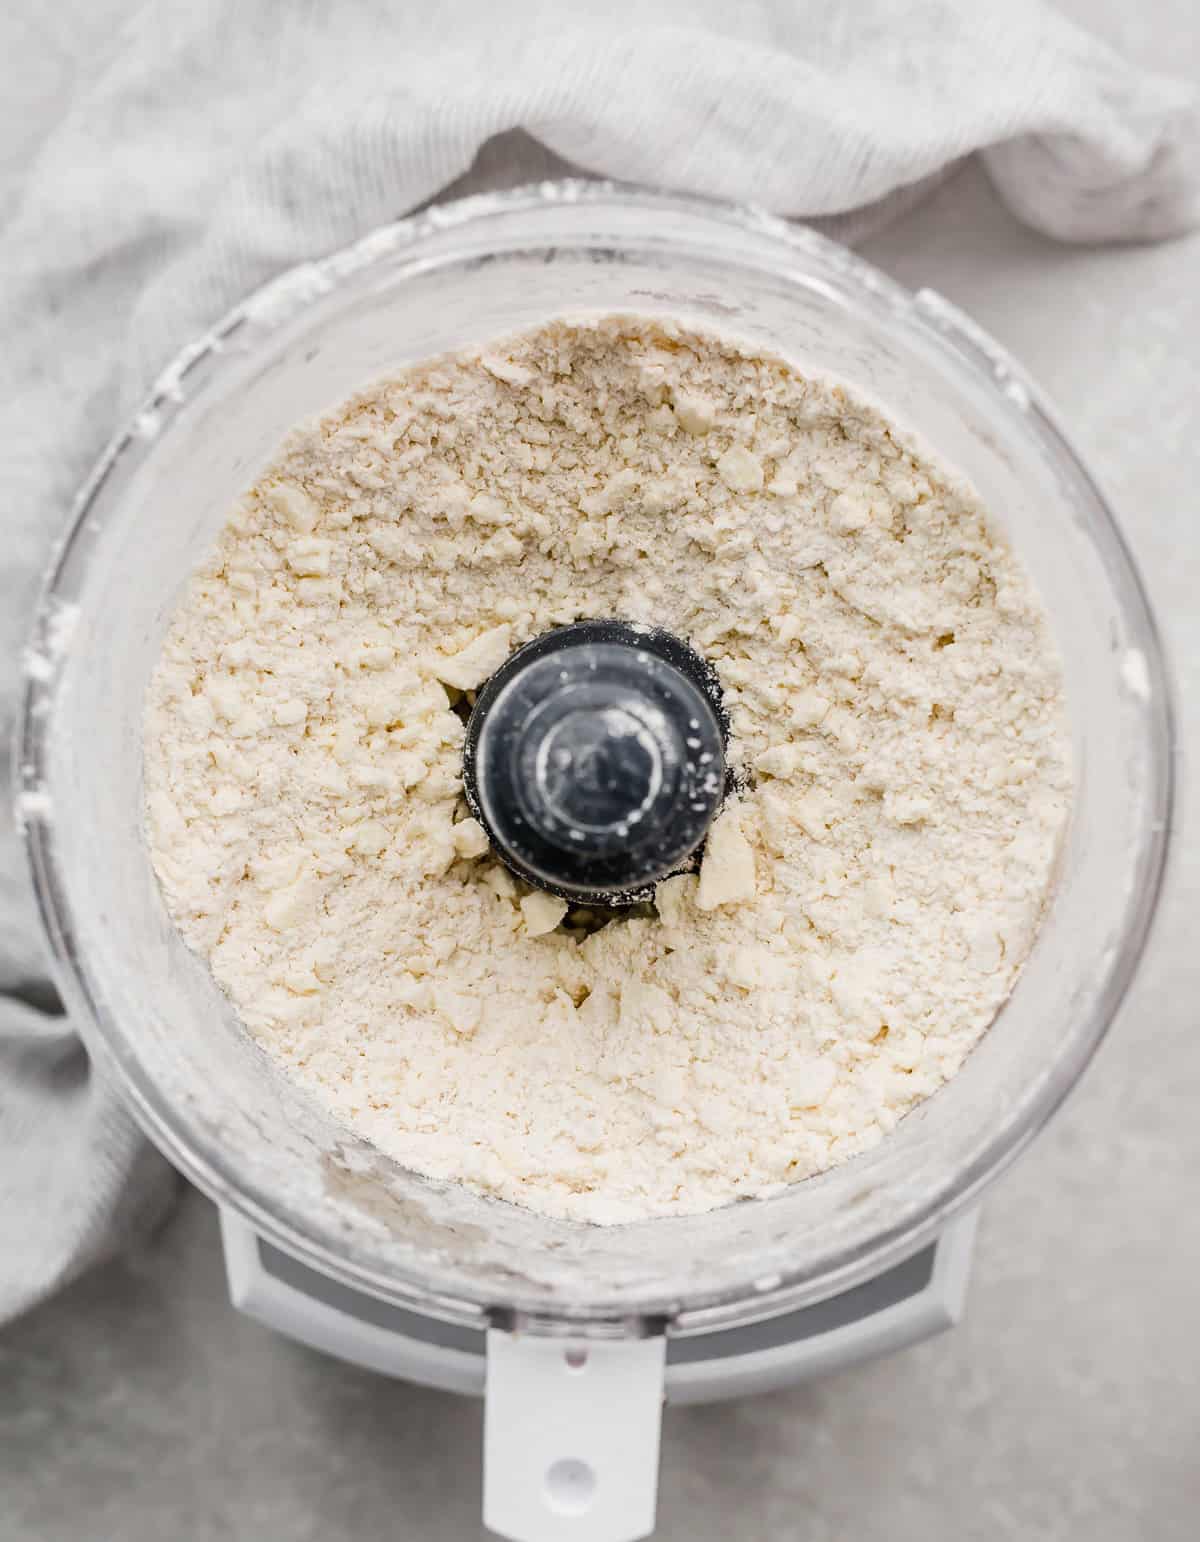
- Add the cold butter. Spread the butter chunks evenly over the surface of the dry ingredients. Pulse until the dough begins to collect in clumps, about 23-25 short pulses.
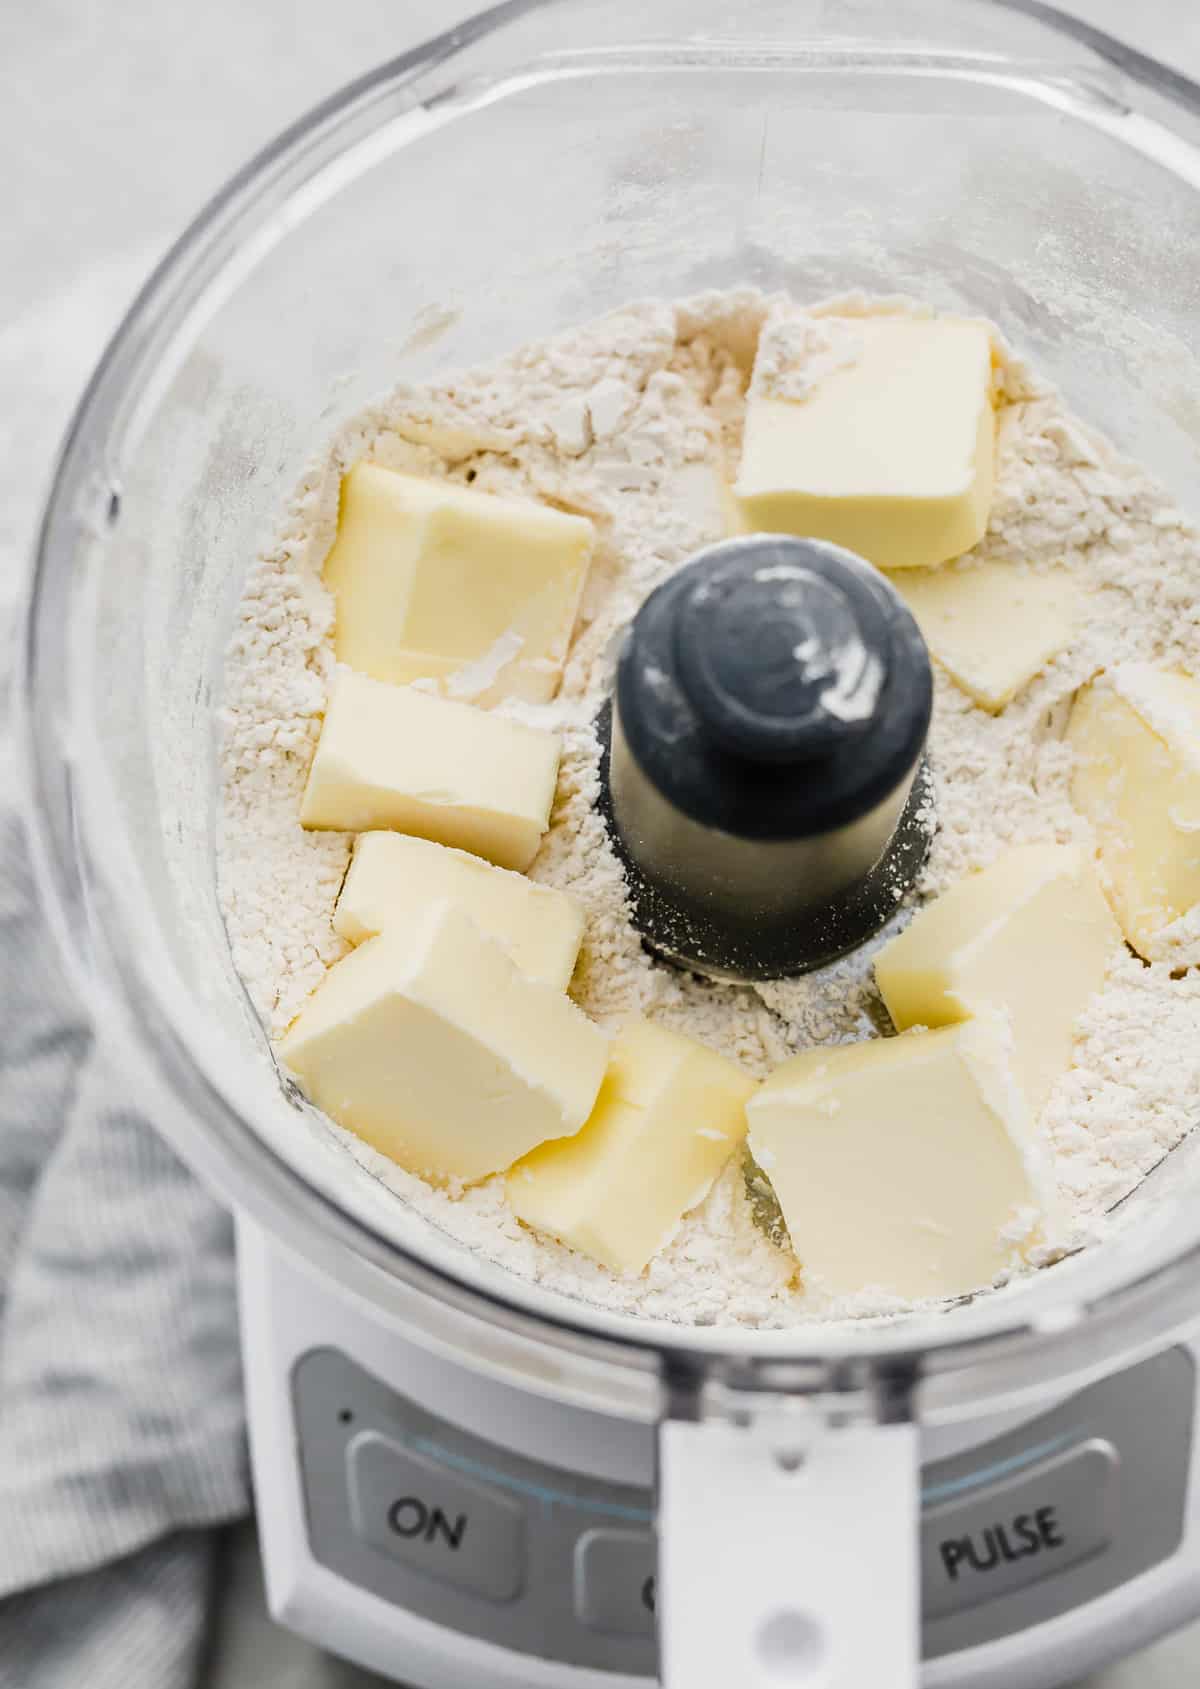
- The mixture should look similar to the photo below. You’ll be able to see a few larger butter chunks and some small ones as well.
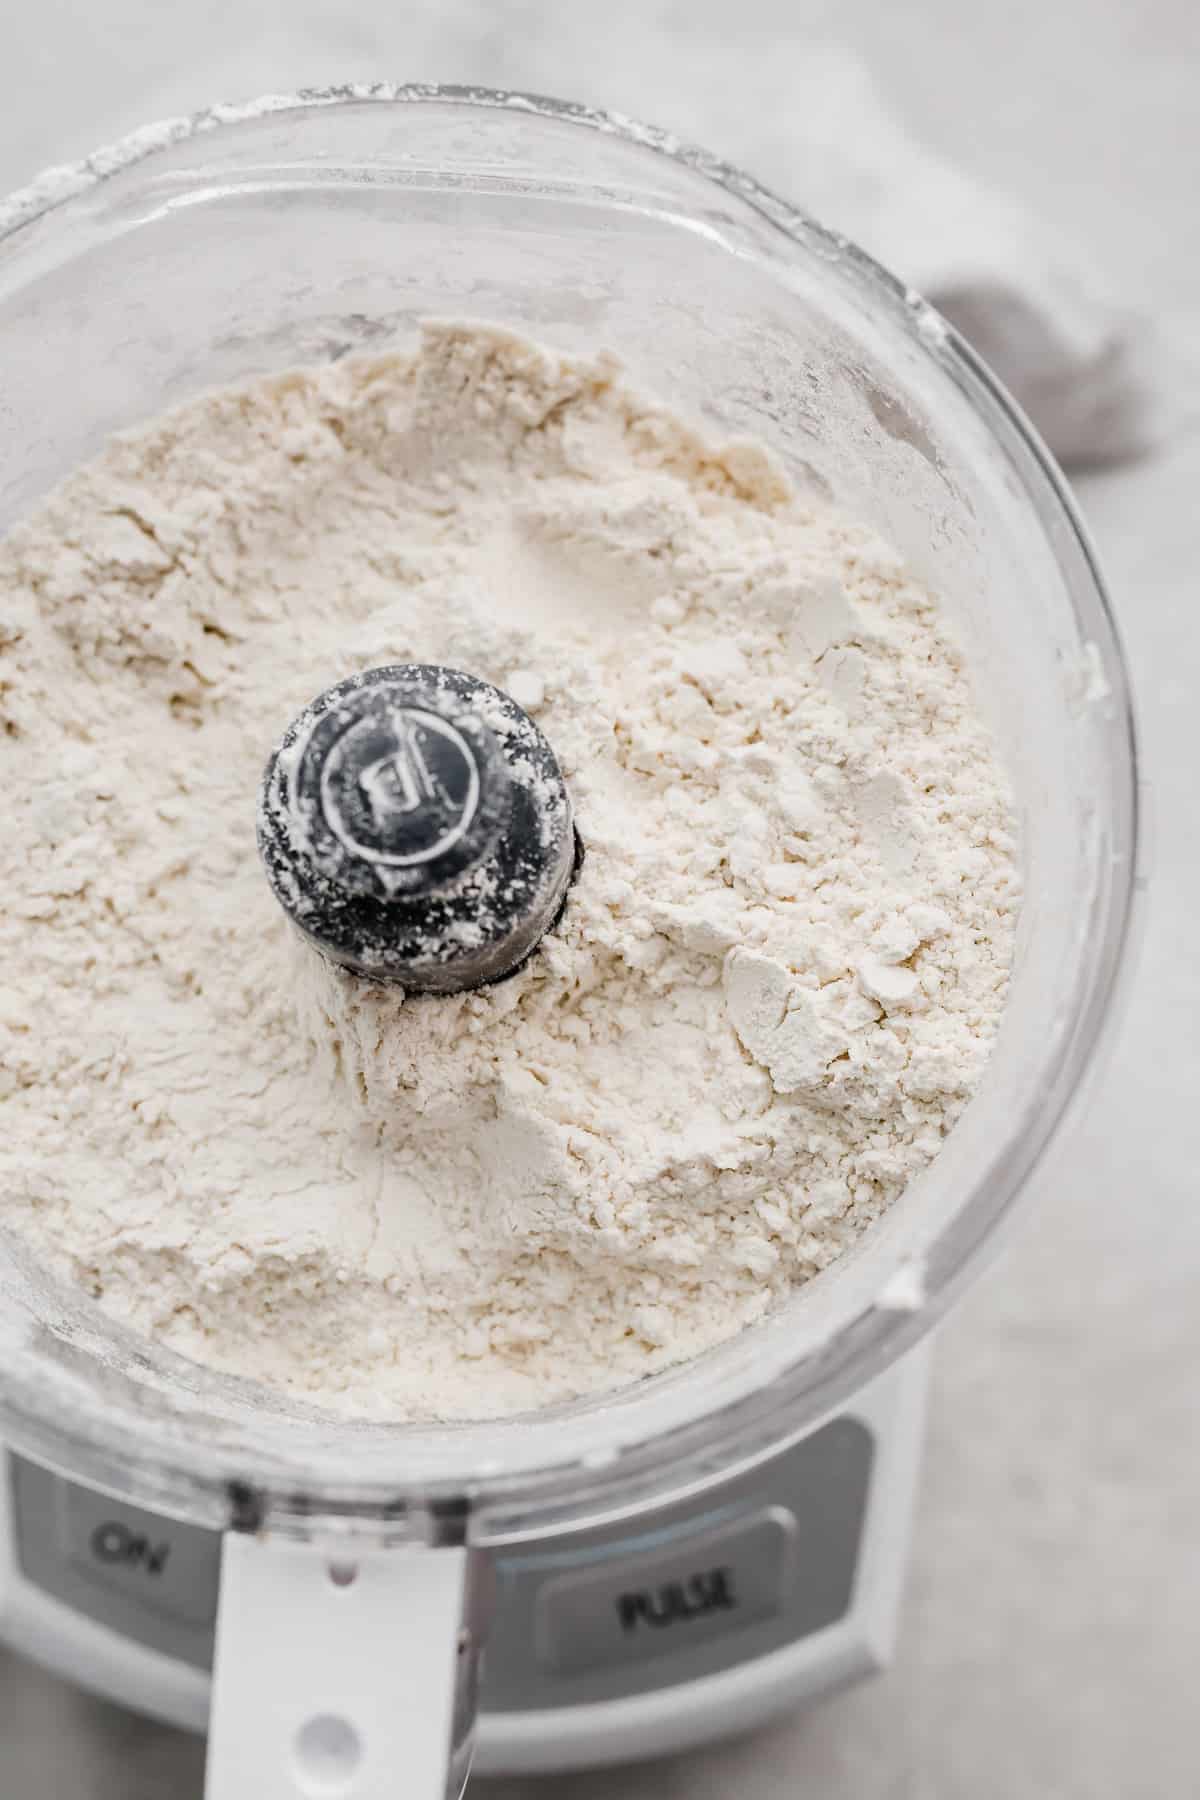
- Add the remaining flour. Use a spoon or a spatula to spread the mixture in an even layer along the bottom of the food processor. Sprinkle the remaining flour over the mixture and pulse 5-7 times or until the dough is just broken up.
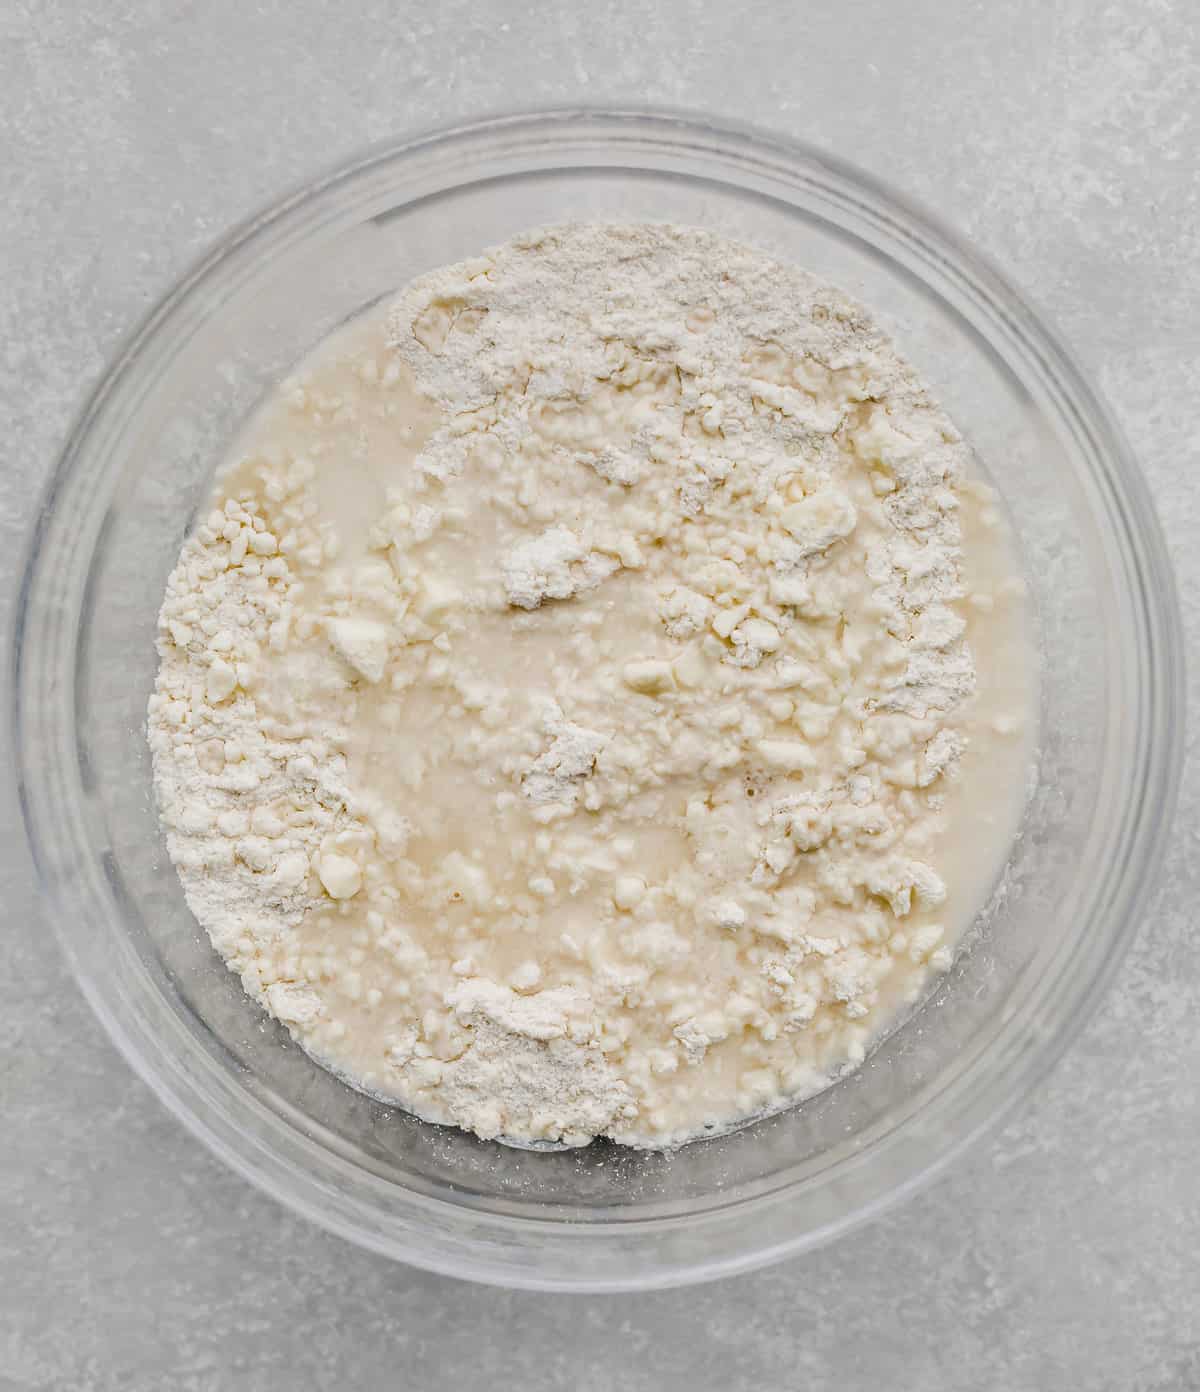
- Transfer the dough to a large bowl.
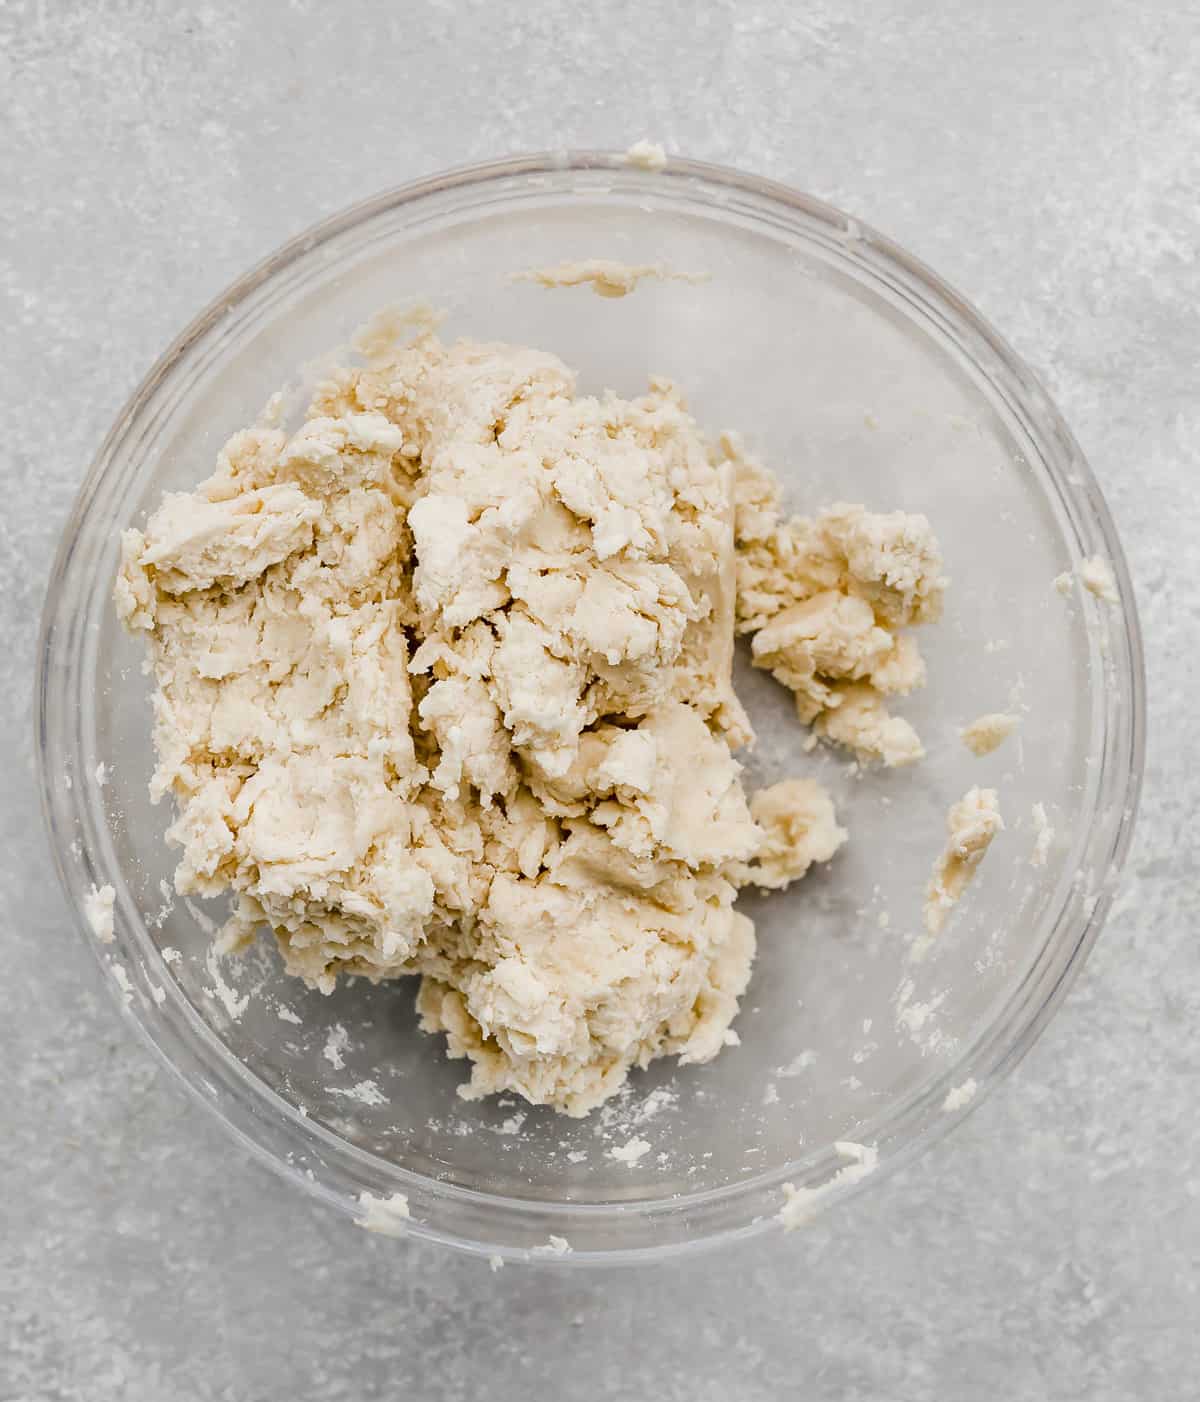
- Add the ice water. Sprinkle the cold water over the ingredients. Using a rubber spatula, press and fold the dough until it comes together and forms a ball.
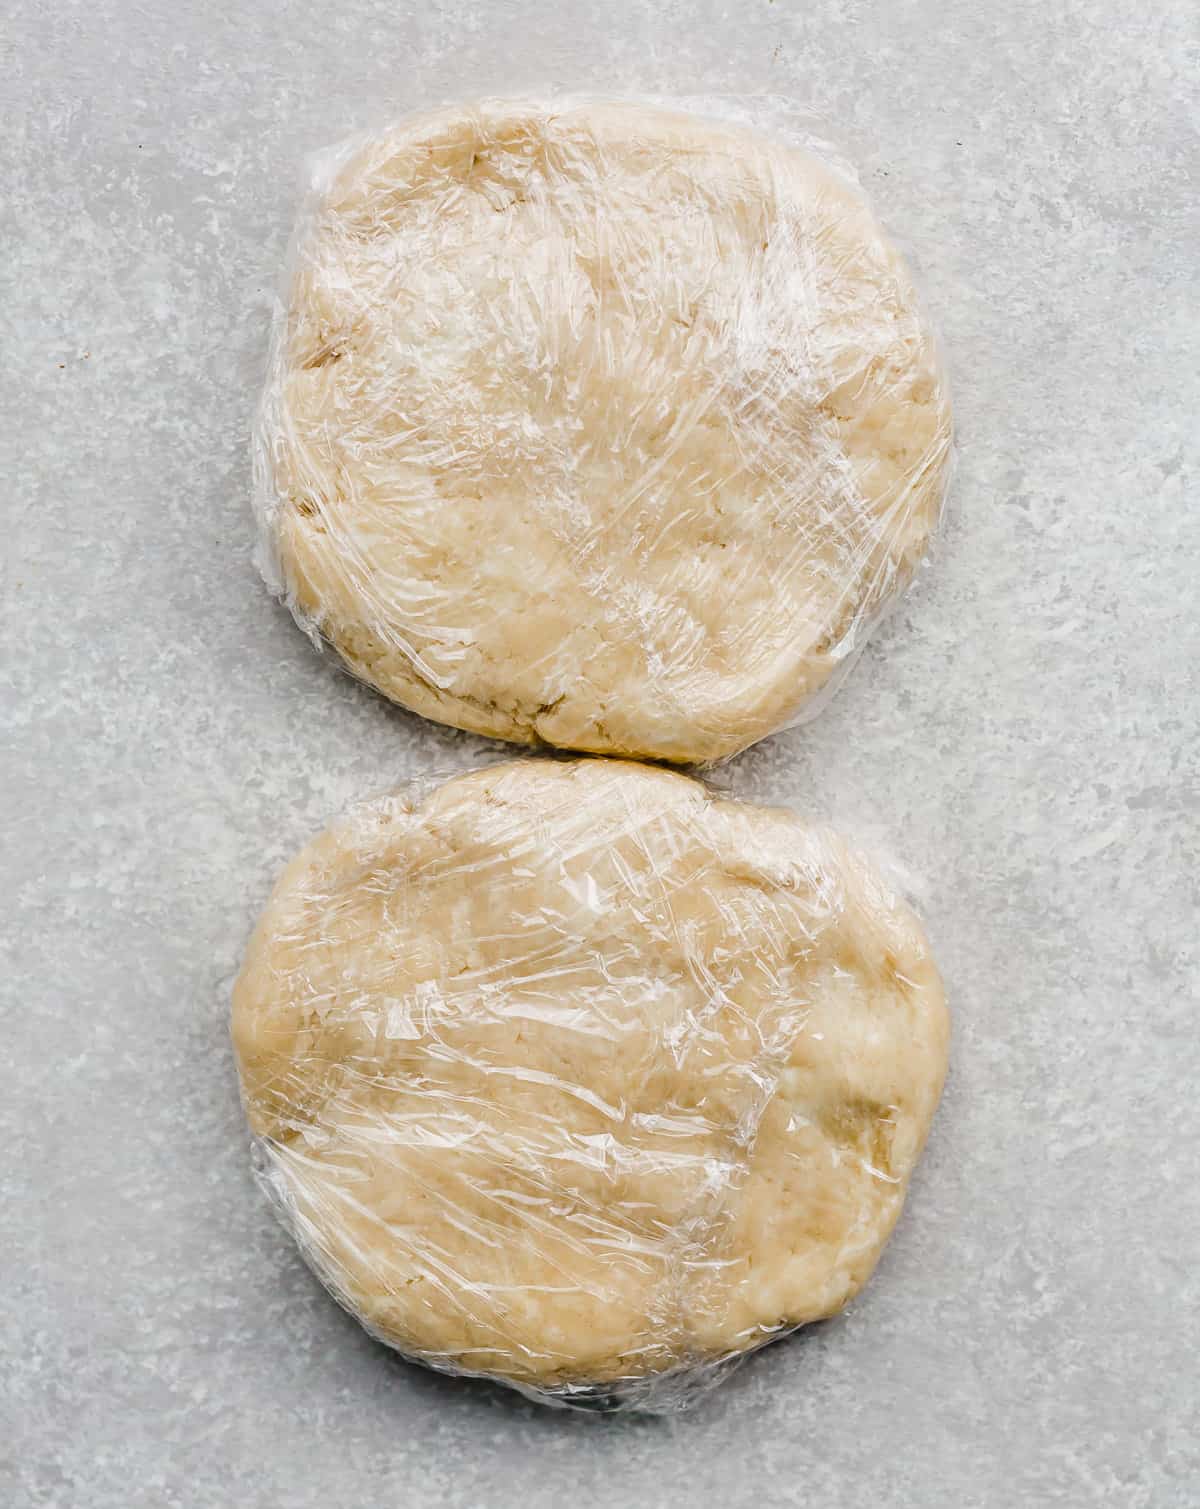
- Form the dough into a ball and divide in half. Once the dough comes together, divide the dough in half. My pie crust dough weighed a total of 714 grams; yours will be in that same ball park. Each dough half will weigh around 357 grams.
- Shape the dough balls into disks, wrap, and chill. Shape each half of dough into a disk, about 6 inches in diameter.
- Wrap each disk in plastic wrap and refrigerate for at least 2 hours before rolling it out and baking it. It’s important the dough chills before rolling it out as this allows time for the gluten strands to relax. The gluten relaxing is a really good thing, it ensures a tender crust rather than a dense one.
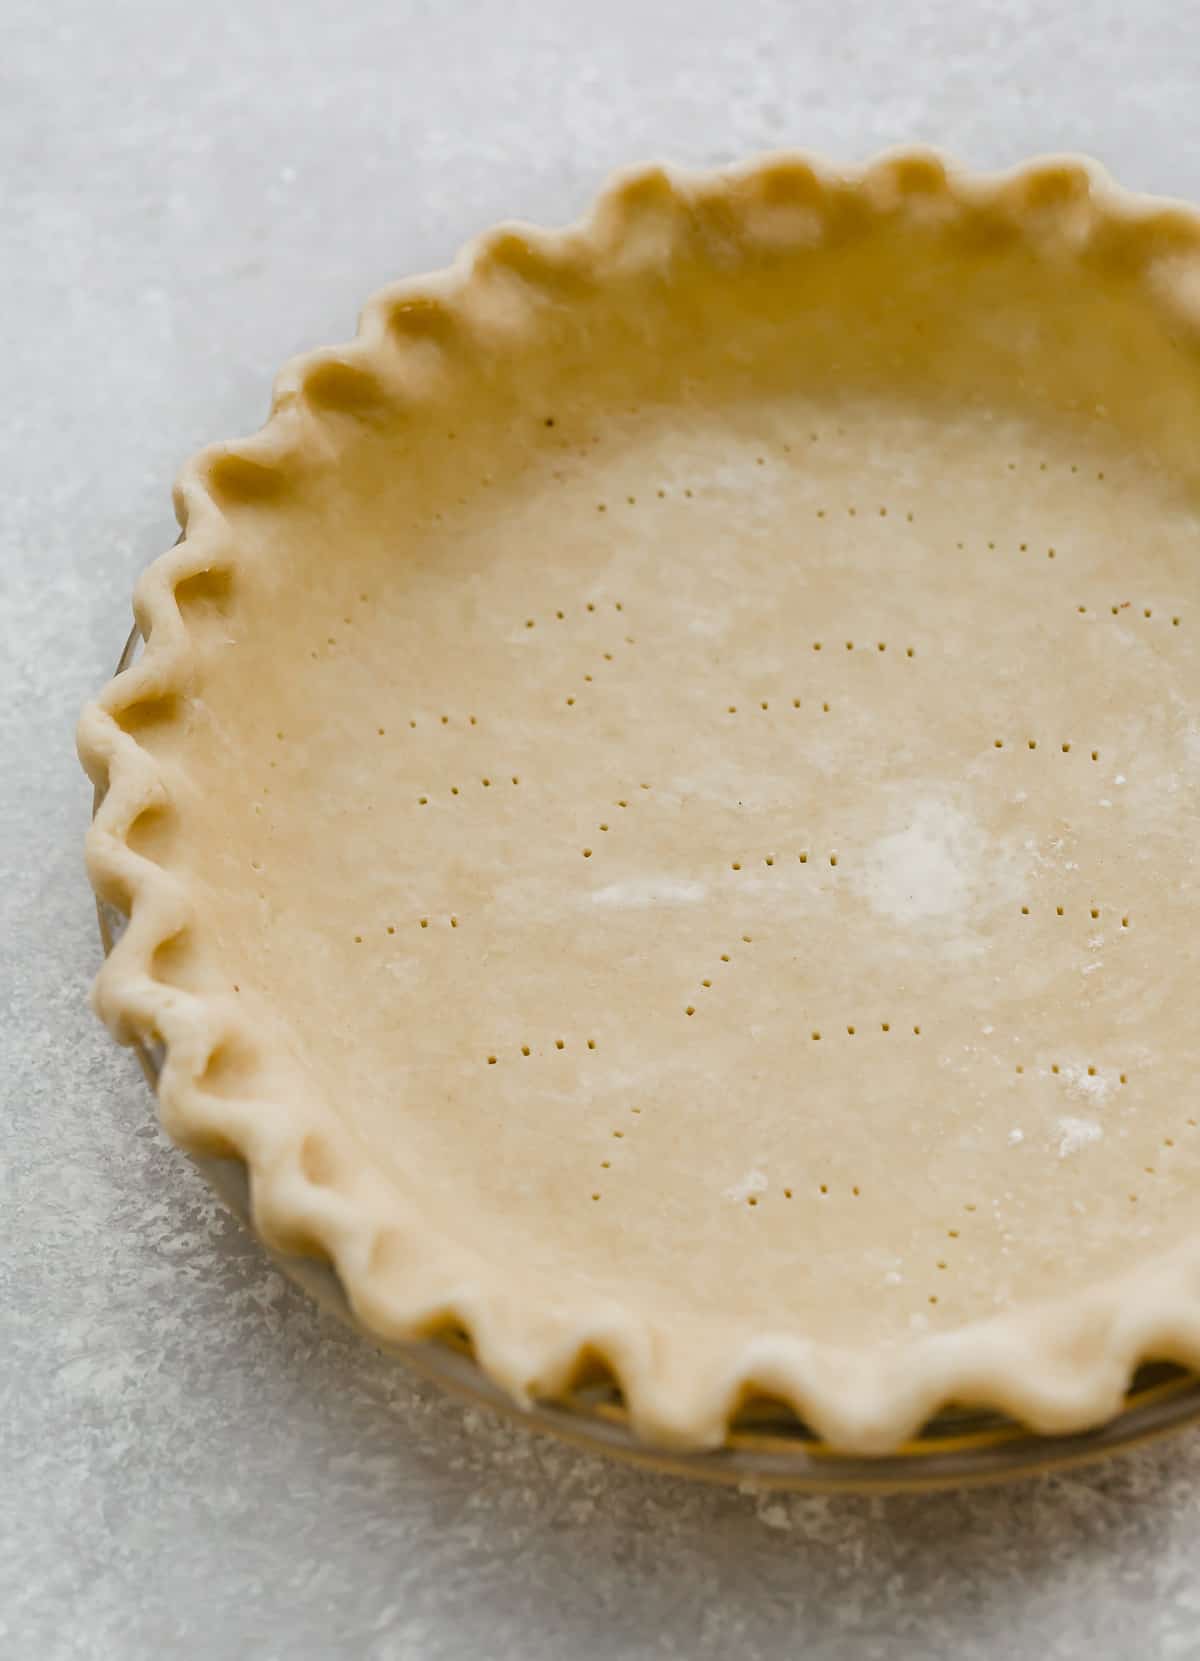
- Roll, prep in pie plate and bake. On a floured work surface, roll the dough several inches bigger than your pie plate.
- Transfer the dough to the pie plate and fit it gently into the bottom and sides of the plate. Use kitchen shears or a knife to trim dough to a 1″ overhang; fold under and seal to form a rim.
- Flute the edges of the rim and then use the tines of a fork to pierce the bottom and sides of the pie crust.
- Place the pie crust in the fridge to chill for 30 minutes and then in the freezer until firm about 15-20 minutes. This will prevent the pie crust from shrinking during baking.
- Once baked, fill as desired!
Recipe Tips
Use COLD ingredients when making homemade flaky pie crust. Why? Because the colder the ingredients the less likely for the fat (the butter) to melt as you are making the pie crust.
Can you use a pastry cutter for this recipe? Sure! Results will vary as there are different factors at play when making the dough by hand (think temperature of hands). The upside to making pie crust in a food processor is that it’s fast, easy, and there’s temperature control. If you have hot hands, a food processor will be your best friend when it comes to pie making.
If you notice visible specks of butter in your dough, that’s good news! This will ensure a flakier crust. That’s why it’s important not to over mix the dough in the food processor. You don’t want the dough to be overly combined.
You can replace some of the butter for shortening. Having both fats will give you a little flavor (from the butter) with some added flake (due to the shortening).
Be sure to poke the pie crust dough in the pie plate with the fork. This creates air holes that allows the crust to breathe as it bakes.
When rolling out the dough, start int the center or your dough circle and roll from the center to the edge. Flip and rotate your dough as you go to ensure a more consistent circular dough shape.
This pie crust recipe is great to use for lots of yummy Thanksgiving pies!
FAQs
Chilling the dough gives the gluten strands time to settle down and relax. You should chill pie dough before rolling it and before baking!
I use a regular food processor blade and it works great!
Yes you can. However, this specific recipe doesn’t ask for you to do that. The simple step of mixing the water into the dough by hand prevents the butter from being cut up too small.
Yes, hence the detailed instructions on how many pulses to do. Over mixing will create a tougher dough and therefore it won’t be as flaky.
Yes you can! Make this recipe up to the point where you wrap the discs of dough and instead of chilling in the fridge, place in the freezer. The dough will stay good up to 2 months. When ready to use, remove the dough from the freezer and thaw overnight in the fridge.
This is really a preference. I think using butter produces a better flavor or pie crust. However, using Crisco (shortening) will typically produce a flakier crust. However, this butter pie crust recipe of mine produces a really flaky crust that I’m always happy with so I stick with butter 🙂
More Pie Recipes
Did you make this recipe? I’d love to hear about it! Click here to leave a rating and review, or scroll below the recipe card and do so there.
Stay up-to-date by following us on Instagram, Facebook, and Pinterest.
Food Processor Pie Crust
Ingredients
- 2 1/2 cups all purpose flour - divided
- 2 tablespoons granulated sugar
- 1 teaspoon kosher salt
- 1 1/4 cups unsalted butter - (2 1/2 sticks of butter) cut into 2 tablespoon increments for a total of 10 pieces
- 6 tablespoon ice water
Equipment
Instructions
- In the bowl of a food processor combine 1 2/3 cups of flour, granulated sugar, and kosher salt. Pulse 2-3 times to combine.
- Spread the butter chunks evenly over the surface. Pulse until the dough begins to collect in clumps, about 25 short pulses.
- Use a spoon or spatula to spread the mixture in an even layer along the bottom of the food processor. Sprinkle the remaining flour over the mixture and pulse 5-7 times or until the dough is just broken up. Transfer the dough to a large bowl.
- Sprinkle the water over the dough. Using a rubber spatula, press and fold the dough until it comes together and forms a ball.
- Once the dough comes together, divide the dough in half. (Each dough half should weigh about 357 grams). Shape each half into a disk, about 6 inches in diameter. Wrap each disk in plastic wrap and refrigerate for at least 2 hours before rolling it out and baking it.
- When ready to bake, roll the dough out on a floured surface. Using a rolling pin, roll the dough a few inches bigger than your pie plate. Transfer the dough to the pie plate and fit gently into the bottom and sides of the plate. Use kitchen shears or a knife to trim dough to a 1" overhang; fold under and seal to form a rim.
- Flute the edges of the rim. Use the tines of a fork to pierce the bottom and sides of the pie crust.
- Place the pie crust in the fridge to chill for 30 minutes and then in the freezer until firm, about 15-20 minutes. This will prevent the pie crust from shrinking during baking.
- Bake as desired. *see notes
To Par Bake
- (Commonly used for quiche's or pies that will be baked again). Pierce bottom of the pie dough with a fork (only needs a few piercings, 3-4). Place a sheet of parchment in the pie. Place at least 2 cups of pie weights into the parchment lined pie crust. Bake at 425°F until edge of the crust just begins to brown about 15 minutes. Remove the parchment and pie weights. Place the pie back in the oven until the bottom of the pie crust is just lightly golden, about 2-3 minutes. Remove from the oven and allow to cool slightly before filling.
To Blind Bake the Pie Crust
- If you want to fully bake the pie crust (like for a no-bake pie) follow instructions for the par baked pie crust, after you remove the parchment and pie weights place the pie crust back in the oven until the bottom is beginning to lightly brown, about 10 minutes. The crust should be cooled completely before filling.
Notes
- Prevents the sides from puffing out.
- Prevents the sides from shriveling.
This recipe was originally published on Oct. 27, 2019. It was republished on Nov. 1, 2021, to include additional information and photos.
 Welcome to this delicious corner of the internet! Here I share the recipes my family loves.


25 Comments on “Food Processor Pie Crust”
I was looking for a pie crust, using butter, in a food processor. So glad I found this one! I used it to make a Chess Pie, and it has remained crispy even on the 3rd day. Delicious!
That’s wonderful Donna!!
I followed the steps and the appropriate number of pulses. I also made sure everything was chilled such as the bowls and spatula (excluding the food processor). I keep gently folding like I would any other pastry recipe that states to fold as I presume that is what is meant here and then pressing at the end, but unfortunately, the dough refuses to form a ball. I am putting it in the fridge for now and added some extra ice water. I will dip my hands in ice water and try folding it/pressing it into a ball manually. I hope next time I try this recipe I am able to figure out what went wrong. I will give this recipe another chance at a later date and if it does not work, I will revert back to my previous pie crust recipes. I am happy it has turned out beautifully for so many people!
I appreciate your thoughtful review, Azerick. It sounds like you are an experienced pie crust maker, so I’m sure you know that there are many factors that can affect a pie crust. It does sound like in your case a bit more moisture might help. Good luck! I hope you will try other recipes.
I used 1/2 cup butter and 3/4 cup lard in this recipe and added 1Tbsp of vinegar. Followed the exact same method and the results were absolutely fabulous! I’ve been making pie crust for a long time and this old dog loves this new trick!!
Love the adaptations, Lynn. Thanks for sharing!
My daughter has made and shared this recipe with me. It was delicious. I am wondering how long the crusts can be stored it the fridge for future baking? I’d like to have the crusts ready to roll or bake for a quick quiche when the mood strikes. Thank you.
I think it would stay well in the fridge for 4-5 days. Obviously less time would make it more fresh, so keep that in mind.
There wasn’t a list of the precise amounts for each ingredient listed on your Pinterest entry. I decided to go with a different entry.
I struggled with this to but it turns out there is an ingredient list. I went to the top of the page and got the Jump to Recipe button and then I could find jt! Really difficult to find while scrolling through I think.
I’ve been baking pies for over 30 years, and this is easily one of the best recipes I’ve come across. I’ve found that the most subtle differences in a pie crust can be total game-changers. This is flakey and absolutely delicious! Thank you!
Thank you, thank you. Pie crust has been my baking nemesis for years. I gave up for years and did store bought crusts but decided to try this to do an apple pie and it came out nearly perfect. I followed your very specific instructions to the letter and it’s the best looking pie I’ve ever done and the taste is good too. Love using the food processor as I have arthritis in both hands but love to bake.
I used this recipe to make a chicken pot pie in an iron skillet. It was the best crust ever: wonderful flavor and a nice flakiness. So much easier to use the food processor. Cold is key. Thank you very much for sharing your knowledge and expertise.
The crust tastes fantastic. Only problem is mine still shrank. I followed the cooling, rolling, cooling again instructions and it shrank down so small that I couldn’t fill it. Any advise?
Did you freeze the crust prior to baking? The crust should be hard before you put it in the oven. ALSO one thing to keep in mind, if you crimp the crust correctly, that’ll help prevent any shrinking and sides slouching down the pie plate.
The crimping should act as an anchor to the pie plate.
Can you use this for Pumpkin pies without baking the crust first?
You probably want to blind bake the pie crust first so that the bottom is not soggy.
This is my go-to pie crust. I love that it uses butter and not shortening. It’s super easy and I love how flaky it is!
This recipe made the best pie crust I have ever made. It is fantastic. I love the detailed instructions.
I have been looking for a recipe to use to make fried pies. Do you think this crust would stand up to that application?
I have no idea. I’m sorry! I’ve never tried fried pies. I would *think* it would probably work, but I can’t guarantee it.
If you do use this pie dough recipe for fried pies, let me know how it goes.
Flaky, delicious and easy
Thank you for the 5 star rating Lorraine! I’m so glad you enjoyed the recipe.
Not complete instructions. If you have a pie crust recipe it should have baking instructions. Temp and time would be helpful for a single pie crust. Not all crusts are baked with a filling.
You can bake as you’d like. Some pie recipes will instruct on how to bake the pie crust. To par bake: pierce bottom of the pie dough with a fork (only needs a few piercings, 3-4). Place a sheet of parchment in the pie. Place at least 2 cups of pie weights into the parchment lined pie crust. Bake at 425°F until crust just begins to brown about 15-20 minutes. Remove the parchment and pie weights. Cool before filling. The bottom of the pie crust will still look pale, but not raw. If the bottom appears raw, you can place the pie back into the oven for 2-3 minutes (without the parchment and pie weights).
If you want to fully bake the pie crust (like for a no-bake pie) follow instructions for the par baked pie crust, after you remove the parchment and pie weights place the pie crust back in the oven until the bottom is beginning to brown, about 10-13 minutes.
And for a partially baked pie crust (like if you’re making a quiche where you’ll be filling it again) follow instructions for par-baking (425°F bake for 15 minutes, remove parchment and pie weights) then bake for 5 more minutes or until the bottom of the crust is *just* beginning to brown.
Hope this helps! I updated the recipe card too.
Sometimes people just want the pie dough recipe and they’ll bake the crust according to other recipes guidelines, but I will add these to it to help. Thanks Kelley! Merry Christmas.