Fruity Pebble Rice Krispie Treats
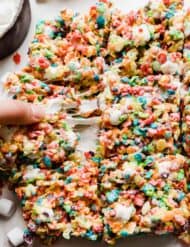
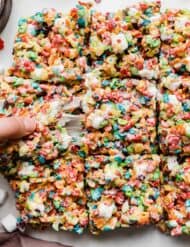
These Fruity Pebble Rice Krispie Treats are super colorful, fun, soft and oh so delicious! The colored Rice Krispies add a vibrant twist to this classic sweet treat.
If you’ve been following Salt & Baker, then you know my history with Rice Krispies Treats! They were always so hard and dry and I never liked them. Fast forward and I figured out all the right tricks to getting the perfectly soft and gooey version of these cereal treats. Try my classic recipe (linked above) and my Salted Brown Butter Rice Krispie Treats, M&M Rice Krispie Treats and my Scotcharoos for some delicious Rice Krispie goodness! Have more fruity pebbles to use up? My Fruity Pebbles Cookies are just for you!
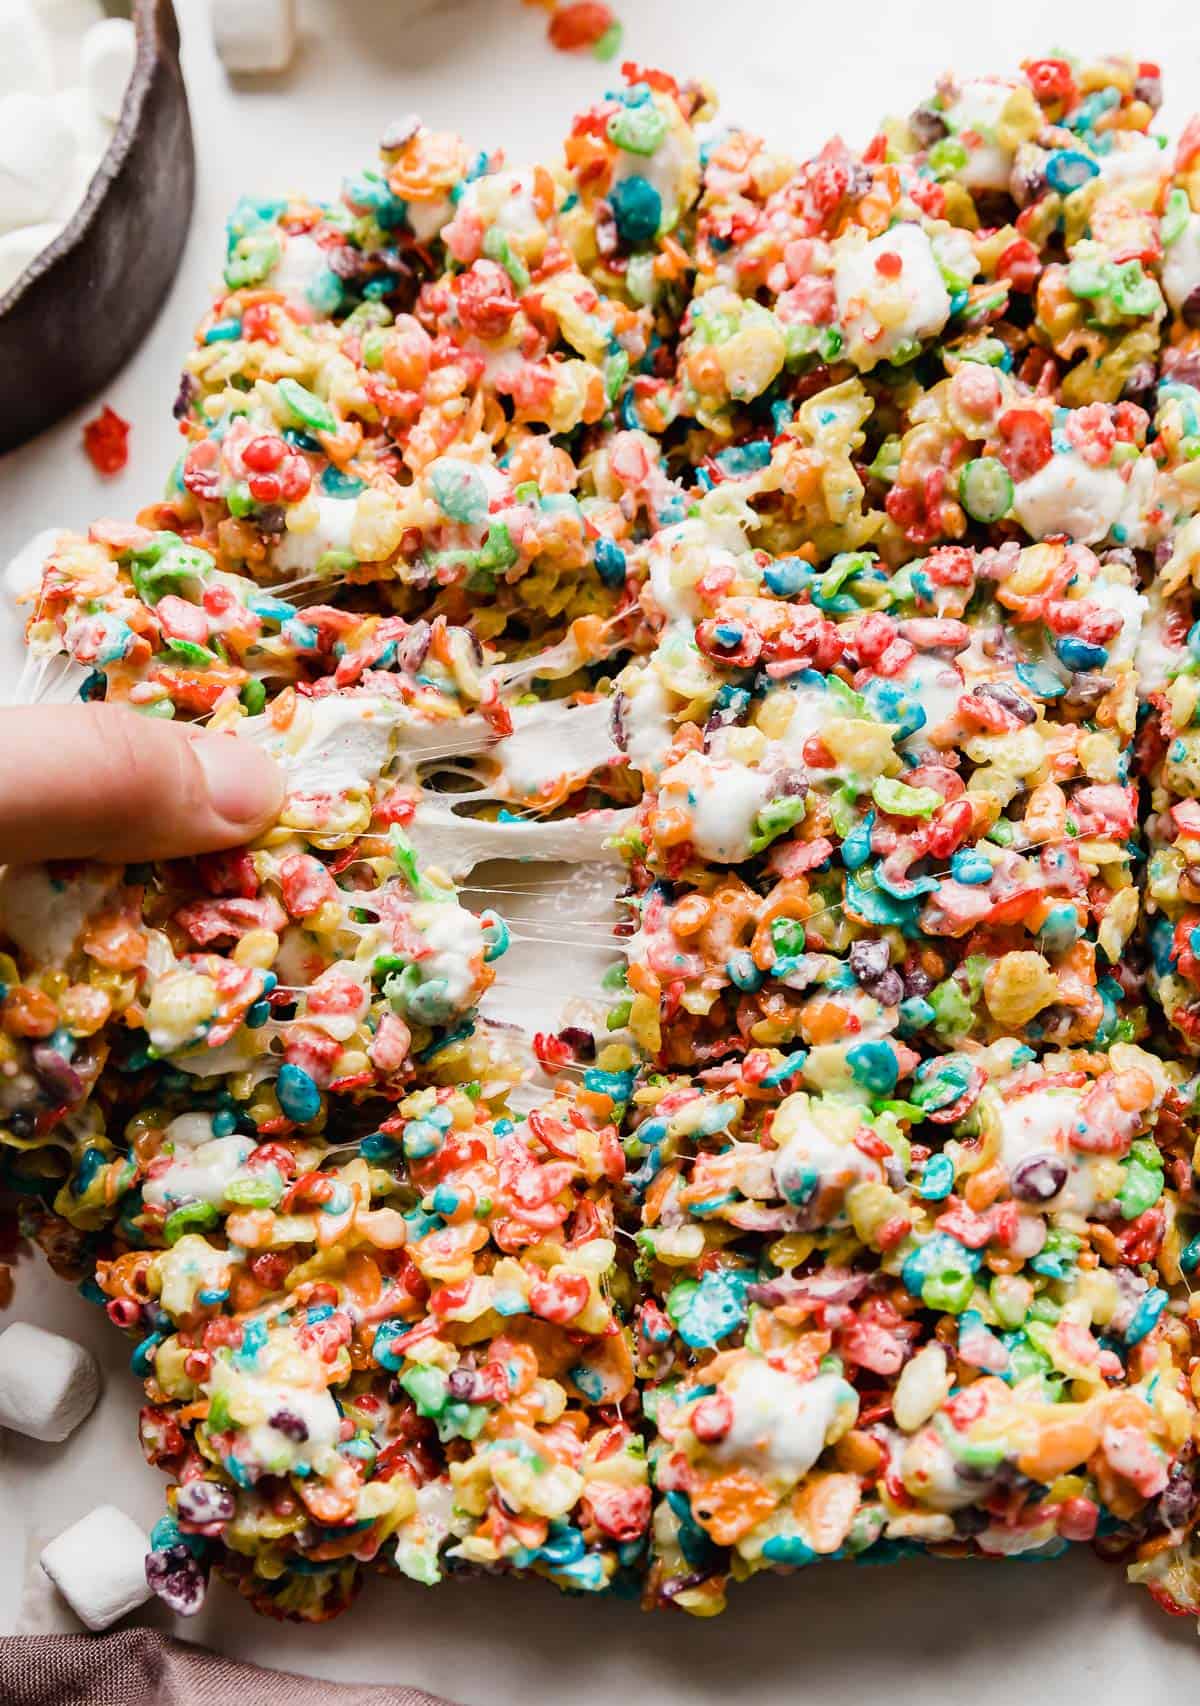
Why This Recipe Works
- Salt balances the flavor. Adding Kosher salt to the mallow mixture helps accentuate the flavor and balance out the major sweetness of the Fruity Pebbles cereal.
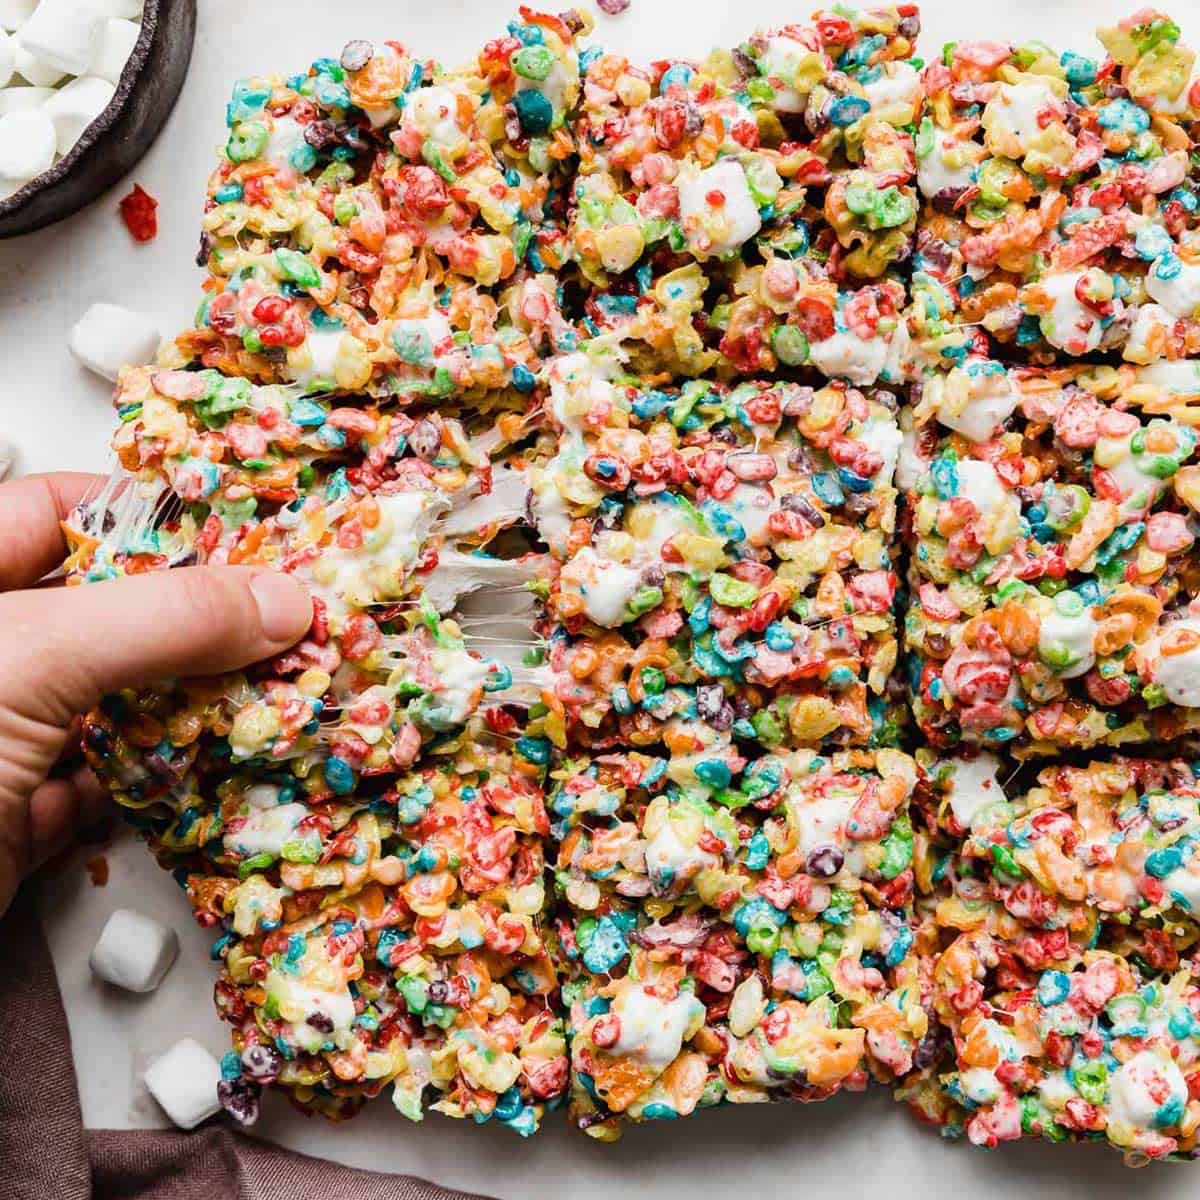
- Extra gooey! By only melting a portion of the mallows and adding 2 cups of mallows at the end, those last mallows don’t fully melt which keeps everything extra gooey and soft!
- Fun and vibrant. Using Fruity Pebbles cereal helps make these colored Rice Krispies so much fun for birthday parties and kid playdates!
Ingredient Notes
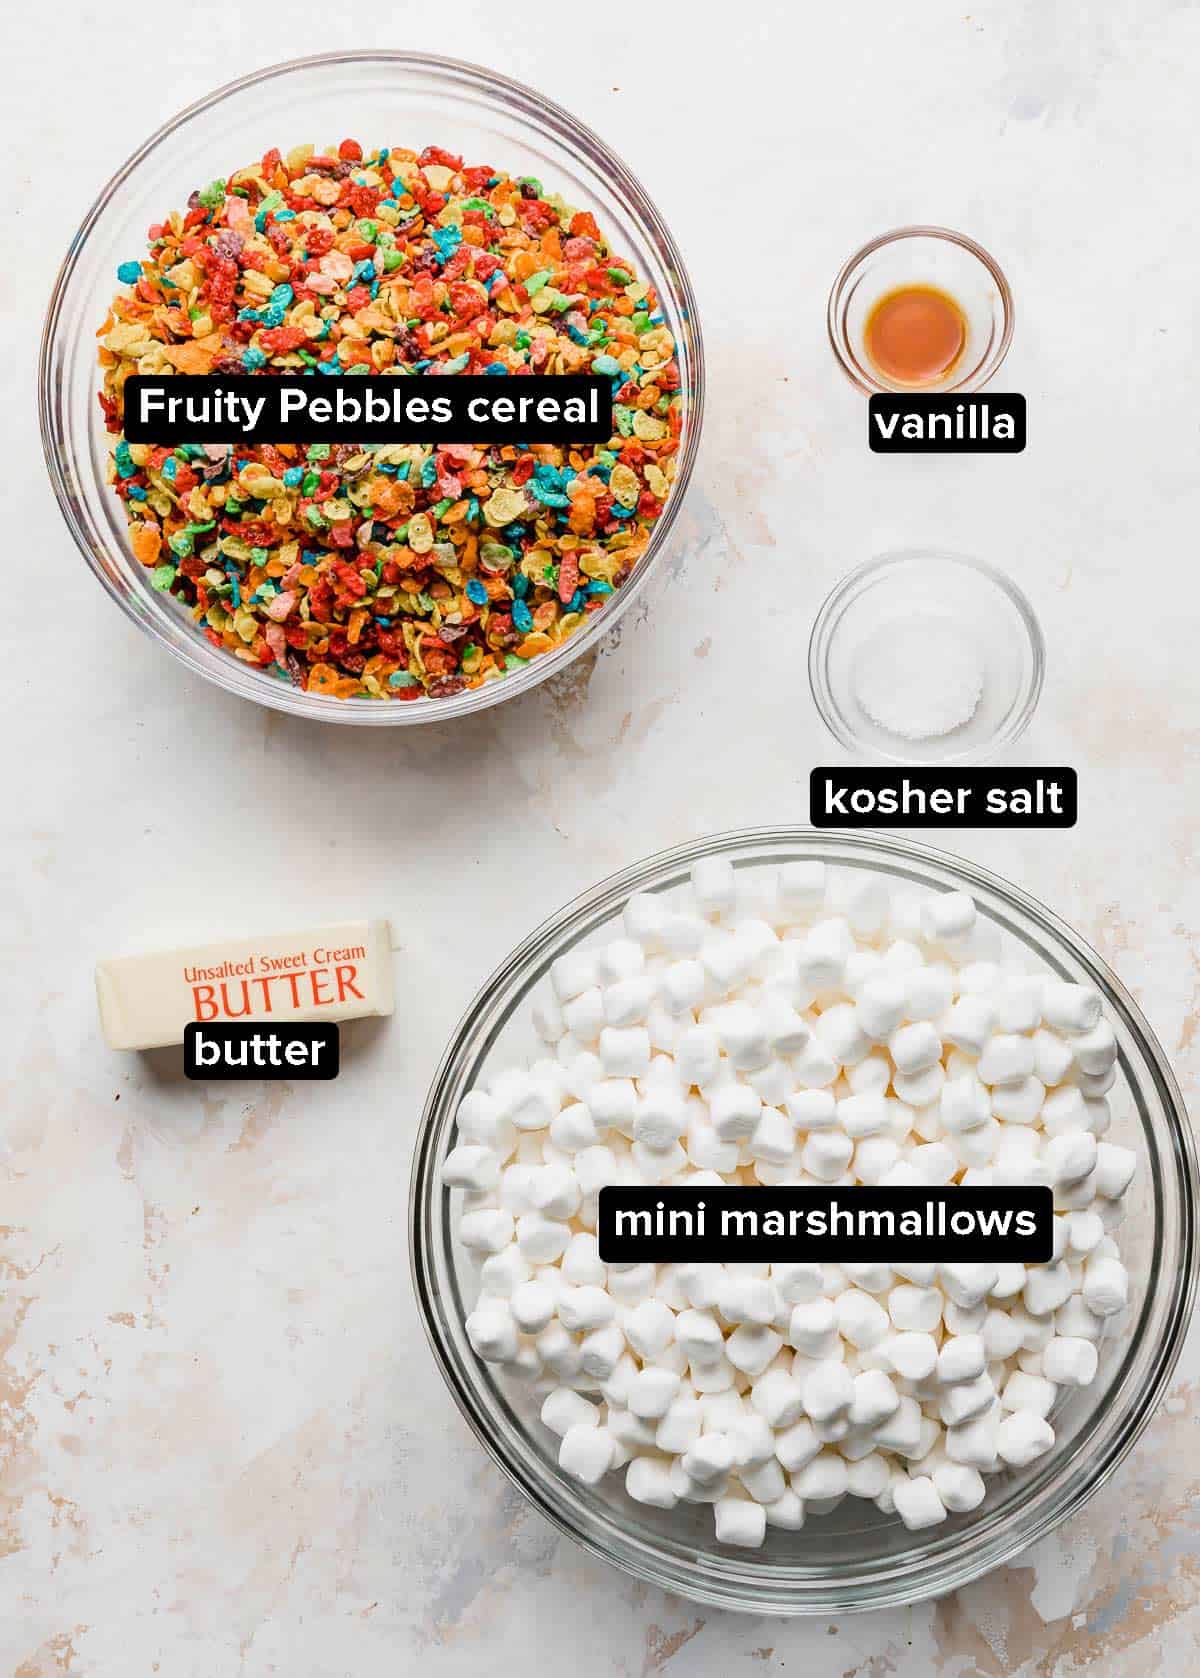
- Unsalted Butter: If using salted butter, cut down on the salt by 1/3.
- Mini Marshmallows: The mini marshmallows melt more quickly so there’s less risk of over cooking them. Plus, they disperse better throughout. We’ll use a portion of the marshmallows in the melted mallow mixture, but saving some to put in at the end helps keep these colorful Rice Krispie treats nice and soft!
- Kosher Salt: The kosher salt helps balance out the sweetness. Fruity Pebbles cereal is really sweet, so adding that bit of salt really helps!
- Fruity Pebbles Cereal: Whoever thought of Rice Krispie treats with Fruity Pebbles is a genius! It’s such a fun twist on the classic treat.
Step-by-Step Instructions
- Melt the butter and marshmallows. In a large pot over medium-low to low heat, melt the butter and 8 cups of the marshmallows. Once the marshmallows are just melted, stir in the salt and vanilla.
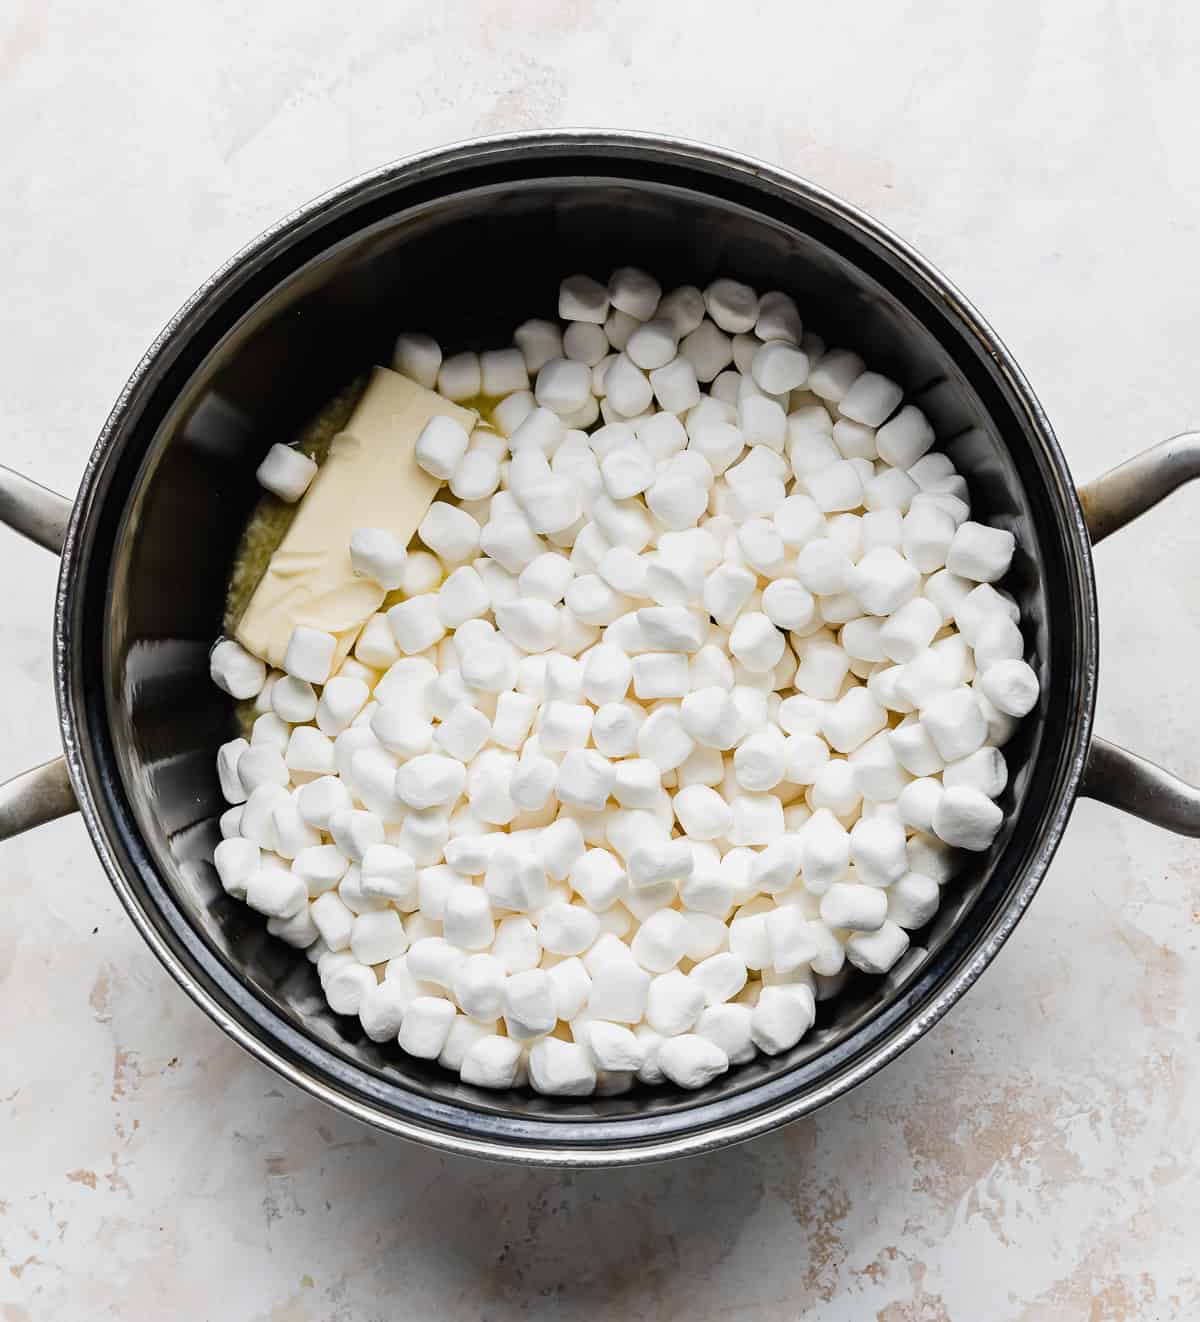
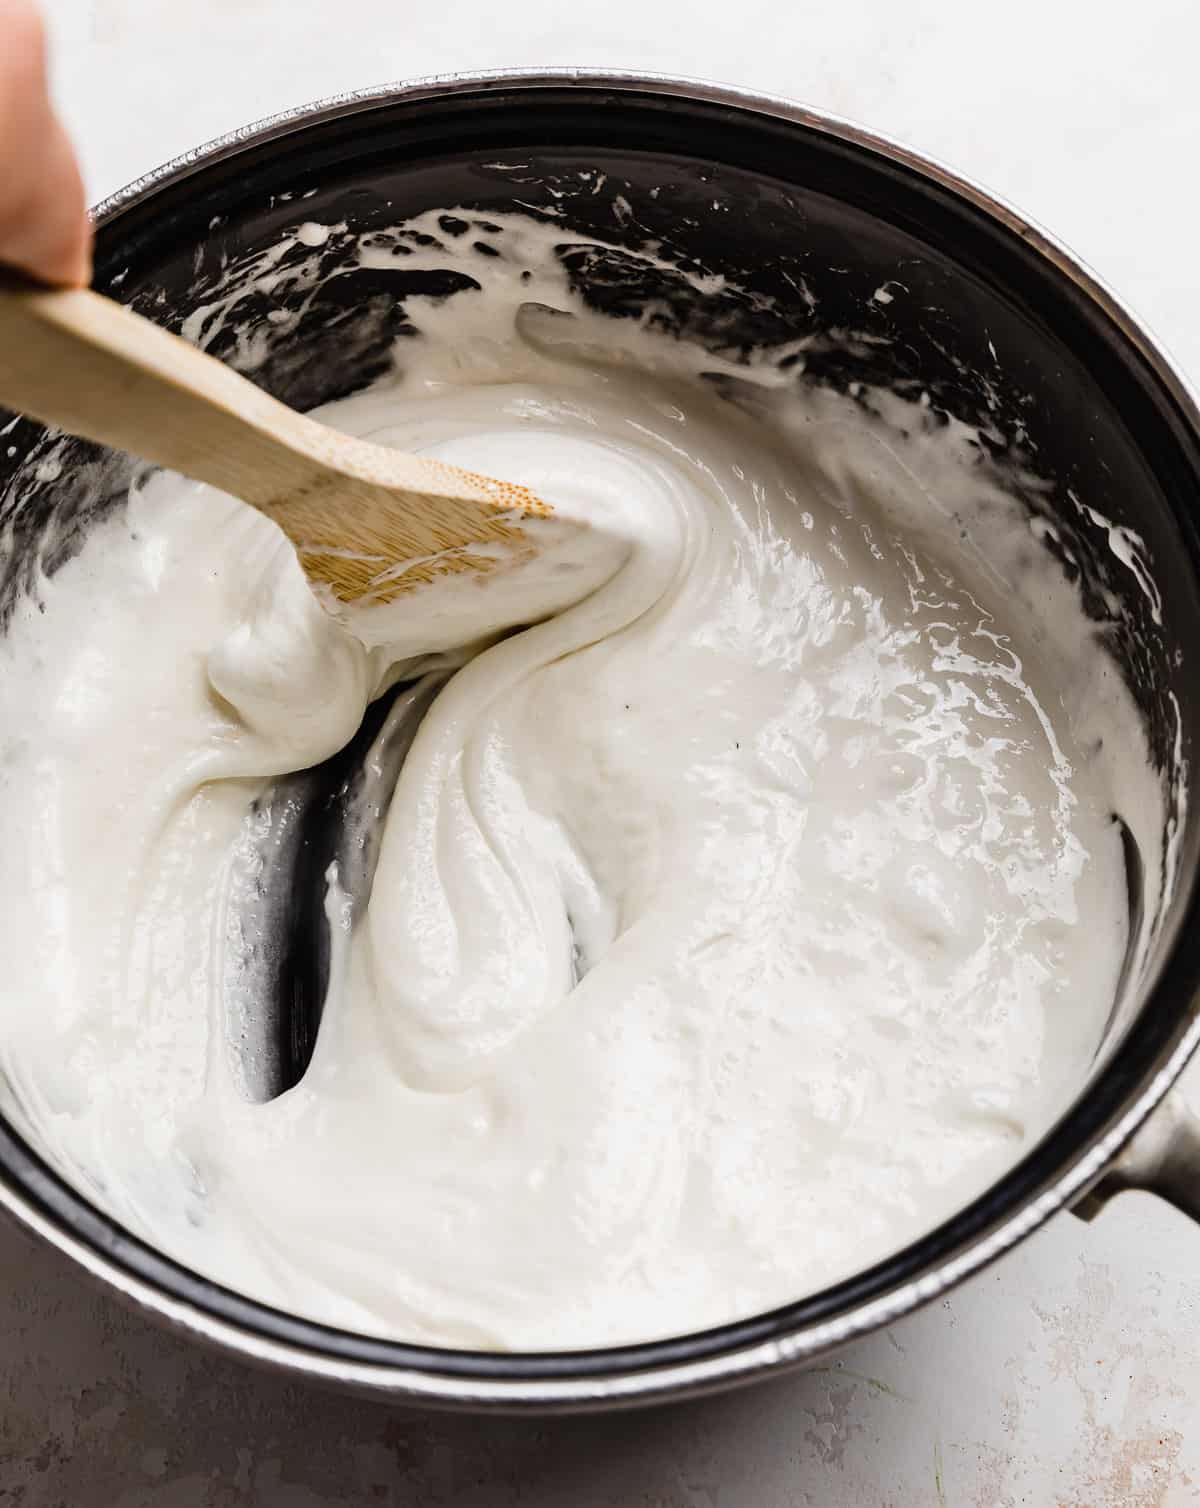
- Mix in the Fruity Pebbles cereal. Remove the pot from the heat and stir in the cereal. Mix until the cereal is completely coated in the marshmallow mixture.
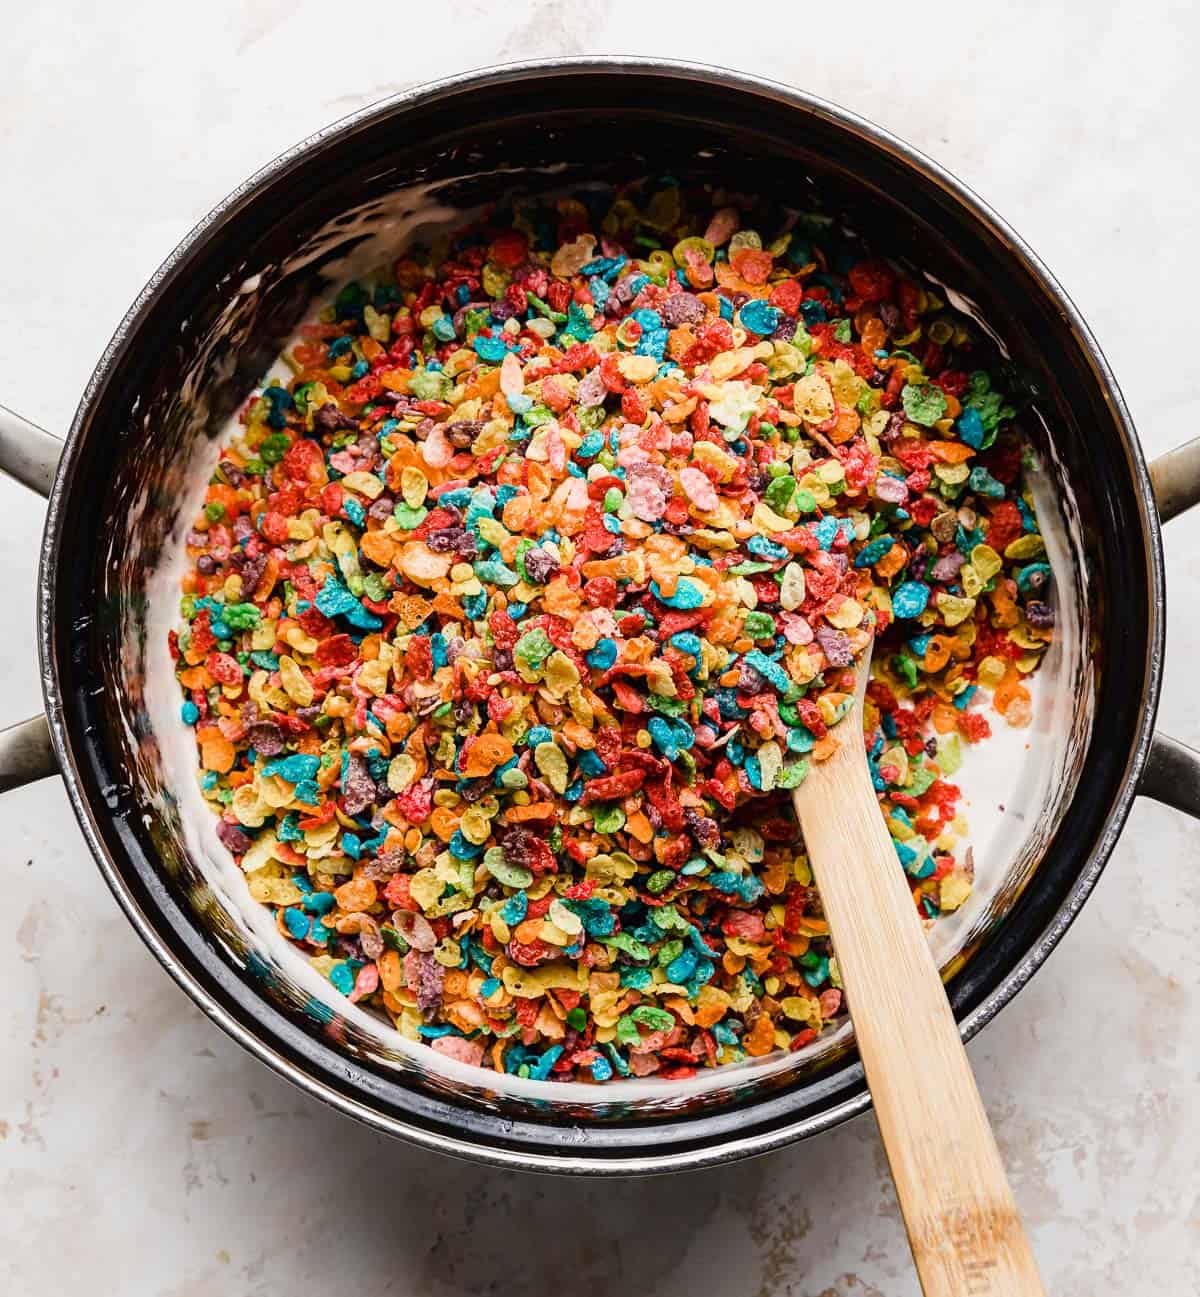
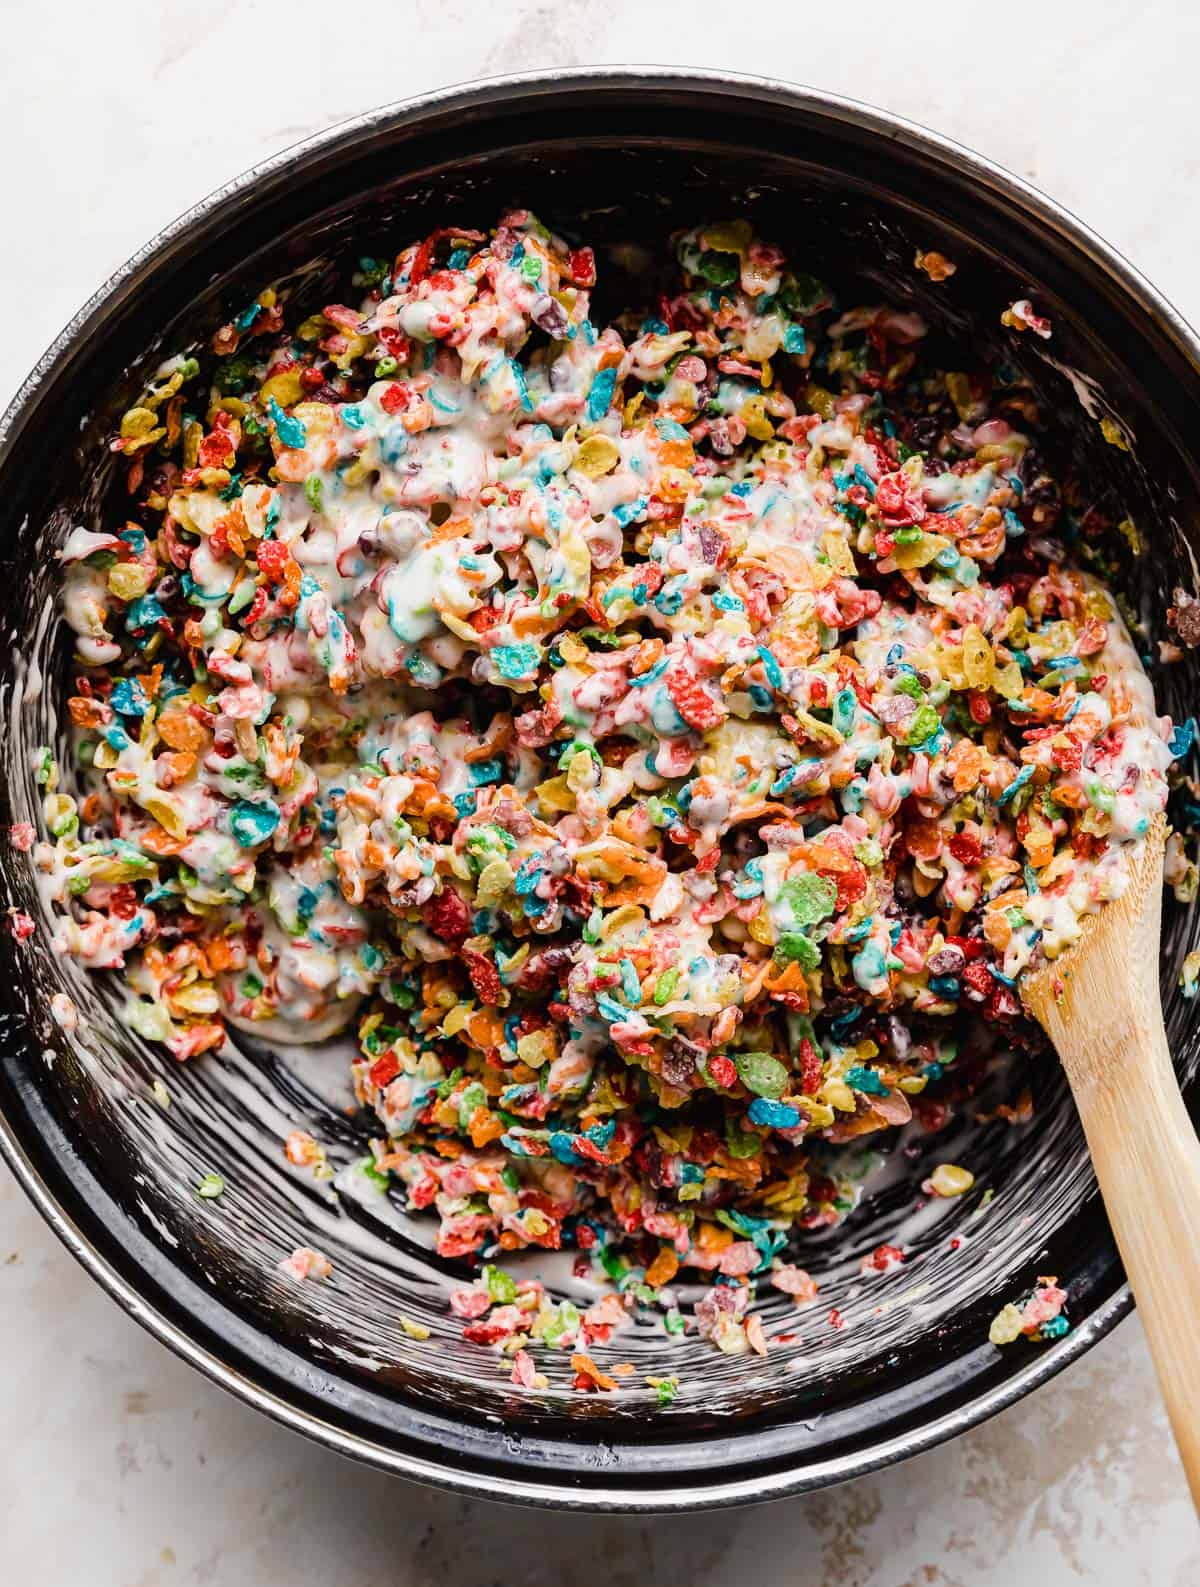
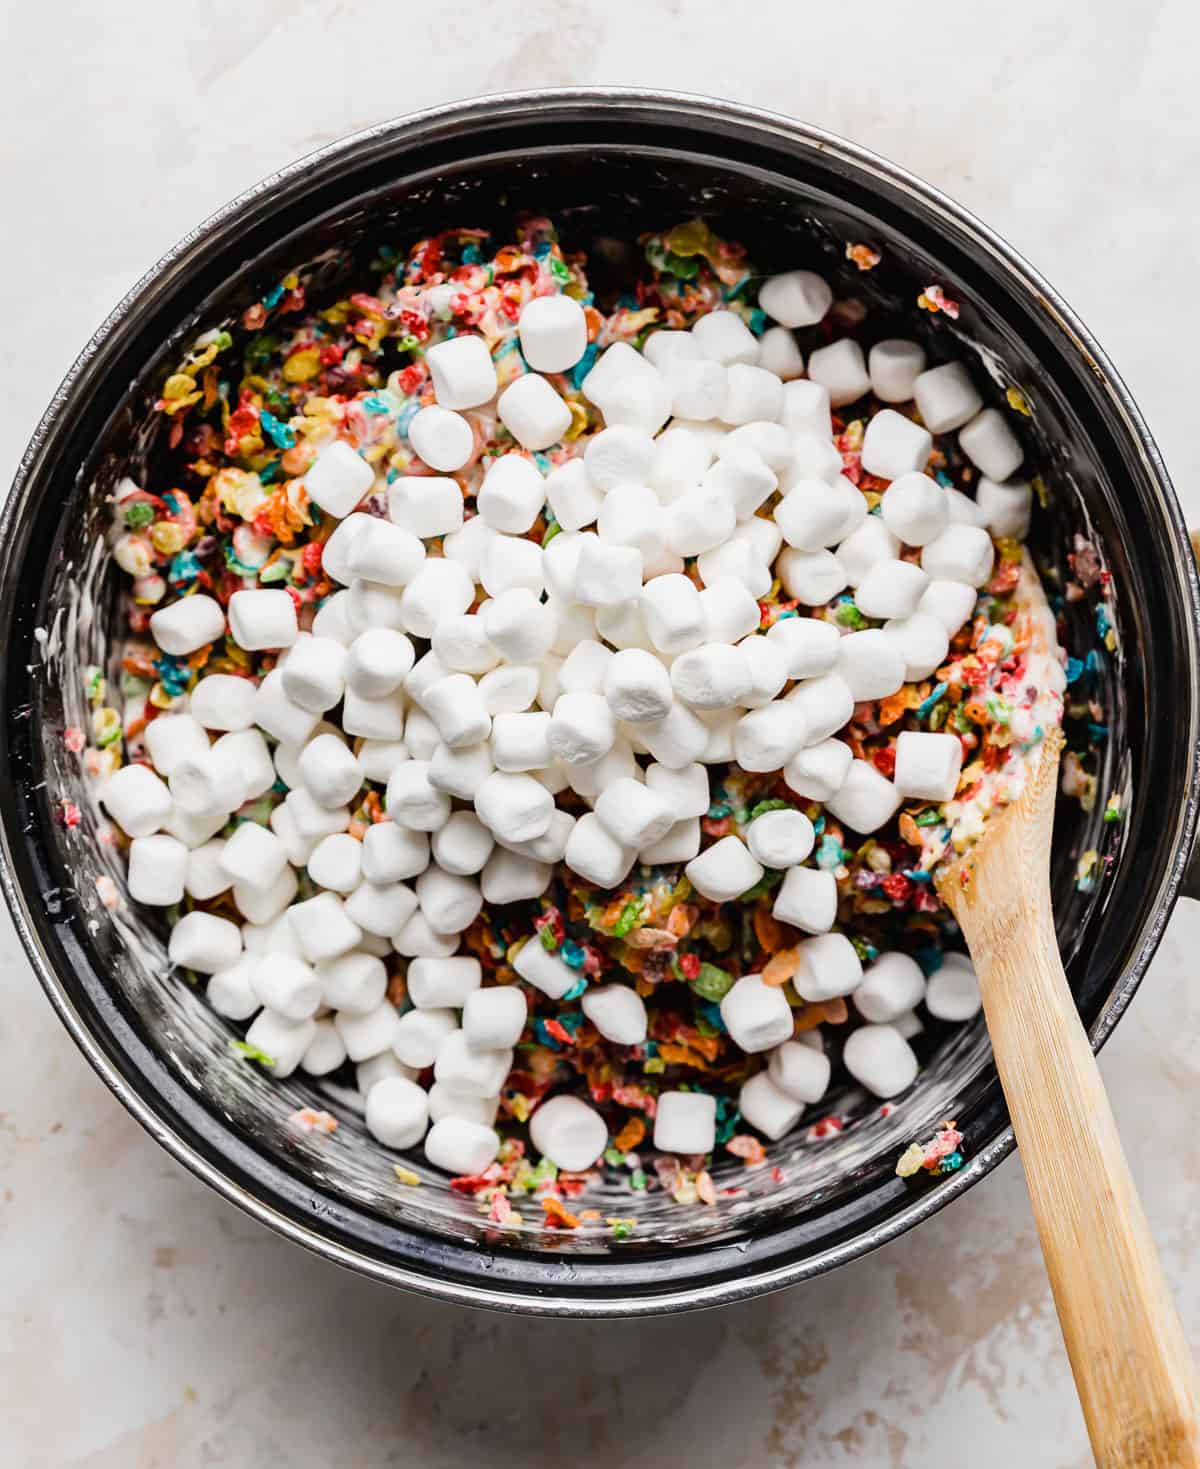
- Add extra marshmallows. Stir in the remaining 2 cups of mini mallows.
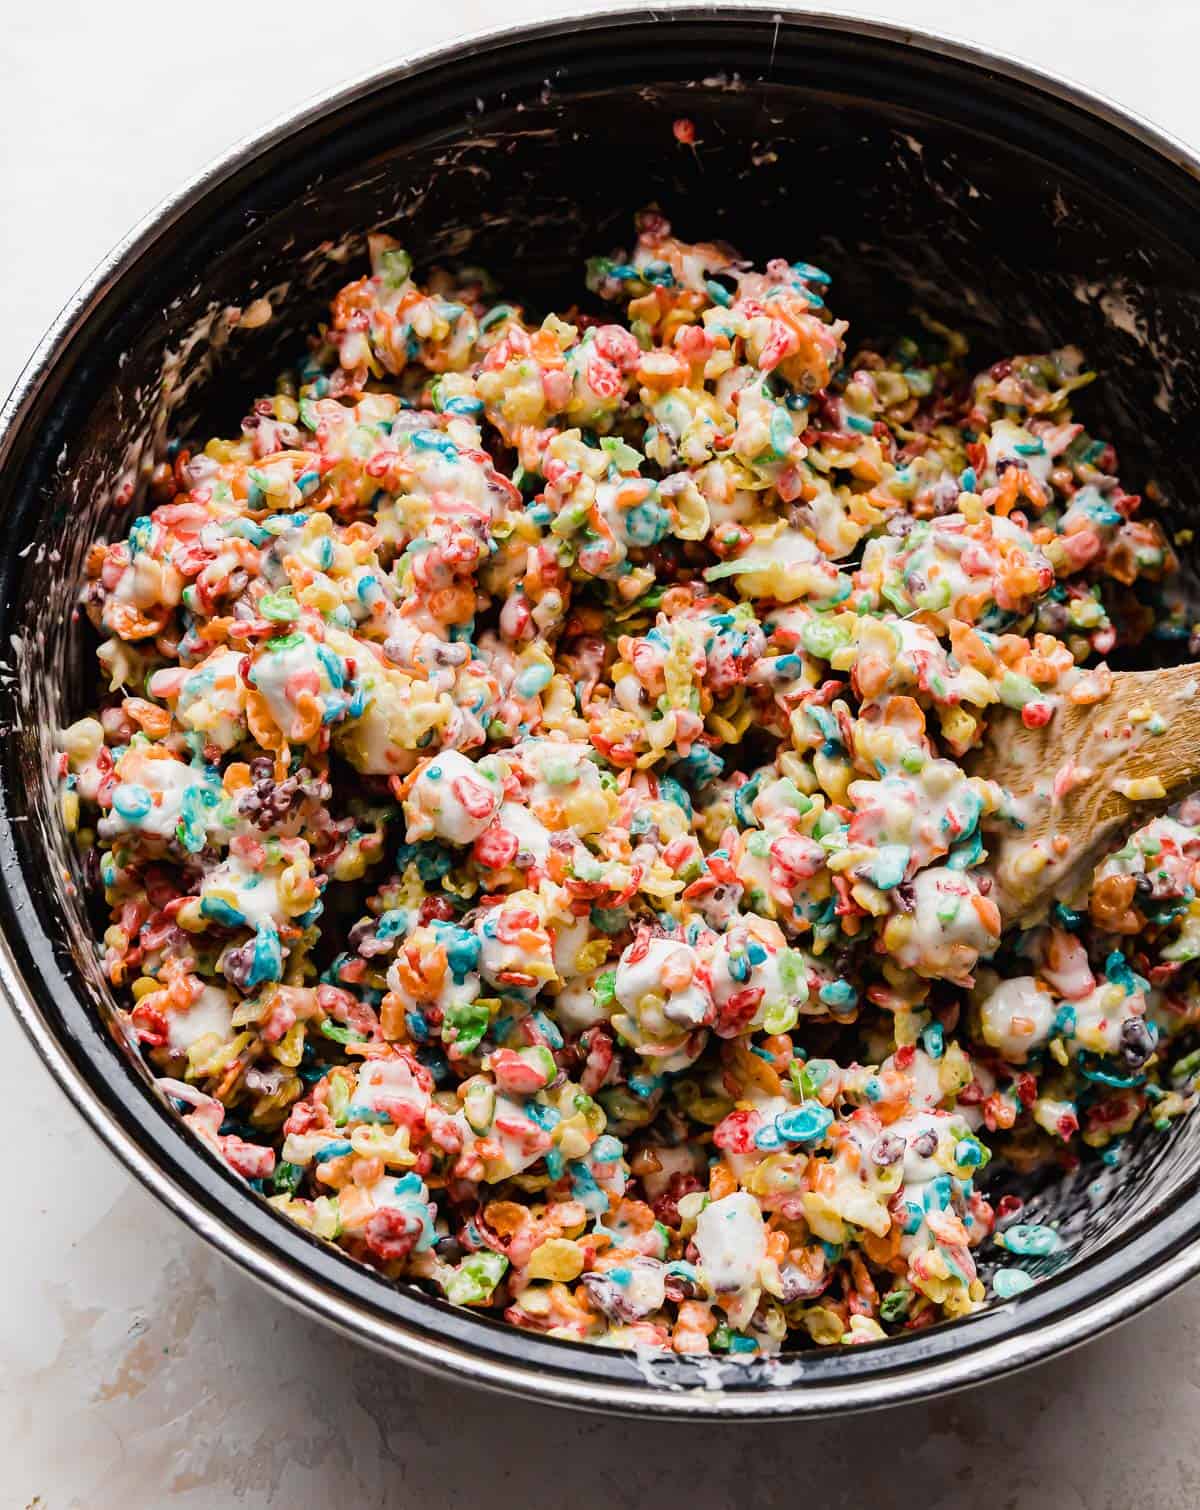
- Place in prepared pan. Spoon the Fruity Pebble Rice Krispie Treats into an 8×8-inch pan lined with foil and sprayed with cooking spray. Lightly press the mixture into the pan. Sprinkle with the additional 1/4 tsp of kosher salt (if desired). Let set.
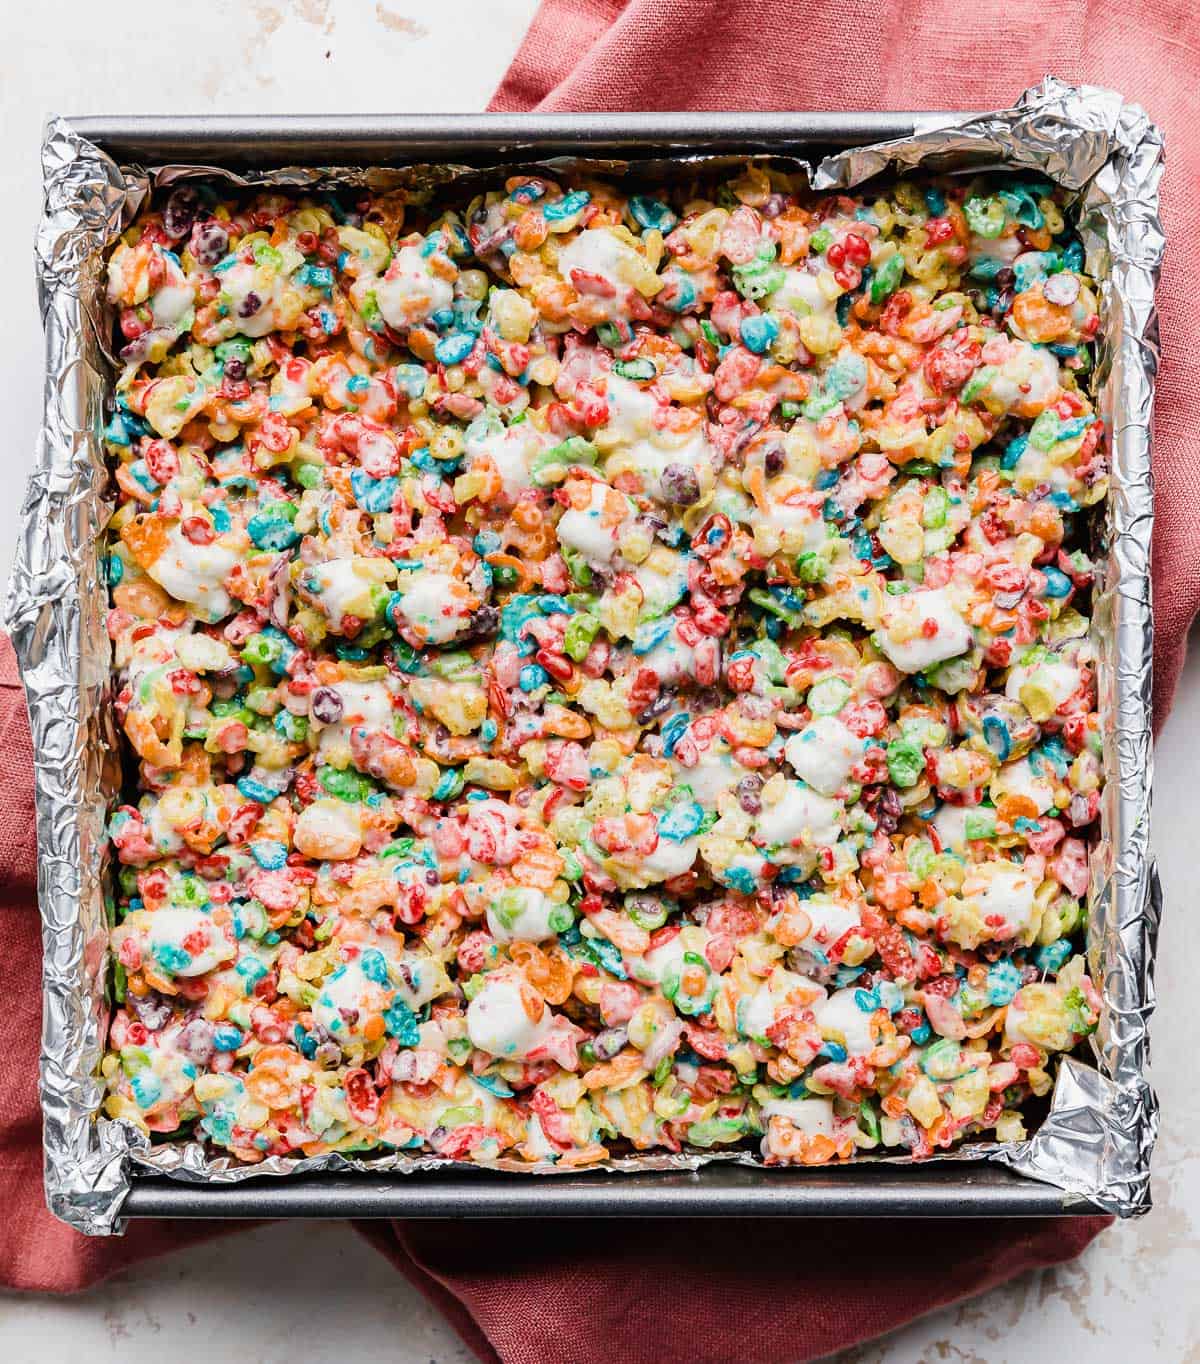
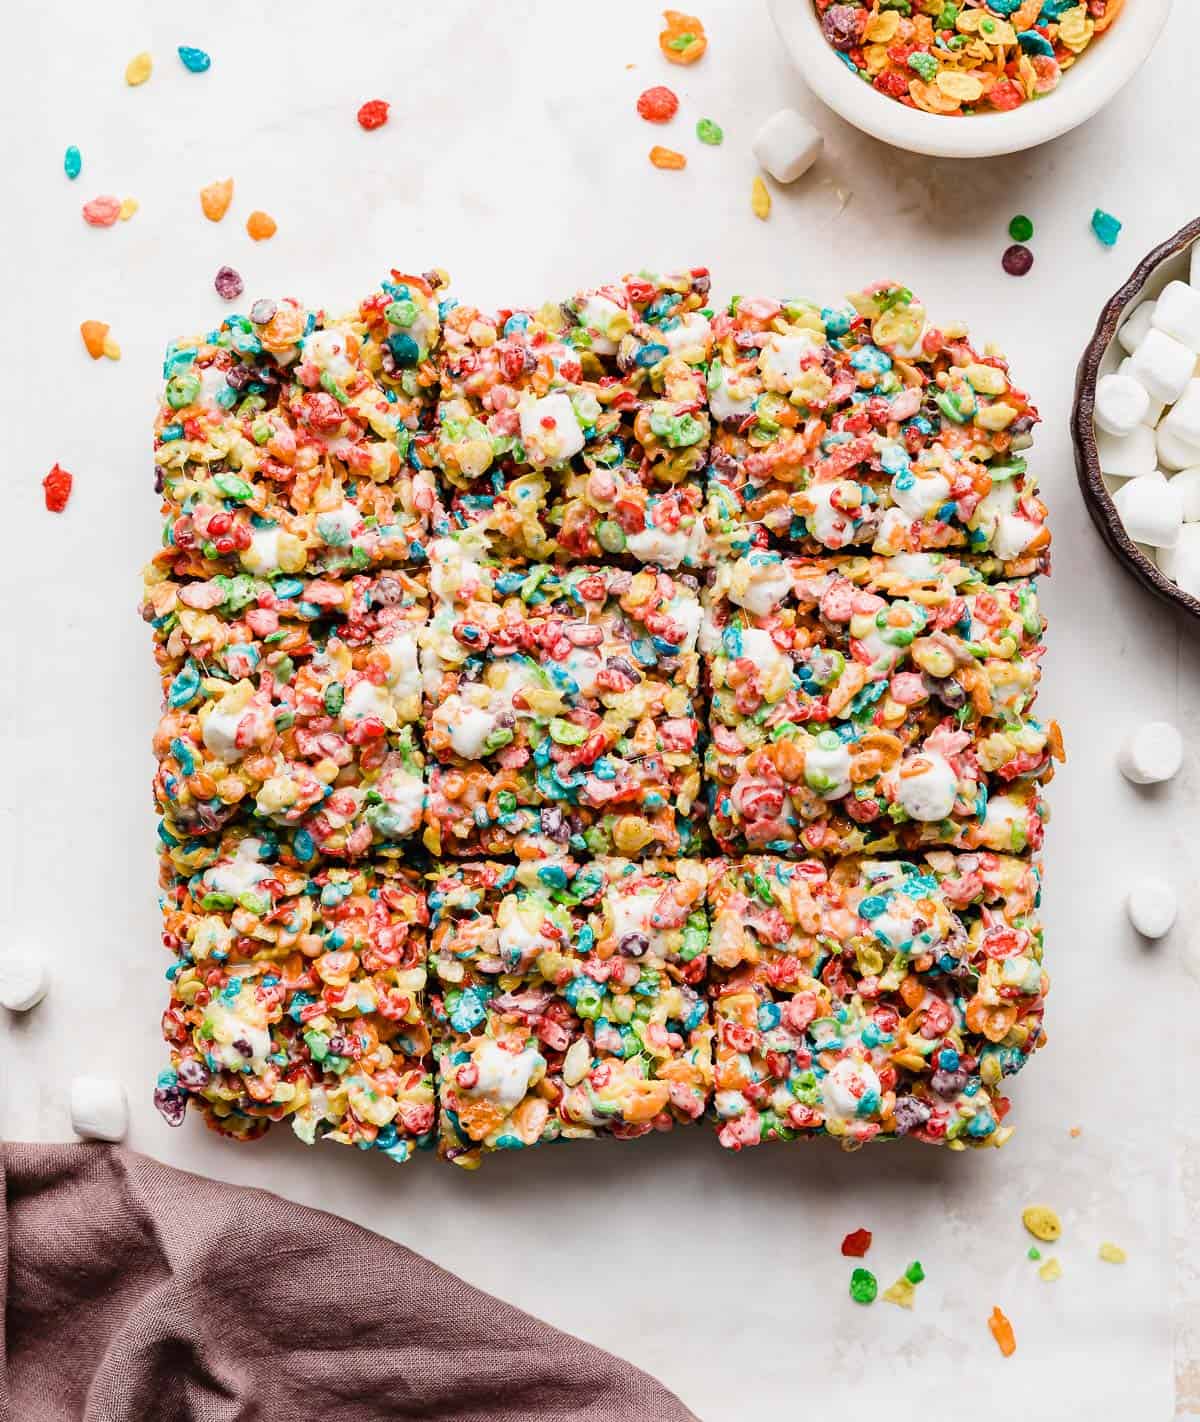
- Serve. When ready to serve, lift the foil from the pan and cut into squares.
Recipe Tips
Kosher salt is a bigger salt crystal than table salt, so be sure to adjust your measurements accordingly. (If using table salt, use half the amount called for in Kosher salt.) The Kosher salt is important because it really enhances the flavor of the recipe.
I used an 8×8-inch pan because I wanted a thick treat.
My biggest tip is to just gently place the mixture into the pan. I barely even press the mixture down. All you want to do is spread the mixture so it lays evenly in the pan. You do NOT want to pack it in or the treats will be dense and hard.
Gently rub butter onto your hand and then use your hand to press the mixture into the pan to prevent sticking. The mixture might be hot so be careful!
Looking for another rainbow treat? Try my Smash Cake Recipe that is covered in colorful sprinkles!
Make Ahead, Storing, and Freezing
If making ahead of time, store the treats in an airtight container or Ziplock bag with the air pressed out of it. It’s important that the treats be store in something that can be airtight so the treats don’t get hard.
Store at room temperature in an airtight container for 2-3 days. Do not store the Fruity Pebble Rice Krispie Treats in the fridge or they will go hard and won’t soften at room temperature. (Same with freezing!)
FAQs
Check your cereal and marshmallows. Were they expired? Did you over cook the mixture? Using mini marshmallows helps combat this because they melt quickly so your mixture isn’t on the stove for long. Big or regulars marshmallows will take longer to melt, meaning your pot will be on the heat longer. Did you pack them into your pan? Remember to lightly place them into the pan and not pack.
I use the mini marshmallows! They disperse more easily and melt quicker, meaning your mixture won’t be at risk of over cooking from being on the stove longer.
Related Recipes
Did you make this recipe? I’d love to hear about it! Click here to leave a rating and review, or scroll below the recipe card and do so there.
Stay up-to-date by following us on Instagram, TikTok, Facebook, and Pinterest.
Fruity Pebble Rice Krispie Treats
Ingredients
- 6 tablespoons unsalted butter
- 10 cups mini marshmallows
- 1/2 teaspoons vanilla extract
- 1 teaspoon kosher salt - plus an additional 1/4 tsp to sprinkle overtop, if desired
- 6 cups fruity pebbles cereal
Instructions
- Line an 8"x8" inch pan with foil, spray with cooking spray, set aside.
- In a large pot over medium-low to low heat, melt the butter and 8 cups of the marshmallows. Once the marshmallows have just melted, stir in the salt and vanilla.
- Remove the pot from the heat, stir in the fruity pebbles cereal. Mix until the cereal is completely coated in the marshmallow mixture.
- Stir in the remaining 2 cups of mini mallows.
- Spoon the fruit pebbles rice Krispy mixture into the lined pan. Press the mixture into the pan (don’t press too hard.. you don’t want it *too* compact). Sprinkle with the additional 1/4 tsp of kosher salt (if desired).
- Let set. When ready to serve, lift the foil from the pan and cut into squares. Store at room temperature, covered or in an airtight container for 3-5 days

 Welcome to this delicious corner of the internet! Here I share the recipes my family loves.




3 Comments on “Fruity Pebble Rice Krispie Treats”
Hi there if we wanted to make a brown butter version of these would we want to use the same amount of butter? I know I’ll need more butter to get 6tbsp browned I typically will brown 9tbsp then re measure it when it cools and re solidifies. But would we use the same amount after it’s browned? These look beautiful I recently tried another recipe struggled a bit so can’t wait to try this!
If you’re wanting to brown the butter, I would add an additional tablespoon of butter before browning it.
Turned out amazing! Going to try your other rice krispies after I loved this one so much