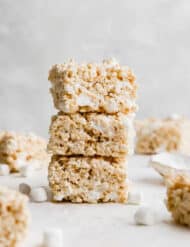
Salted Brown Butter Rice Krispie Treats
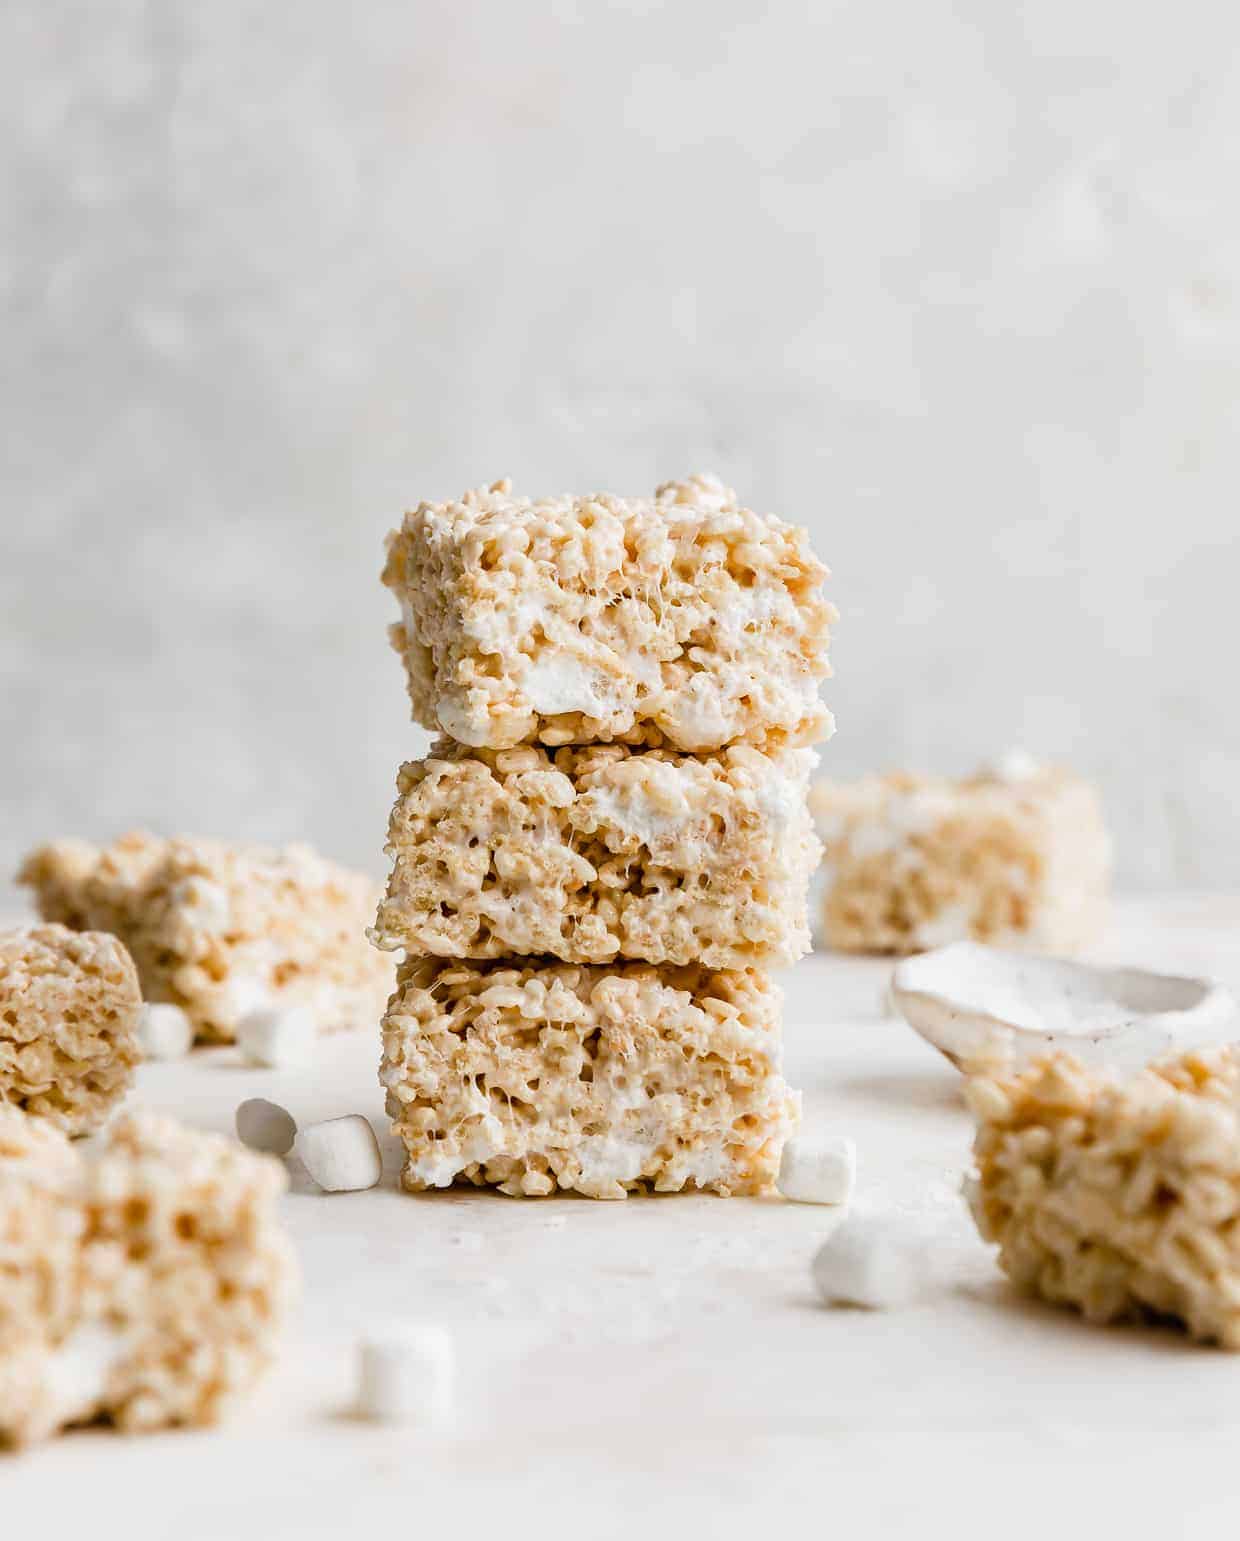
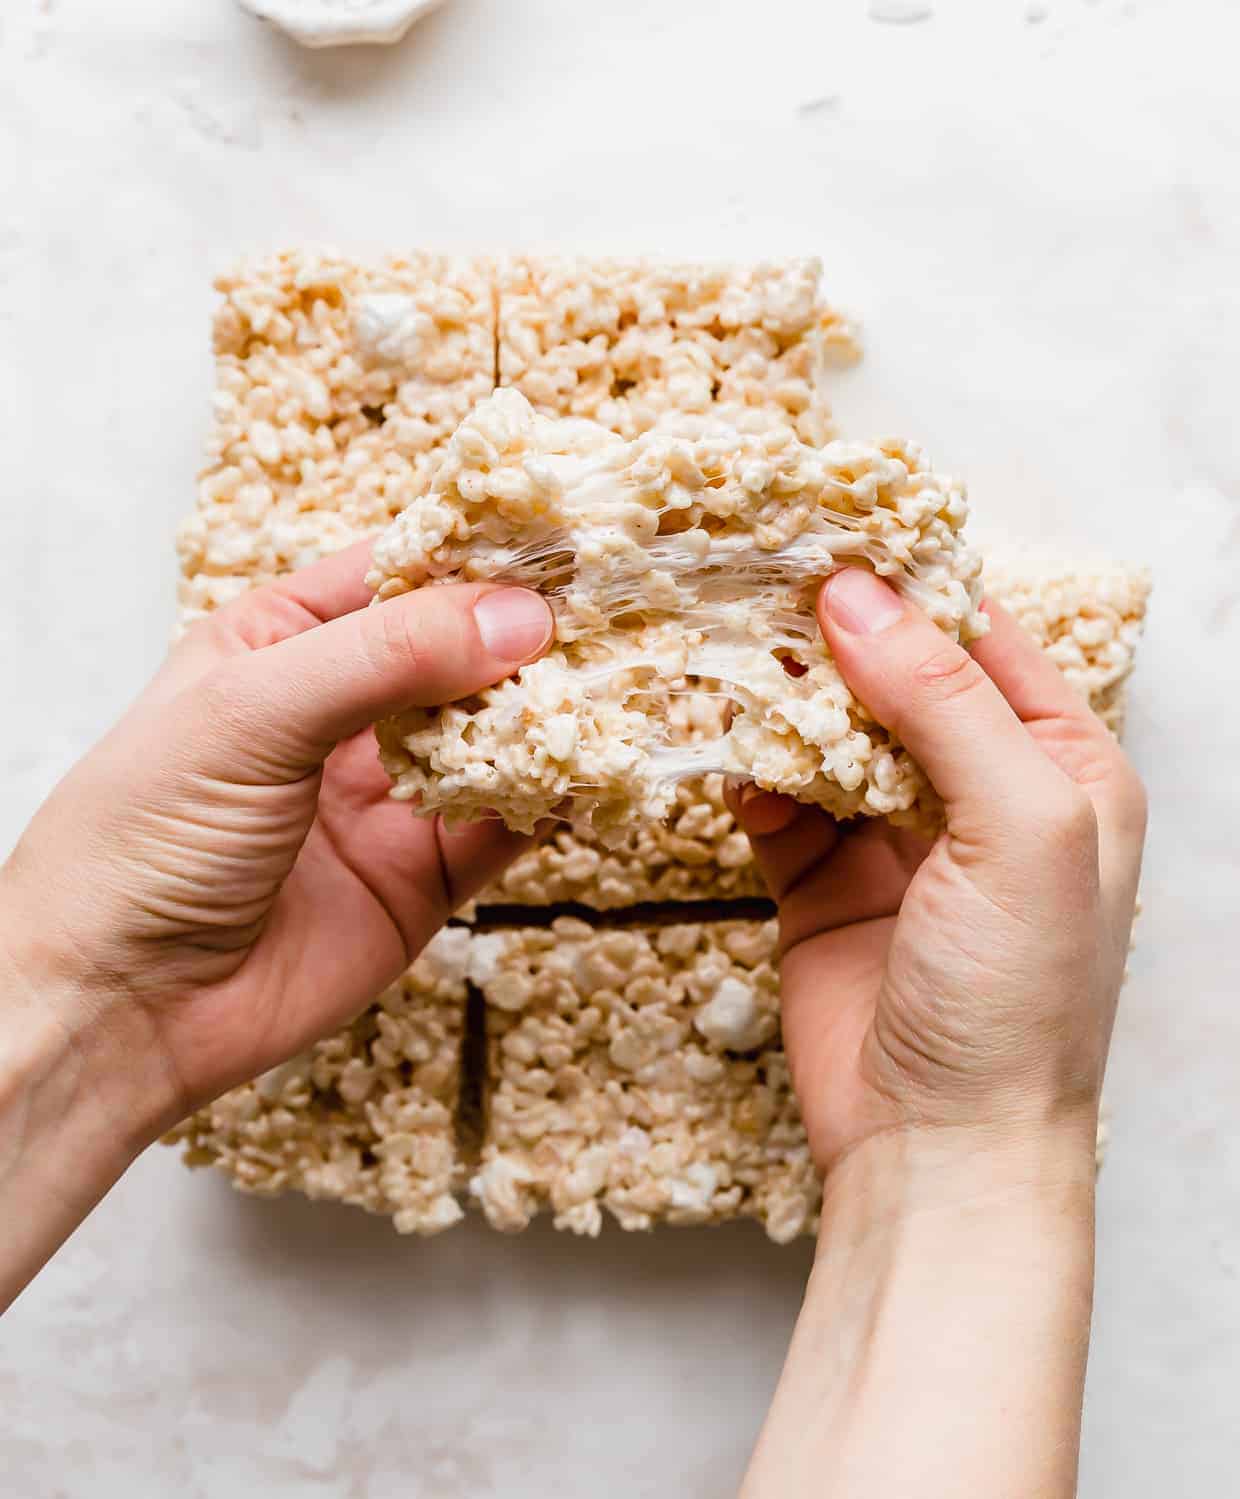
These Salted Brown Butter Rice Krispie Treats are a delicious, ultra-gooey sweet and salty treat with a brown butter caramel-like flavor and pockets of soft marshmallows in every bite!
These are not your normal Rice Krispie Treats. Browning the butter sends these treats over the top! The butter takes on this delicious nutty caramel flavor that adds a depth of flavor. For some additional twists to the classic recipe, try my M&M Rice Krispie Treats, Fruity Pebble Rice Krispie Treats, S’mores Rice Krispie Treats, and Scotcharoos!
Why This Recipe Works
- Sweet and salty flavor. I’m convinced that salting Rice Krispies needs to be a law because without it, these treats are far too sweet. We’ll make it a Salt & Baker law. Repeat after me: I promise to always salt my Rice Krispie Treats. 😊 The salt adds the perfect balance to the sweetness of the treats and enhances the flavor too!
- Browned butter flavor. This recipe is such a fun twist on the classic recipe without adding any extra ingredients. Browning the butte provides a richer enhanced flavor. The color becomes more amber-like and the flavor is like caramel. What could be better?!
Ingredient Notes
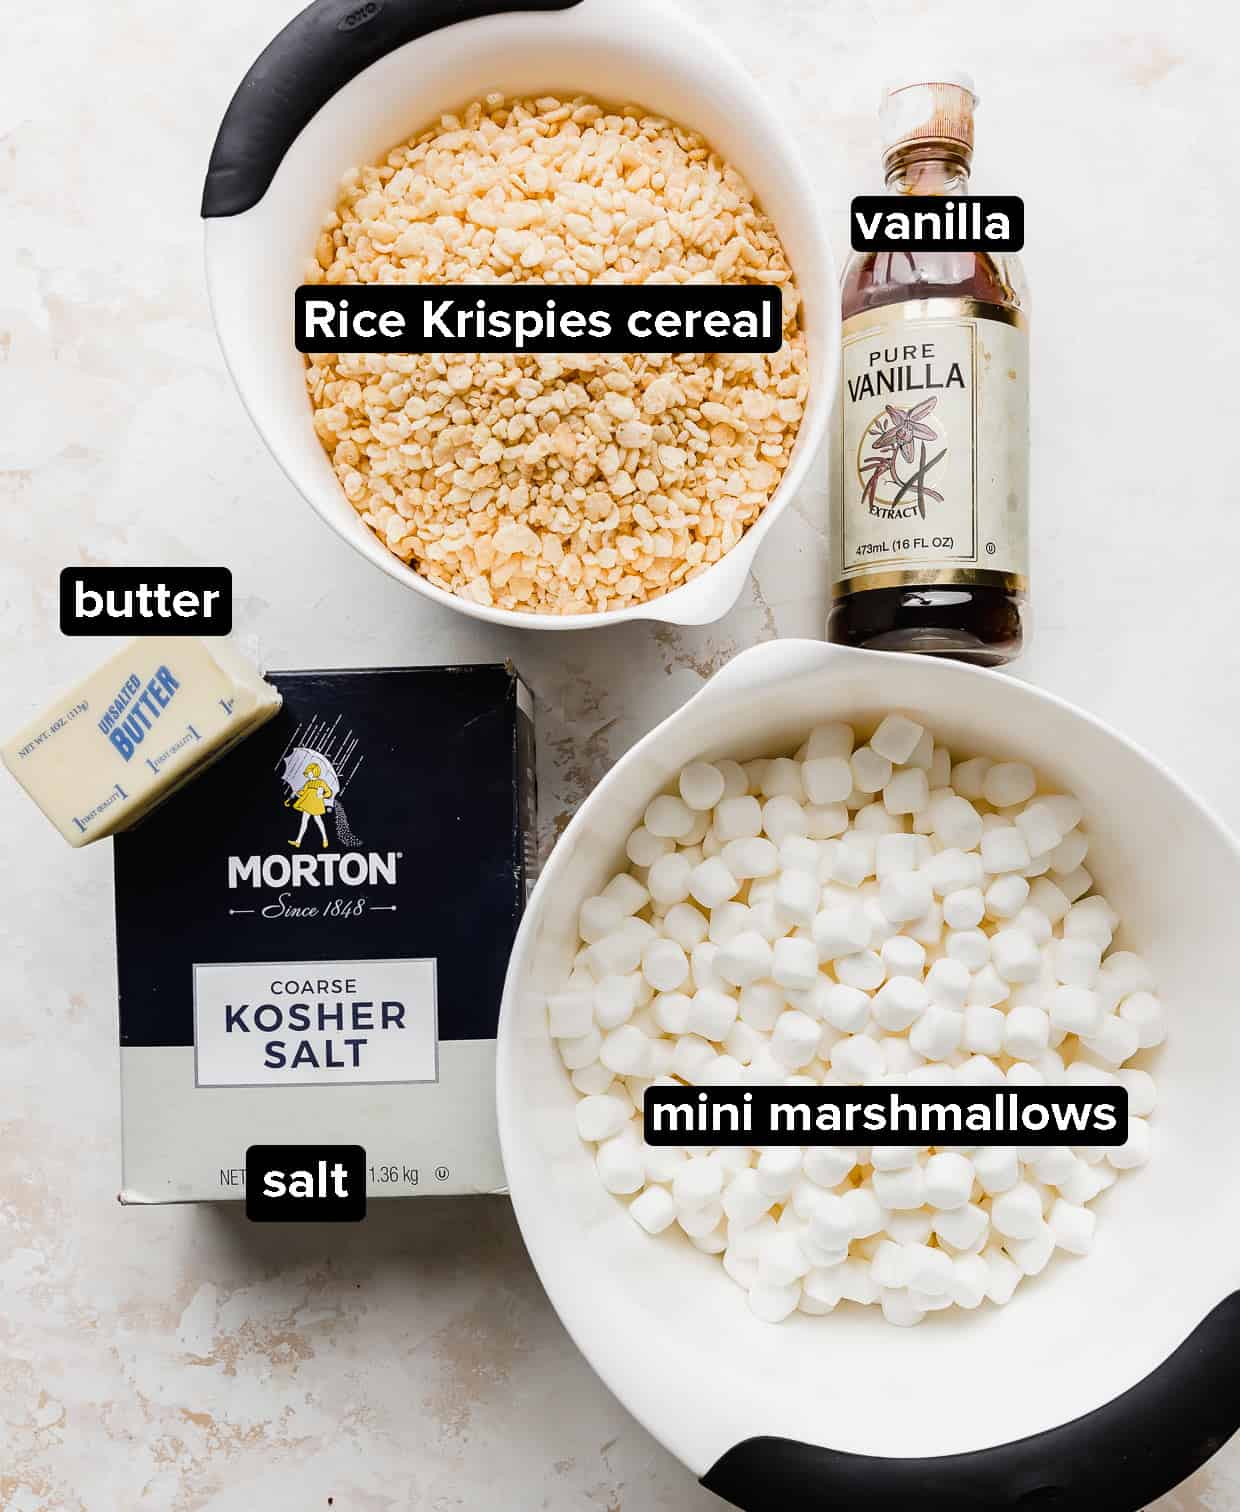
- Unsalted Butter: If you’re using salted butter, just be sure to reduce the amount of Kosher salt you add. You’ll brown the butter to give an enhanced flavor to the marshmallow mixture.
- Mini Marshmallows: Using mini marshmallows will give you a better result because they disperse better throughout the mixture and they melt faster.
- Kosher Salt: This is a courser salt than your normal table salt. If you are using normal table salt, you’ll want to reduce how much salt you are using. Here’s the breakdown: 1 teaspoon of table salt = 1 ¼ teaspoons kosher salt.
- Vanilla Extract: Paired with the browned butter, this provides a delicious caramel flavor.
Step-by-Step Instructions
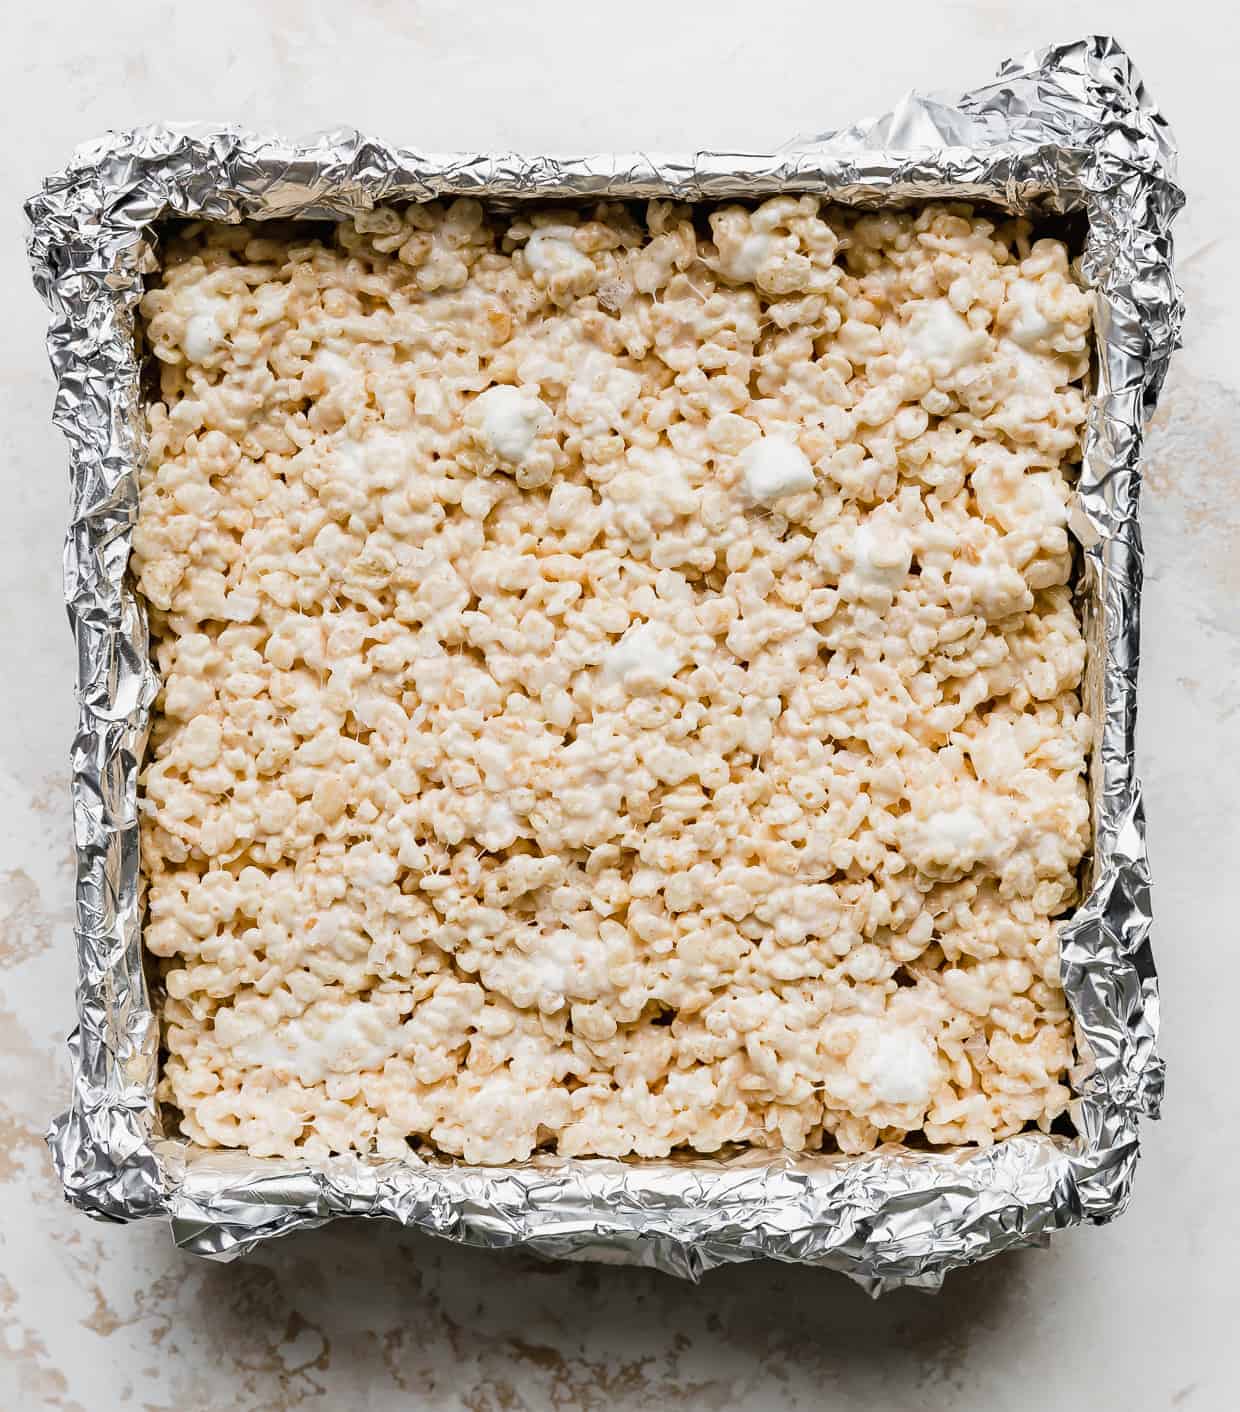
- Prepare the pan. Line an 8×8-inch brownie pan with aluminum foil. Spray the foil with nonstick cooking spray.
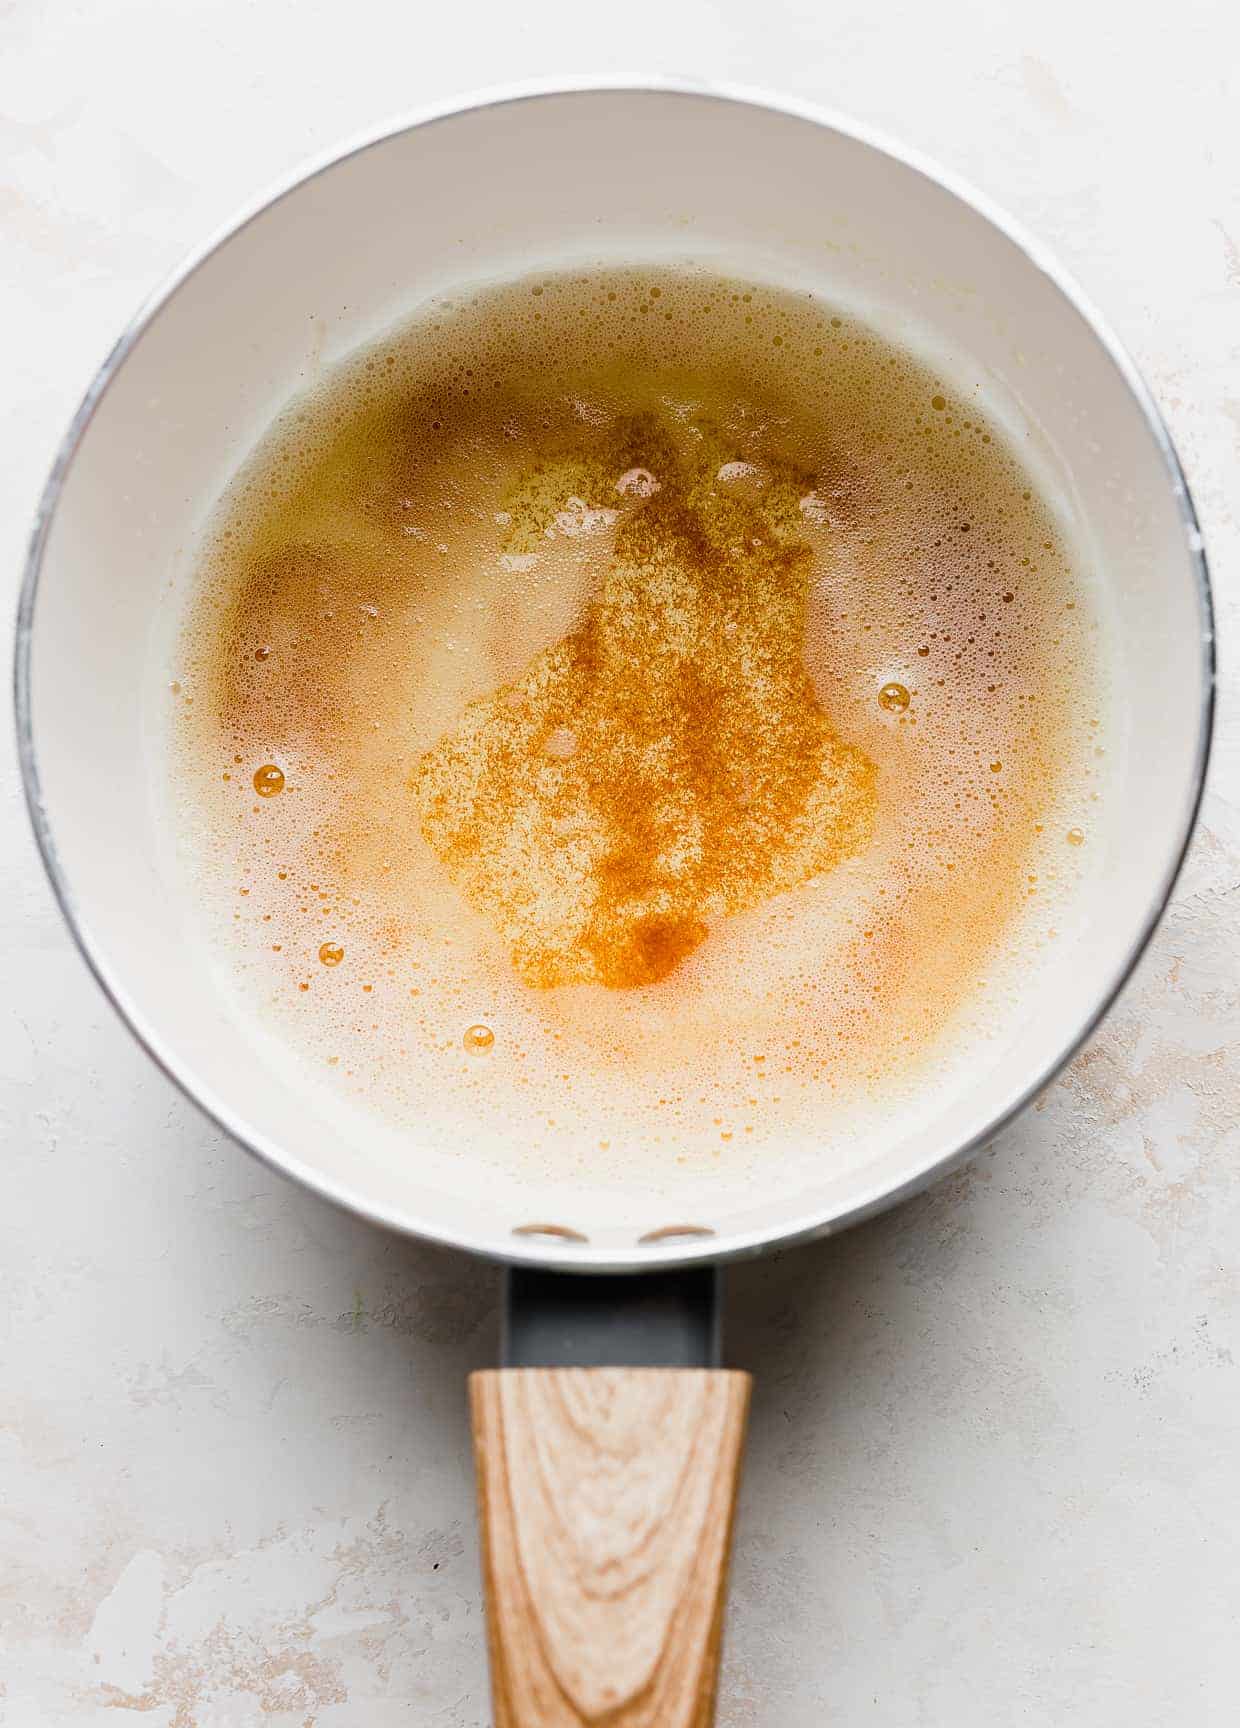
- Brown the butter. In a large pot over medium-low heat, melt the butter. After the butter is melted, turn the heat down to low. Now we are going to brown the butter. It takes about 5 minutes. Stir frequently throughout this process to prevent the butter from burning. The butter will turn foamy and golden colored specks will appear on the bottom of the pan. The butter will have a beautiful nutty aroma.
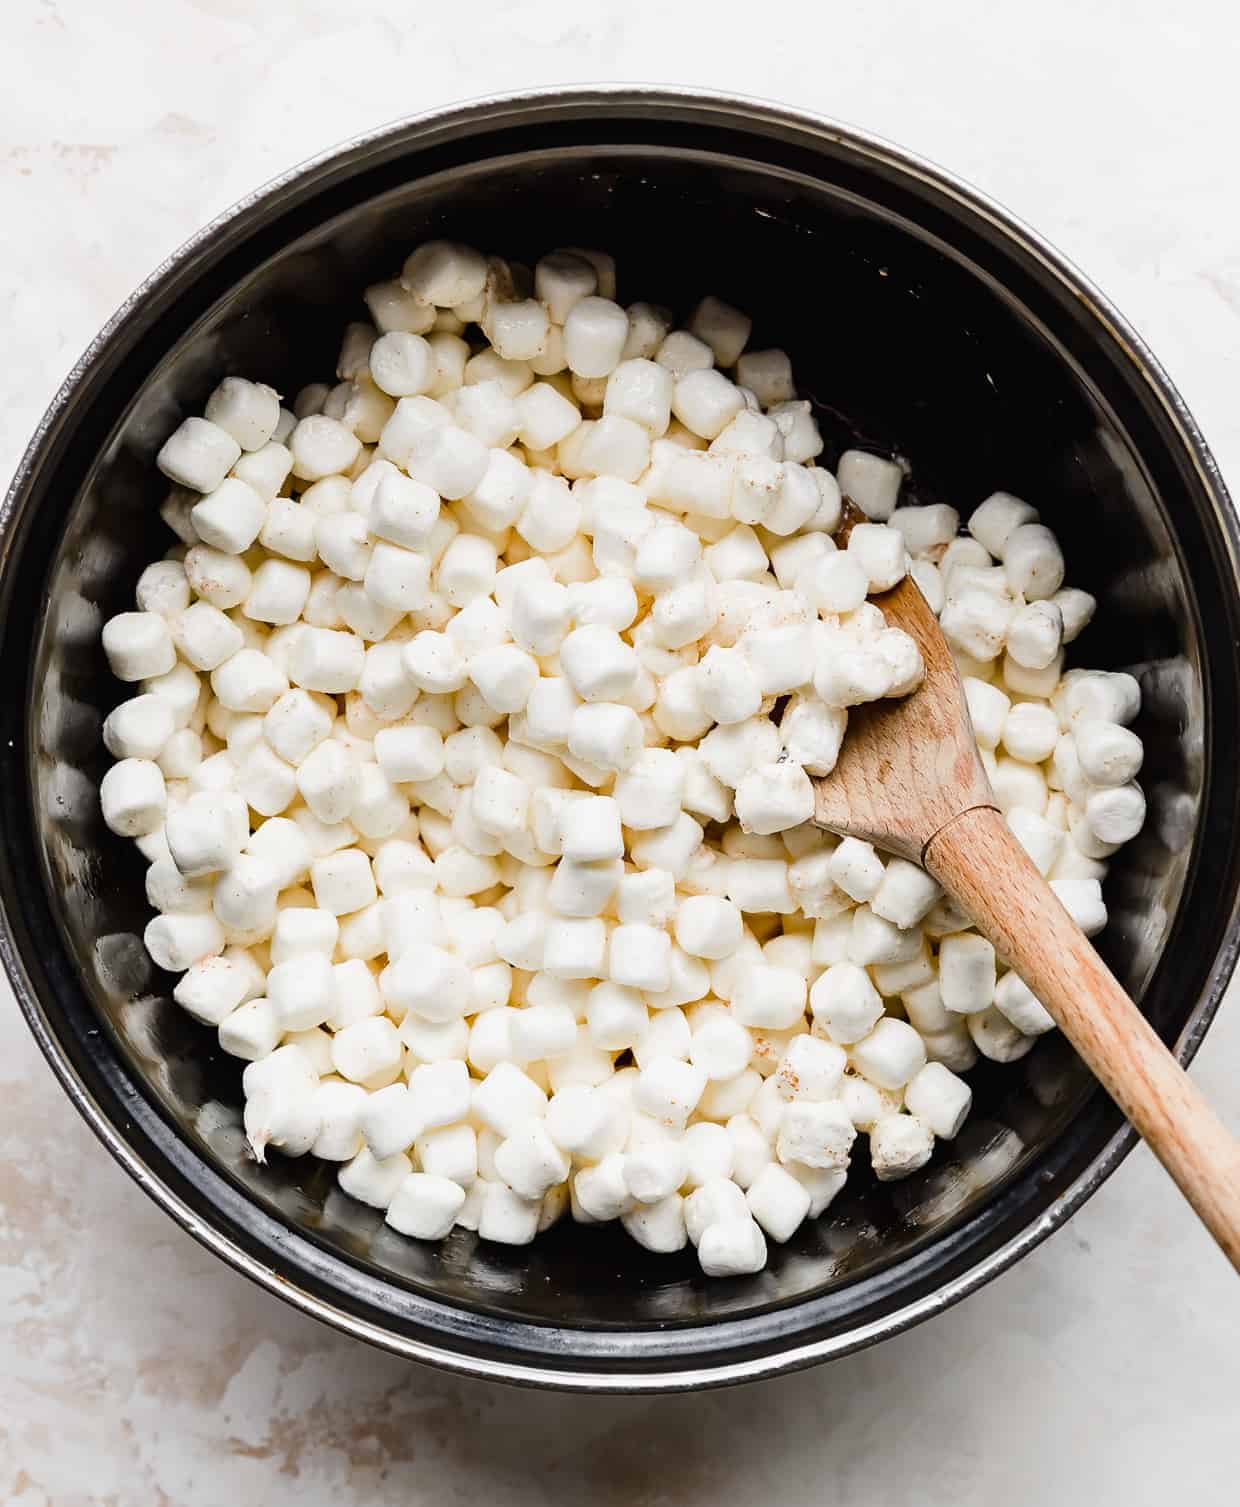
- Add the marshmallows. Once the butter has taken on a nutty color, stir in 8 cups of the mini marshmallows. Once the marshmallows have just melted, stir in the kosher salt and vanilla extract.
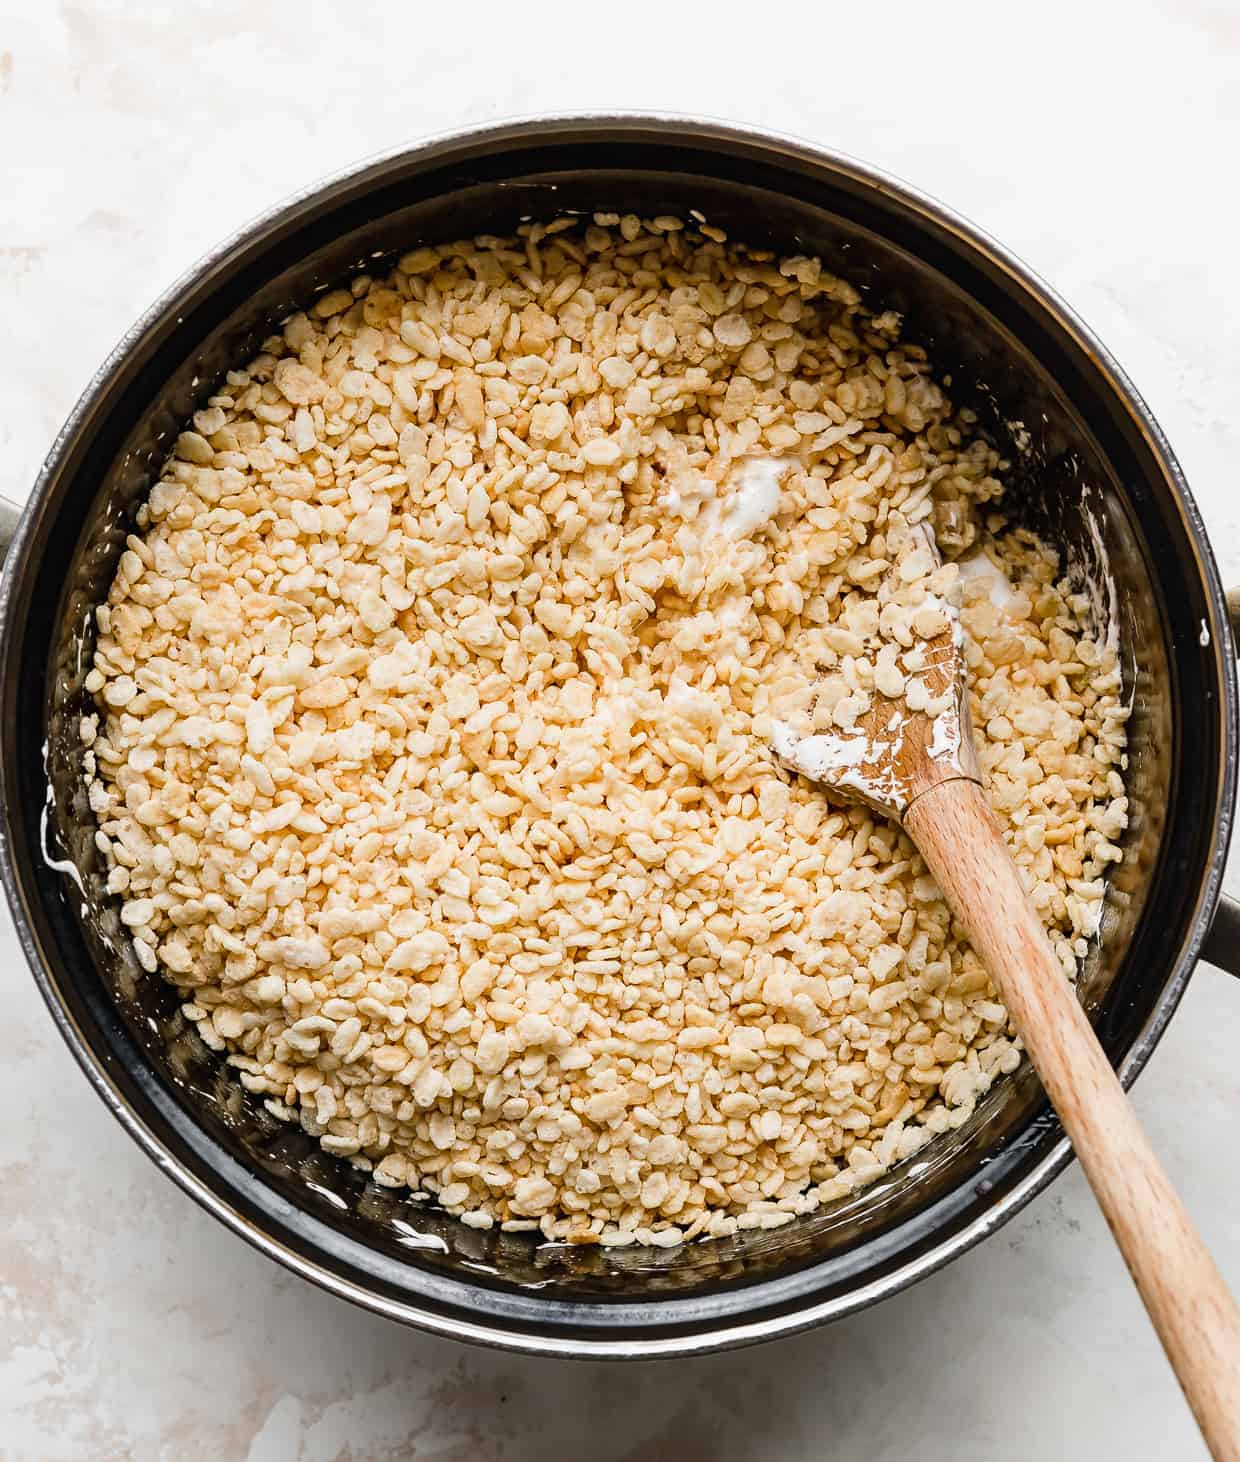
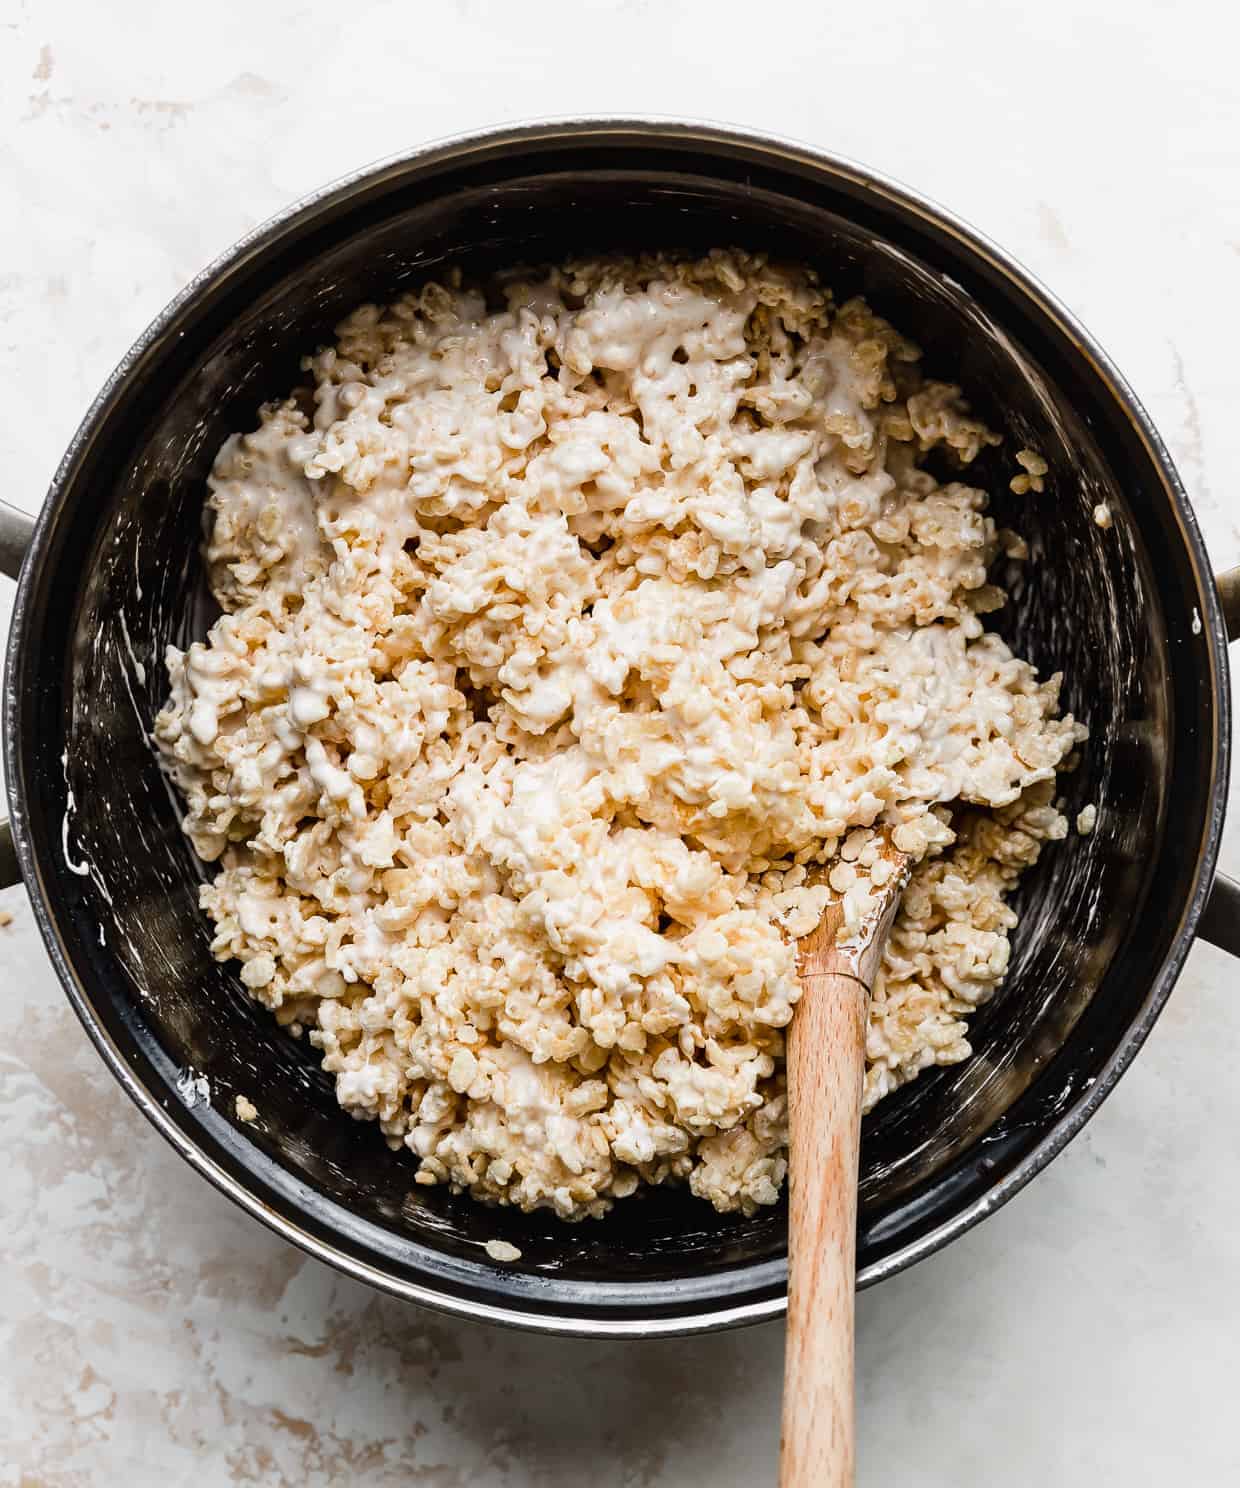
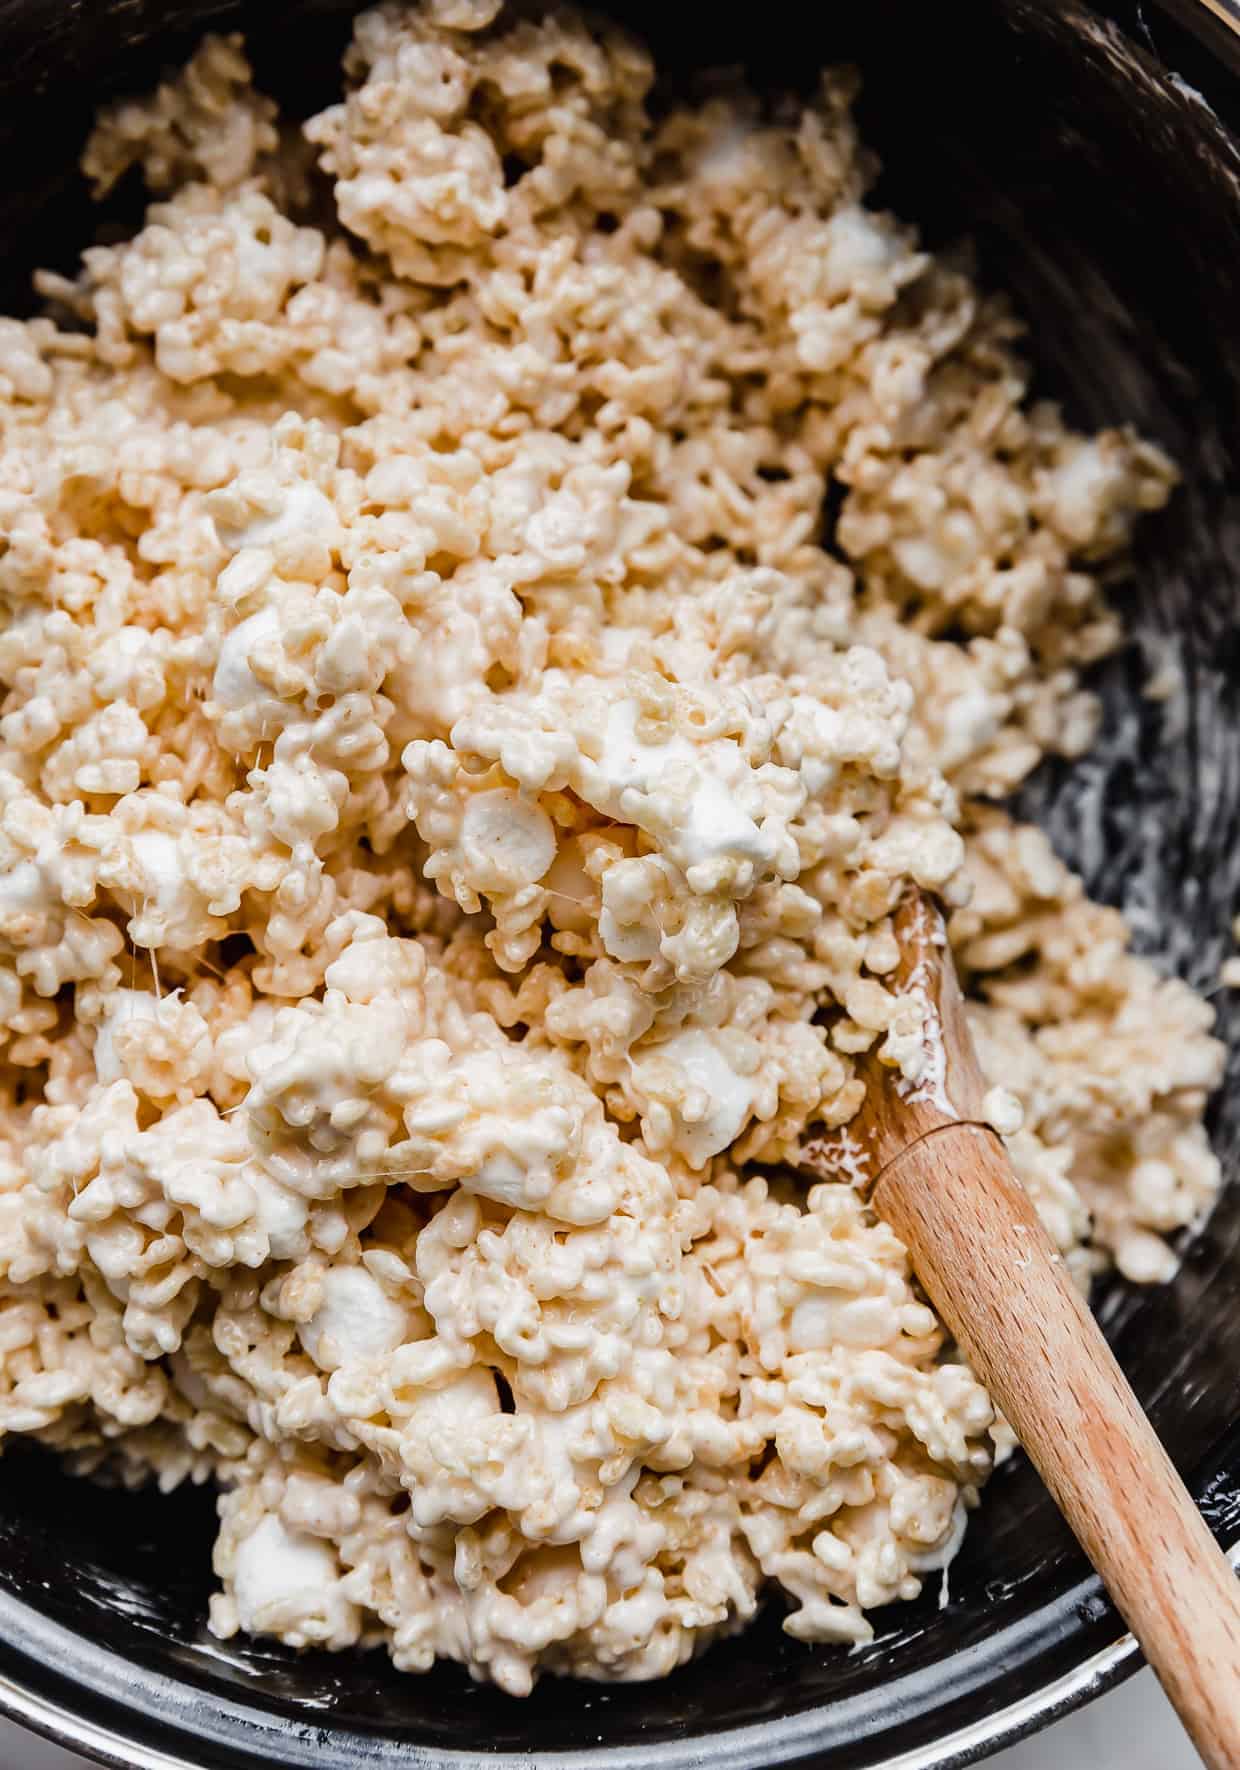
- Add the cereal. Remove the pot from heat and stir in the Rice Krispies cereal. Mix until the mixture is completely covered in the marshmallow mixture.
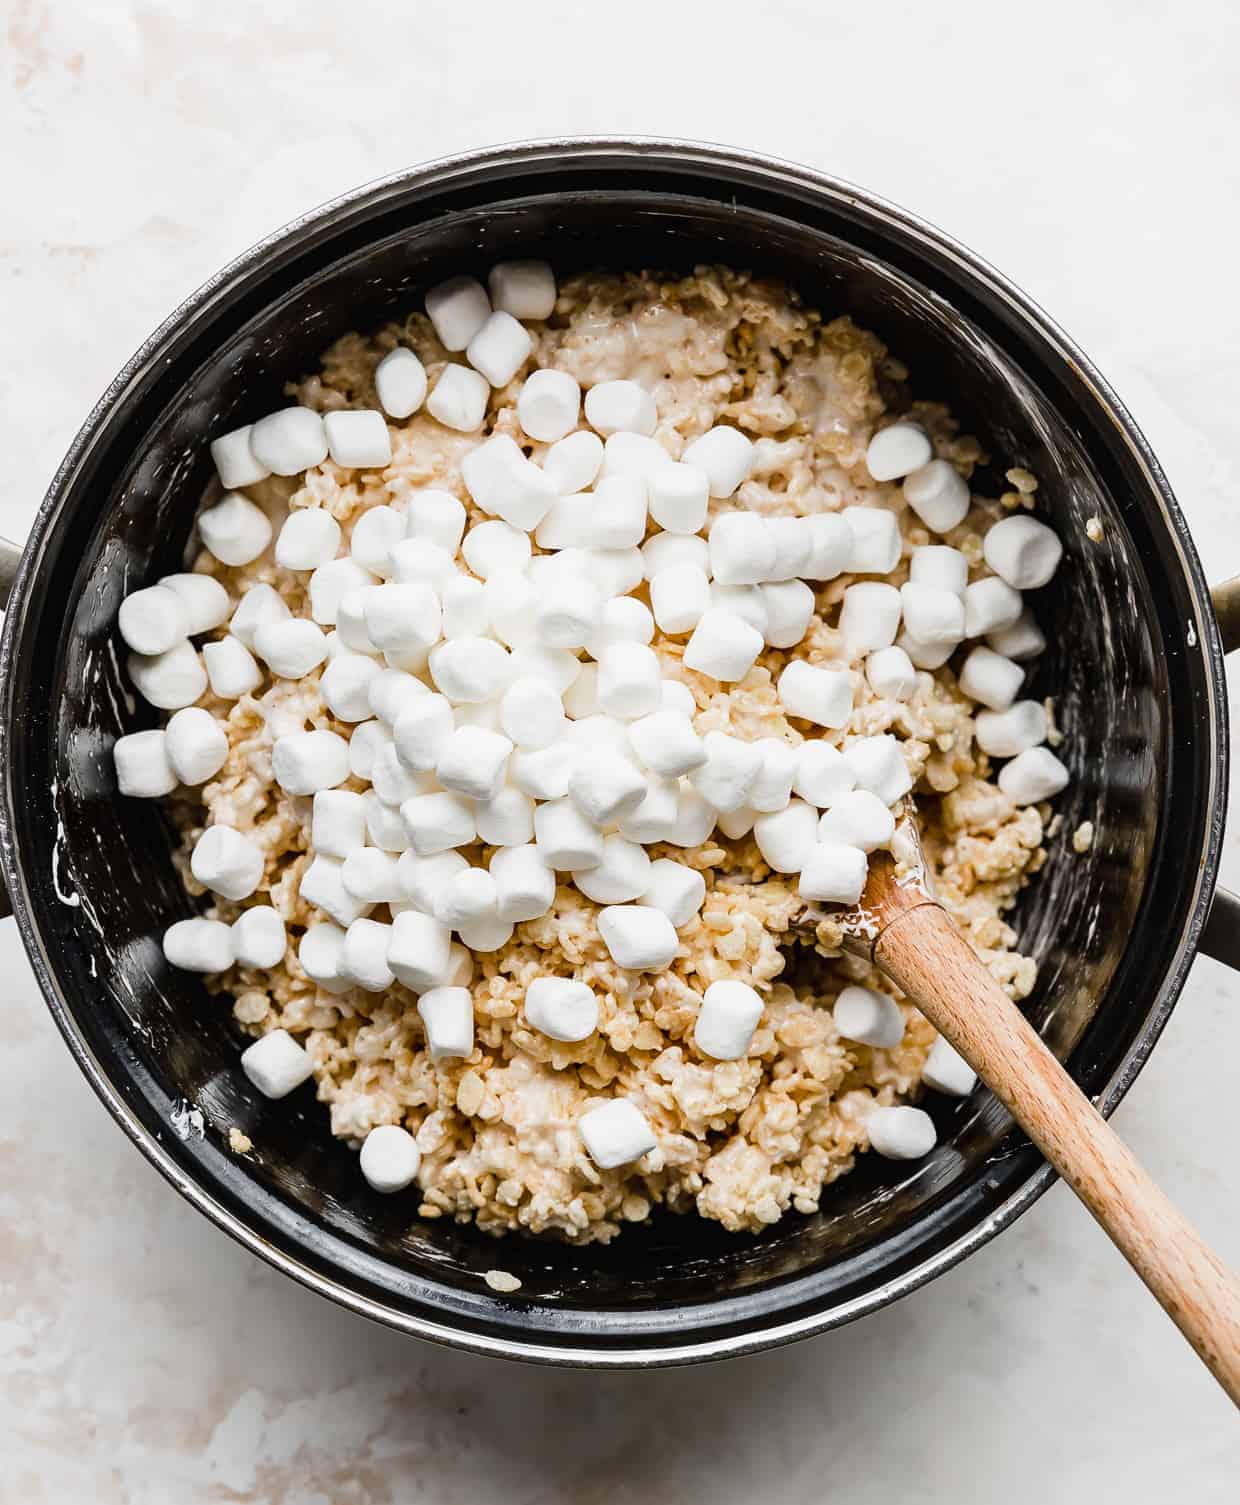
- Add additional marshmallows. Stir in the remaining 2 cups of mini mallows. (We hold this out and add it now so we can get some of those yummy marshmallow pockets.)
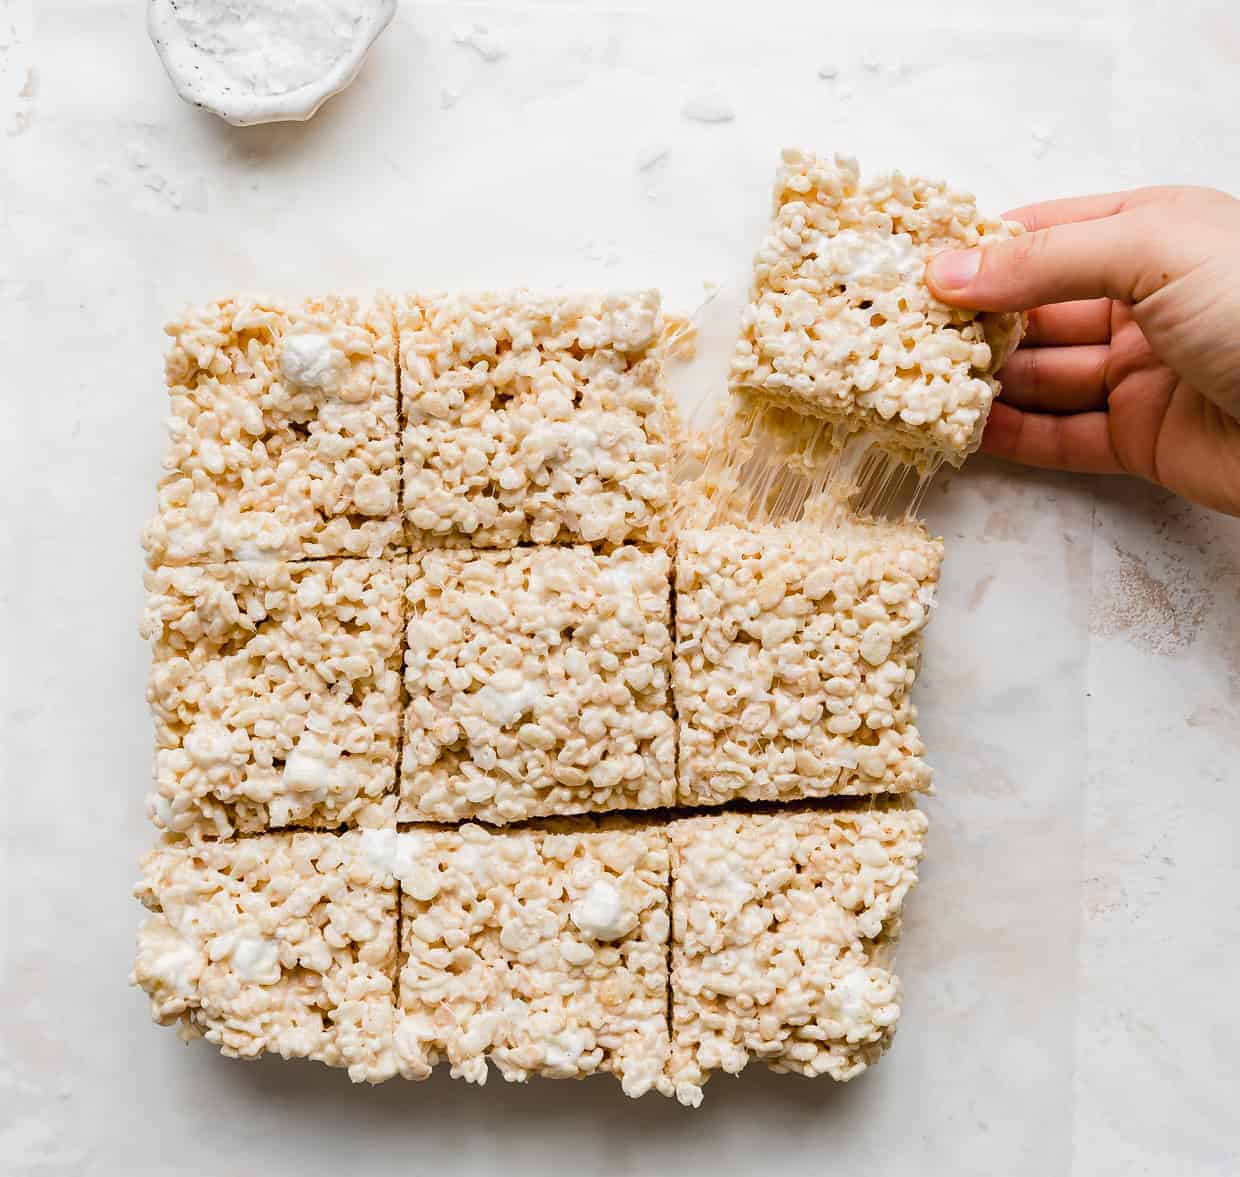
- Gently place in prepared pan. Spoon the mixture into the prepared 8×8-inch pan. Gently press the mixture into the pan. Sprinkle some sea salt on top. Let set for 30-60 minutes, then lift the foil from the pan. Slice into squares.
Recipe Tips
f you don’t have aluminum foil, you can line the pan with parchment paper. Don’t forget the nonstick cooking spray! This will make removing the treats much easier.
Stir the butter frequently while browning so it doesn’t burn. You can tell when the butter is browned when the butter turns foamy and you can see golden colored specks on the bottom of the pan. The butter will be amber in color and will also take on a beautiful nutty aroma.
If you use salted butter, reduce the salt in the recipe. Kosher salt is different from table salt, in fact, kosher salt has a larger grain. I prefer using kosher salt in this recipe but if you don’t have it and can’t get it, use table salt and use just 1/8 tsp.
Don’t press the salted brown butter Rice Krispie treats into the pan too hard! Doing this will cause the treats to get dense and hard.
Spray your wooden spoon (or hands) with nonstick cooking spray prior to pressing the mixture into the pan, this will prevent the gooey treats from sticking to the spoon and/or your hands.
When it comes to these Rice Krispie Treats with brown butter and sea salt, definitely add the sea salt! I wish I knew about adding it on top much sooner!
For an in-depth look at how to brown butter, along with tips and FAQS, check out my How to Brown Butter post!
Make Ahead, Storing, and Freezing
Store at room temperature in an airtight container or Ziplock bag for 3-5 days to prevent the treats from drying out. Push as much air out as you can.
Store the treats in something you can get airtight if you are making ahead of time!
Don’t store them in the fridge or else they will go hard and won’t soften back up at room temperature. (Same with freezing!)
FAQs
I like using traditional marshmallows because I like having those pockets of gooey marshmallows in my treats! With marshmallow fluff, you won’t get that. The consistency may be affected as well depending on what else is in the fluff.
I’d say about 2-3 days they’ll stay fresh and soft, but only if you store them correctly. To ensure the softest texture, wrap each square individually in plastic wrap and store in a Ziplock bag.
Harriet Mildred “Millie” Day worked at Kellogg’s and traveled around the country doing cooking schools for Kellogg’s customers. She eventually created the Rice Krispie Treat (around 1939), according to the Des Moines Register. A previous version of the treat used “puffed wheat and molasses” but Millie said marshmallows would be simpler.
I wouldn’t. You want the treats to be soft, gooey and stretchy. If you refrigerate or freeze the treats, they won’t soften back up at room temperature.
Related Recipes
Did you make this recipe? I’d love to hear about it! Click here to leave a rating and review, or scroll below the recipe card and do so there.
Stay up-to-date by following us on Instagram, TikTok, Facebook, and Pinterest.
Salted Brown Butter Rice Krispie Treats
Ingredients
- 7 tablespoons unsalted butter
- 10 cups mini marshmallows - divided, yes use mini marshmallows!
- 1/4 teaspoon kosher salt - see notes
- 1/2 teaspoon vanilla extract
- 6 cups Rice Krispies cereal
- flaky sea salt - for sprinkling
Equipment
Instructions
- Line an 8"x8" inch square brownie pan with aluminum foil. Spray the foil with nonstick cooking spray.
- In a large pot over medium-low heat melt the butter. After it has melted, turn the heat down to low. Now we brown the butter, it will take about 8 minutes for the butter to brown. Stir frequently throughout this process. The butter will turn foamy and golden colored specks will appear on the bottom of the pan. Stir frequently to prevent the butter from burning. The butter will have a beautiful nutty aroma.
- Once the butter has taken on a nutty color, stir in 8 cups of mini marshmallows.
- Once the marshmallows have just melted stir in the kosher salt and vanilla extract.
- Remove the pot from heat and stir in the Rice Krispies cereal. Mix until the mixture is completely covered in the marshmallow mixture.
- Stir in the remaining 2 cups of mini mallows.
- Spoon the mixture into the prepared 8×8 inch pan. Gently press the mixture into the pan (but don’t press too hard you don’t want the treats too compact. Sprinkle some sea salt over the rice krispie treats.
- Let set for 30-60 minutes then remove the foil and lift the rice krispie treats from the pan. slice into squares. Store in an airtight container for 4-5 days.
Notes
This recipe was originally published on Jan 25, 2021. It was republished on March 5, 2022, to include additional information and photos.
 Welcome to this delicious corner of the internet! Here I share the recipes my family loves.


23 Comments on “Salted Brown Butter Rice Krispie Treats”
Should the recipe read 10 oz marshmallows rather than 10 cups?
Nope, the recipe is correct! You need 10 cups of marshmallows.
These are AMAZING. We literally can’t stop eating them!
I love to hear it!! 🙌🏼
Exactly what I was looking for! Delicious! I only had regular sized marshmallows so I looked up the conversion. I doubled the recipe and used two 10 oz bags of marshmallows (total of 73!)
So happy you found this recipe, Rebecca! Thanks for your review. Glad the regular sized marshmallows worked for you!
Can you double the recipe for a 9×13 pan?
Theresa, absolutely! This recipes works great doubled.
So good and so easy!! My super picky (sensory processing disorder) 6 year old tried them and said his mind was blown!
This is one of my favorite recipes Morgan! I’m glad that even your super picky eater found them to be “mind-blowing.”
I usually don’t comment when I don’t follow the recipe exactly, but I use bourbon instead of vanilla in these (as an adult only treat, of course) and the whiskey and browned butter together are pretty magical!
Sounds amazing! Thanks for sharing, Miranda.
Yum!!!! Will never make a traditional Rice Krispie bar again. Can’t wait to make these again when my sister visits. She has sent me something similar from out east but eating these when freshly made pushes those out of first place! Thanks for a great recipe.
So yummy! The brown butter, salt, and the bigger pieces of marshmallows elevate these treats!
Thanks for the kind review Pam. Glad you enjoyed this recipe!
I’ve made these twice now and both times they’ve been gone within 30 minutes! The brown butter and the salt together are AMAZING! I don’t think I’ll make regular rice krispies again. Oh and these are super gooey!
These were actually gooey! And the salt makes them taste even better!
Oh wow! So much better than traditional recipe. I didn’t realize my cereal was rice squares but went ahead and I think I liked better with the squares! Absolutely delicious!
I did read the comments. So, basically you do “not” want to freeze because they wont soften back up?
I don’t recommend freezing. Do you need to make these in advanced? If so, how far in advance do you need them?
I’m not crazy about Rice Krispy Treats, but my daughter made these, so I tried them. The browned butter and not completely melting the other 2 cups of marshmallows was a game changer. But waiting 30-60 minutes before cutting? We waited about 5 minutes 🙂 They were gone in no time!
I haven’t made rice crispy treats in years and figured it would be an easy bbq snack and these did not disappoint! They turned out great! Super marshmallowy and soft! I may use a larger pan next time as they are really thick but absolutely delicious!
Wow! This recipe is AMAZING! I loovvveee the chunks of marshmallow and they’re just incredibly soft and gooey! I wish I could give 100-five star reviews!!