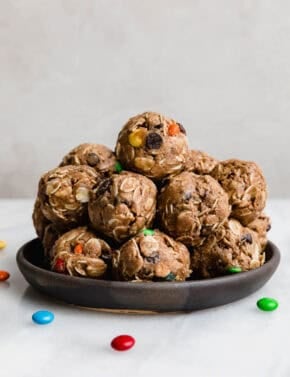
No-Bake Energy Bites
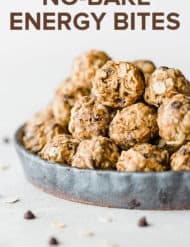
These No-Bake Energy Bites are a low calorie snack that utilizes healthy ingredients. We love these protein balls because they’re portable, guilty-free (not that you should feel any sort of guilt when eating food), energy boosting, and delicious! If you’re constantly battling an unhealthy snacking habit or you need to curb your sweet tooth, this recipe will be your saving grace!
Snacks are inevitable. I can’t be the only one fighting off hunger pains come 10am and 3pm! If you’re like me, I have some portable, healthy(ish) recipes for you to try:
Being a busy mom, I’m DESPERATE for snacks that are filling, healthy, and not fruit snacks. These no-bake energy bites check all of those boxes PLUS they’re delicious! It’s true! My son and I crave them all the time.
I love this recipe because it’s the perfect serving size and curves my appetite, but they taste good enough to call “dessert.” I mean truthfully they have everything I want in a cookie: chocolate and peanut butter.
Healthy No-Bake Energy Bites
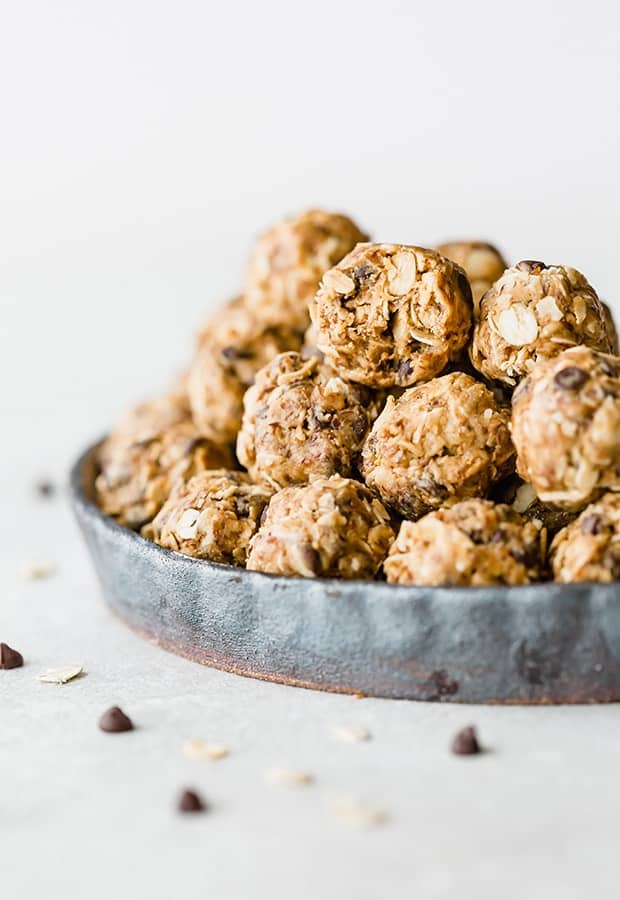
No-Bake Energy Bites are also referred to as protein balls or protein bites, and for good reason. These small balls are loaded with protein, healthy fat, fiber, and great flavor.
They’re delicious, portable, and healthy.
And easy. Like, super easy. 10 minutes easy.
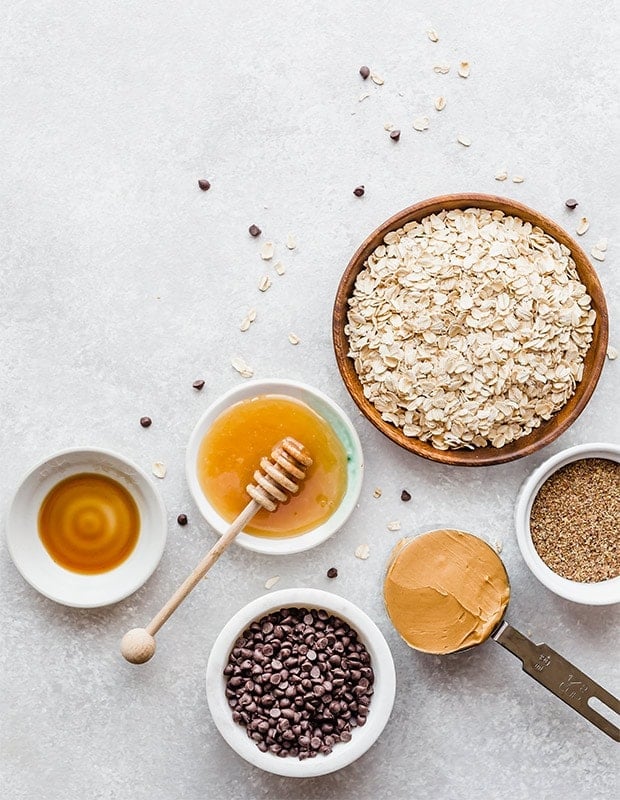
No-Bake Energy Bites ingredients:
I have good news, you probably have all of the ingredients you need to make this recipe in your pantry. These no-bake energy bites utilize common household pantry staples.
- rolled oats
- honey
- ground flax seed – you may not have this, and if you don’t that’s ok. You can omit the ground flax seed if you’d like, or substitute it for more oats or kodiak cakes mix.
- peanut butter
- vanilla
- mini chocolate chips
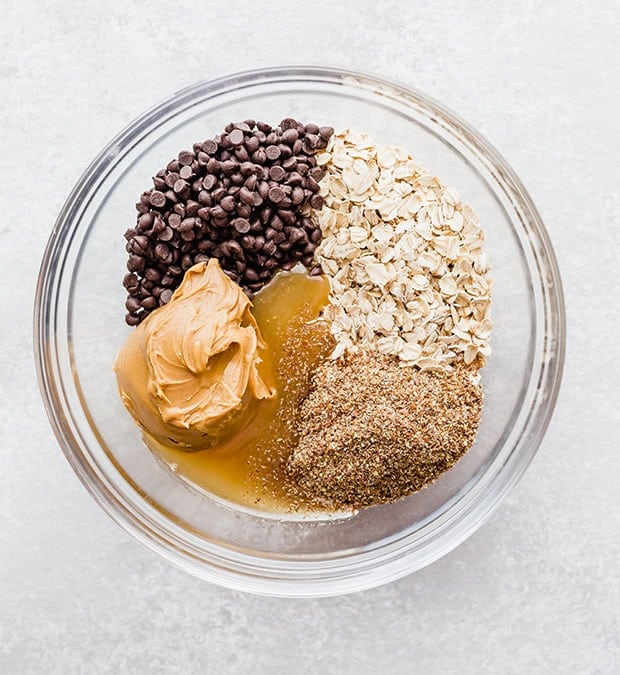
How to make energy bites
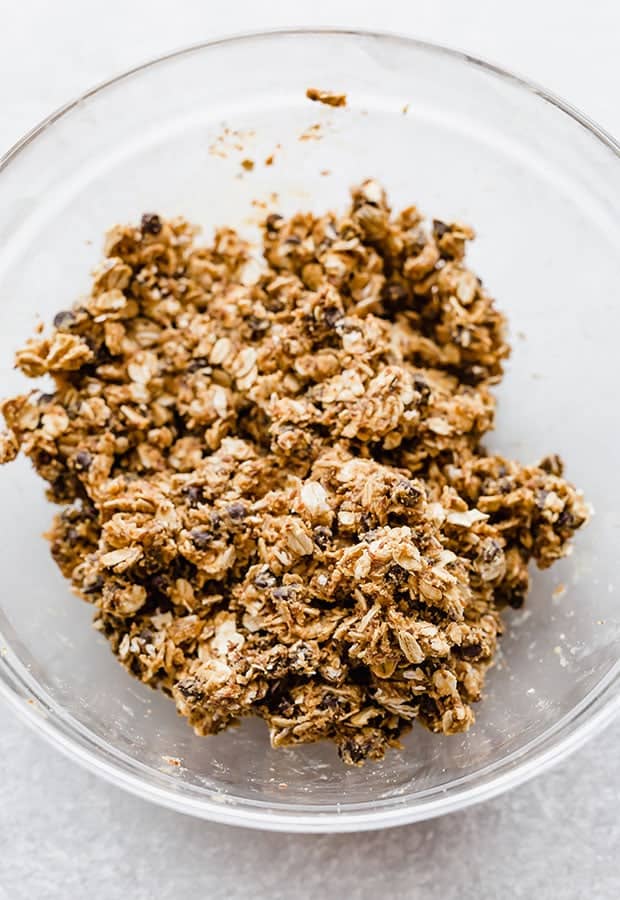
In a medium bowl combine the oats, flax seed, peanut butter, honey, vanilla, and mini chocolate chips.
Stir to combine.
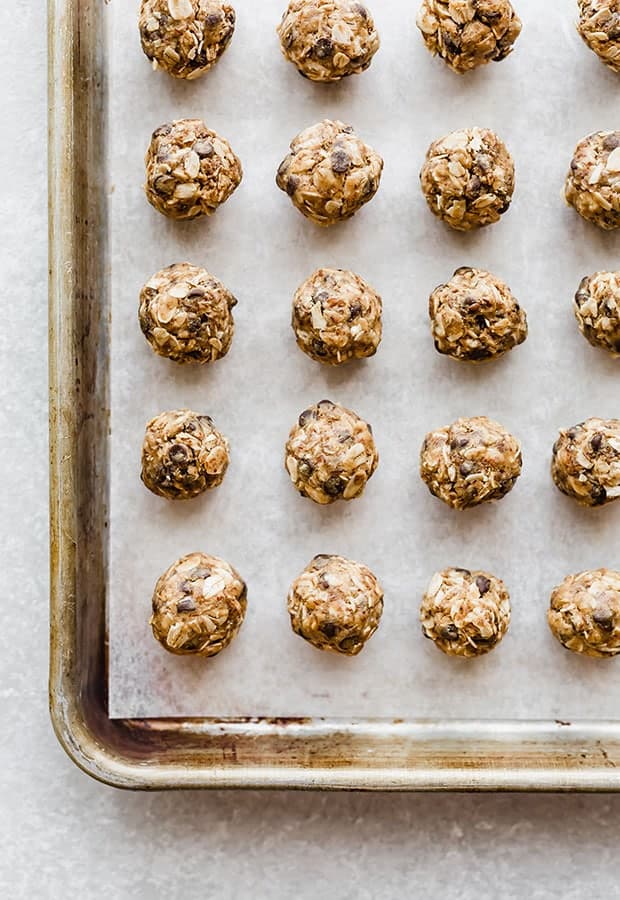
Using a small cookie scoop portion out the dough into 1-2 inch size balls.
Place the balls on a baking sheet or plate, then set in the refrigerator or freezer to set.
Pro tip: If you find the dough is sticky, you can cover the bowl with plastic wrap and set it in the fridge to chill. I would only chill it for 15 minutes. Once chilled, remove the plastic wrap and portion the dough into small balls.
How to store energy bites
Do energy bites have to be refrigerated? No. They will keep at room temperature just fine, however, they will be quite soft and might stick together.
Can you freeze energy bites? Yes! These are freezer friendly. Once rolled into balls and slightly chilled, you can place the balls in a freezer safe ziptop bag. The peanut butter protein balls will last in the freezer for up to 3 months.
Whether you’re storing them in the refrigerator or the freezer, be sure to place the energy bites in a ziplock bag or airtight container to maintain freshness.
Energy bites will keep in the refrigerator for 1 week or in the freezer for up to 3 months.
Tips for making energy balls
- If the “dough” is too sticky and it’s hard to roll the energy bites into balls, place the “dough” in the refrigerator to chill for a few minutes.
- On the contrary, if the dough is too dry add a tablespoon of peanut butter or a little more honey to the mixture.
- If you’d rather not use a liquid sweetener you can replace the honey with dates. Simply pulse the dates in a food processor and then mix that with the remaining ingredients.
- Rather than roll the energy bites into balls you can place the mixture into a parchment-lined small pan and cut them into bars/squares. I would use a bread pan if you want the bars to be thicker in width.
- For added convenience some readers have placed the energy bites in ice cube trays! They then pop them out when ready to store or devour.
Protein Balls & Snack recipes
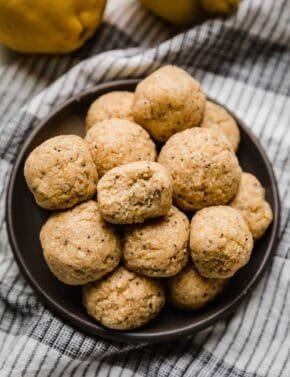
- Snickerdoodle protein balls
- Peanut Butter Bliss Balls
- Pumpkin Energy Balls – taste just like a pumpkin chocolate chip cookie!
- Chocolate Peanut Butter Protein Balls (they taste like a Reese’s!!)
- Oatmeal raisin energy bites – taste just like an oatmeal raisin cookie!
- Healthy Almond Joy Bites – if you like the candy bar, you’ll love these!
If you make a recipe from Salt & Baker please come back to leave a rating and review! Thank you so much! (Your comments help me AND other readers who are making the recipes).
And remember to subscribe to Salt & Baker so that we can stay forever friends; because let’s be honest, the internet is huge and I want you to come back and try more of my recipes. I have some really good ones coming your way! Sign up below.

No-Bake Energy Bites
Ingredients
- 1 cup old fashioned rolled oats
- 1/2 cup mini chocolate chips
- 3 tablespoons ground flax seed
- 1/2 heaping cup peanut butter
- 4 tablespoons honey
- 1/4 teaspoon vanilla extract
Equipment
Instructions
- Combine all of the ingredients in a medium sized bowl. Mix to combine.
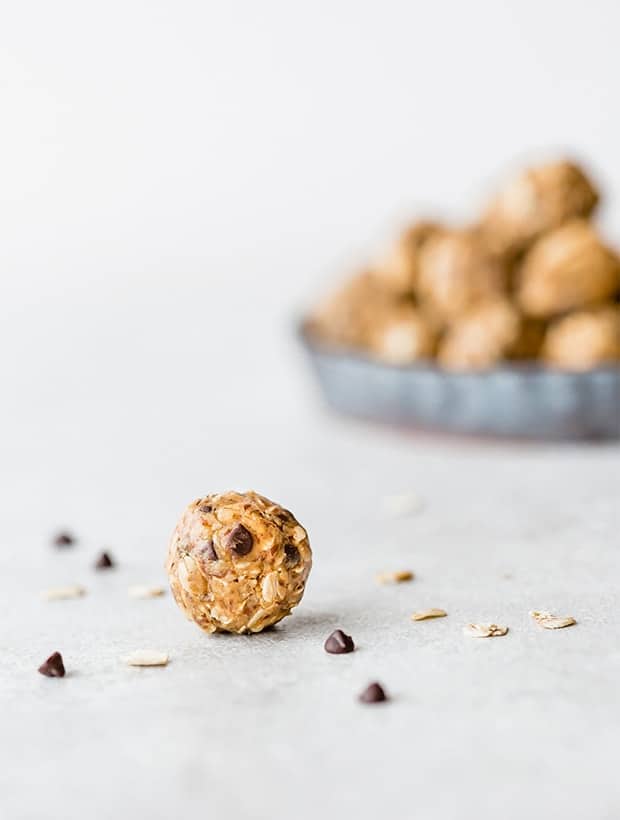
- Roll into 1-1 ½ inch size balls. *
- Place the energy bites on a baking sheet or plate and freeze or refrigerate until fully set, about 30 minutes-1 hour.
- Place in an airtight container or ziplock bag. Store the energy bites in the fridge for 1 week, or in the freezer for up to 3 months.
 Welcome to this delicious corner of the internet! Here I share the recipes my family loves.


101 Comments on “No-Bake Energy Bites”
Hello! How many balls/bites are in a serving? I will be making these today. Sounds like the perfect thing to have on hand to grab quickly.
Hi Melanie, one ball is calculated as one serving. How many bites you make depends on the size you make them into — Whitney used a small cookie scoop to get 30 bites, and that’s the number she used to calculate the servings. Hope this helps!
Thank you, Carley!
You’re welcome!
How many calories would it be if I used powdered peanut butter?
Hi Nichole, I don’t know. I would recommend using a tool to calculate the calories if you use PB Fit.
What are your thoughts on subing the Flax seeds for Sunflour kernels? I would think it would be 1:1.
Hi Jason, this recipe contains ground flax meal, not whole flax seeds. If you pulsed your sunflower seeds in a food processor or blender (not too long or they will turn into sunflower butter), that might work as a substitute. I’m just not sure if large sunflower seeds will hold together very well. Let us know how it goes!
I added about 1/2 tsp of ginger and 2 tablespoons of chia seeds.
Those sound like delicious additions, Sylvia! Thanks for sharing.
I can’t have Flax, so I just replace that with equal parts plant protein powder, and it works PERFECTLY! Such a satisfying snack.
Love the addition of protein and that you were able to find a substitute that worked for you! Thanks for sharing!
Cannot rave about these enough! My whole family loves them, they are amazing. I did swap out for chia seeds but they are so good! I made them for the first time last weekend and they were gone by Wednesday. This weekend I’m making a double batch.
I’m glad to hear the whole family loves them, Shelby! Chia seeds sound like a yummy swap. Thanks for your great review!
I’ve made these so many times!!! I LOVE them! Having a batch of these in the fridge makes it so easy and convenient for me to grab a quick pre-workout snack or dessert after dinner! I use almond butter sometimes and add walnut pieces and cinnamon to them. So good! Thank you!
Love the idea of added cinnamon! Thanks for the great review, Lakeshia!
Loved this recipe!! So good! I also added a tbsp chia seeds to mine
What a fun addition! Thanks for the review, Cassie.
What is a serving size?
1 energy bite is 1 serving. It makes 30 balls (they are small).
I use almond butter sometimes instead of peanut butter. How do you get 30 servings? I use a cookie scoop and only get 16 servings. It’s a delicious treat.
Hi Sahara! Using almond butter is a great idea! In order to get the 30 servings I roll them into 1 inch balls. They are fairly small. What size cookie scoop are you using? I’m glad you love the treat!
Not exactly a protein ball with only 2 grams of protein. 😒
Correct. It’s an energy bite.
My grandchildren love these. So easy to make and a great alternative to a granola bar.
I do cut them into small bars instead of rolling them.
So happy to hear your grandkids love these! Cutting them into small bars sounds like a great idea. Thanks for your review!
Hi Karen, the amount of protein is per ball. Each ball is pretty tiny, so I’d say it’s packed with protein for how small it is! Did you know there are about 7 grams of protein per serving in most peanut butters? And serving sizes for peanut butter are about 2 tablespoons.
macros arent good when you multiply by that much because there is so much fat in peanut butter
Hi! It depends on the brand of peanut butter you used. This is what our third party calculator came up with.