Buttermilk Waffles Recipe
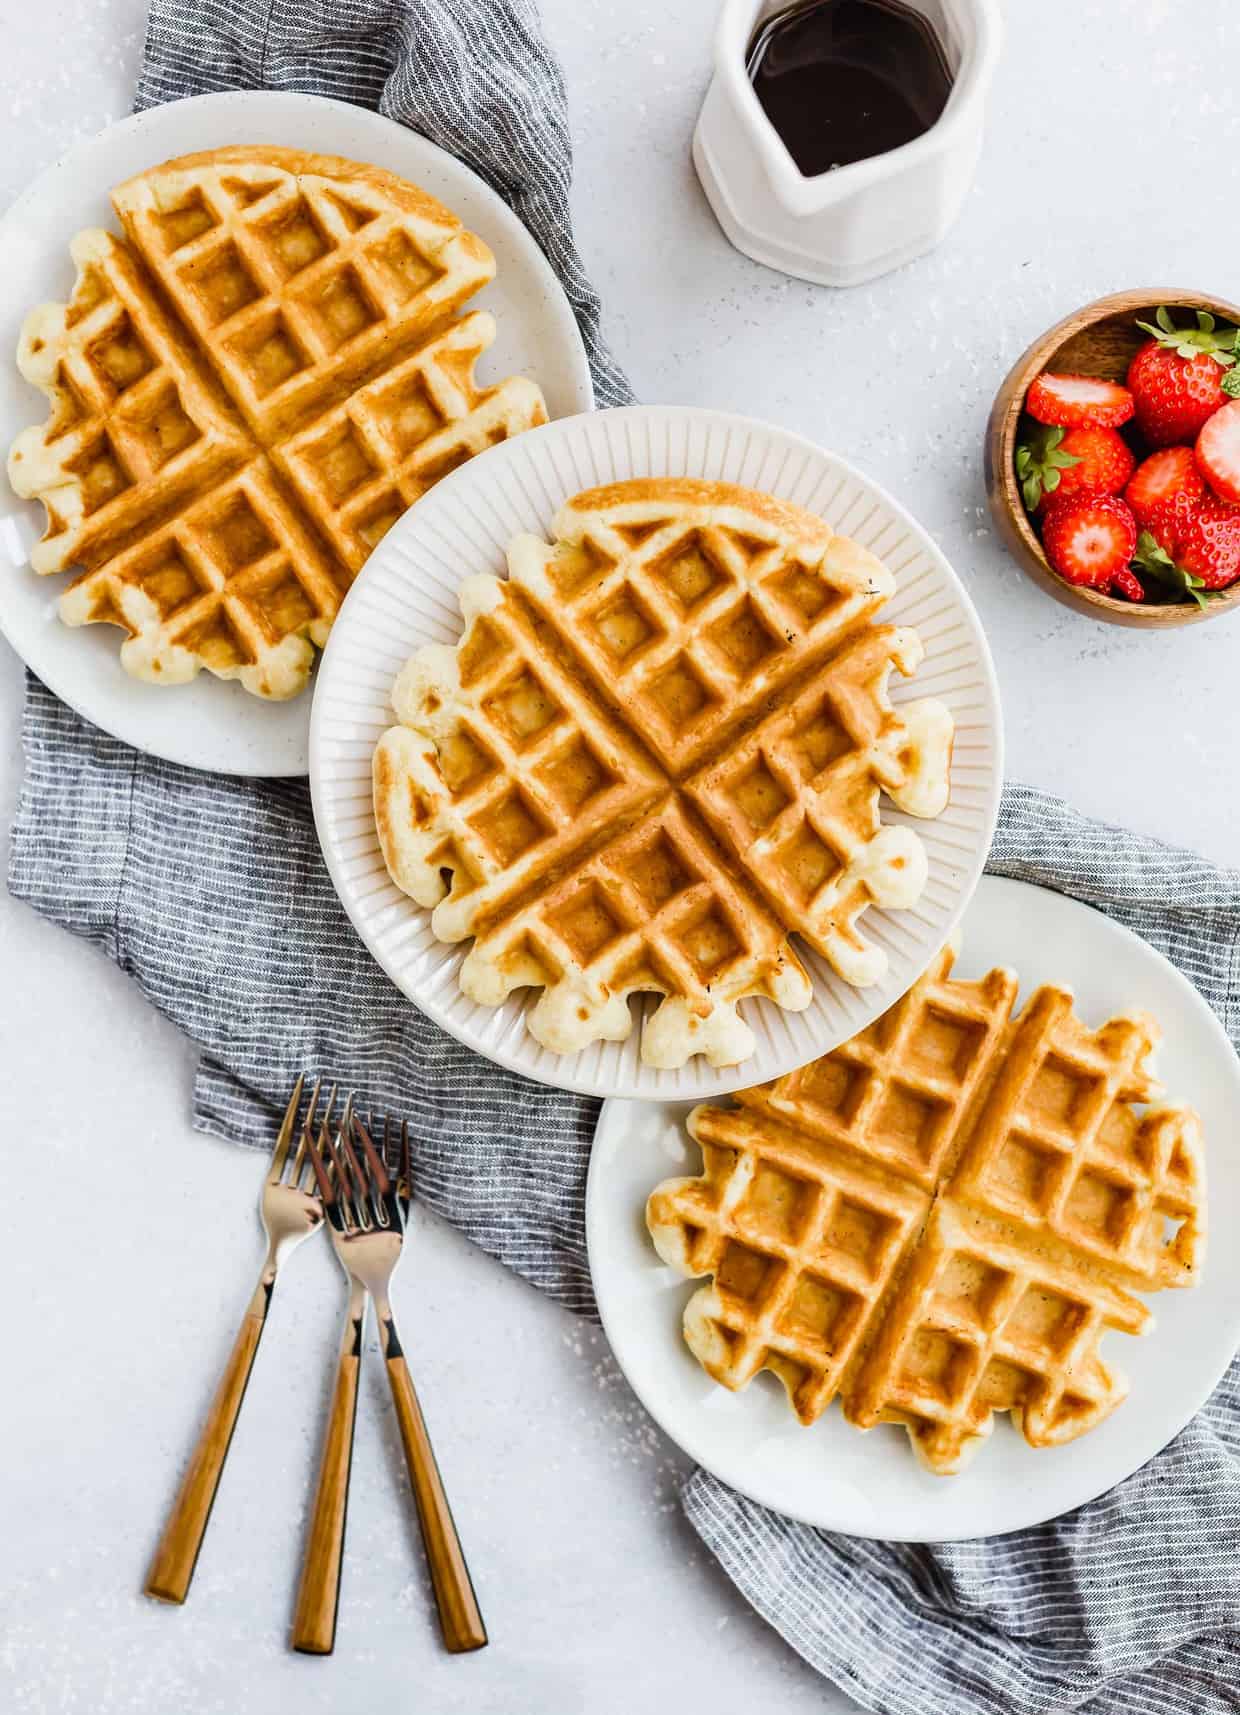
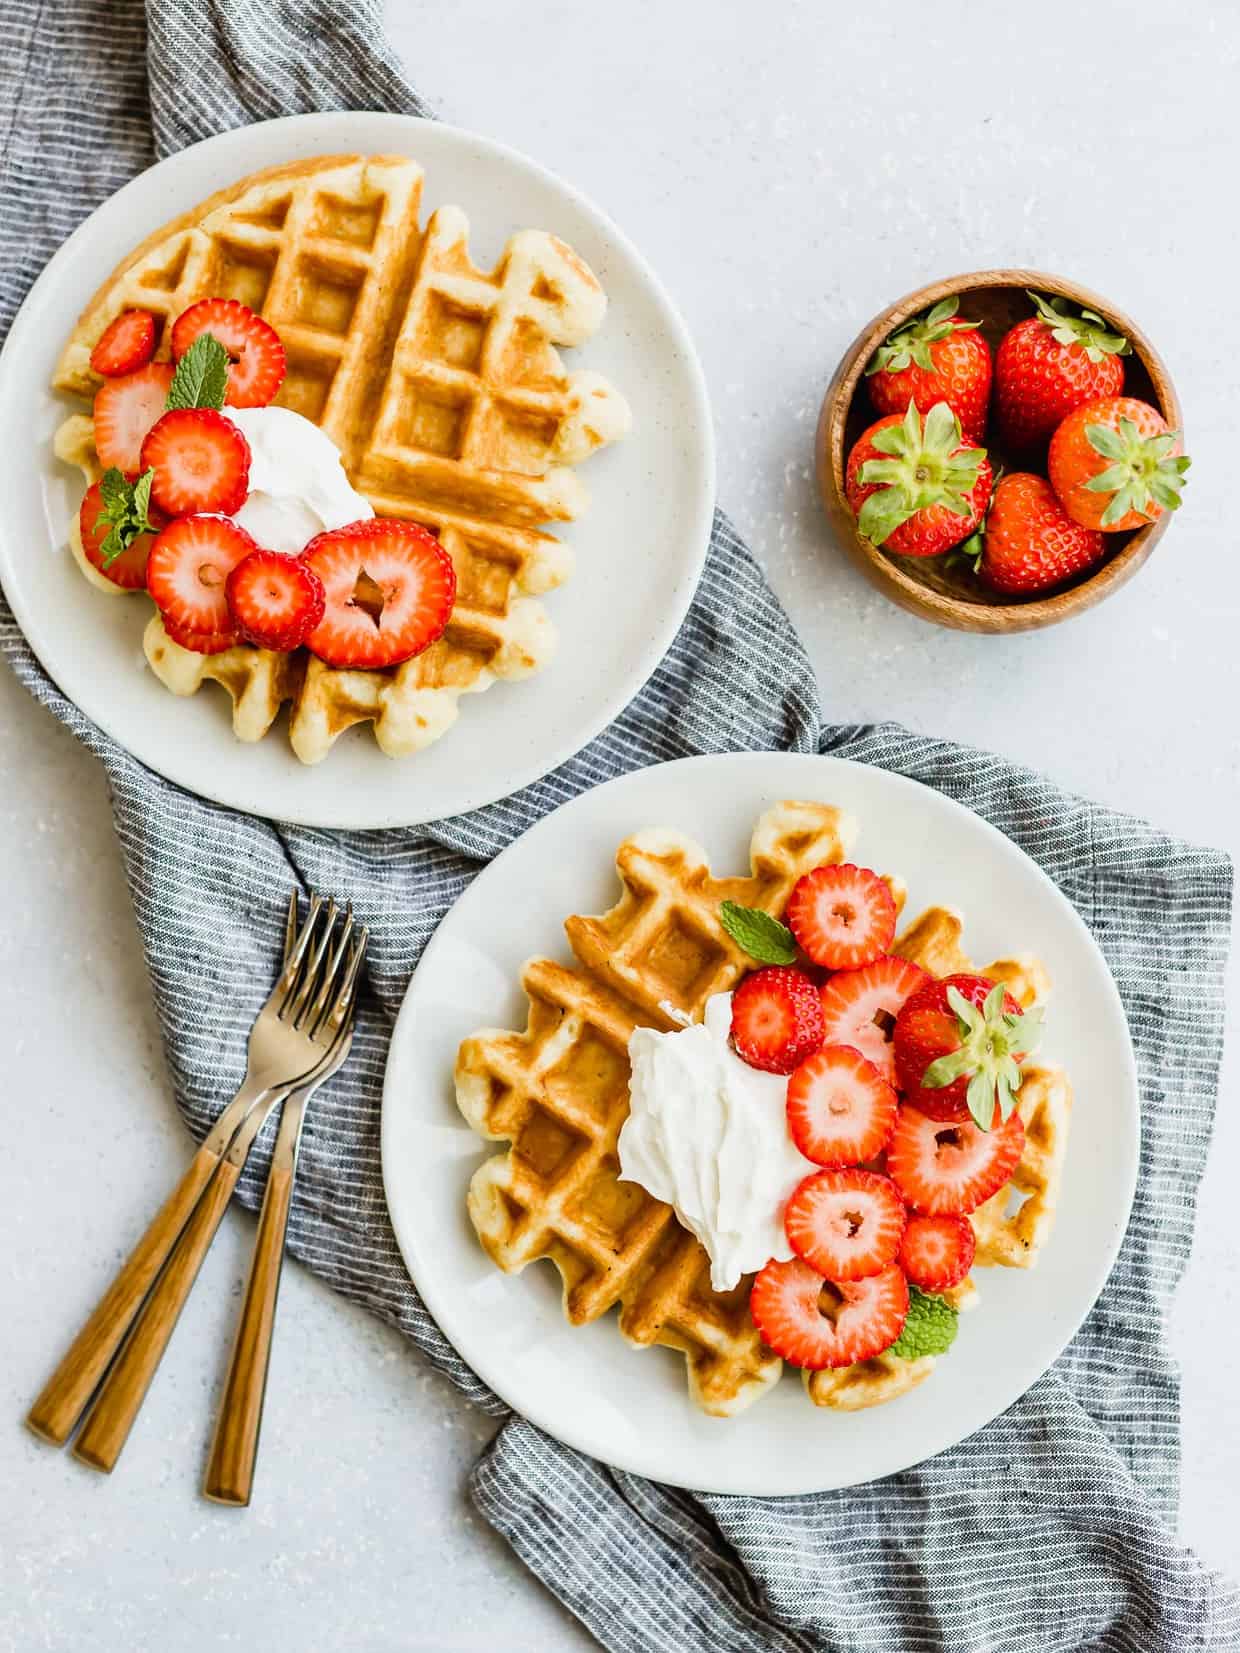
This buttermilk waffles recipe creates the perfect fluffy and crisp waffles every single time. Serve the waffles with butter (maybe try Strawberry Butter?) and maple syrup or with whipped cream and fresh fruit for the perfect breakfast.
If you’ve been on my website before, you’ve probably gathered that I’m a big breakfast lover. Especially waffles! I’m pretty sure I have a waffle recipe for every season. Try my red velvet waffles for Valentine’s Day, the Fourth of July or Christmas; plus don’t forget another Christmas waffles favorite — my gingerbread waffles! And before you think I skipped over it, don’t worry, I didn’t forget my delicious fall waffles — pumpkin waffles!
Why This Recipe Works
- Having a solid waffle recipe you can turn to is really important! While waffle mix can be helpful when you’re in a pinch, there is nothing quite like a homemade waffle recipe. This recipe creates light-and-fluffy-on-the-inside and crispy-on-the-outside waffles, something a box mix won’t always guarantee.
- Three words for you: buttermilk & egg whites. These two ingredients are the game changers in homemade waffles. It’s all about the lift and bubble in the batter. Not only does the buttermilk provide immense flavor it also reacts to the baking soda, creating bubbles and adding lift to the batter. Then, on top of that, we add beaten egg whites which give us additional lift. Thanks to these two things, these buttermilk waffles are fluffy and light every time.
Ingredients
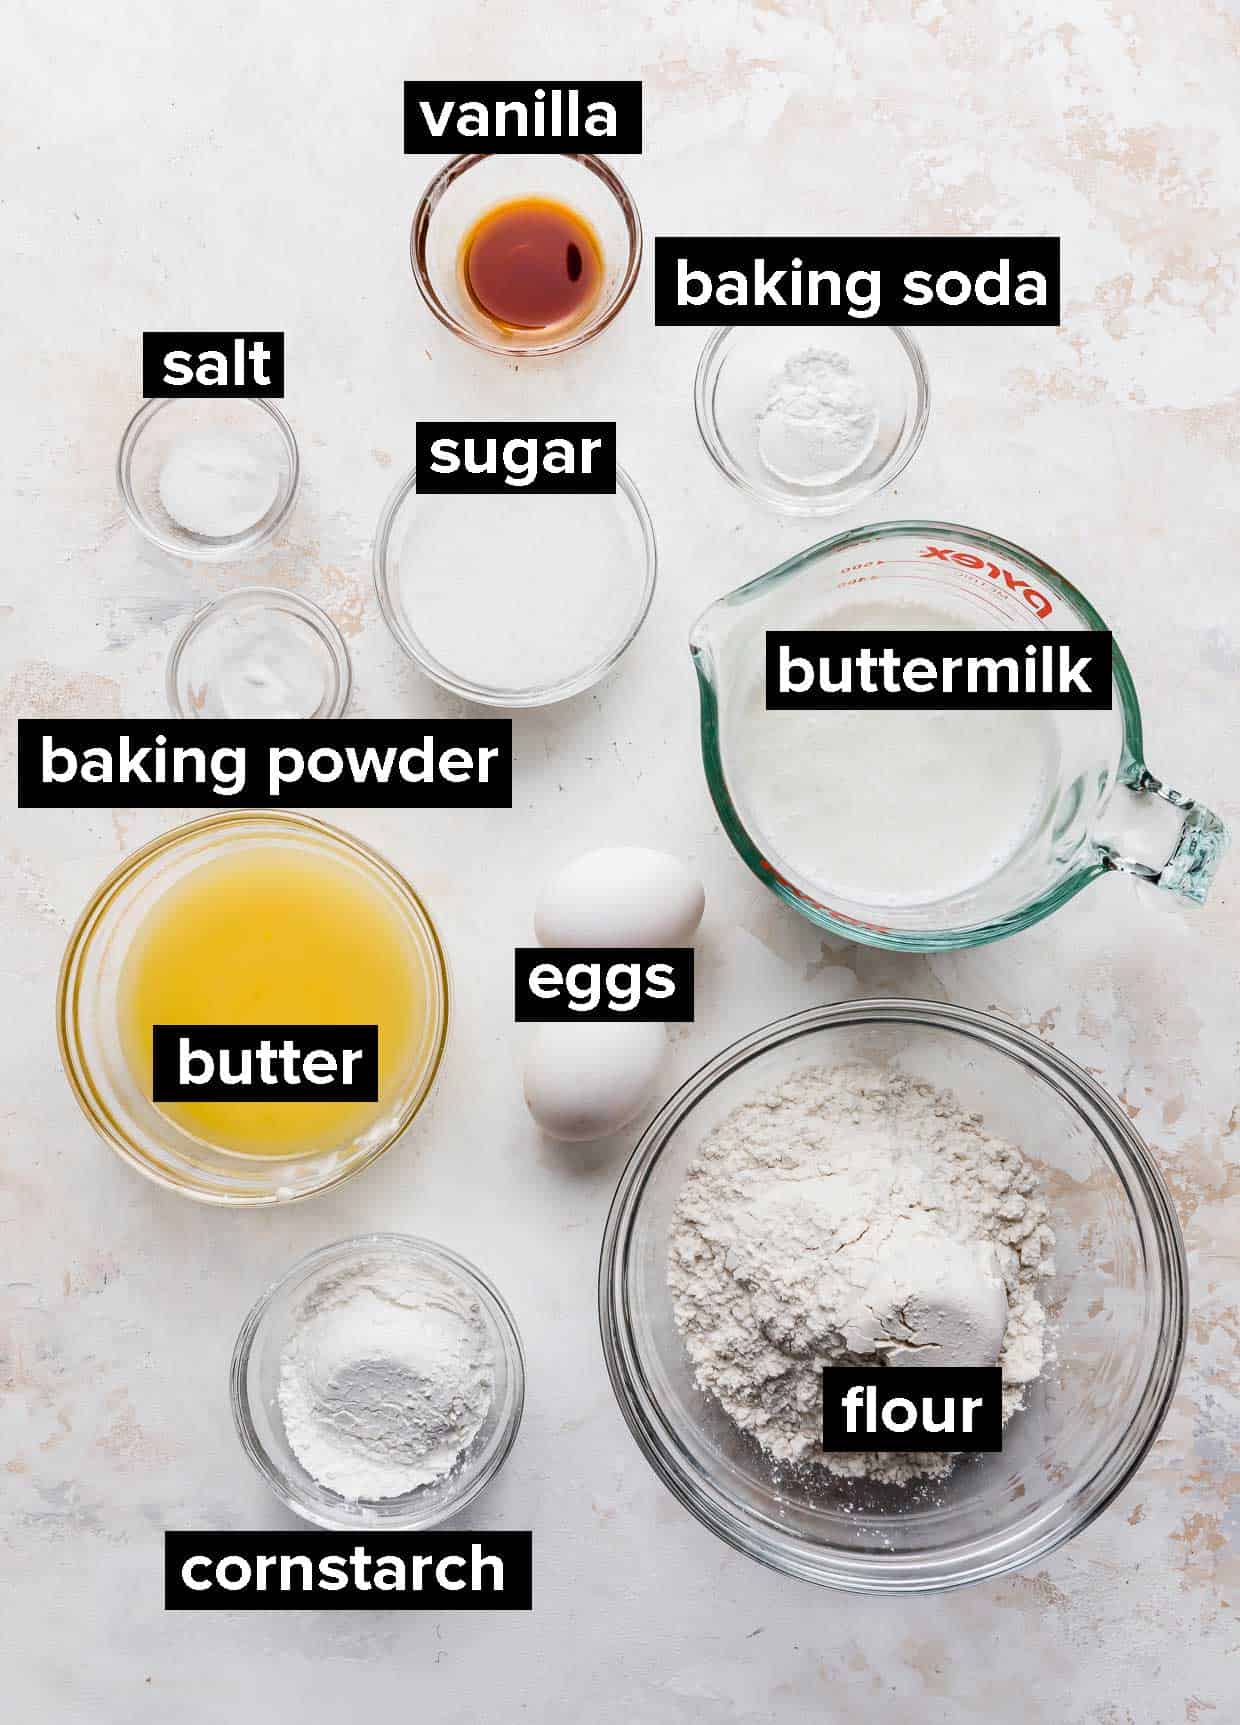
- Cornstarch: Cornstarch is a key ingredient to making waffles crispy on the outside yet soft on the inside.
- Baking Soda: As I mentioned above, the baking soda reacts with the buttermilk, giving us a nice lift to the waffles
- Butter: Melting the butter really disperses the buttery flavor throughout the batter.
- Buttermilk: The thickness and acidity of buttermilk helps not only with texture but with flavor too. Eggs: Separate the whites and yolks. Whipping the whites to peaks will be a game changer in making fluffy buttermilk waffles. (The whipped egg whites help make them tender, light and fluffy inside.)
Step-by-Step Instructions
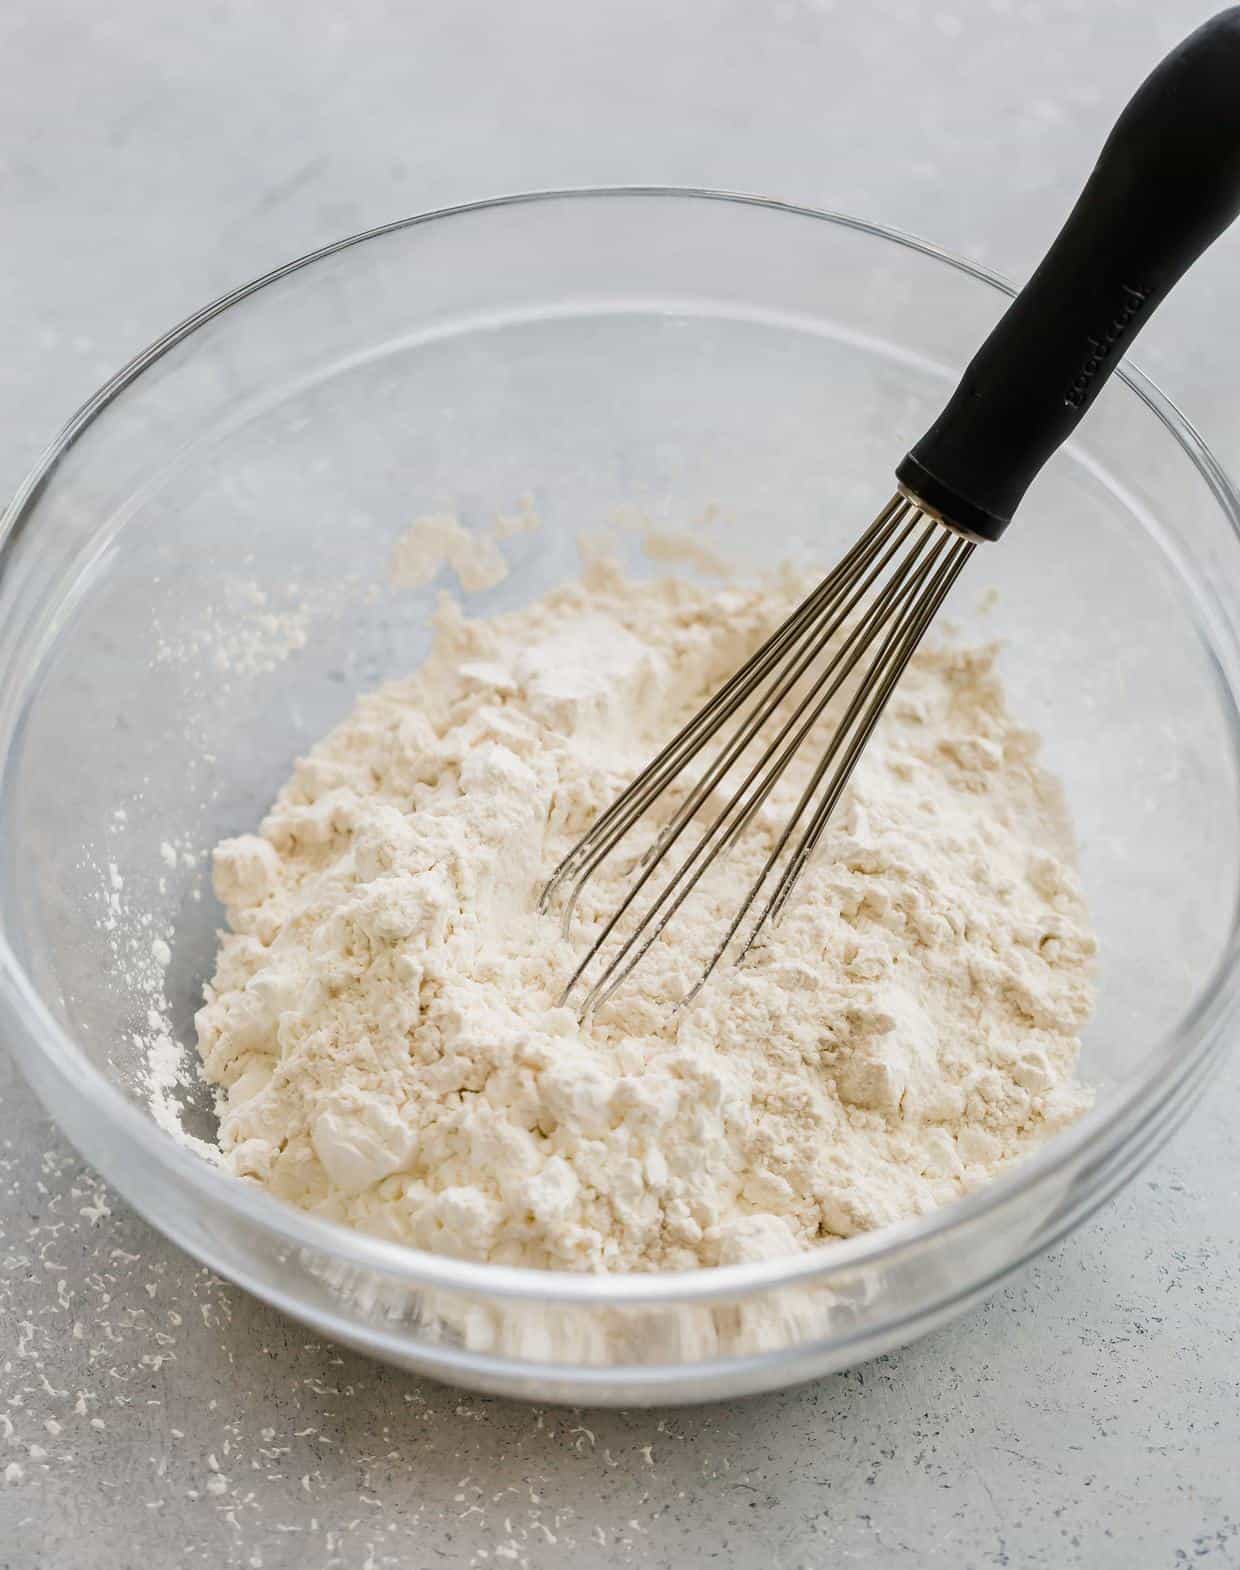
- Whisk the flour, cornstarch, baking powder, baking soda, and salt. Set aside.
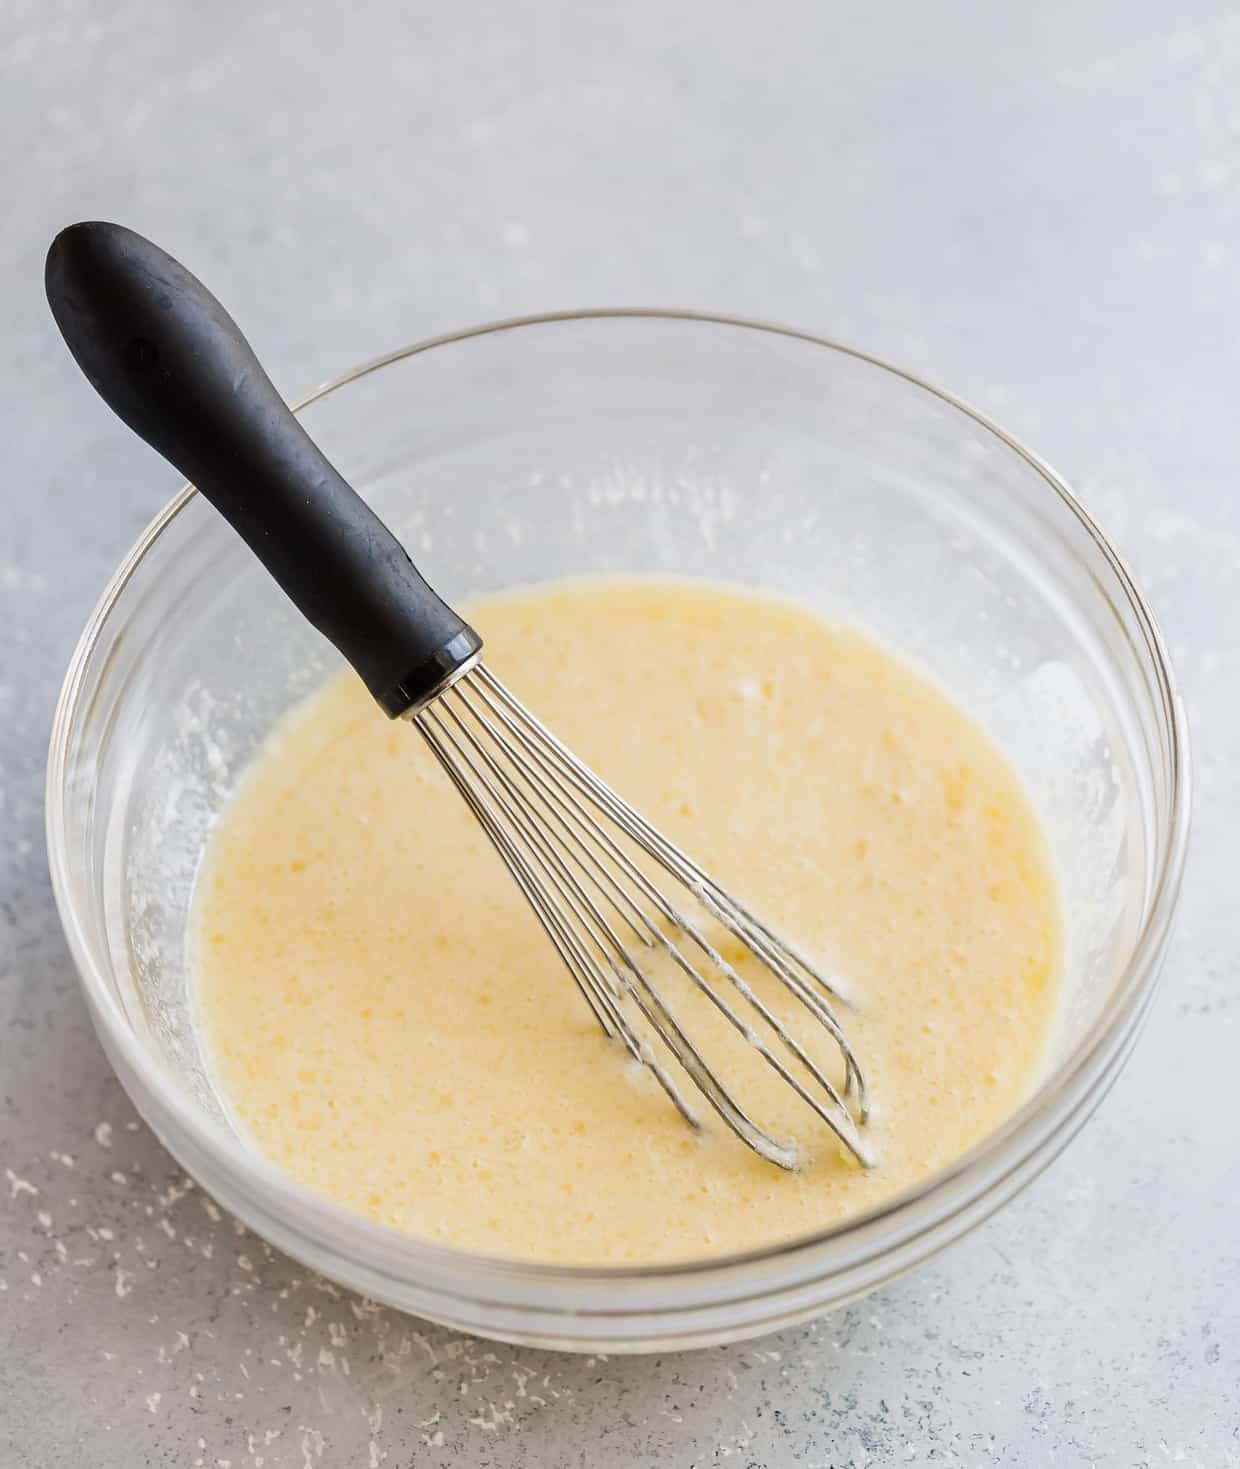
- In a different bowl, combine the butter, buttermilk, vanilla, and egg yolks. Whisk until fully combined.
- Combine all the ingredients together. Using a fork, stir until just combined!
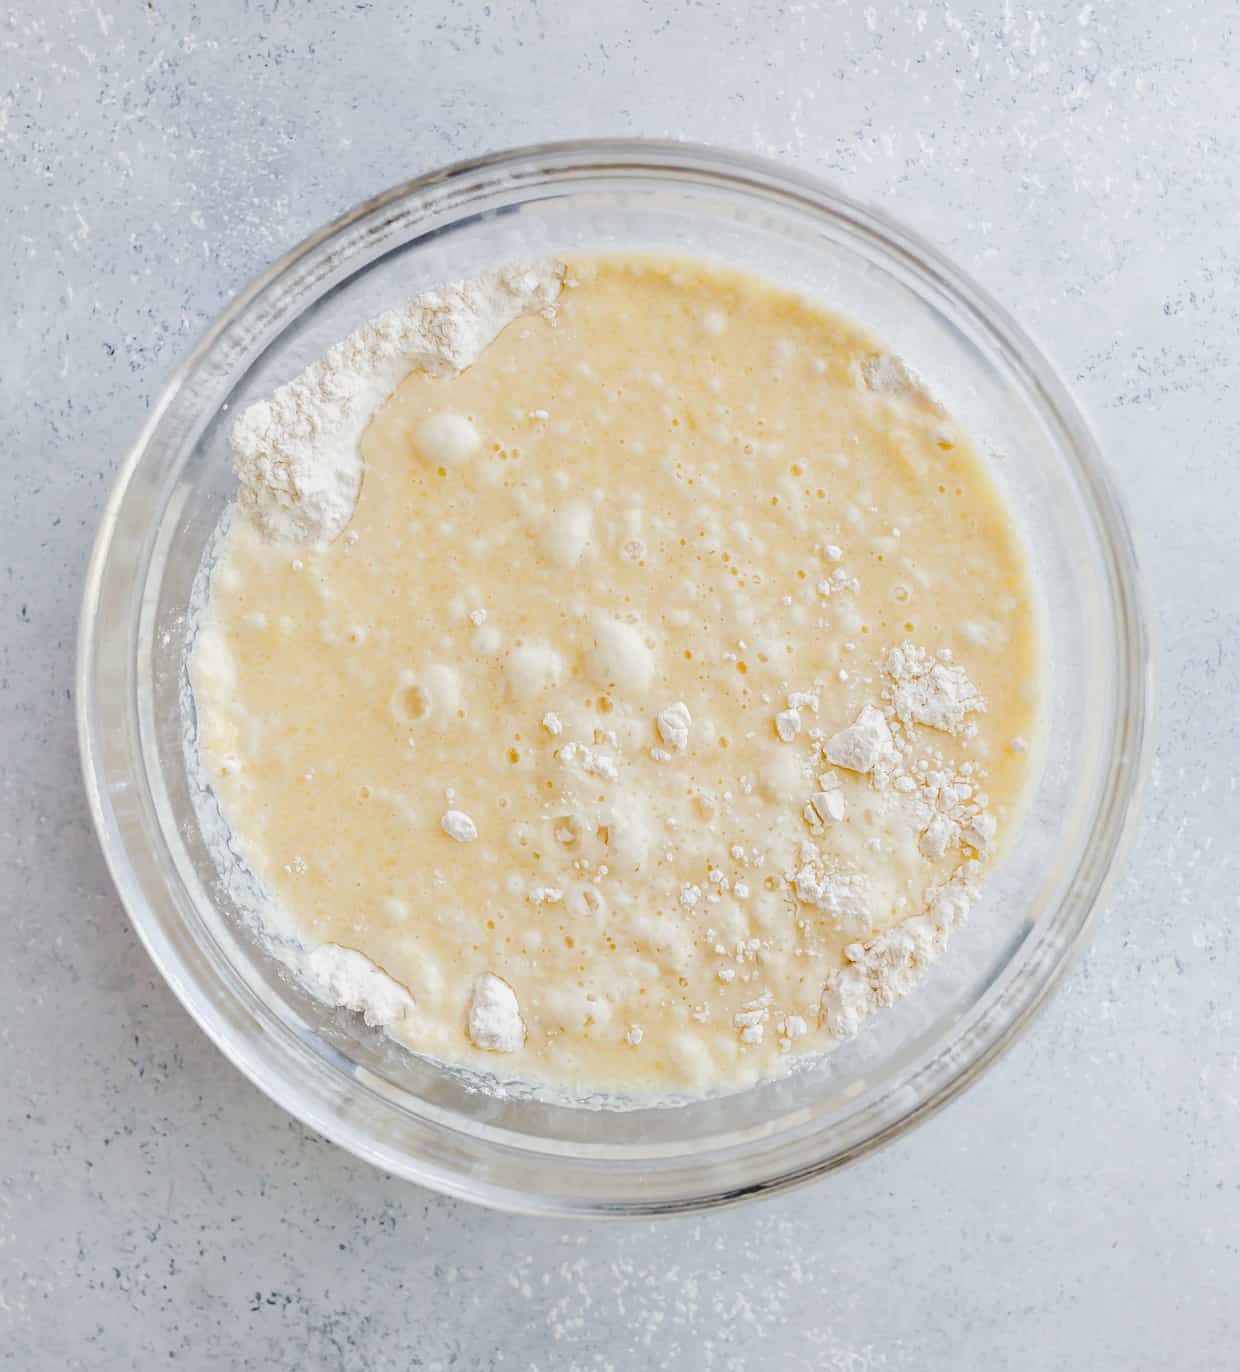
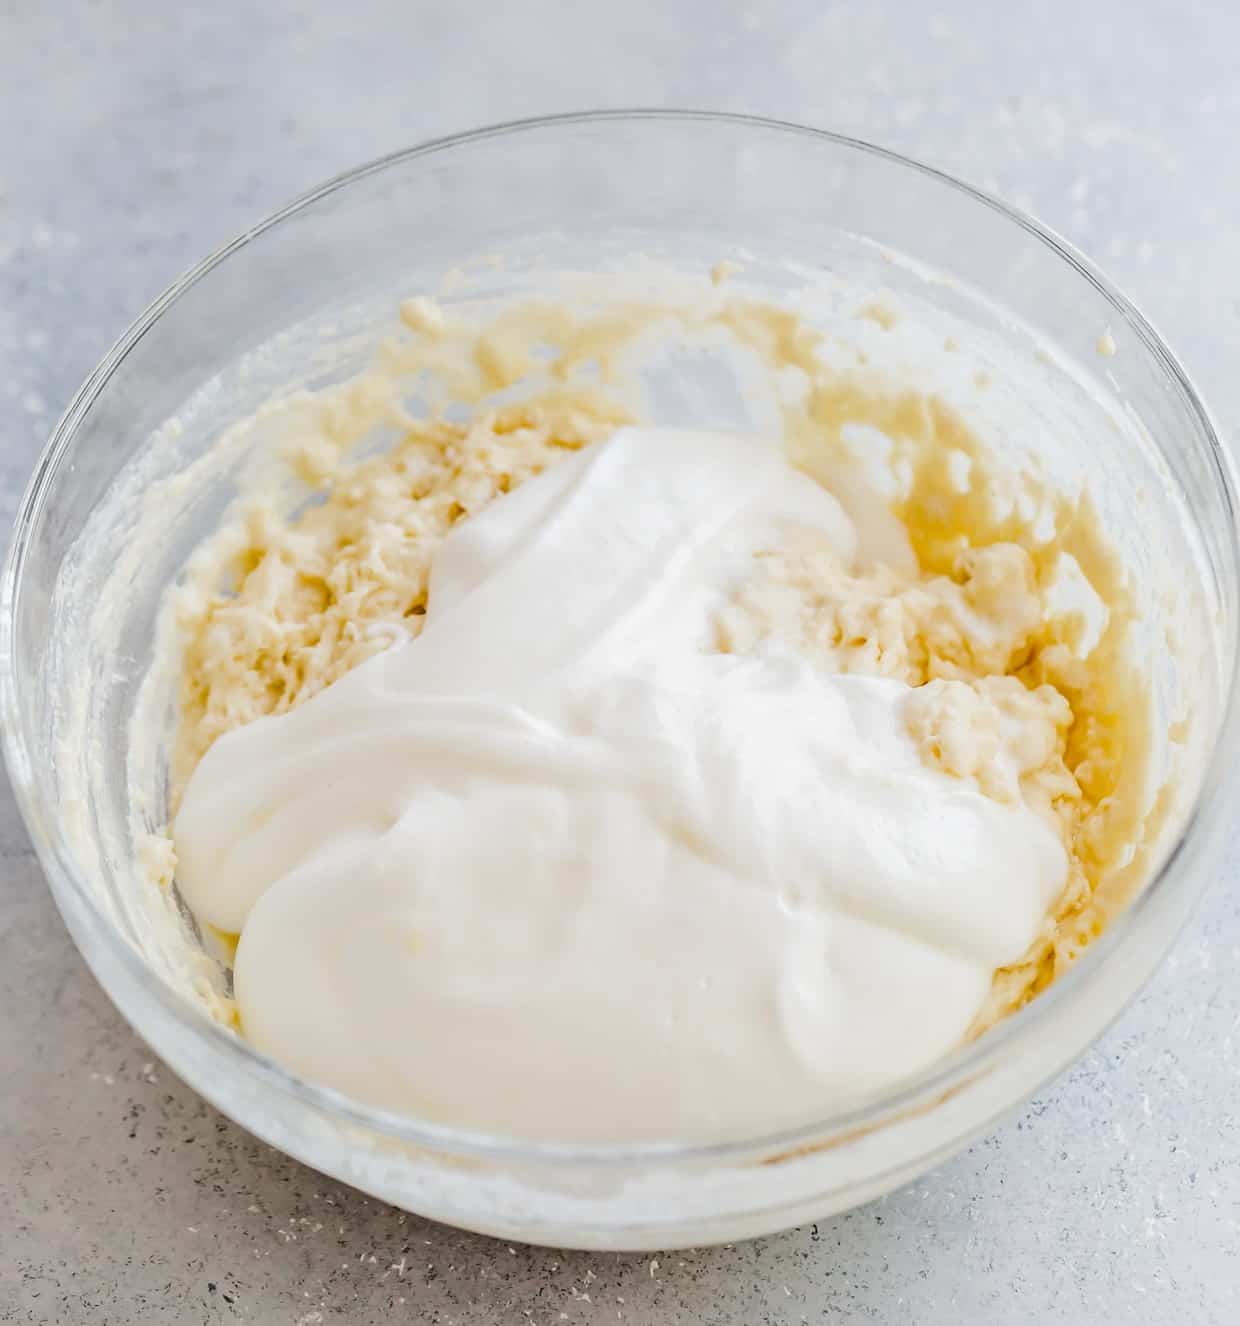
- In a separate bowl, beat the egg whites on medium speed until you get soft peaks. Then add the sugar and beat on medium/high speed until the sugar is fully mixed in.
- Fold the egg whites into the batter. Do not overmix.
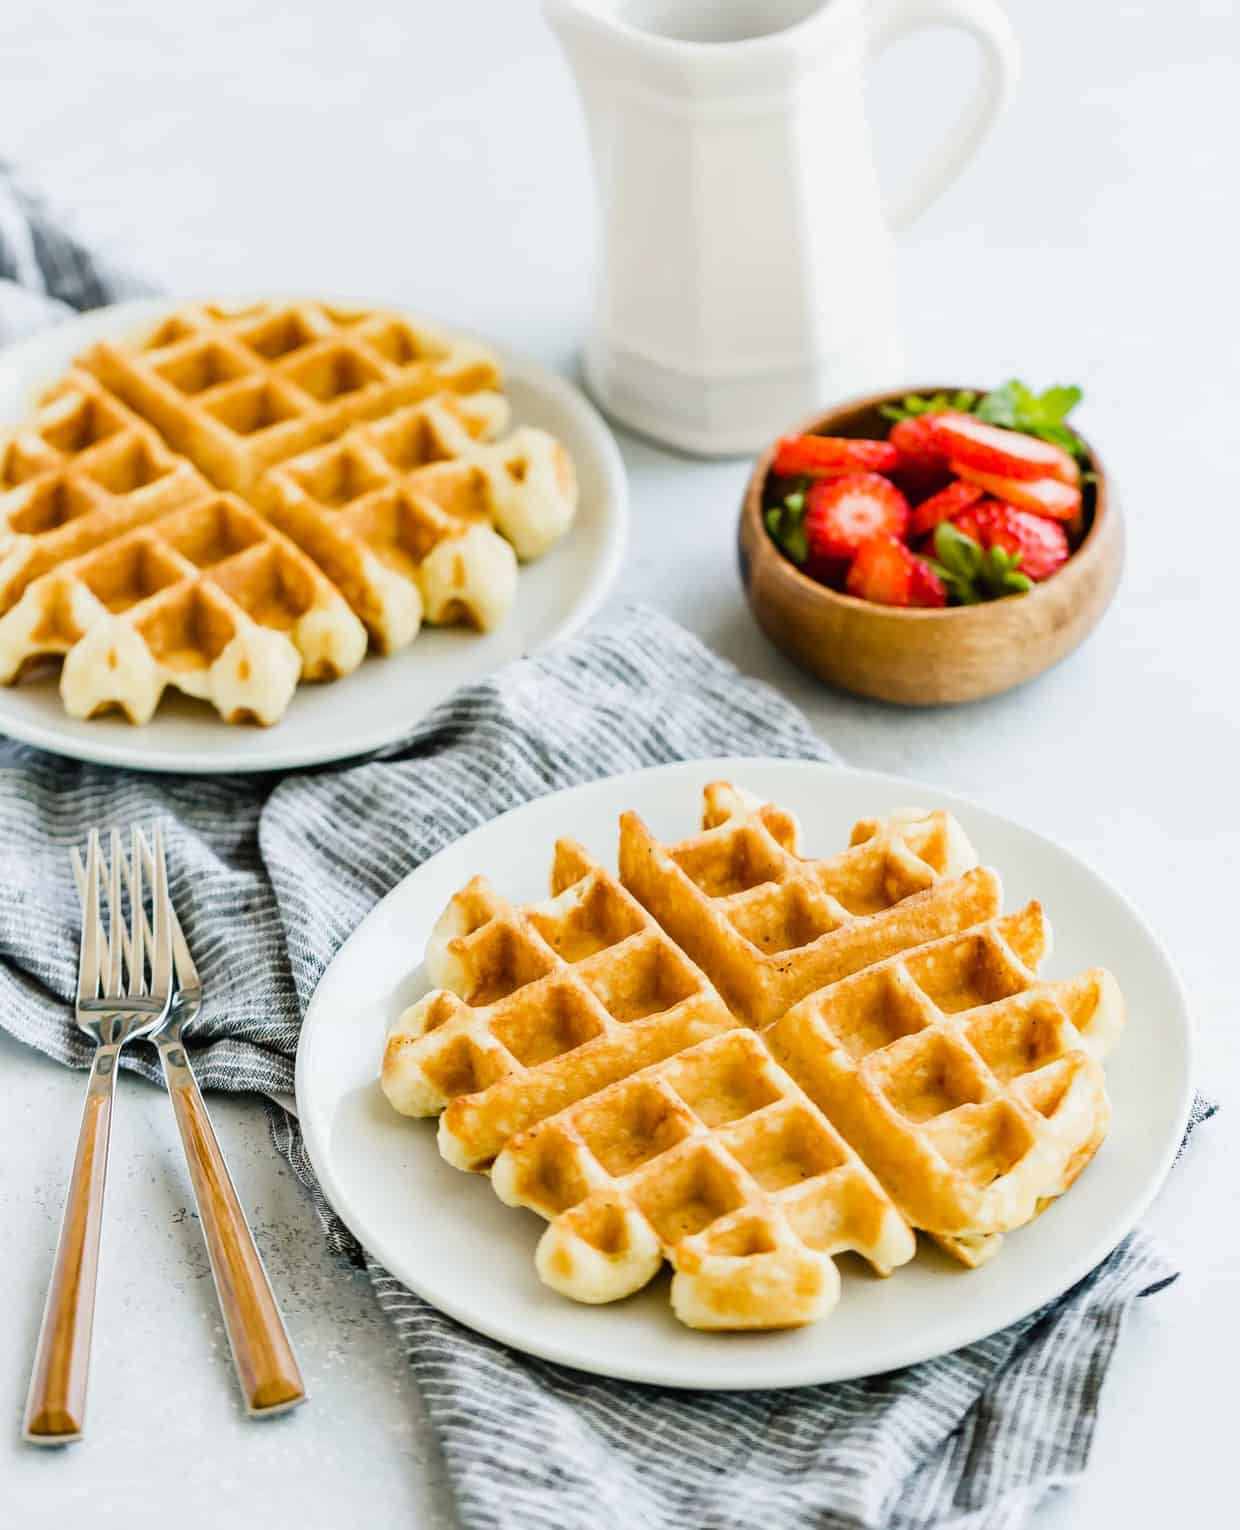
- Preheat the waffle iron. Grease with butter or cooking spray. Cook until golden brown, about 3-5 minutes. Every waffle iron will differ so keep an eye on yours and remove the waffles when they are golden brown.
Recipe Tips
When folding the egg whites into the batter, don’t over do it. If you can see streaks of white in the batter, you’re doing it right!
Make sure you preheat your waffle iron. A hot waffle iron prevents soggy waffles. I love the analogy the Kitchn makes about getting crisp waffles, “You wouldn’t make a cake in an oven that wasn’t preheated, nor would you fry an egg in cold oil. Getting the waffle iron nice and hot means the batter will crisp up as soon as it hits the surface.”
To keep waffles warm and to add extra crispiness, preheat the oven to 200°F. After each waffle is finished cooking in the waffle iron, remove it and place it in the oven to stay warm. This step crisps up the waffle and keeps it warm before serving to guests!
Do NOT put your perfect, crispy waffles in a container with a lid, a ziplock bag or a covered plate or else the heat from the waffles will create condensation in the closed or covered container and your waffles will turn soft!
Do you love chocolate chips? Me too! Be sure to check out our chocolate chip waffles recipe!
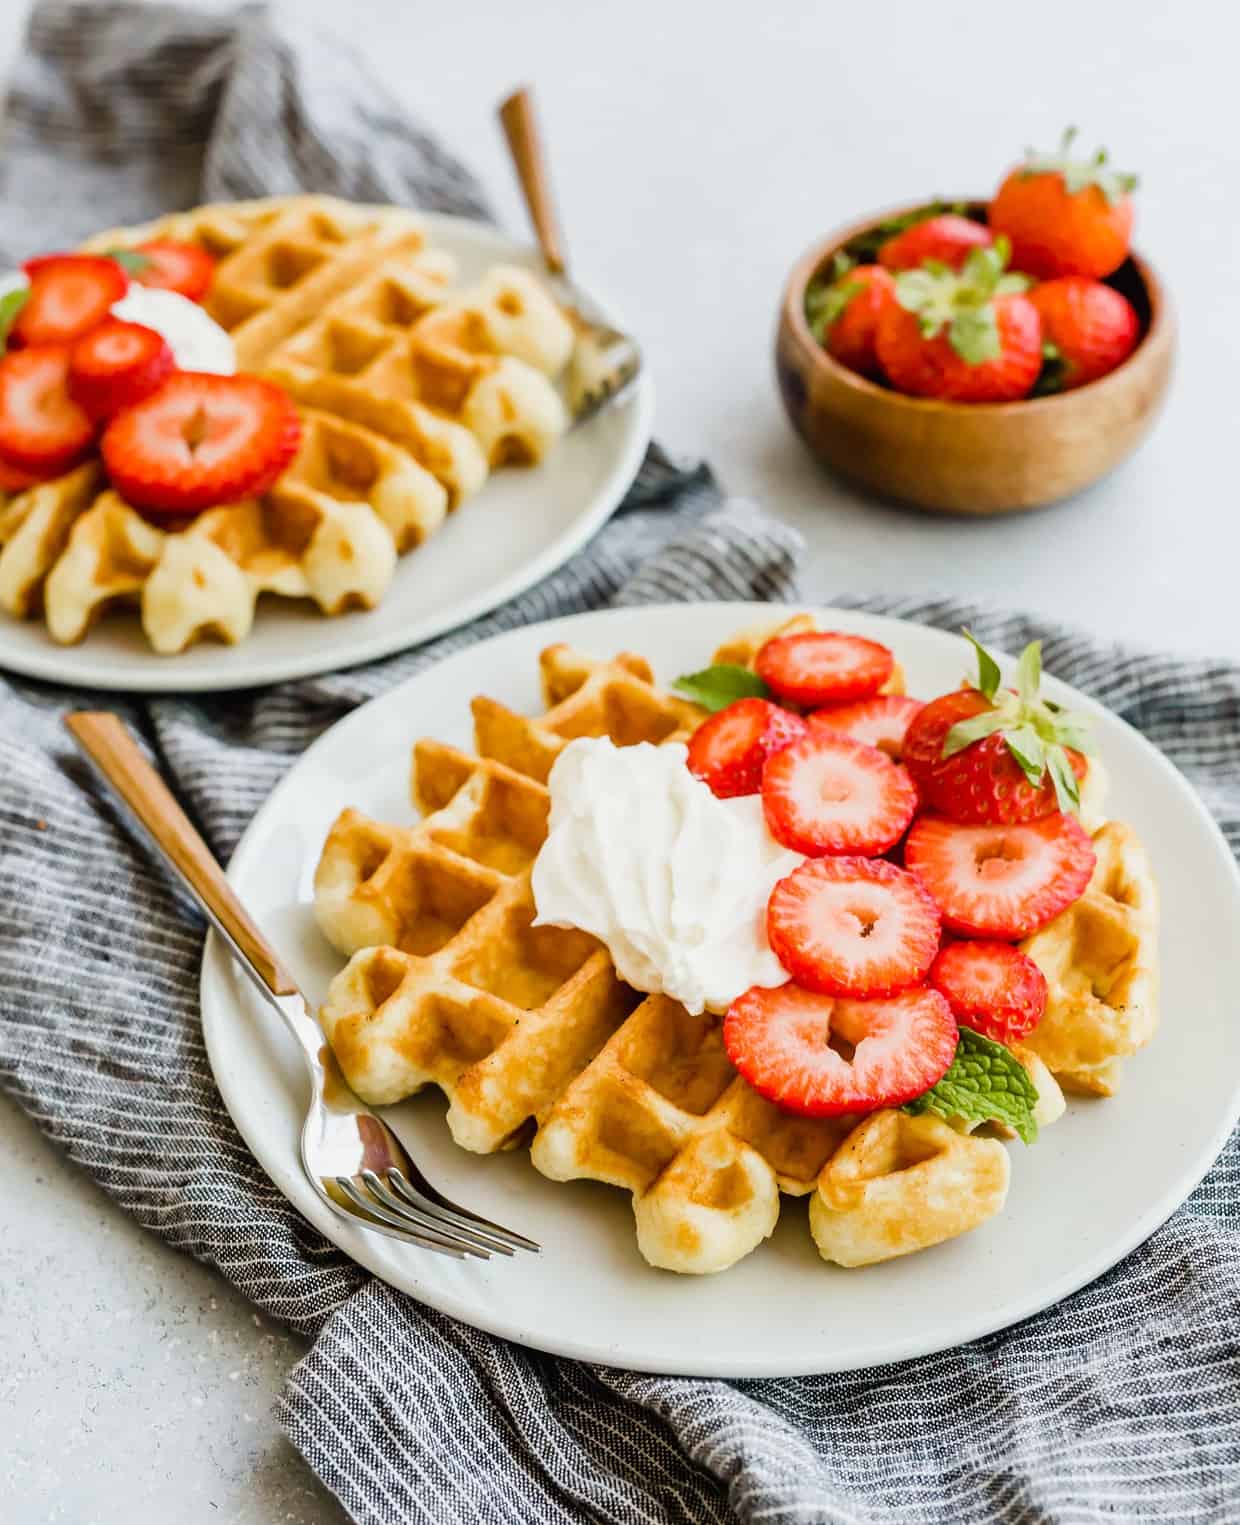
Waffle Toppings
- Nutella
- Biscoff
- Hot fudge
- Powdered sugar
- Fresh fruit
- Roasted Strawberries
- Greek yogurt
- Whipped cream
- Syrup
- Butter
- Raspberry sauce
- Raspberry jam
Recipe FAQs
One key difference between waffle batter and pancake batter is the amount of sugar used. Buttermilk waffles have a touch more sugar, not only to add flavor but it helps aid in the browning and caramelization of the exterior. Waffles also contain more fat than pancake batter. In our case, butter. As this waffle recipe uses butter as the fat source. This higher fat content also aids in a crisp exterior.
For light and crisp buttermilk waffles, separate the egg yolks and egg whites. As mentioned above, beat the egg whites until soft peaks form to aid in the ultimate waffle texture! Whipping the egg whites will create tiny air pockets that make for a fluffy and delicious waffle! Hence the reason for folding egg whites into the batter. You do so gently because you don’t want to deflate the air pockets you created by whipping the whites.
Mixed with flour, cornstarch is a key ingredient to making waffles that are crisp on the outside yet soft and tender on the inside.
Yes. Simply line a baking sheet with parchment paper. Place the waffles on the baking sheet, do not stack them. Place in the freezer for 3-4 hours or until the waffles are completely frozen. Remove from the freezer and place the frozen waffles in a zip top bag. Eat within 3-4 months of freezing. Reheat using a toaster, toaster oven, or oven.
Related Recipes
- Buttermilk Blueberry Muffins
- Flaky Buttermilk Biscuits
- Homemade Buttermilk Pancakes
- French Bread French Toast
Did you make this recipe? I’d love to hear about it! Click here to leave a star rating and review.
Stay up-to-date by following us on Instagram, Facebook, and Pinterest.
Buttermilk Waffles
Ingredients
- 1 1/2 cups all purpose flour
- 1/4 cup cornstarch
- 2 teaspoons baking powder
- 3/4 teaspoon baking soda
- 1/2 teaspoon salt
- 1/2 cup butter - melted and slightly cooled to room temperature
- 1 1/4 cups buttermilk - room temperature
- 1 teaspoon vanilla extract
- 2 eggs - white and yolks separated
- 1/4 cup granulated sugar
Instructions
- In large bowl whisk the flour, cornstarch, baking powder, and baking soda, and salt. Set aside.
- In a medium bowl combine butter, buttermilk, vanilla, and egg yolks. Whisk until fully combined.
- Add the wet ingredients to the dry ingredients, gently whisking (or use a fork) until just combined!
- In a separate bowl add the egg whites. Beat on medium speed until soft peaks form. Then add the sugar to the egg whites and beat on medium/high speed until sugar has been fully mixed in.
- Using a spatula, fold the egg whites into the batter. Do not overmix.
- Preheat the waffle iron. Grease with butter or cooking spray. When ready, scoop 1 cup of batter onto the waffle iron… waffle irons differ in size so you may need more or less batter. Cook until golden brown, about 3 minutes and 30 seconds.
- To keep waffles warm, place waffles in an oven preheated at 200°F. *
Notes
- Nutella
- Biscoff
- Hot fudge
- Powdered sugar
- Fresh fruit
- Greek yogurt
- Whipped cream
- Syrup
- Butter
- Raspberry sauce
- Raspberry jam

 Welcome to this delicious corner of the internet! Here I share the recipes my family loves.


9 Comments on “Buttermilk Waffles Recipe”
Mmmmm! I wov waffles! Can’t wait to try all your waffle recipes, thank you!
Absolutely amazing! The sugar added to the egg white is really what made these a keeper for me. My previous go to recipe added the sugar with the flour, but the impact of making it more like meringue is just outstanding. And definitely don’t blend the egg white into the batter. Those little bits with the sugary egg whites are the best part.
Thank you for sharing!
This is my go-to recipe for waffles! My grandkids love Gramma’s waffles, and I love being able to get all the waffles to the table at the same time, and to be able to sit down and enjoy them together! Thanks!
Thanks for the sweet comment Carol! Happy to hear you (and your grandkids) enjoy these waffles as much as we do.
Amazing waffles, made them twice already! The recipe is a keeper 🙂
Thanks Masha! So happy you’ve enjoyed the recipe.
Phenomenal! The best buttermilk waffles recipe we’ve ever tried! They were crisp on the outside, soft on the inside. Just a great waffle. The batter was easy to make too.
These waffles look so delicious and perfect for brunch! I love your photographs!
Thanks Natalie, I really appreciate it!