Oreo Cake Pops
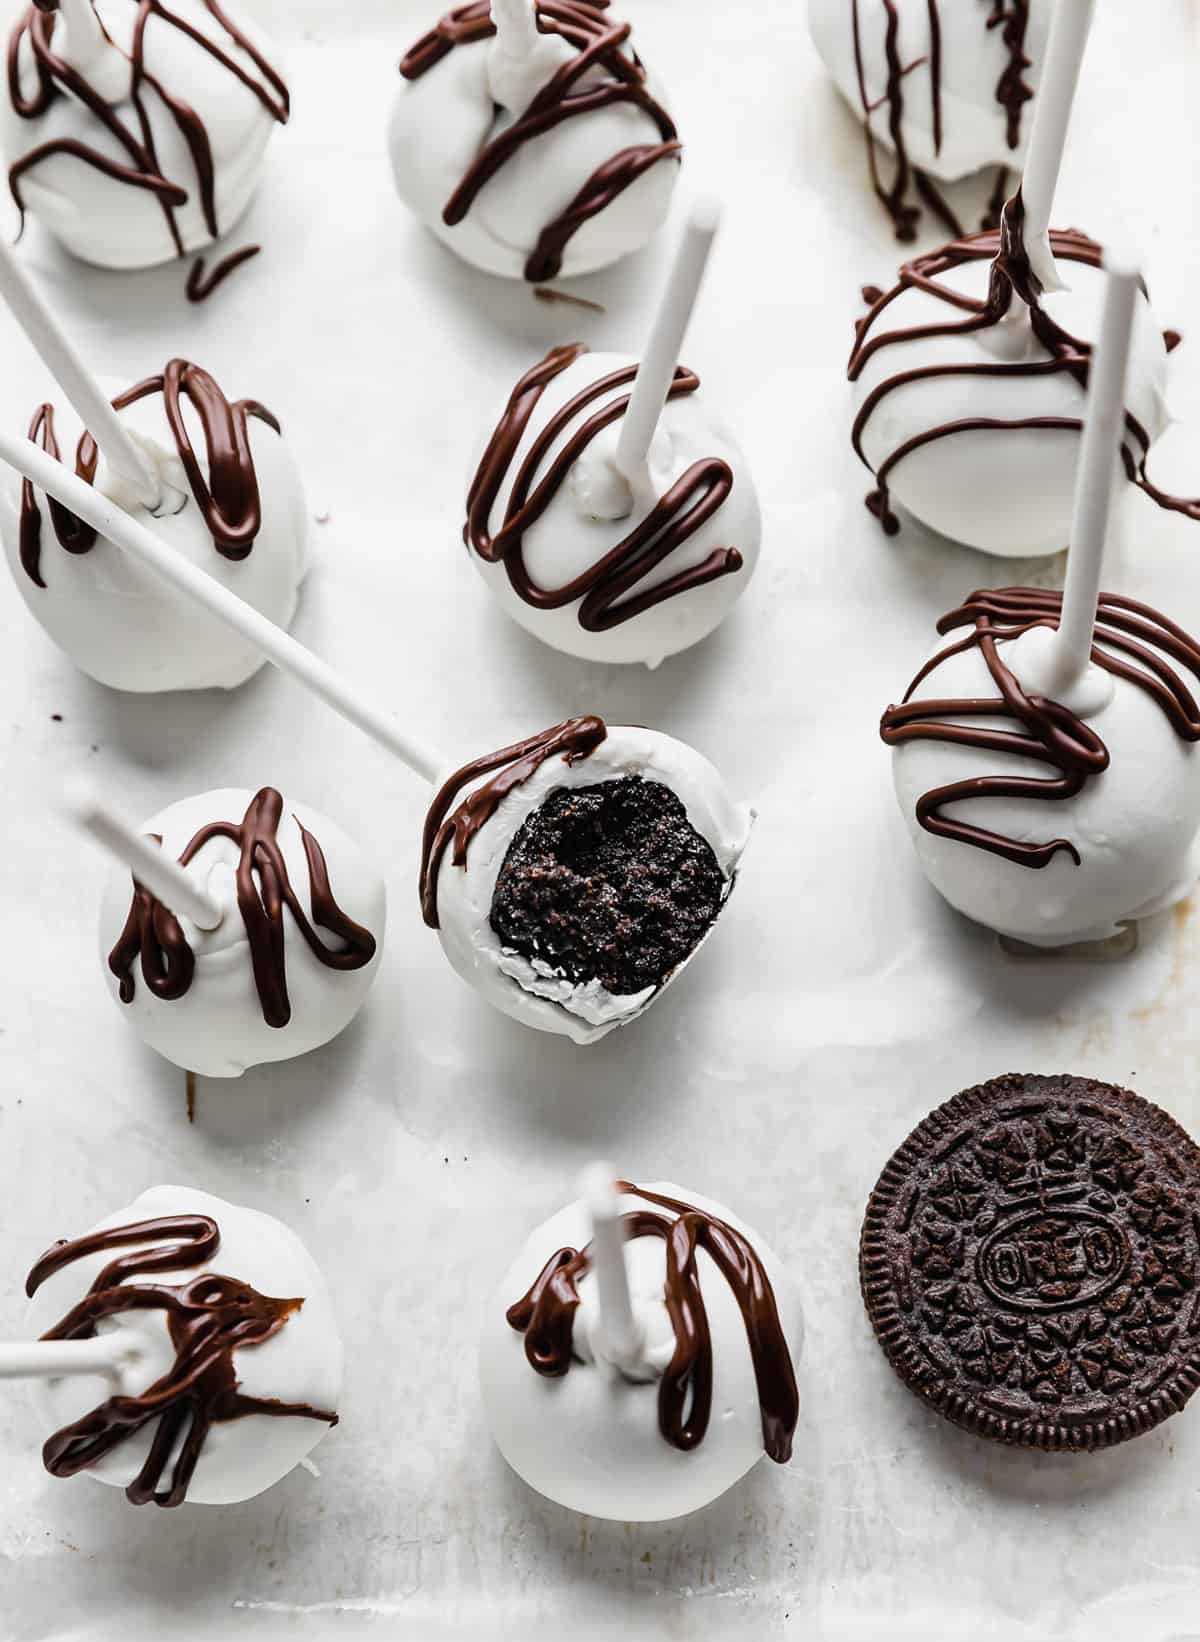
These Oreo Cake Pops are a super easy no-bake dessert! Deliciously chocolatey these effortless treats are made with only 3 ingredients which makes them the perfect quick dessert for any party of event! Pulverized Oreos are mixed with tangy cream cheese, coated in melted chocolate, and drizzled with semi-sweet chocolate. These little pops are oh-so-elegant, taste just like a chocolate covered Oreo cheesecake, and is a treat that everyone is sure to love!
If you love Oreo based desserts, be sure to try my classic Oreo Truffle Brownies, or my easy Oreo Dessert, homemade Oreo donuts and Oreo Milkshake.
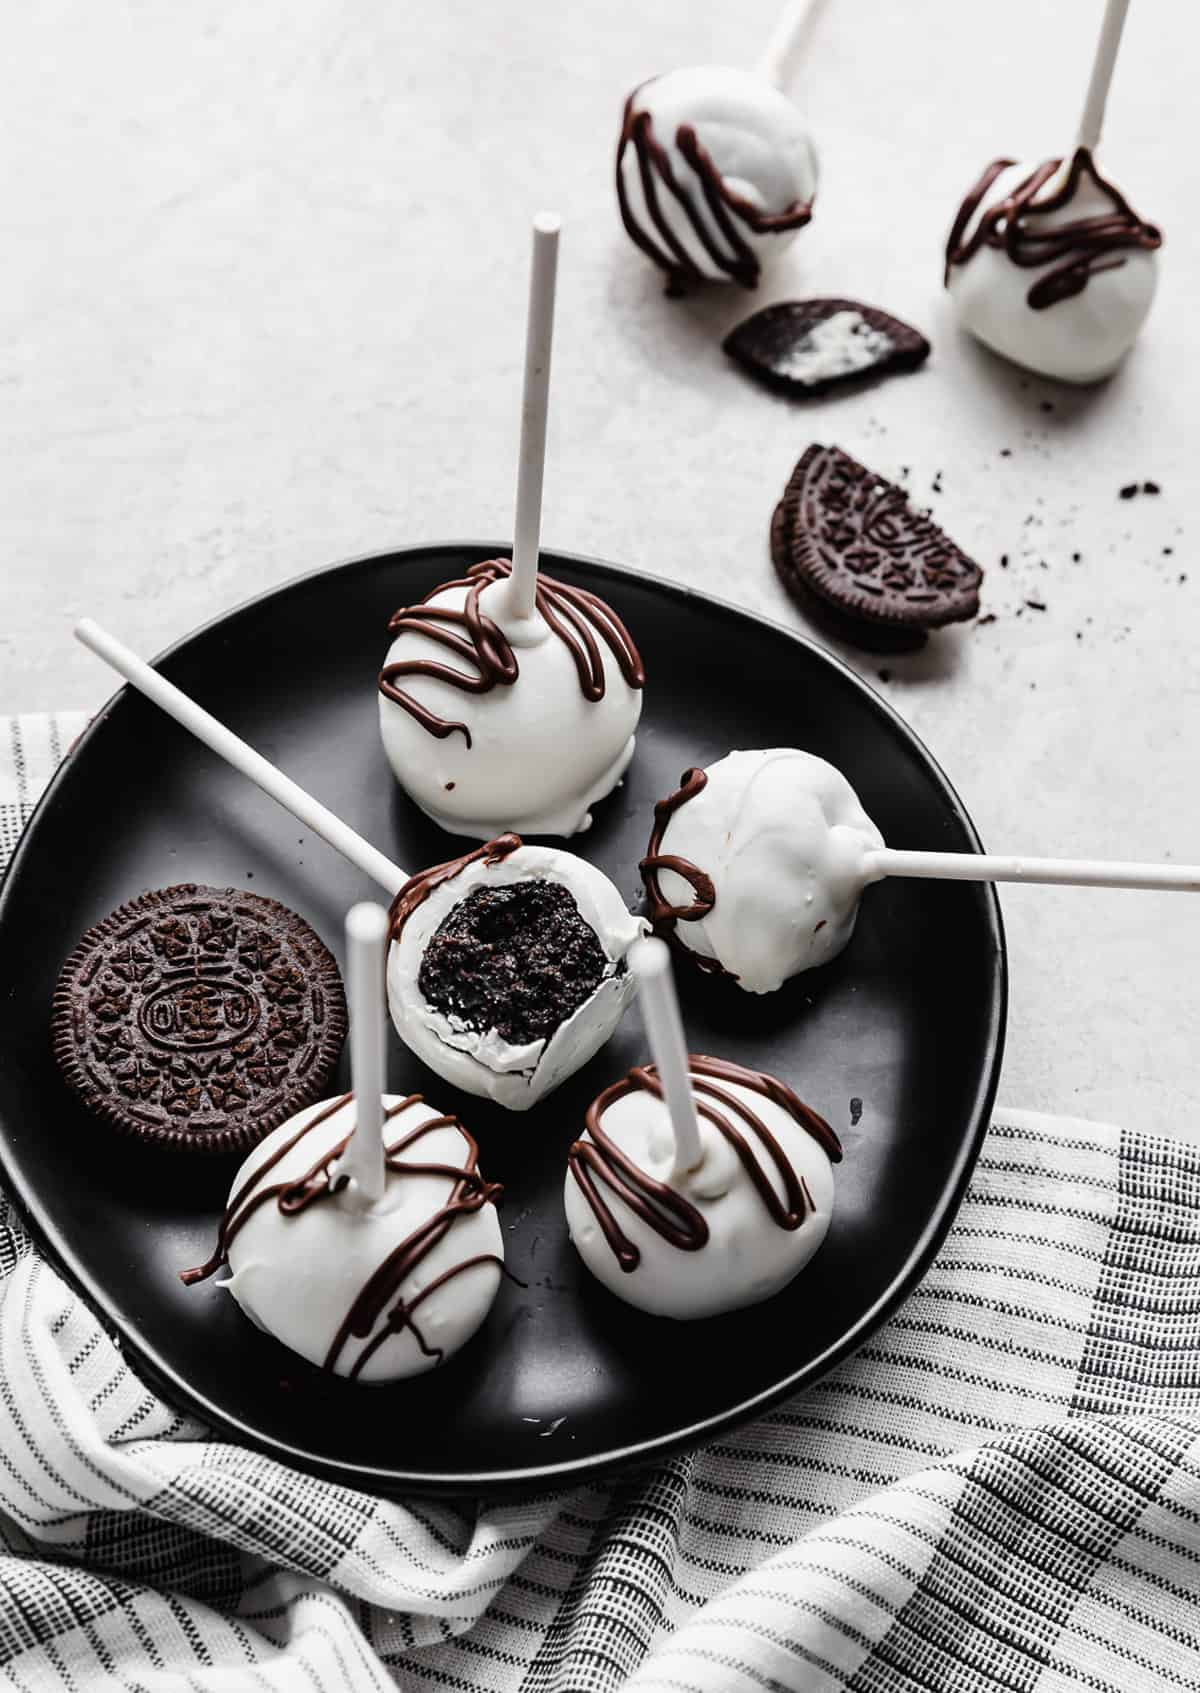
Why This Recipe Works
Traditional cake pops require a little bit of work. Made by baking a cake and whipping up homemade frosting; while delicious, this can be a time consuming process. Which is why I love this 3 ingredient Oreo recipe!
These Oreo cake pops are so simple and easy to make! Plus, they’re no-bake and come together so fast. Which means they are the perfect quick dessert to make for any party, potluck, or for when you have an Oreo pop craving!
One bite of these deliciously chocolaty pops and you’ll never want to buy one of these cute little desserts again! Trust me, homemade is so much better!
Customize this simple treat for any holiday by using colorful chocolate and meltables.
Ingredients
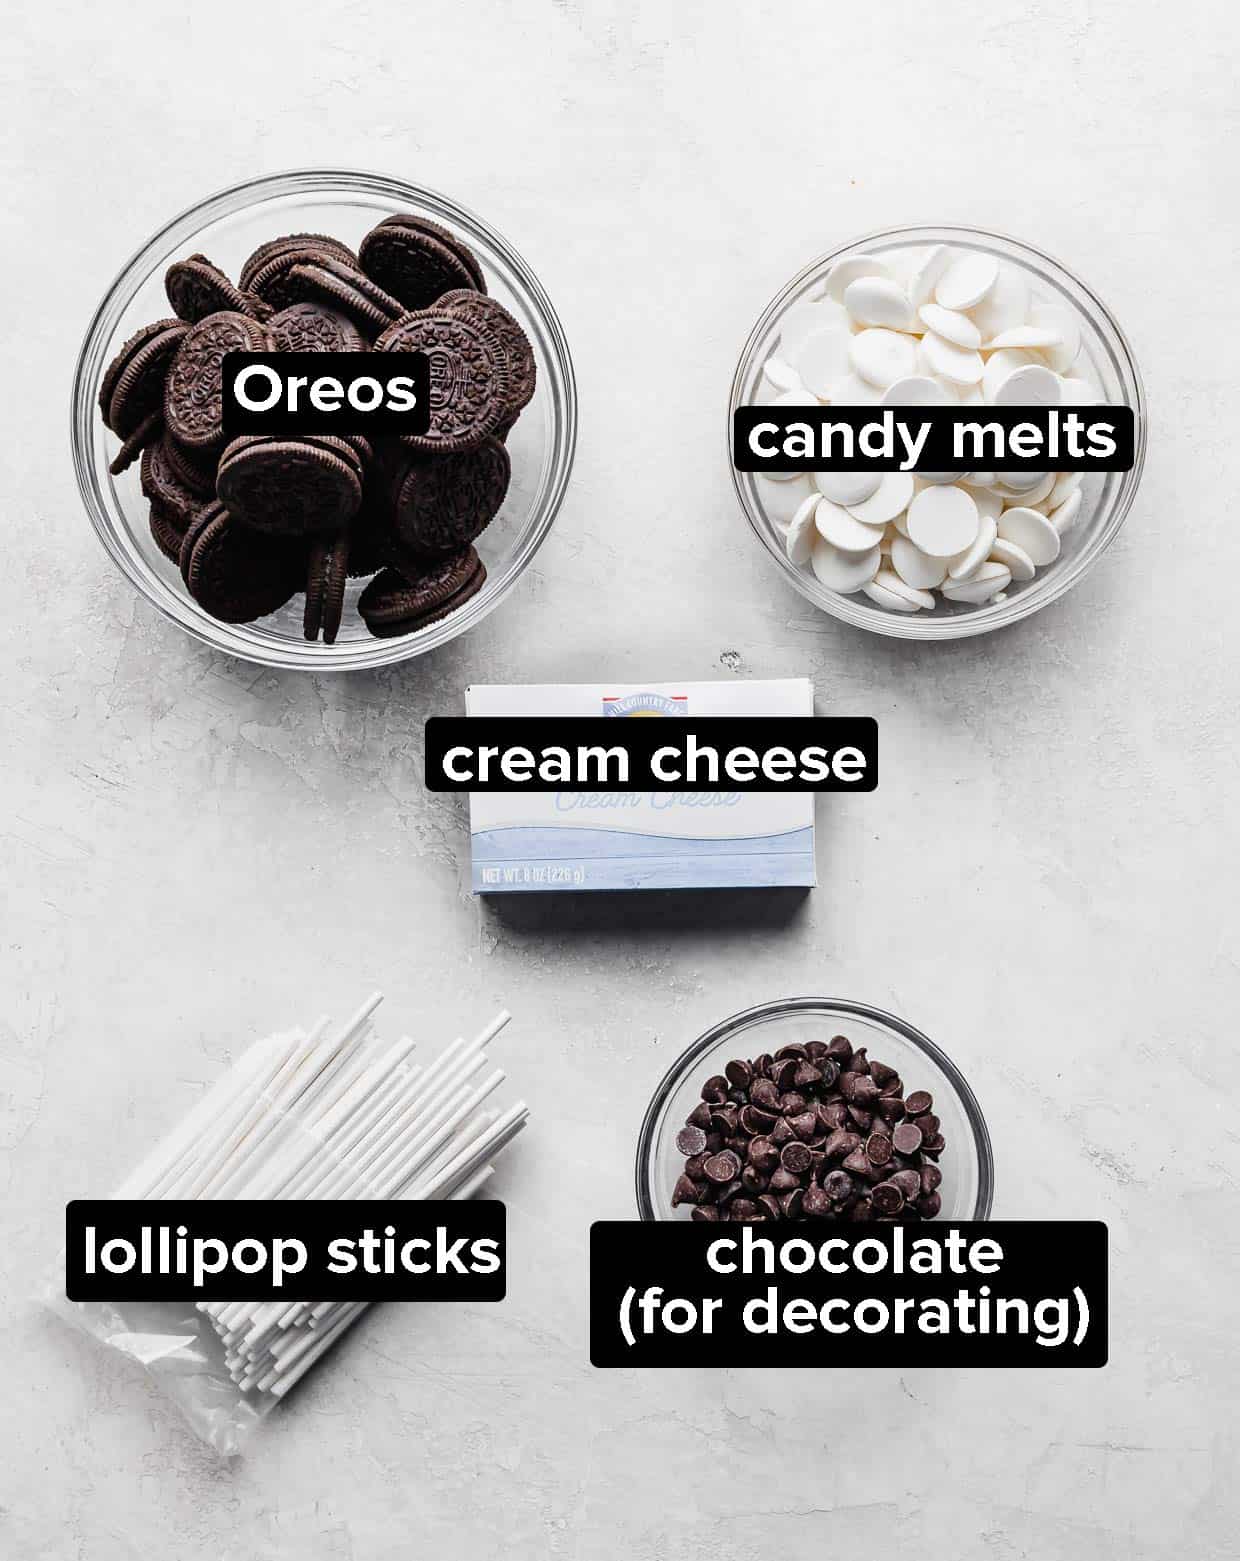
Oreo Cookies: I used regular but feel free to use double stuffed, mega stuffed, and even golden oreos!
Cream Cheese: Feel free to use full fat, reduced fat, or fat free version. Just bring it to room temperature for easier mixing.
Candy Melts: I used candy melts but baking chips or almond bark works just as well.
Chocolate: You can use semi-chocolate, dark chocolate, even white chocolate chips to drizzle over pops.
Lollipop Sticks: I like the white ones but you can find colored ones or even use the flat wood sticks too.
Step-by-Step Instructions
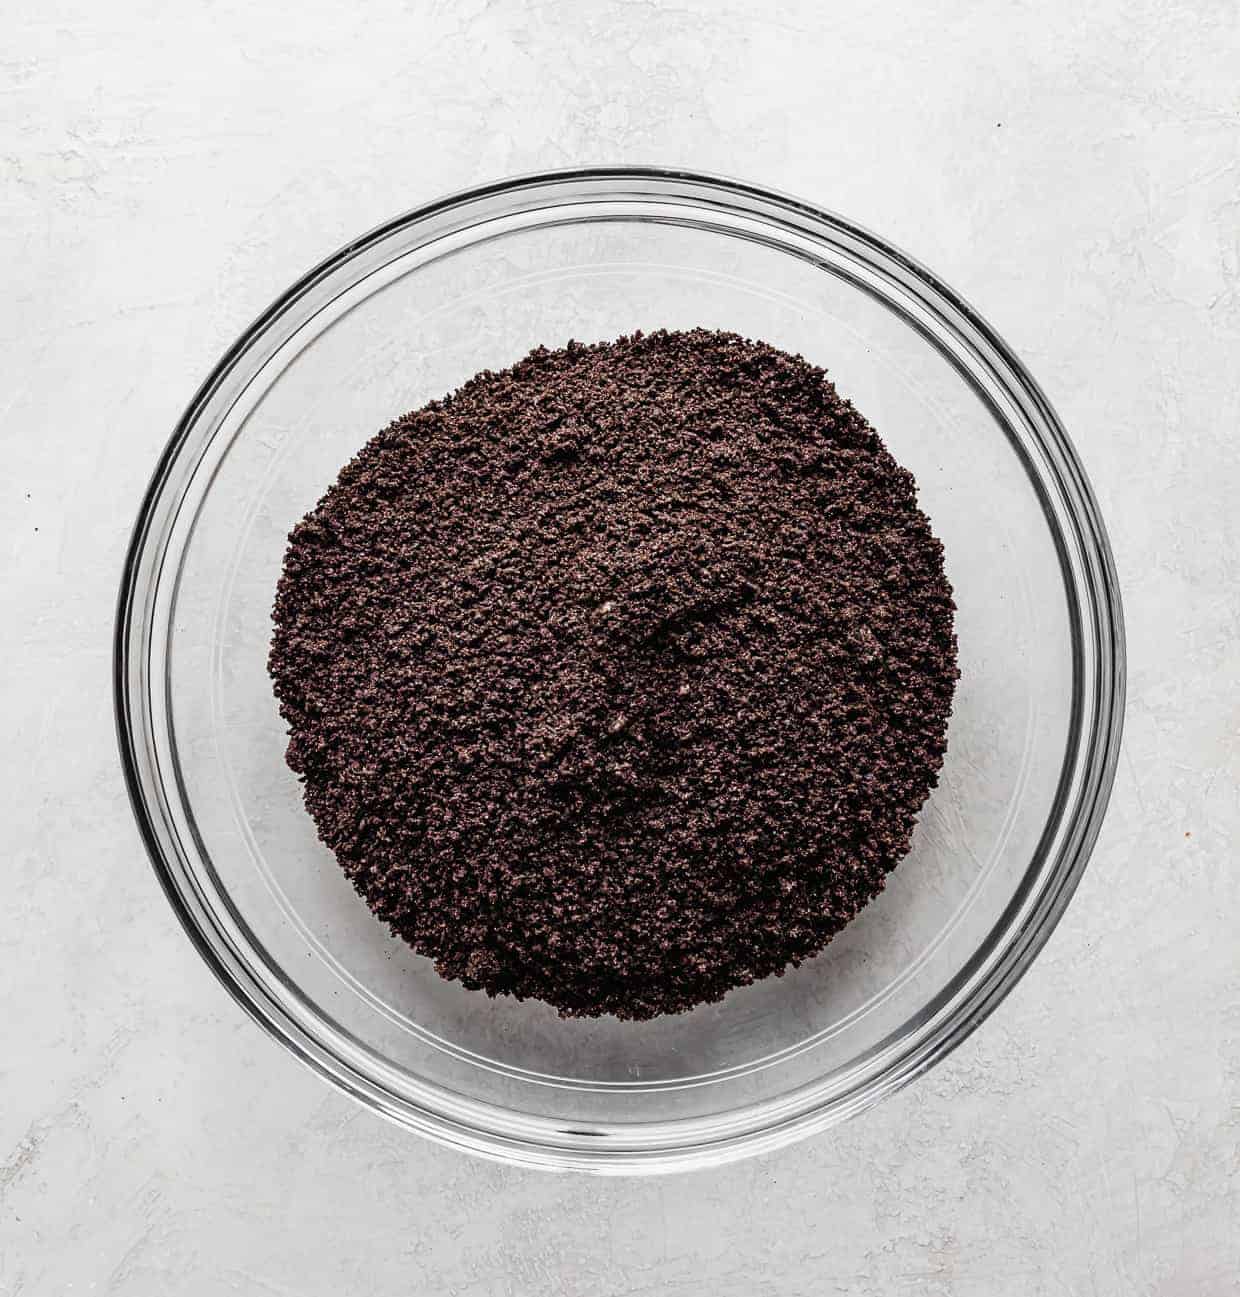
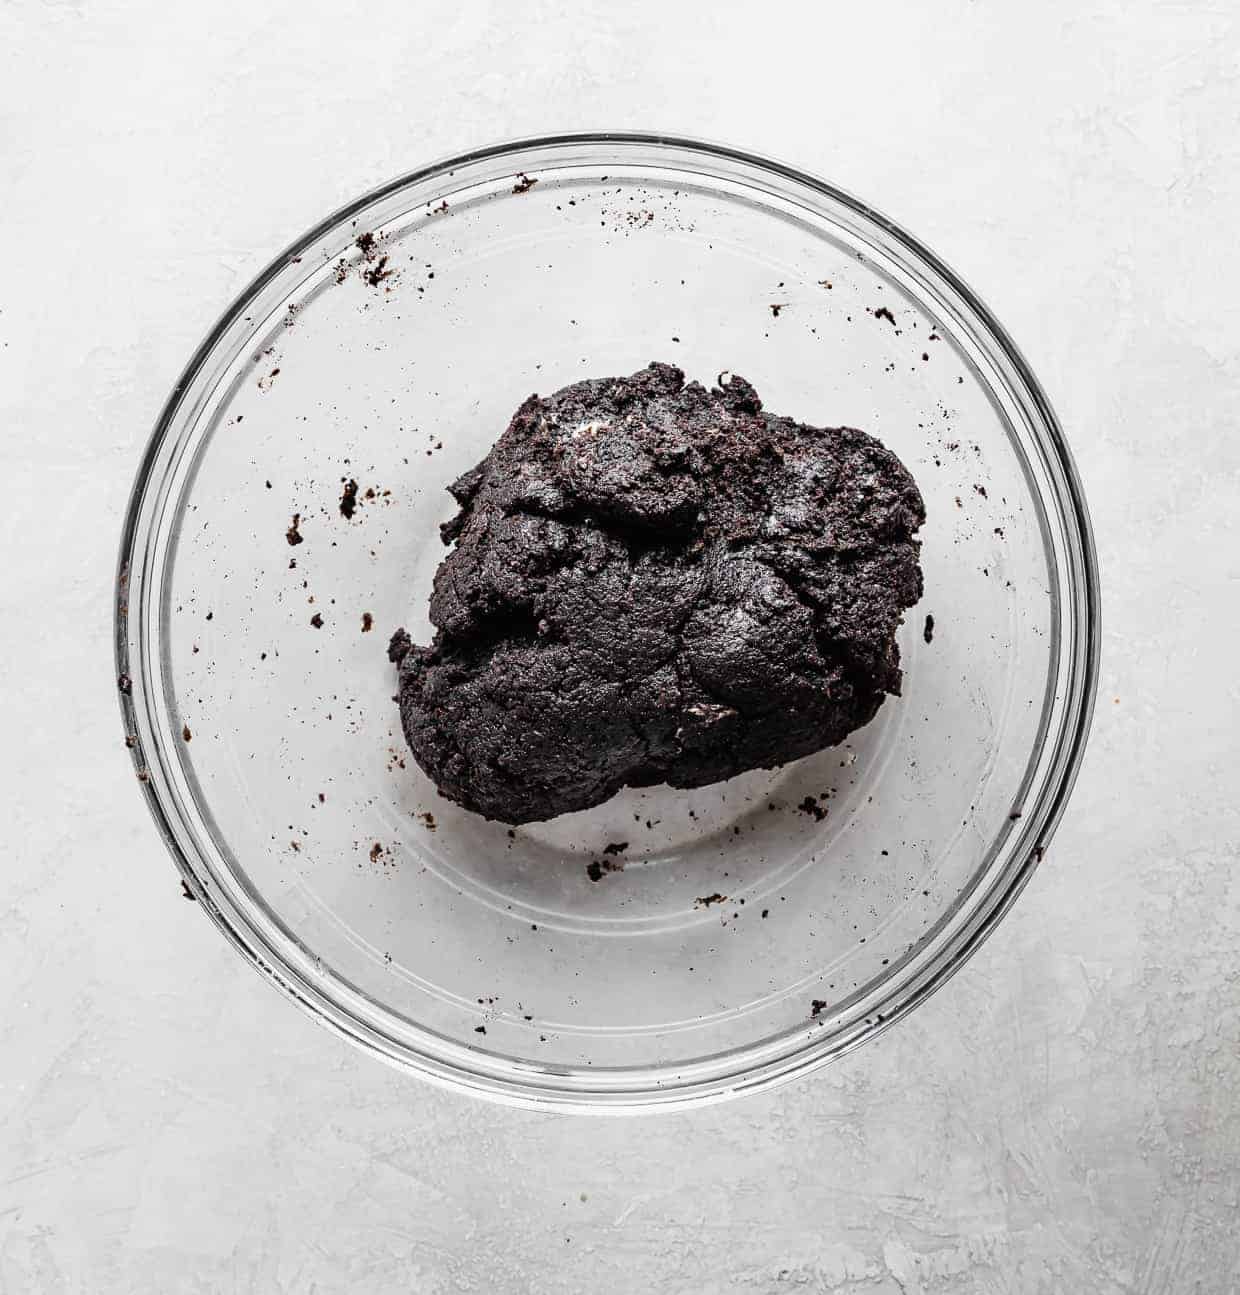
- Add Oreo’s to a food processor and pulse until the Oreo’s are fine crumbs. If you do not have a food processor you can place them in a ziplock bag and crush them with a rolling pin or mallet. Add the cookie crumbs to a large bowl along with the cream cheese. Mix with a spatula until combined.
- Shape into balls and place on a baking sheet lined with parchment paper. Freeze for 15 minutes.
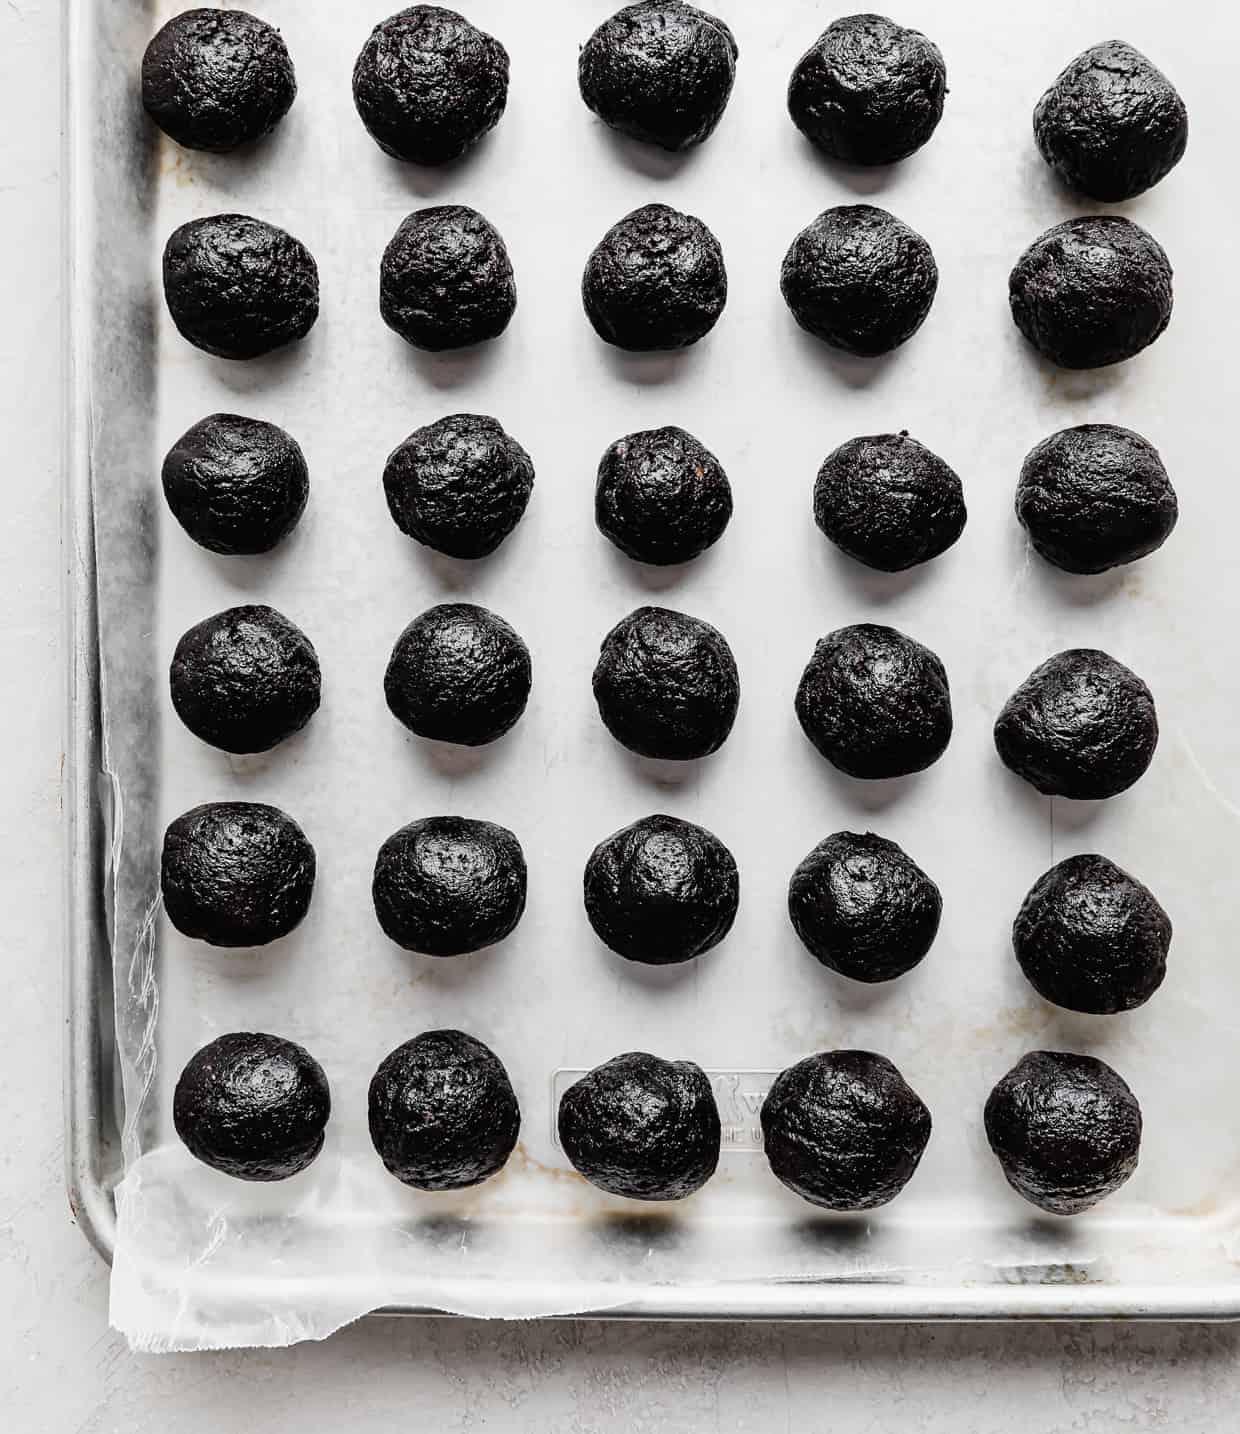
- Dip the end of each lollipop stick in the melted candy melts and insert it into the chocolate cake pop. Then place the cake balls back into the freezer for 15 more minutes.
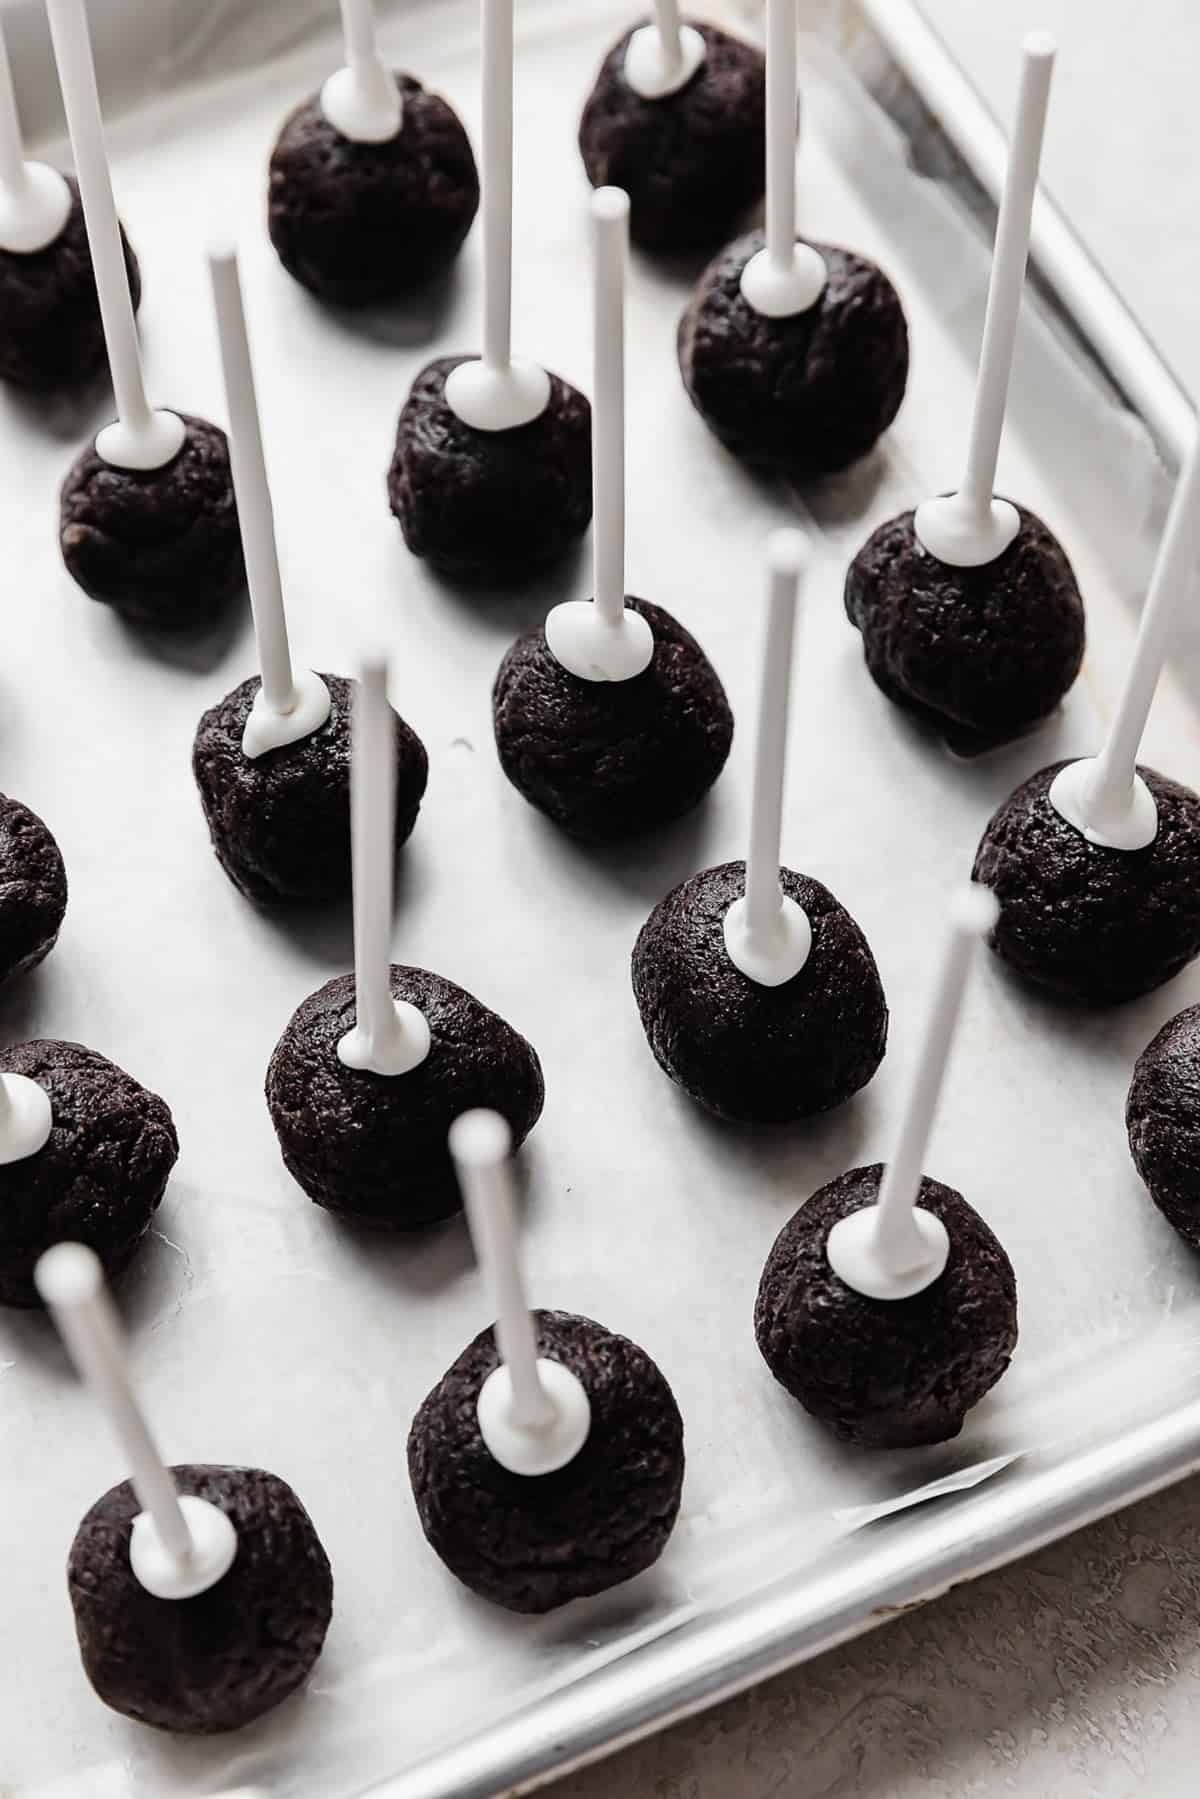
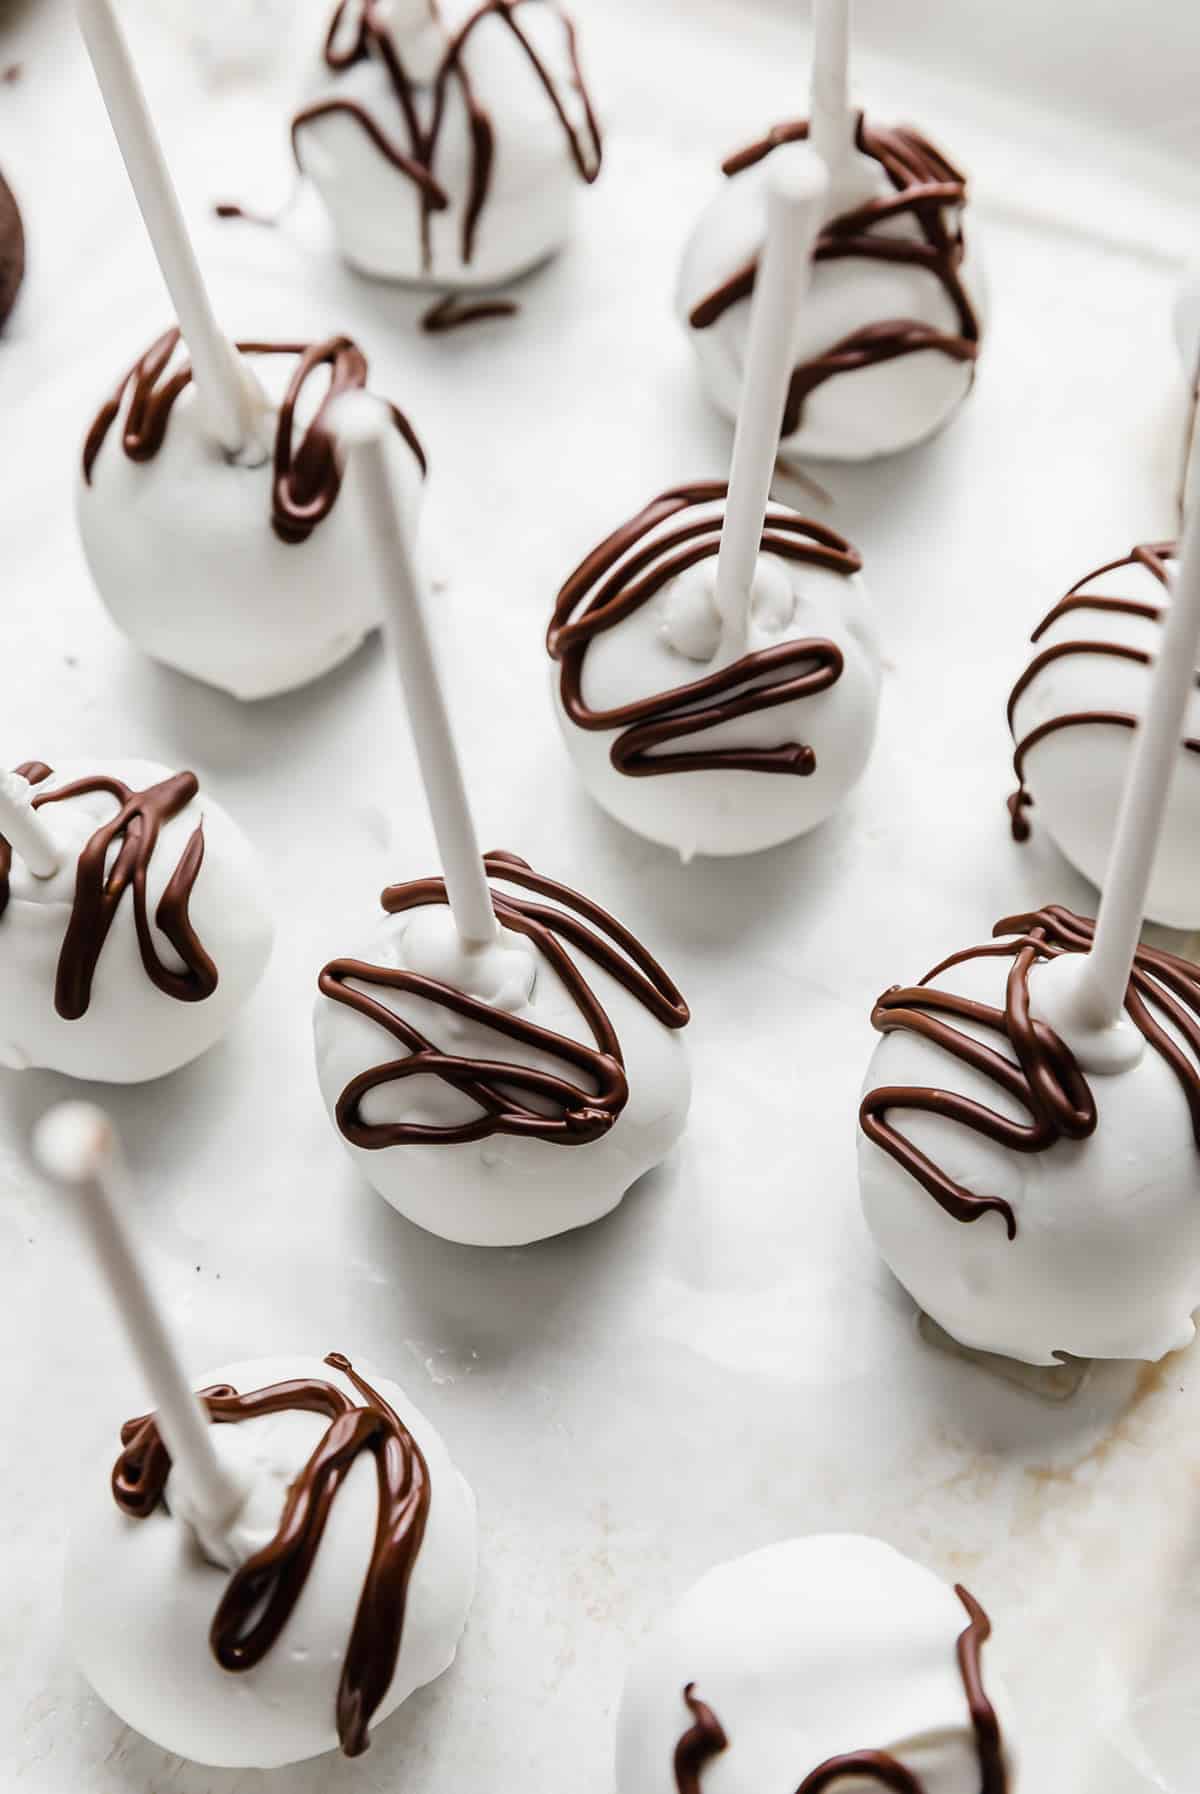
- Remove frozen cake pops from freezer and submerge into melted chocolate. Drizzle with semi-sweet chocolate over-the-top or decorate with sprinkles.

Recipe Tips
If you do not like the idea of microwaving the candy melts, you can always use a double broiler method.
If you can’t find candy melts, feel free to use baking chips or almond bark.
Shake or tap off the excess then stick into a Styrofoam board or on parchment paper to set up.
If you want your chocolate coating to be a different color, you can add a gel or oil based food coloring to the white candy melts or simply purchase a different color to fit your party or holiday color scheme. I usually buy mine at Michaels but you can also purchase them on Amazon here. If using baking chips to coat, do not color with a water based coloring as it will cause the chocolate to seize up.
Storing and Freezing
Oreo cake pops must always be chilled and will stay fresh for up to 5 days in the refrigerator in an airtight container.
FAQs
Yes; these can be made ahead and kept in the freezer for up to 2-3 months. Thaw in the refrigerator overnight before serving.
If you find your melted Candy Melts are too thick you can use Crisco shortening or coconut oil. However; the best way to thin is by using a dipping aid. Dipping aid is made of tiny chips that make the candy runnier and smoother, and results in a much easier dip.
The most common reason the chocolate shell cracks is that the pop was too cold and the chocolate was too hot when dipped. When the two came into contact with each other, the drastic temperature differences caused a “shock” to the melted candy. This “shock” will eventually lead to cracking. To avoid this, allow melted chocolate to cool for a few minutes so the temperature differences isn’t so great.
Related Recipes
- Oreo Ice Cream Cake
- Copycat Crumbl Oreo Sandwich Cookies
- No Churn Oreo Ice Cream
- Soft Cookies and Cream Cookies
- Cakesicles
Did you make this recipe? I’d love to hear about it! Click here to leave a rating and review.
Stay up-to-date by following us on Instagram, Facebook, and Pinterest.
Oreo Cake Pops
Ingredients
- 42 Oreos - I used regular Oreos, but can use double stuf
- 8 oz cream cheese - softened to room temperature
- 3 cups candy melts - about 18 oz, can use any color
- 1/2 cup semi sweet chocolate chips - melted for decorating, if desired (see notes)
Equipment
Instructions
- Add Oreos to a food processor and mix until they turn into fine crumbs. Add the cream cheese and mix until it comes together. Transfer the mixture to a bowl.
- Line a baking sheet with wax paper. Using a cookie scoop, portion the mixture into equal portions (however big or small you want) and roll them into balls. Place the round balls on the parchment paper and freeze for 15 minutes.
- In the meantime, melt the candy melts. Remove Oreo balls from the freezer. Dip 1 side of the lollipop stick in the melted chocolate then immediately press it halfway into an Oreo ball. Continue until all Oreo pops have a lollipop. Freeze again for 5-10 minutes.
- You may need to reheat the candy melts so that they are melty again. Remove the Oreo pops from the freezer and submerge the full Oreo pop into the candy melts, tap off the excess then stick into a Styrofoam board and let set. You can also place the cake pops (I did this with mine, you can see the photos in the blog post). Drizzle the semi-sweet chocolate overtop for decoration. Alternatively, you can sprinkle the tops with sprinkles immediately after dipping in the melted candy melts.



 Welcome to this delicious corner of the internet! Here I share the recipes my family loves.












5 Comments on “Oreo Cake Pops”
Made these today! Super easy and cute. I sprinkled mine with Oreo crumbs 😋 definitely recommend! I love anything Oreo and this is the site I visit when I need something new to try or the favourites I make regularly!
Thanks for your review Chelsea! We’re so glad to have you here 🙂
Could I freeze these to make in advance? Thanks!
Yep!
Super easy treat! My family loved them!