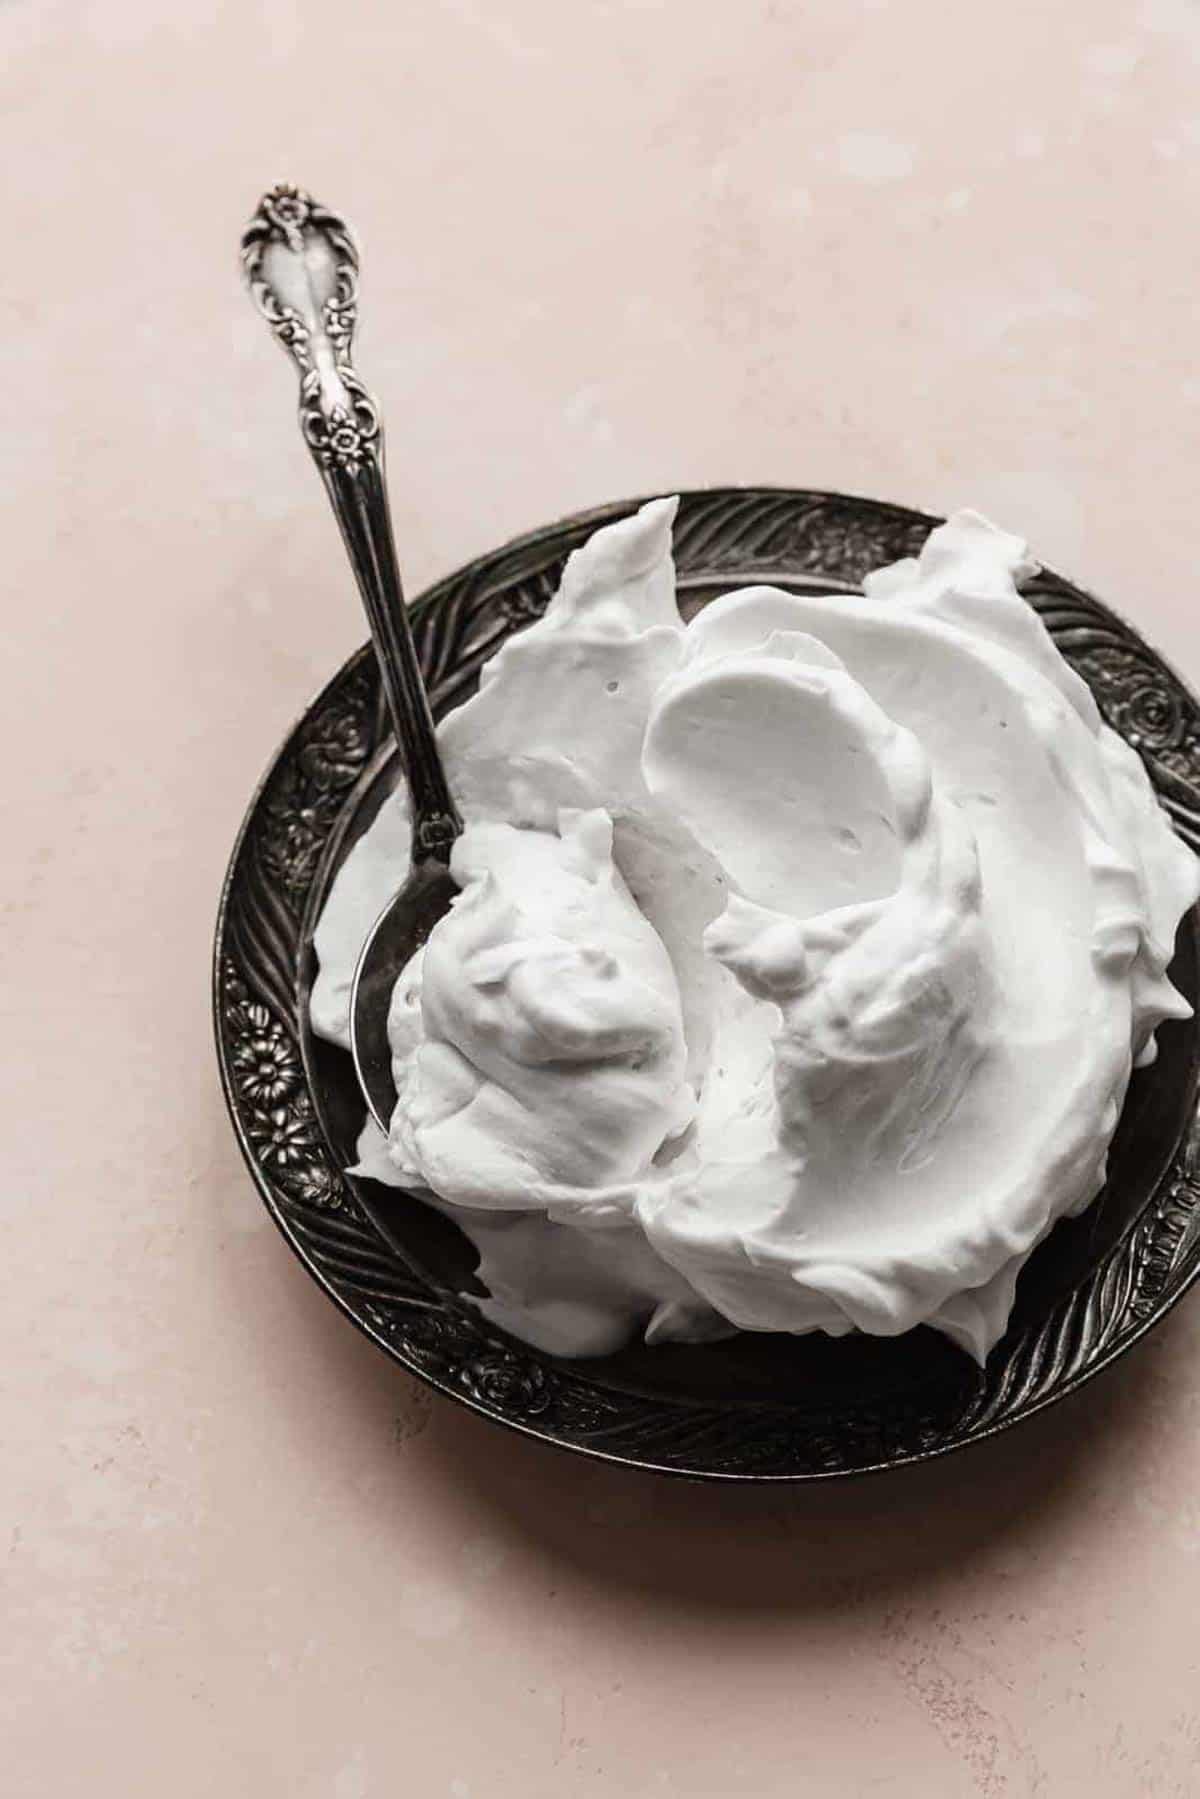
Coconut Whipped Cream
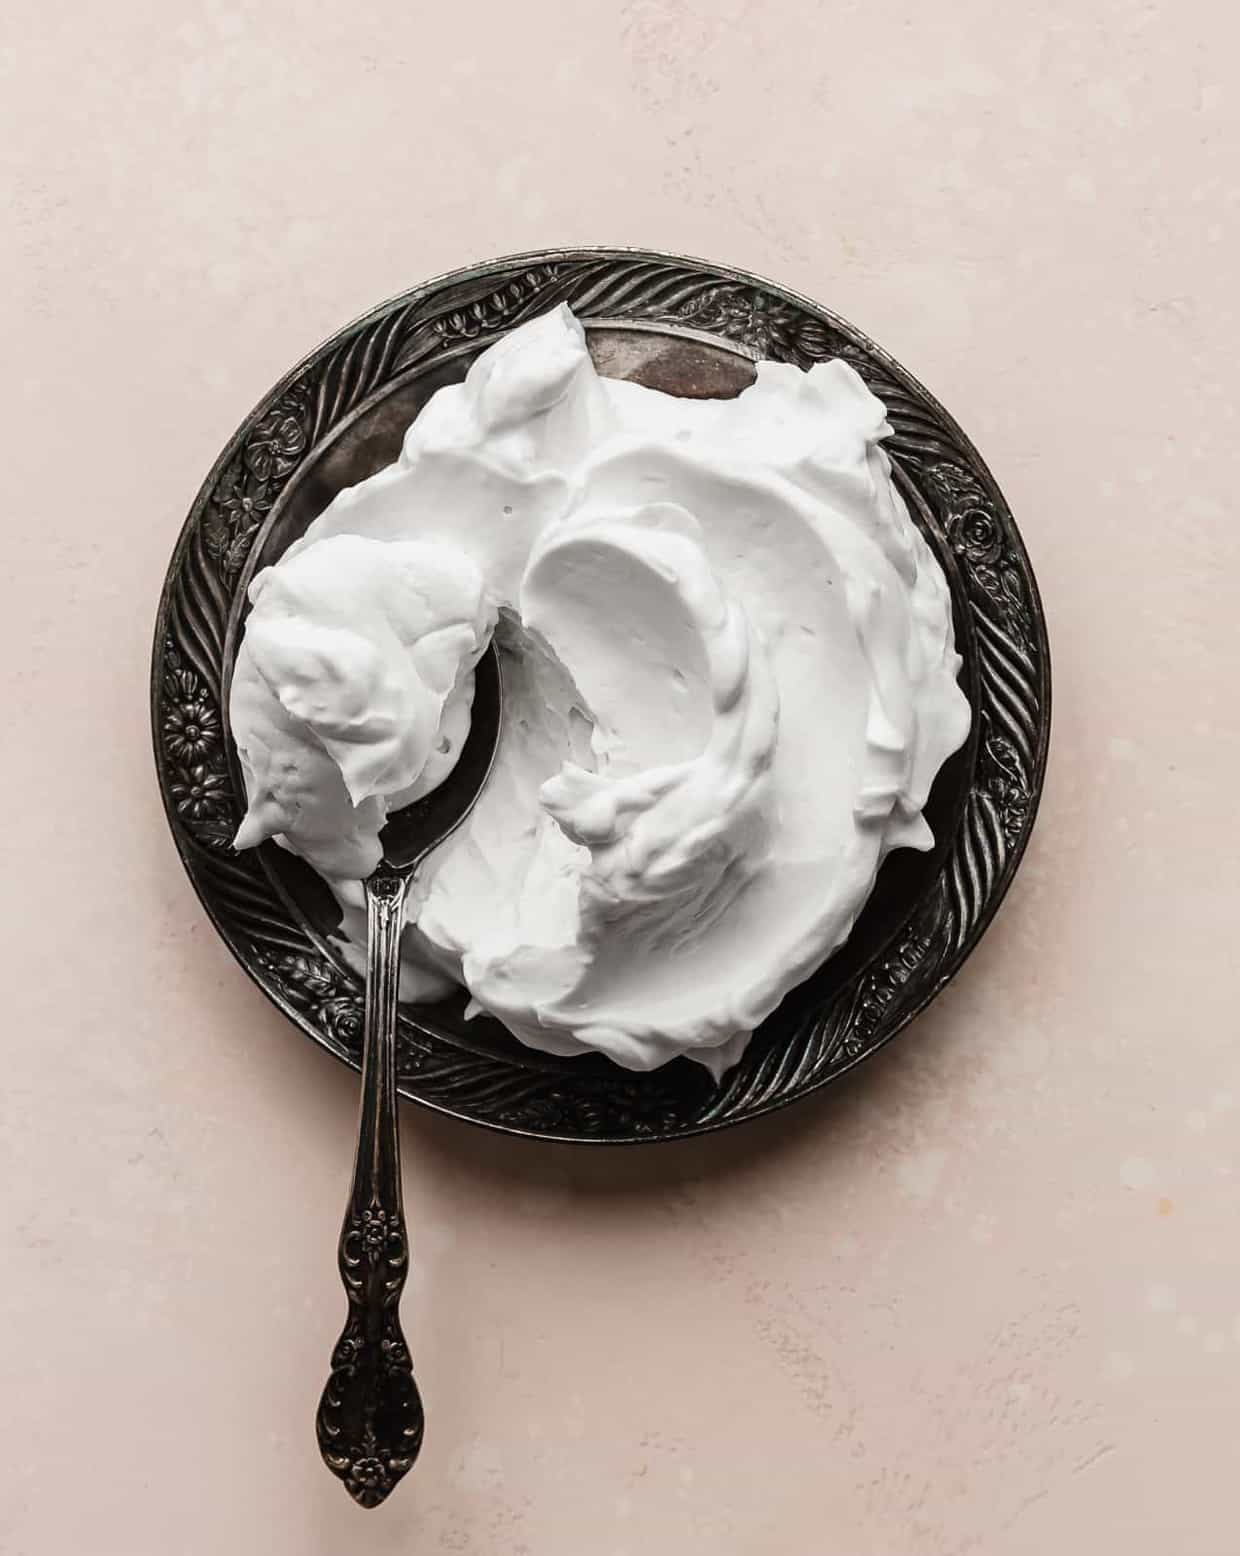
Coconut whipped cream is a dairy-free whipped cream option that is made from the full fat coconut milk or coconut cream. It’s delicate, soft and tastes amazing! Both your dairy-free and dairy-eating friends will love it!
There’s something about putting a dollop of fluffy whipped cream on top of fruit, granola or pancakes that just hits the spot. I think one of my favorite combinations is homemade vanilla ice cream with a dollop of this coconut whipped cream and then drizzle raspberry sauce on top! It’s also great on top of pies such as key lime pie, pumpkin pie, banoffee pie or even a fresh peach pie.
Why This Recipe Works
- Thick coconut whipped cream. I love how thick and fluffy this coconut whipped cream is!
- Perfect topping. This is a great dairy-free, gluten-free and vegan option for whipped cream. It’s great to top hot chocolate, desserts, breakfast foods and more!
- Chilled coconut whipped cream. You do need to chill the can of coconut cream beforehand, but this is a plus because it helps get solid separate of the thickened coconut cream, resulting in even better coconut whipped cream.
- Loved by dairy lovers and dairy free lovers alike! If you are looking for a dairy-free, vegan and gluten-free whipped cream option, this is the perfect replacement for traditional whipped cream! (Or if you aren’t dairy free, gluten free or vegan, you’ll still love this recipe!) Seriously, it’s so delicious.
Ingredient Notes
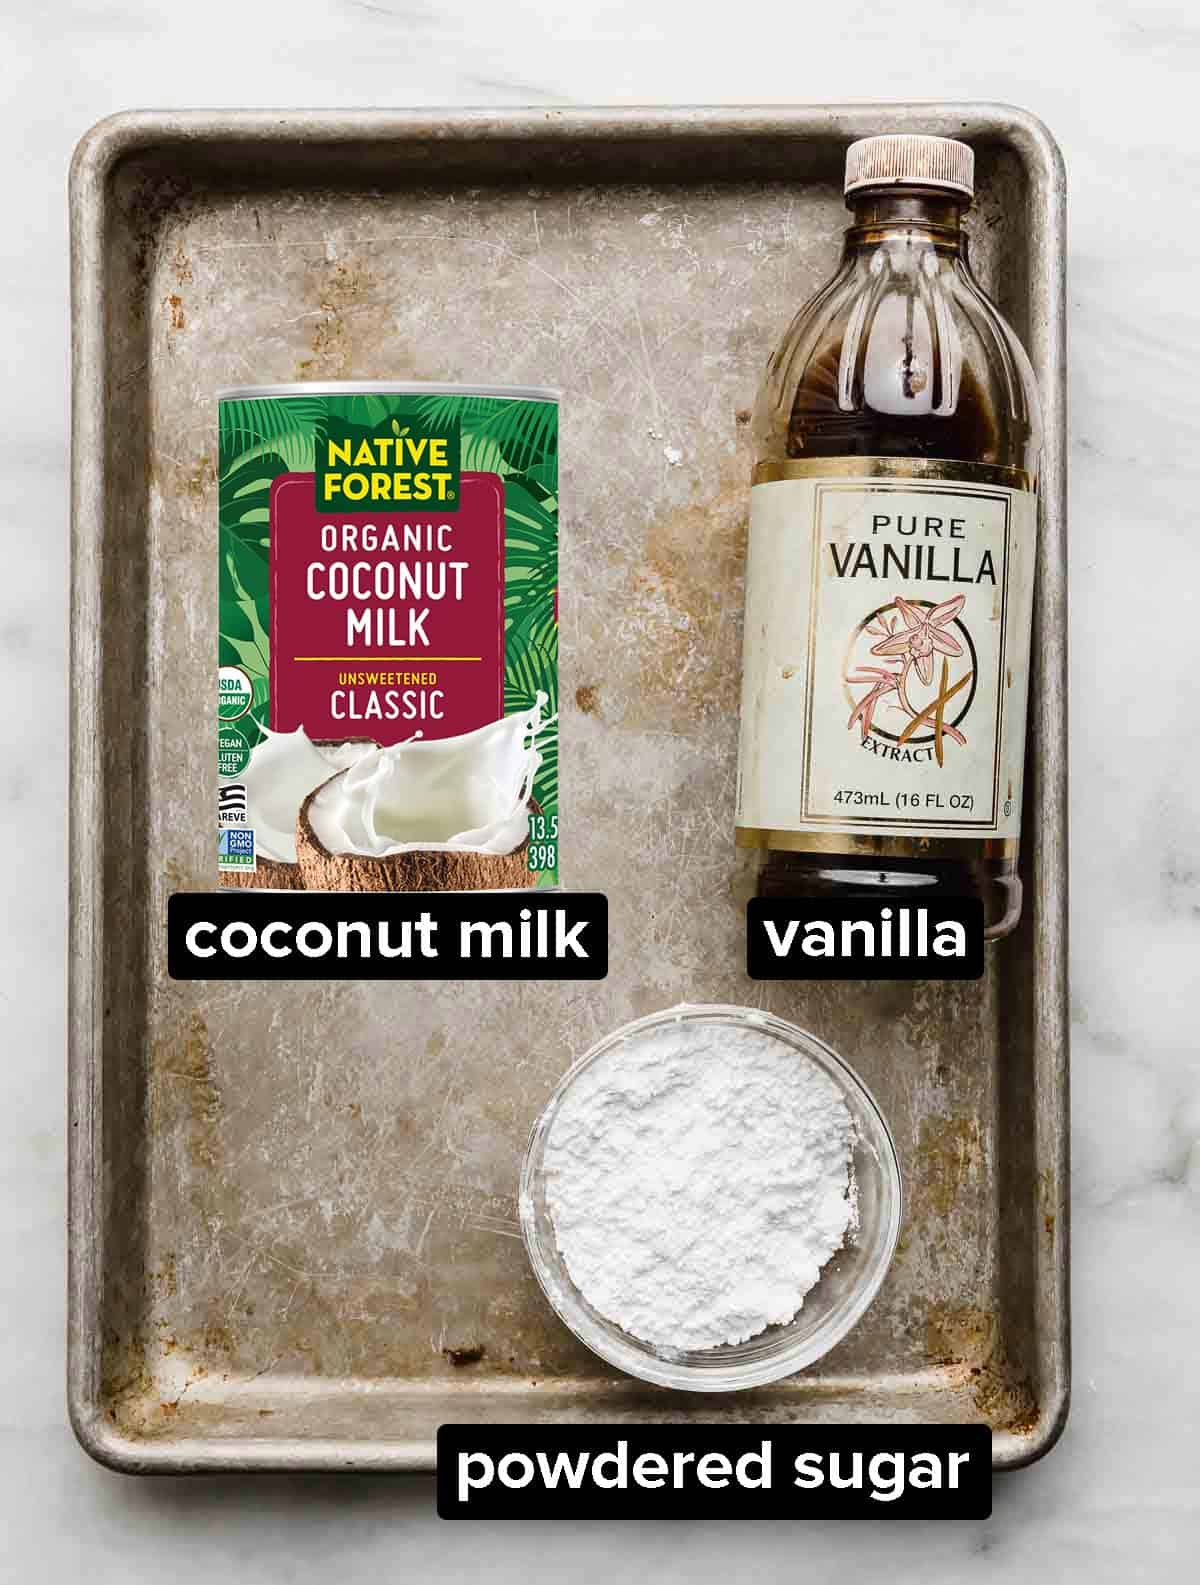
- Canned Coconut Milk: You’ll need 1 can of full-fat coconut milk. I used Native Forest from Whole Foods and that worked great for me. The Minimalist Baker tried different brands of coconut milk if you can’t seem to find the Native Forest brand.
- Powdered Sugar: You can also use maple syrup, stevia, honey, or any other preferred sweetener.
- Vanilla Extract: This gives depth to the cream’s flavor and helps to mellow out the coconut flavor.
Step-by-Step Instructions
- Chill coconut milk can. Place the can of coconut milk in the fridge for 1-2 days.
- Remove hardened top. Take the can out of the fridge, open it, and scrape the solid coconut cream from the top of the can and place in a mixing bowl. Discard or store liquid coconut milk in the fridge.
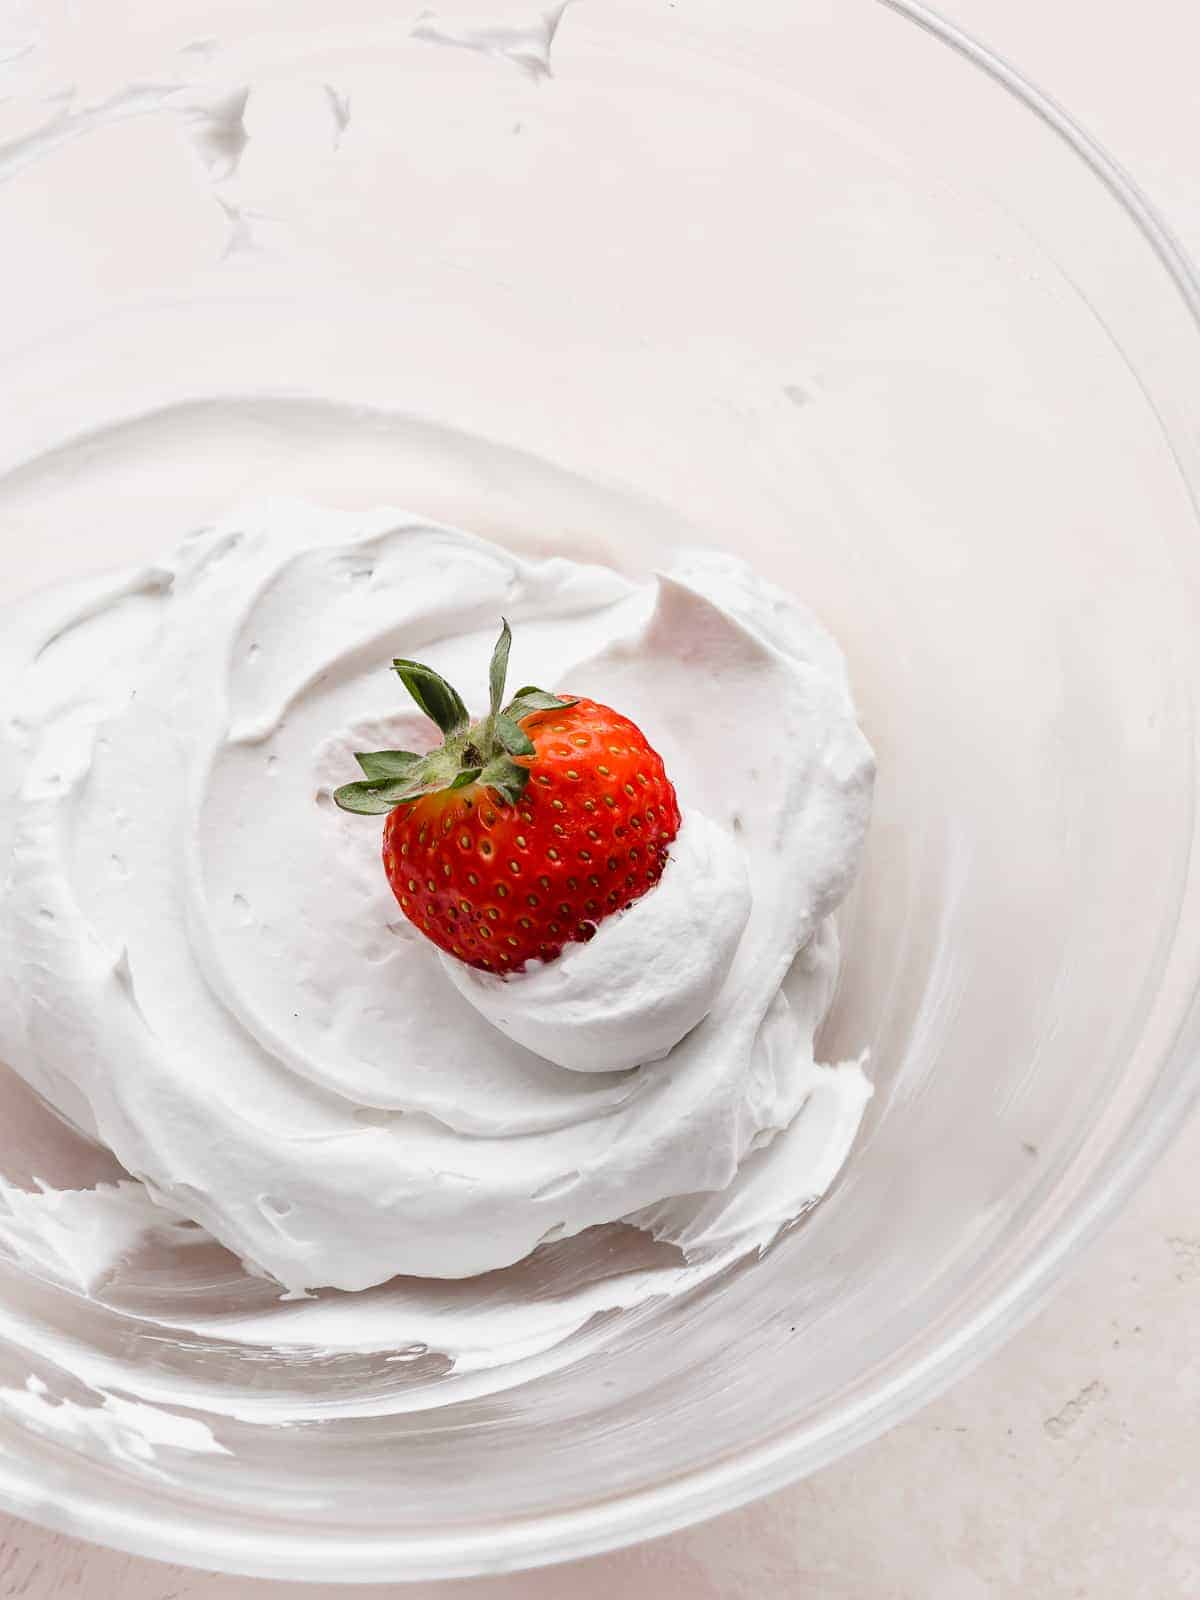
- Beat the coconut cream. Using an electric mixer or stand mixer, beat the hardened coconut cream for about 1 minute until smooth. Add 2 tablespoons powdered sugar and 1/4 tsp vanilla extract. Beat for another minute until combined and thick.
- Serve! Store the whipped coconut cream covered in the fridge and serve with fresh fruit, hummingbird cake, granola, angel food cake, waffles, pancakes, hot cocoa and more!

Recipe Tips
Brand of coconut milk — Finding a brand that works is tough. Thai Kitchen doesn’t work. I used Native Forest from Whole Foods and that was the best coconut milk for me.
For best results, make sure the coconut milk is full fat. You don’t want the thin types for this coconut milk whipped cream. And remember, this is coconut milk in a can. The coconut milk in cartons in the fridge or near the almond milk won’t turn into whipped cream. The more fat, the more solid cream you’ll get in your chilled can.
Make sure you chill the can of coconut milk in the fridge (not the freezer) for at least 18-24 hours. If not, you won’t get as good of a separation of the cream and the liquid in the can.
Using a chilled bowl can help. Chill your mixing bowl in the freezer for 10-15 minutes prior to mixing for better results. The key is to keep the cream chilled as long as possible.
I like using this recipe on top of breakfast foods! If you’re looking for a healthier breakfast option with this gluten free and vegan whipped cream, you can try it on top of my breakfast quinoa or pair it with coconut chia pudding. But I’m also a sucker for it on top of my pancakes or waffles!
The coconut whipped cream won’t function well as frosting for cakes or cupcakes since the cream likes to stay chilled. If you’d like to use coconut whipped cream on cake or cupcakes, frost the items and then chill them in the fridge.
Must keep this refrigerated. It doesn’t do well at room temperature for longer than 2 hours.
Want it sugar free? Add a splash of stevia liquid drops to the coconut cream (or stevia powder if your cream is too liquidy).
If your cream is slightly clumpy, keep mixing. You can always add a splash of the reserved liquid to the bowl to help soften the mixture. Adding some of the reserved coconut liquid can also help if your cream is too stiff when mixing. This will loosen it up and create more air bubbles to give the cream more lift. It’s important to keep the balance right and not give too much liquid or else you won’t have a thick cream texture.
Make Ahead, Storing, and Freezing
Store the dairy-free coconut whipped cream in an airtight container in the fridge for up to a week. The whipped cream will firm up while in the fridge. You can give the cream an extra whip after it has been in the fridge if it needs it.
I’ve never made this coconut whipped cream recipe and then frozen it, so I’m not sure how well it holds up. I like using it fresh!
Recipe FAQs
Be sure your canned coconut milk has been chilling in the fridge for 18-24 hours, or more. Then make sure you aren’t adding too much liquid if you are having problems getting a stiff cream. If you used a liquid sweetener, switch to a powdered sweetener.
You can’t make coconut whipped cream without chilling it first. You need to chill it to get the separation of the liquid and the cream in the can.
Yes! Coconut milk can help lower cholesterol and is filled with healthy fat. Especially if you use a more natural sugar like honey or agave, this whipped cream recipe is definitely on the healthier side.
Yes! Just but sure to choose a sugar that is vegan if that’s what you’re looking for. Maple syrup is a great sweetener to use if you are vegan.
More Whipped Cream Recipes
- Cream Cheese Whipped Cream Frosting
- Whipped Cream Frosting
- Greek Yogurt Whipped Cream
- Greek Yogurt Whipped Cream
Coconut Whipped Cream
Ingredients
- 13.5 oz coconut milk - chilled for 24 hours, should be full fat coconut milk
- 2 tablespoons powdered sugar - or use maple syrup for vegan
- 1/4 teaspoon vanilla extract
Equipment
Instructions
- Chill coconut milk for 1-2 days. Remove from fridge and scoop out the top, hardened portion of the coconut cream. Transfer the liquid coconut milk to a container and store in the fridge for a later use.
- Using a hand mixer, beat the coconut cream until smooth, about 1 min. Add the sweetener and vanilla and mix for another minute.
- Store in fridge, covered for 5 days. The whipped cream will firm up while in the fridge.
- Serving with: fresh fruit, cake (carrot cake), angel food cake, slices of pie, hot chocolate, waffles, pancakes, hummingbird cake, steel cut oats, granola, oatmeal.
 Welcome to this delicious corner of the internet! Here I share the recipes my family loves.