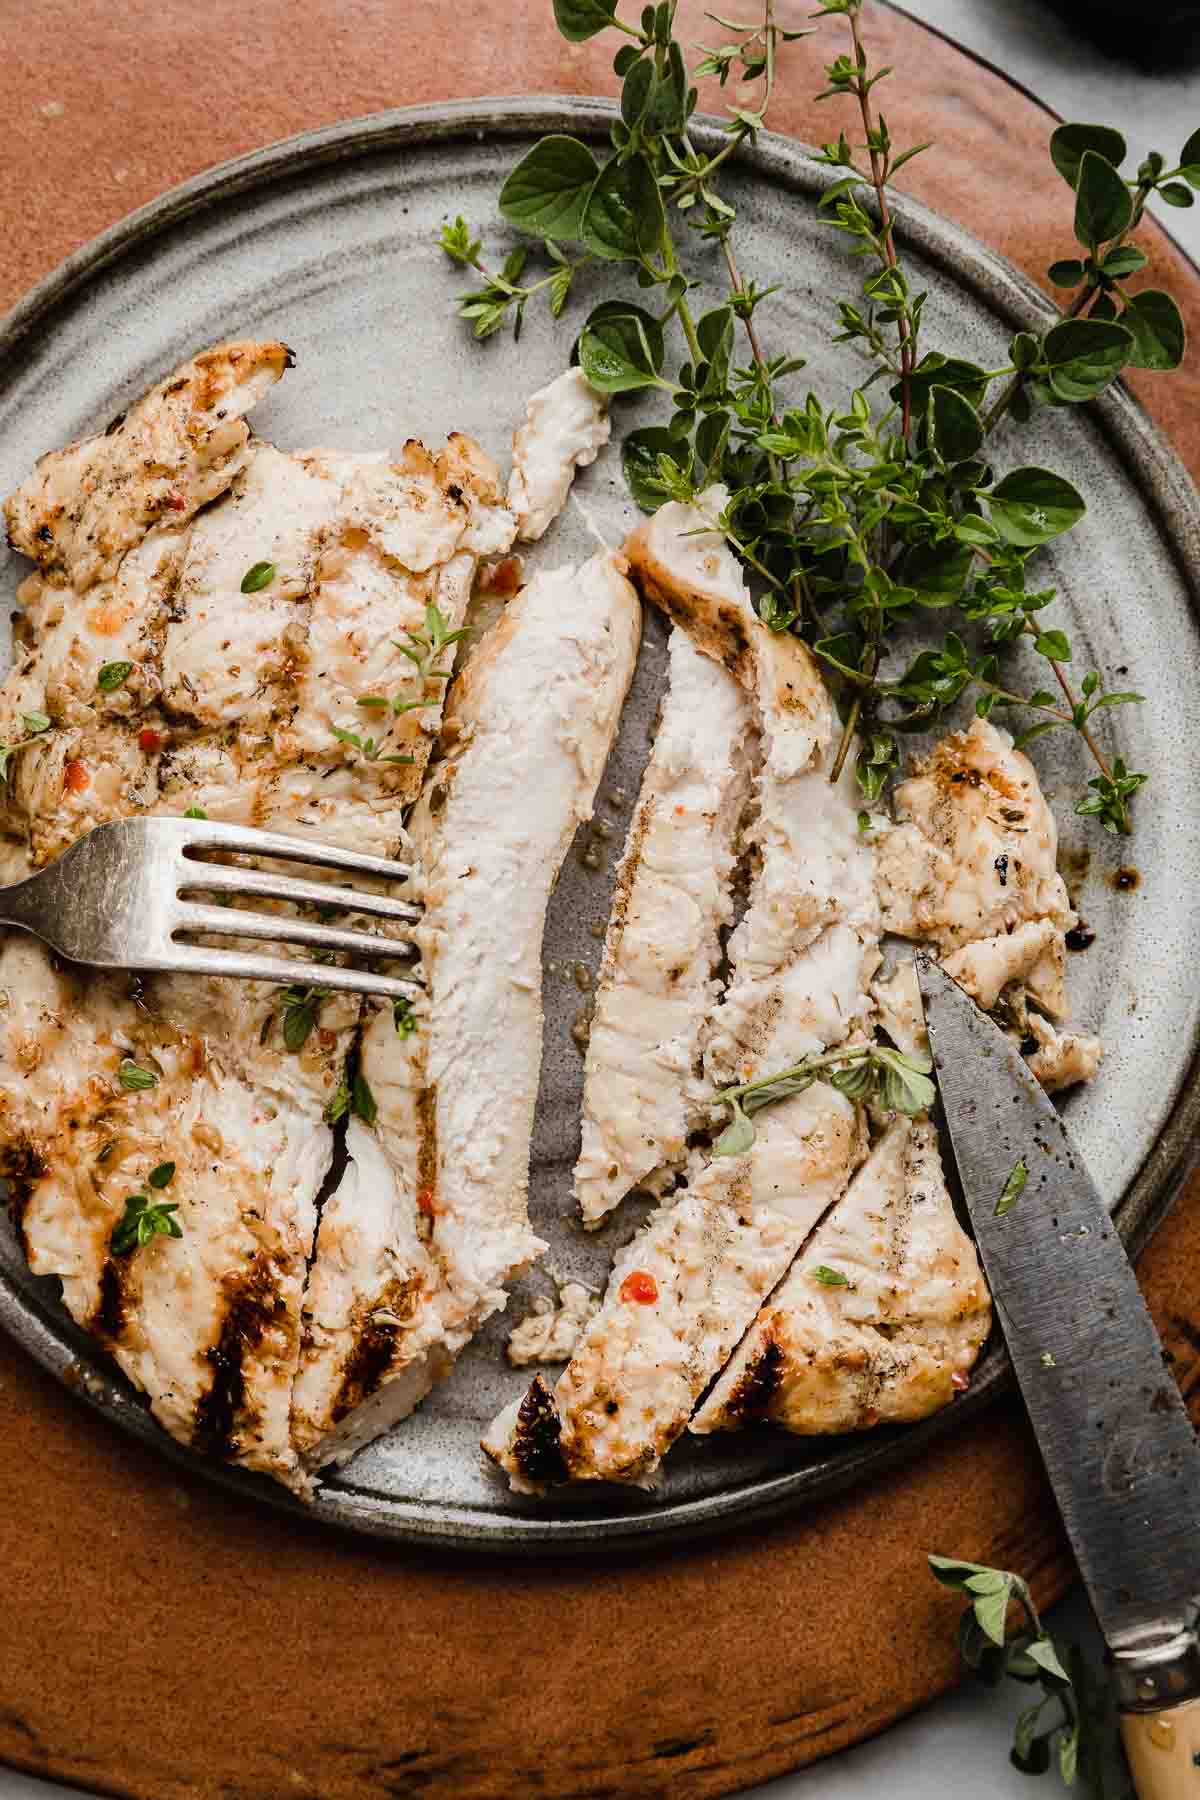
Italian Grilled Chicken

Level up your grilling game with this easy and delicious Italian Grilled Chicken recipe. Marinated in a flavorful blend of zesty Italian dressing, aromatic herbs, and fresh lemon, this dish is your ticket to restaurant-quality chicken that’s perfect for any occasion.
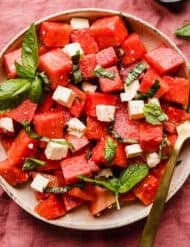
My favorite side dishes to serve with this grilled Italian chicken include oven roasted broccoli, brown sugar roasted carrots, and parsley potatoes. There’s something about a tender grilled chicken breast and some fresh vegetables that hits that healthy dinner spot.
Why This Recipe Works
- Become confident in using a grill! I used to be skeptical about using the grill (my husband usually would), but this recipe makes it so simple!
- Easy chicken marinade. This Italian grilled chicken marinated in Italian dressing provides the perfect zesty flavor — it’s a great building block for an awesome marinade!
- Easy grilled chicken recipe. Whether it’s a weekend barbecue or a weeknight dinner, this easy Italian chicken recipe fits the bill. With easy-to-follow steps, it’s perfect for both novice and seasoned cooks.
Ingredient Notes
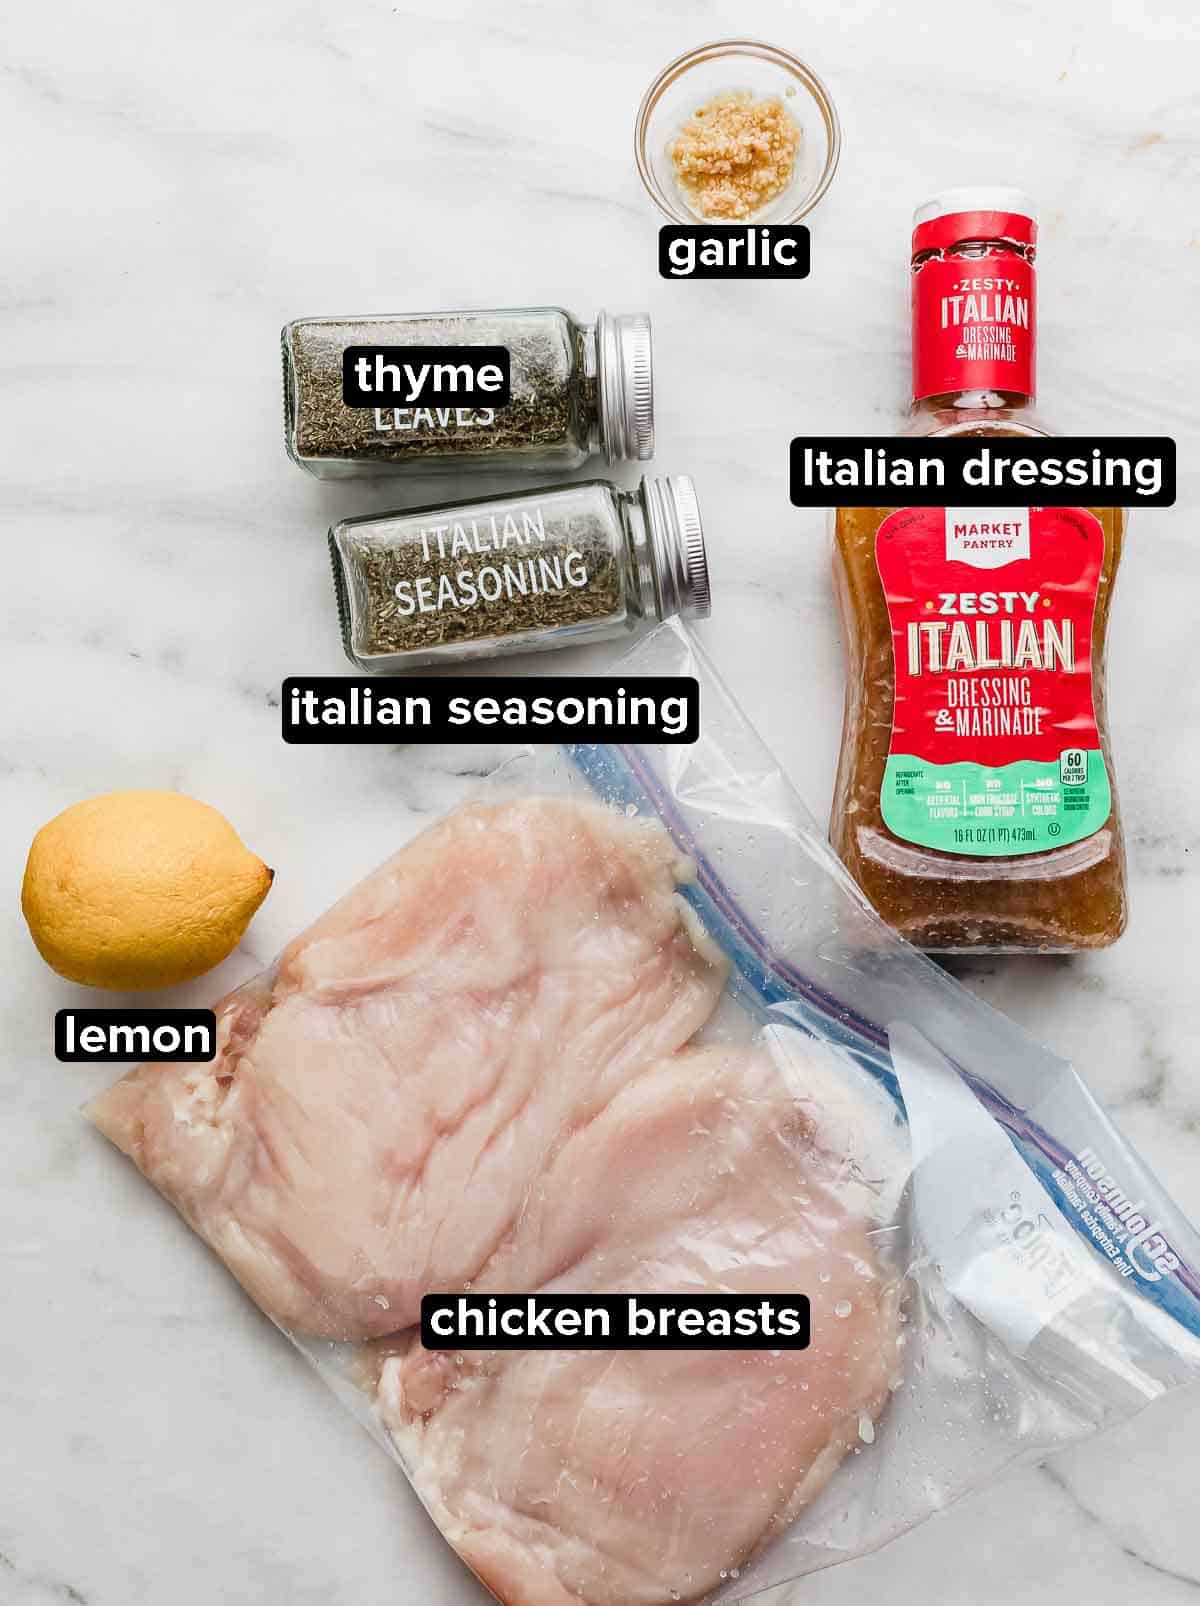
- Chicken Breasts: Make sure your boneless skinless chicken breasts are fully thawed before adding to the Italian marinade.You can use chicken thighs or chicken tenderloins if you’d prefer. Just note that the cooking time will vary due to their different sizes.
- Italian Salad Dressing: This is the base for our Italian chicken marinade. Feel free to use a light version if you’d prefer.
- Fresh Thyme: If you don’t have fresh herbs, halve the amount of dried thyme.
- Italian Seasoning: Adding extra dried Italian seasoning in addition to the Italian salad dressing amplifies the flavor of the grilled Italian chicken breast.
- Fresh Lemon Juice: if you don’t have fresh lemons you can usestore-bought lemon juice.
- Minced Garlic: I like using pre-minced garlic, but if you are using garlic cloves, you’ll need 4.
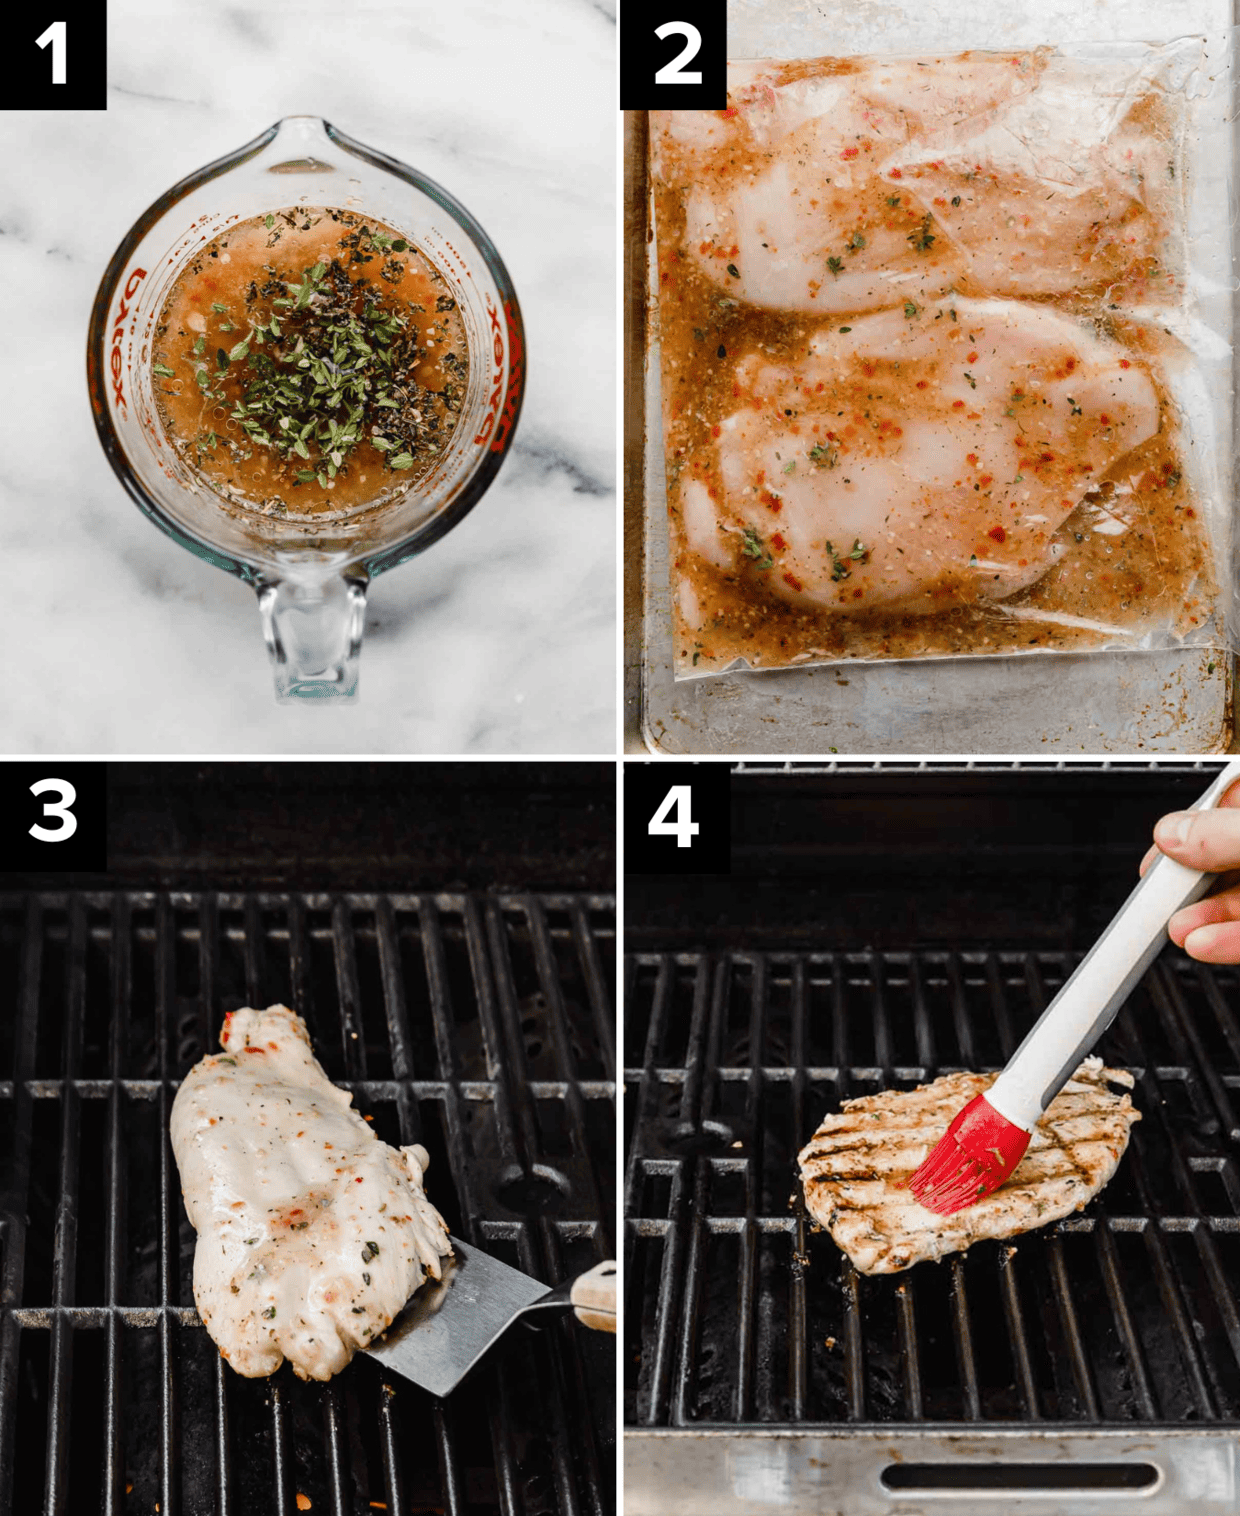
Step-by-Step Instructions
- Make the Italian dressing chicken marinade. Combine 1 cup Italian salad dressing, 2 tsp fresh thyme (or 1 tsp dried thyme), 1 tsp dried Italian seasoning, the juice of 1 lemon and the the garlic cloves to a medium bowl. Mix to combine. Reserve 1/4 cup of the marinade for basting.
- Marinate the chicken. Pour the remaining Italian chicken marinade into a large ziploc bag. Add 4 chicken breasts and seal. Marinate in the fridge overnight or for 3-5 hours.
- Heat grill. Remove the chicken from the fridge and heat the grill to 375ºF-400ºF. Once heated, place the chicken breasts on the preheated grill and cook that side of the chicken for 5 minutes. Flip each chicken breast and, using a basting brush, brush with the reserved marinade.
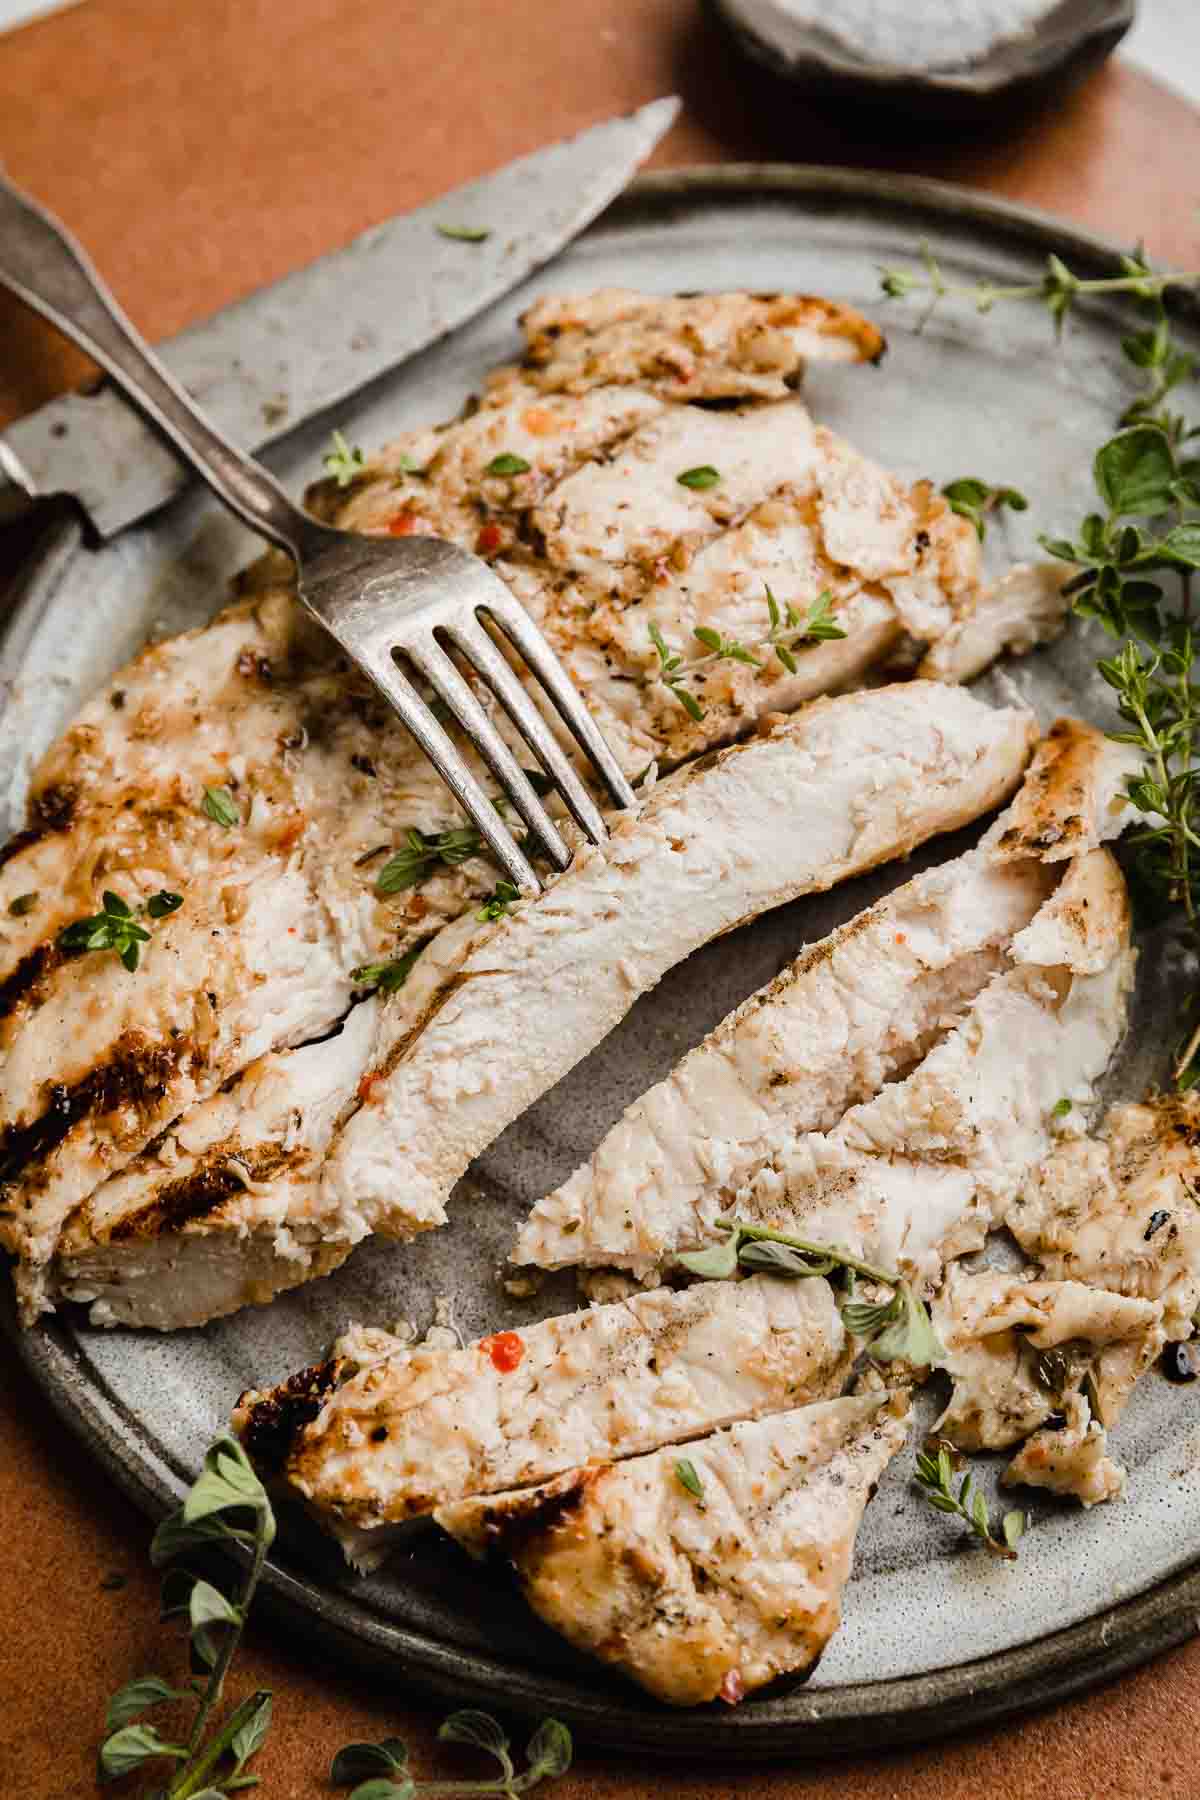
- Close grill and continue cooking. Close the grill lid and cook for 5-6 minutes until the inside of each chicken breasts reaches 155-160ºF. Remove from the grill and place on a plate. Take a sheet of aluminum foil and tent it over the chicken to keep it warm. Let rest for 5 minutes. Serve!
Recipe Tips
Grilling chicken has been a struggle for me. If I’m going to go through the “hassle” (thankfully this recipe is hassle-free) of grilling, then I want a nice, juicy piece of chicken. Don’t you?
So, if you’ve also been feeling a bit shy of the grill, let me give you the secret to success: An instant read thermometer.
You NEED an instant read thermometer if you want juicy grilled chicken. My instant read thermometer is one of my favorite kitchen must-haves!
The longer you let the chicken sit in the Italian dressing marinade in the fridge, the better the flavor and more tender the chicken.
I also like to massage the marinade into the chicken once I’ve sealed the bag. This can also help tenderize the chicken.
Reserving some of the chicken marinade and using it on the grill when cooking will help lock in moisture and amplify the flavor.
If your grill stays around 400°F a majority of the time you’re grilling, your cooking times may be less. I would estimate grilling both sides for 4-4.5 minutes, rather than 5-6 minutes.
Remove the Italian dressing grilled chicken from the grill when it reaches 155º-160ºF. Then let the chicken rest on a plate with tented aluminum foil. Letting the chicken rest for 5 minutes will help the internal temperature of the chicken to elevate to 165ºF from the higher external heat of the chicken.
Make Ahead, Storing, and Freezing
This is a perfect recipe for meal prep! Prepare the Italian marinade and marinate the chicken in a ziplock bag a day in advance. This not only infuses the chicken with flavor but also saves you time on the day of cooking.
While marinating, keep the chicken in the refrigerator. Ensure it’s in a well-sealed bag or container to prevent any leaks or cross-contamination.
If you have leftover grilled chicken, store it in an airtight container in the refrigerator for up to 3-4 days. Reheat gently to maintain its moisture.
Freezing Pre-Marinated Chicken: If you want to plan ahead, you can marinate the chicken and then freeze it in a ziplock bag. Thaw it in the refrigerator before grilling.
Freezing Cooked Chicken: After grilling, allow the chicken to cool completely. Wrap each piece tightly in plastic wrap or aluminum foil, then place them in a freezer-safe bag. Label with the date and use within 2-3 months for best flavor and texture.
Recipe FAQs
No. However, marinating overnight greatly enhances the flavor of the chicken.
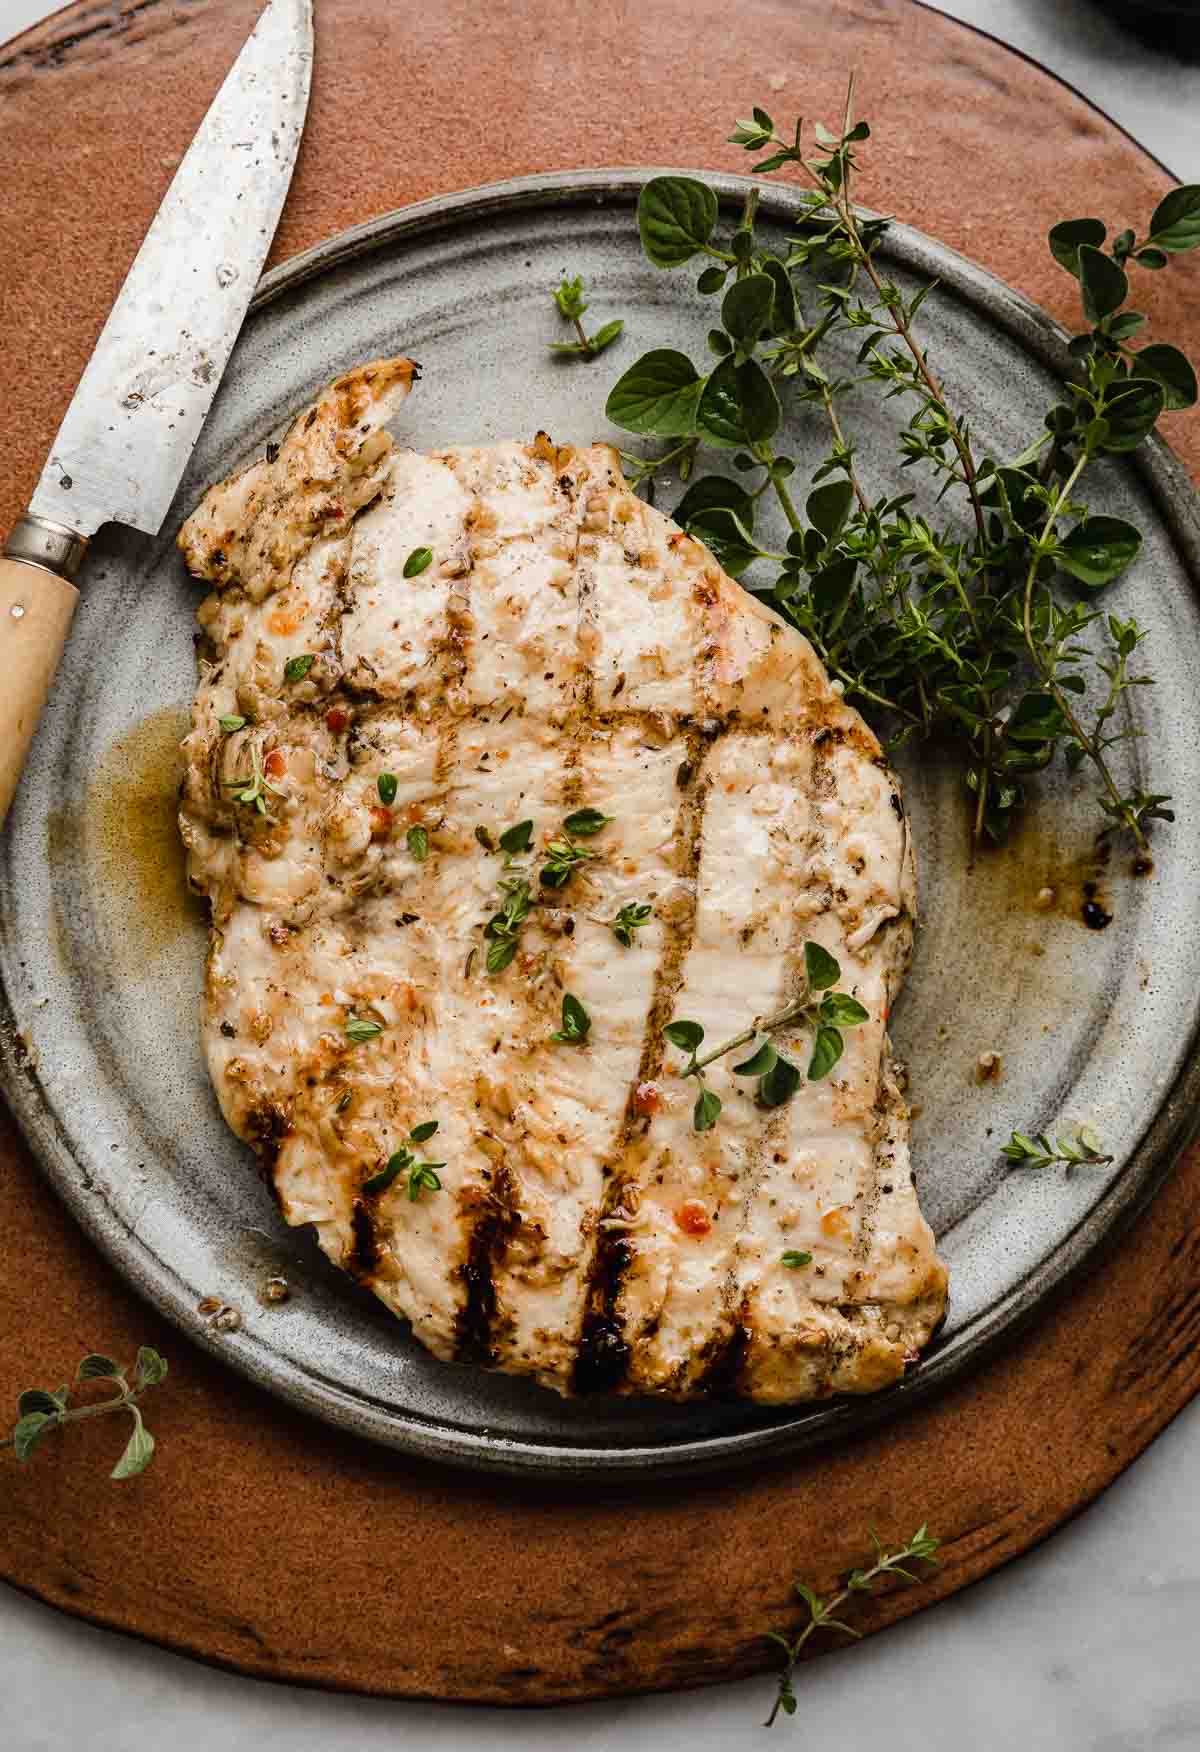
If you want to take your grilling skills to the next level, you can use this tip to get those perfect grill marks on your chicken. The trick is to not move your chicken breasts once you place them on the grill. Lay the chicken on the hot grill and don’t move it! Let it cook on that side for the 5 minutes suggested and then turn the chicken breast over. You want to make sure you cook the first side well enough that you don’t have to turn it back over once it’s already been turned. Try as you might, it’s hard to get the chicken breast in the exact same spot so as to not ruin those beautiful grill marks!
Remember, the chicken will still cook a bit after it’s removed from the grill (as I mentioned above). However, there are some tips you can do to tenderize the chicken breasts prior to it even going on the grill. When I want a really tender chicken breast, I’ll use a meat tenderizer (or a rolling pin) and pound the chicken breast a bit in the really thick portions of the breast. This helps get an even thickness of the breast so you get an even grill and aren’t stuck with parts of the chicken being too dry. Then you can add the chicken breasts to the marinade.
Now, the only way you can ensure you have a perfectly grilled chicken breast is by using an instant read thermometer. Chicken is fully cooked once it reaches 165°F. So why did I tell you to remove the chicken once it reaches 155°F? Chicken continues to cook for several minutes after being removed from the heat source. Who knew, right? Doing this results in a juicy and perfectly grilled chicken. Those who remove chicken from the grill when the internal temperature is 165-170°F will find themselves eating a dry, overcooked piece of meat.
When you remove the chicken breast from the grill, the internal temperature will continue to rise. This is because the outside of the chicken is much hotter than the inside. As the chicken is resting, the outside temperature transfers to the center and thus equalizes the chicken’s temperature.
Without a thermometer, cut into the thickest part of the chicken to check if it’s opaque and the juices run clear. If in doubt, it’s better to slightly overcook than undercook.
No, it’s best to use a separate portion of marinade for basting to avoid cross-contamination. Discard the excess marinade that the raw chicken was in.
Certainly! If you don’t have an outdoor grill, heat a grill pan over medium-high heat and follow the same cooking times and basting steps for delicious indoor grilling.
If you don’t have Italian dressing on hand, combine olive oil, vinegar, minced garlic, and your favorite Italian herbs for a homemade Italian dressing.
More Delicious Chicken Recipes
- Chicken Massaman Curry
- Buffalo Chicken Bites
- Crispy Baked Chicken Drumsticks
- Curry Chicken and Rice
- Creamy Tuscan Chicken
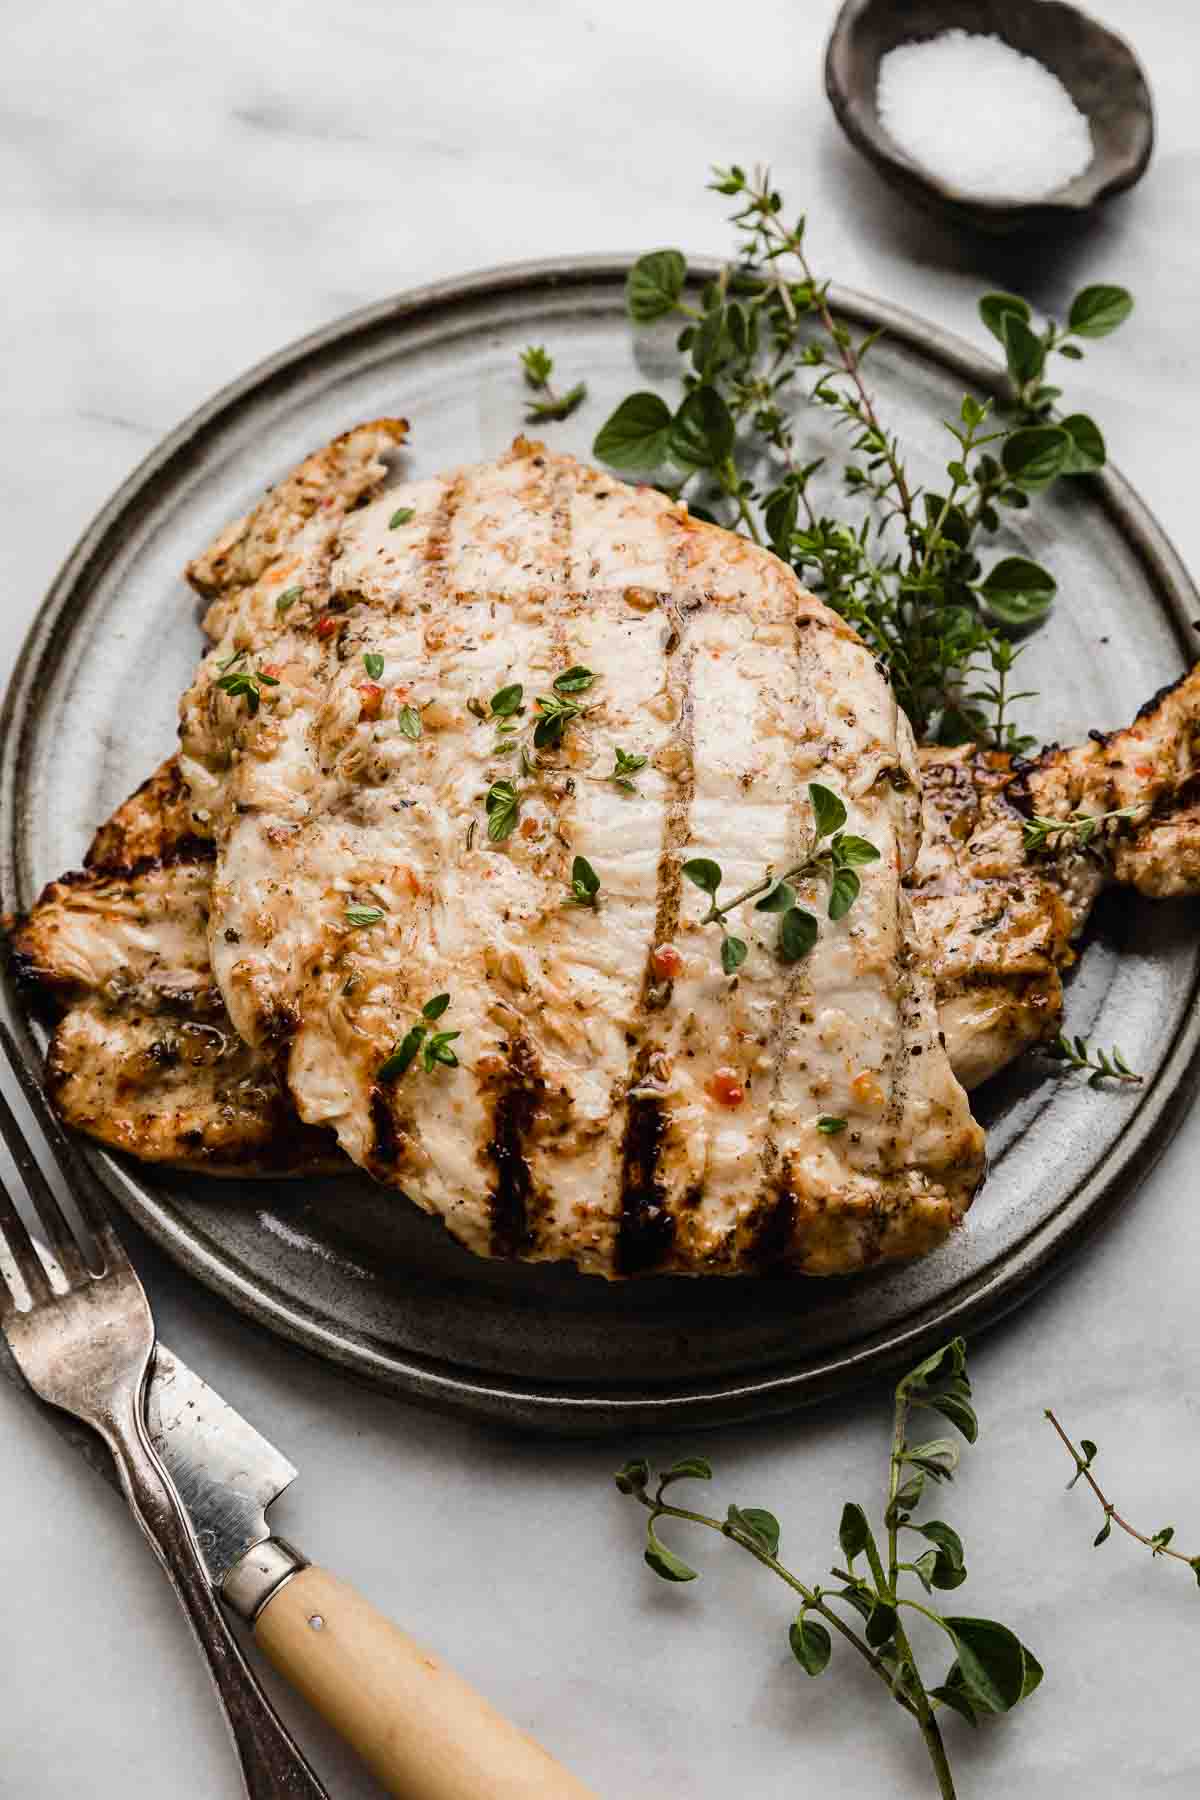
Italian Grilled Chicken
Ingredients
- 4 chicken breasts, or the equivalent of 1.5 lbs
- 1 cup Italian salad dressing
- 2 teaspoons fresh thyme - or 1 tsp dried thyme
- 1 teaspoon dried Italian seasoning
- 1 lemon - juiced
- 4 garlic cloves, minced
Equipment
Instructions
- In a medium sized bowl, combine the Italian salad dressing, thyme, Italian seasoning, lemon juice, and garlic cloves. Stir to combine.
- Reserve 1/4 cup of the marinade (to be used for basting later).
- Transfer the mixture to a large Ziploc bag. Add the chicken. Close the bag, and place in the fridge to marinate for 3-5 hours, or overnight.
- Pull the chicken out of the fridge. Let sit at room temperature for 15 minutes. Remove the chicken from the marinade and discard the marinade.
- Heat a grill to 375°F – 400°F. Place the chicken breasts on the grill. **Cook the first side for 5 minutes. Flip and immediately thoroughly baste each chicken breast with the 1/4 cup of reserved marinade.
- Close the grill lid and cook for an additional 5-6 minutes or until inside temperature reaches 155°F-160°F.
- Remove from the grill and place the meat on a plate, tent with foil to keep the meat warm. Let rest for 5 minutes before serving.
 Welcome to this delicious corner of the internet! Here I share the recipes my family loves.


5 Comments on “Italian Grilled Chicken”
May I fix this in the oven? It sounds yummy!
Sue, absolutely! Start with baking it at 400 degrees Fahrenheit for 20 minutes, then check for doneness. Cook in additional 2-3 minutes intervals as needed to avoid overbaking. It won’t get the tasty charcoal bits that come from cooking it on a grill, or on the stove in a cast iron pan or grill pan, but it will still be delicious. I hope you like it!
I’m so impressed with how creative you are with your recipes. You always seem to find new and interesting ways to combine flavors.
Thanks so much Supriya! That’s so nice of you.
Always looking for a great chicken recipe! Perfect for my meal prep. Thanks for sharing this delicious recipe. I make it once a month for my meal prep.
Also, great grilling tips!